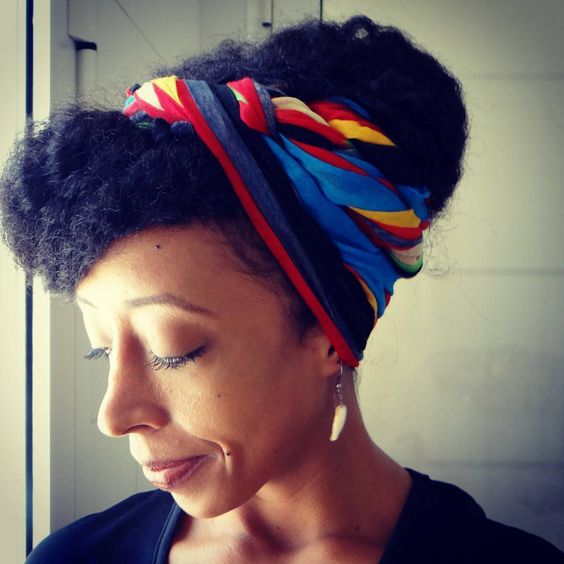
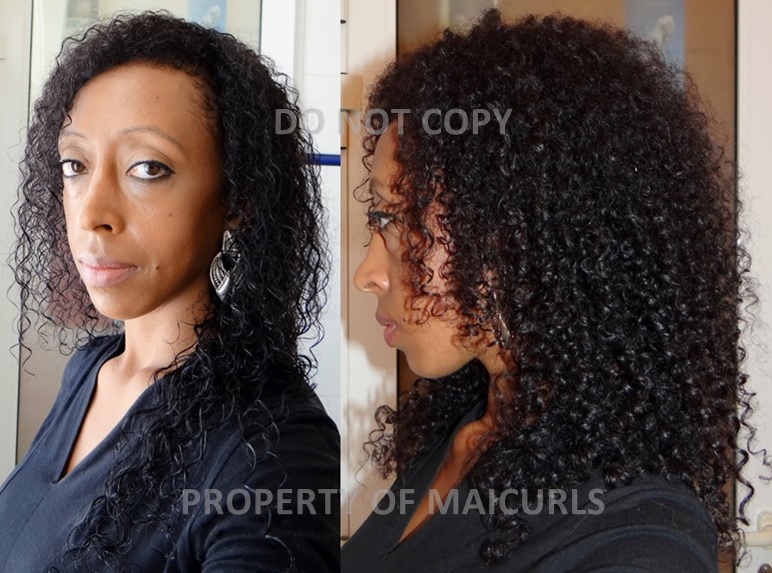
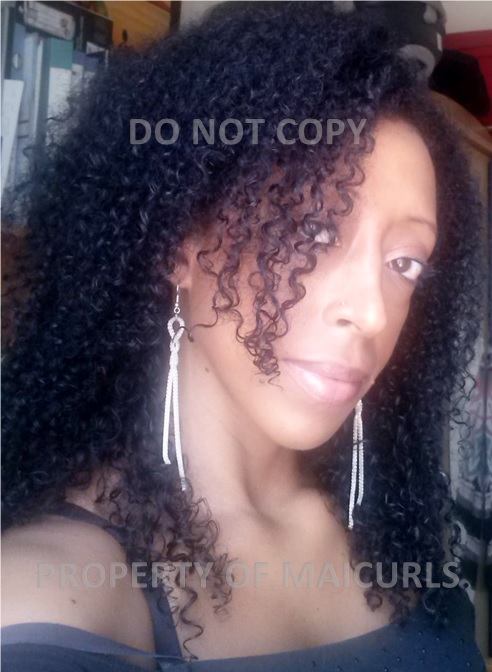
It has been a while since I’ve had the opportunity to feature a beautiful natural so I am very excited to share a new “Natural In Business”with you today!
Ms. Toshia, an extremely stunning natural business woman, is the proud owner of Butter Me Up and at such an young age (25) she has been able to achieve one part of her ultimate dreams by starting her very own business which, she endearingly refers to as her “baby”. Aside from the business aspect, Toshia has many other goals, one of them is becoming a successful performer & entertainer thanks to her singing and writing creativity, so keep an eye out for her Maicurlies and remember you read about her here when she hits the big screen! 😉
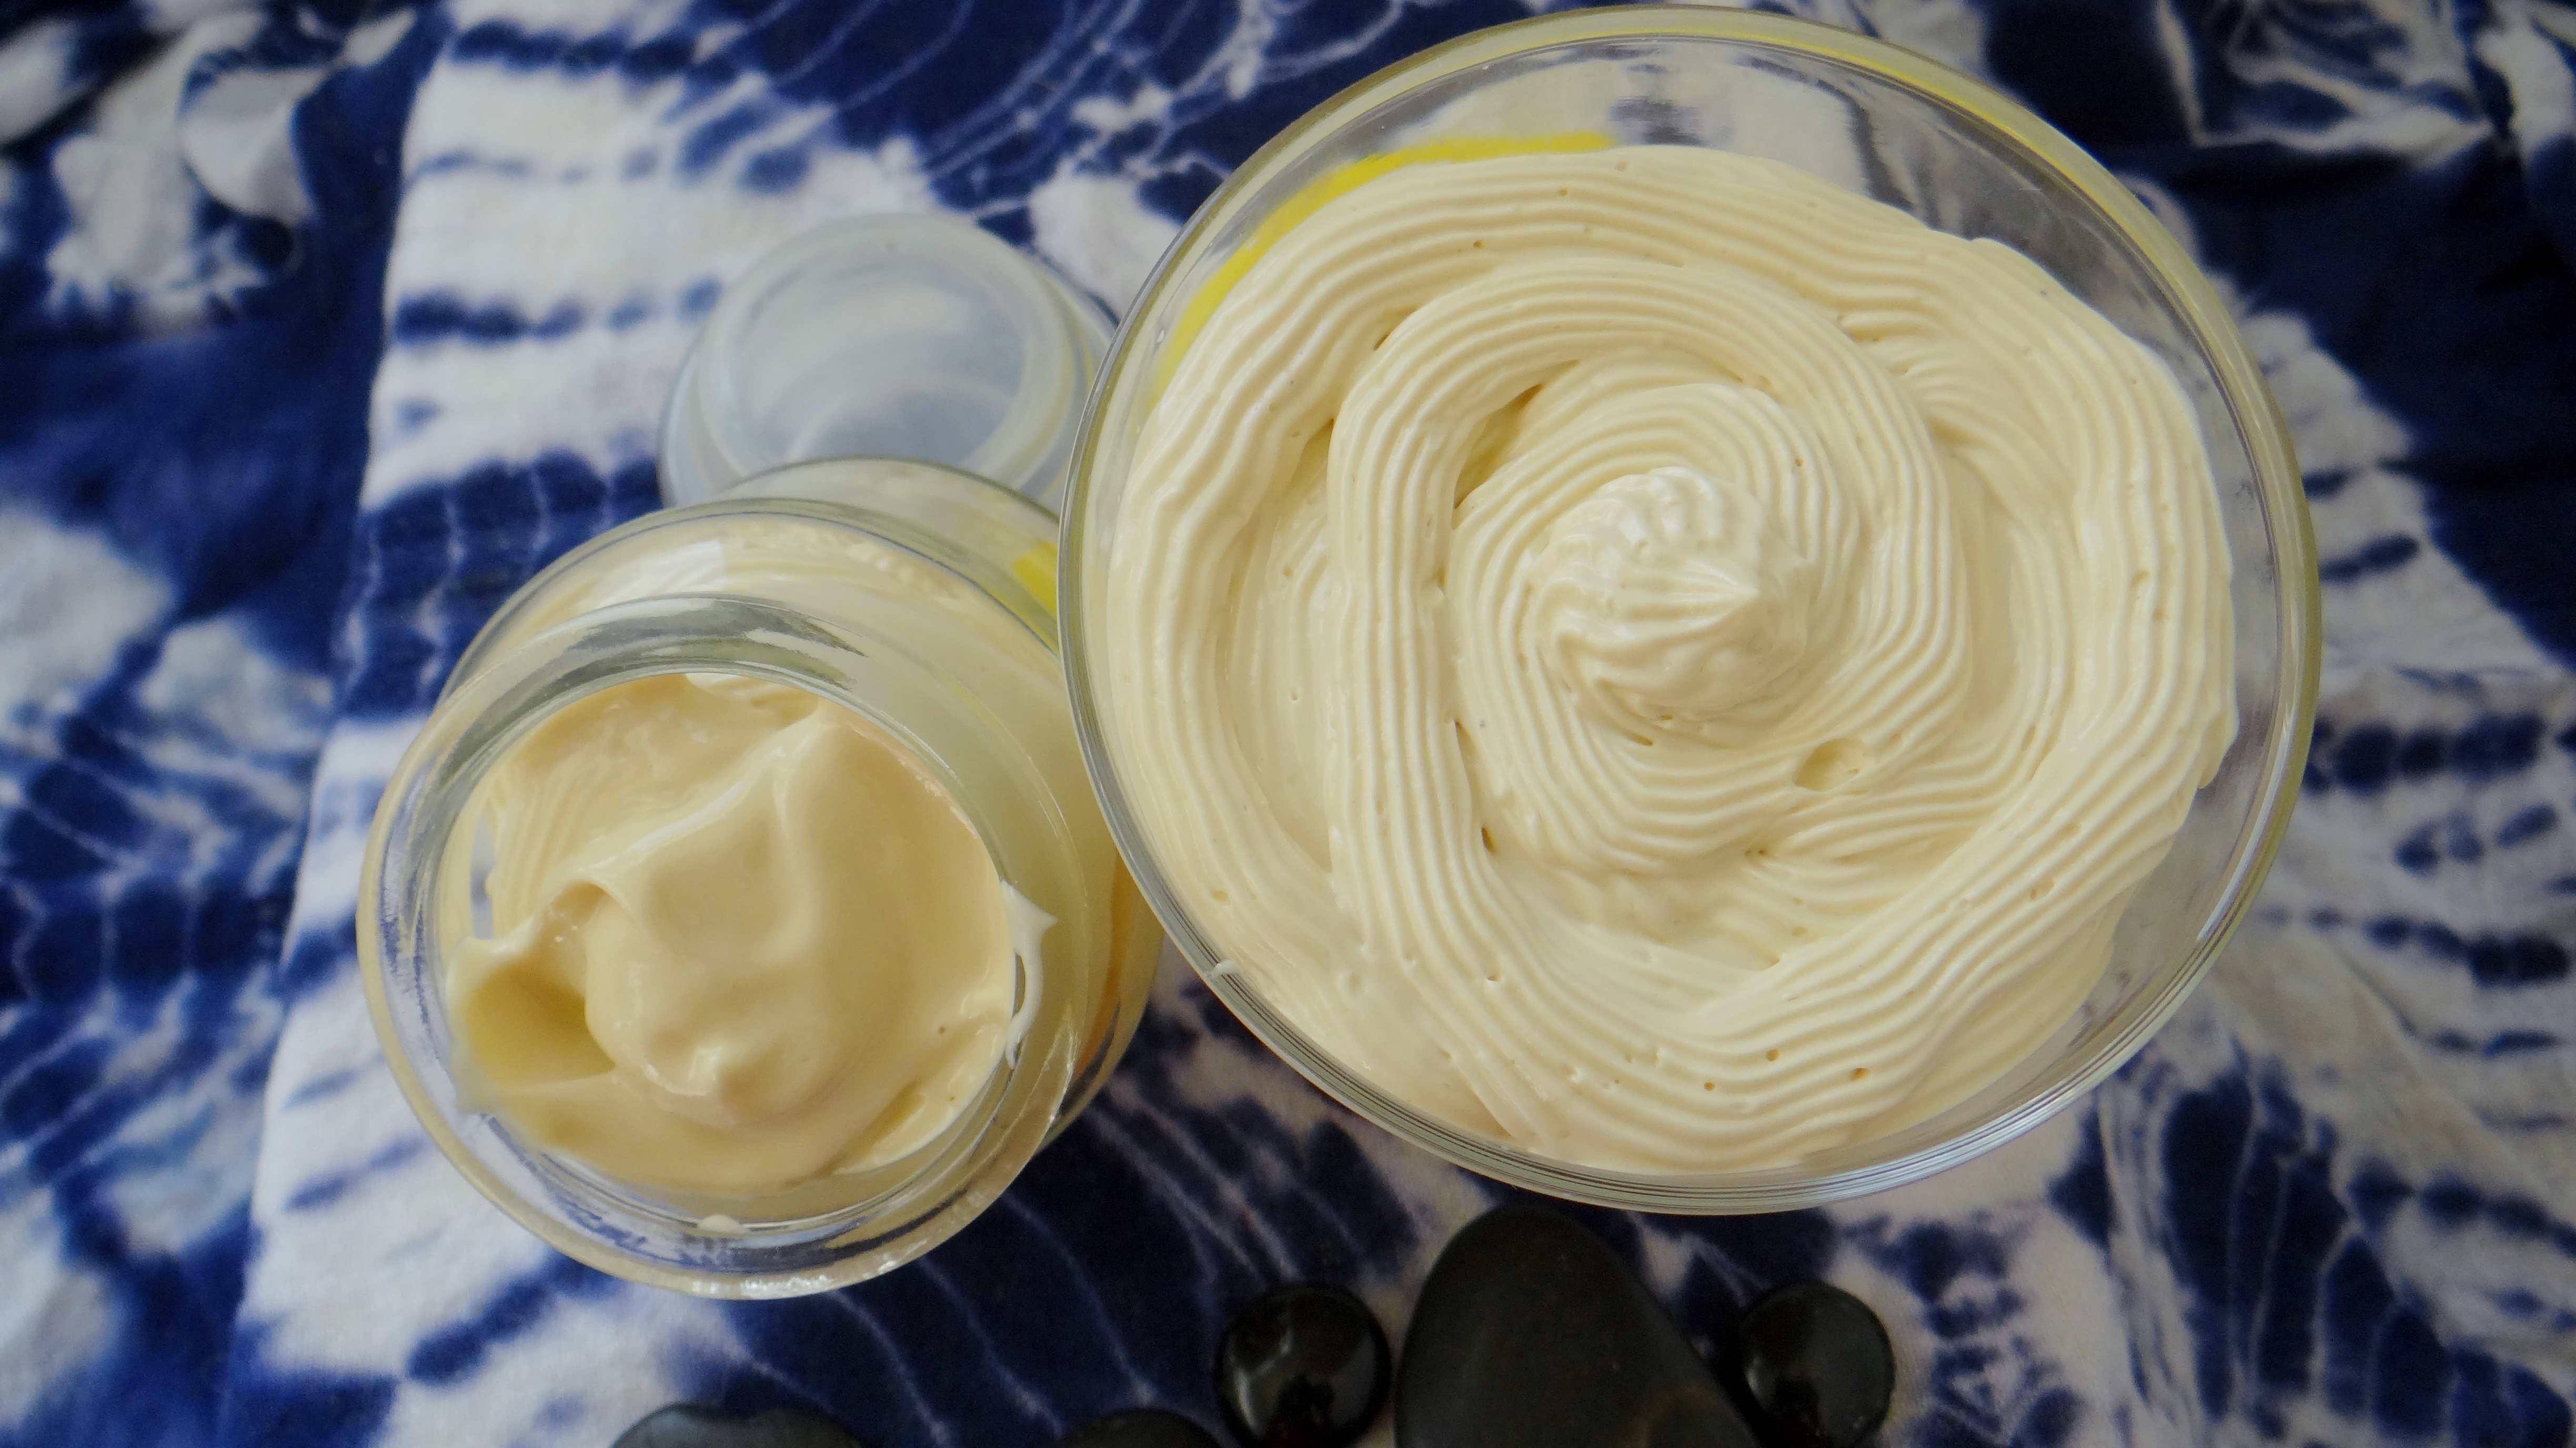
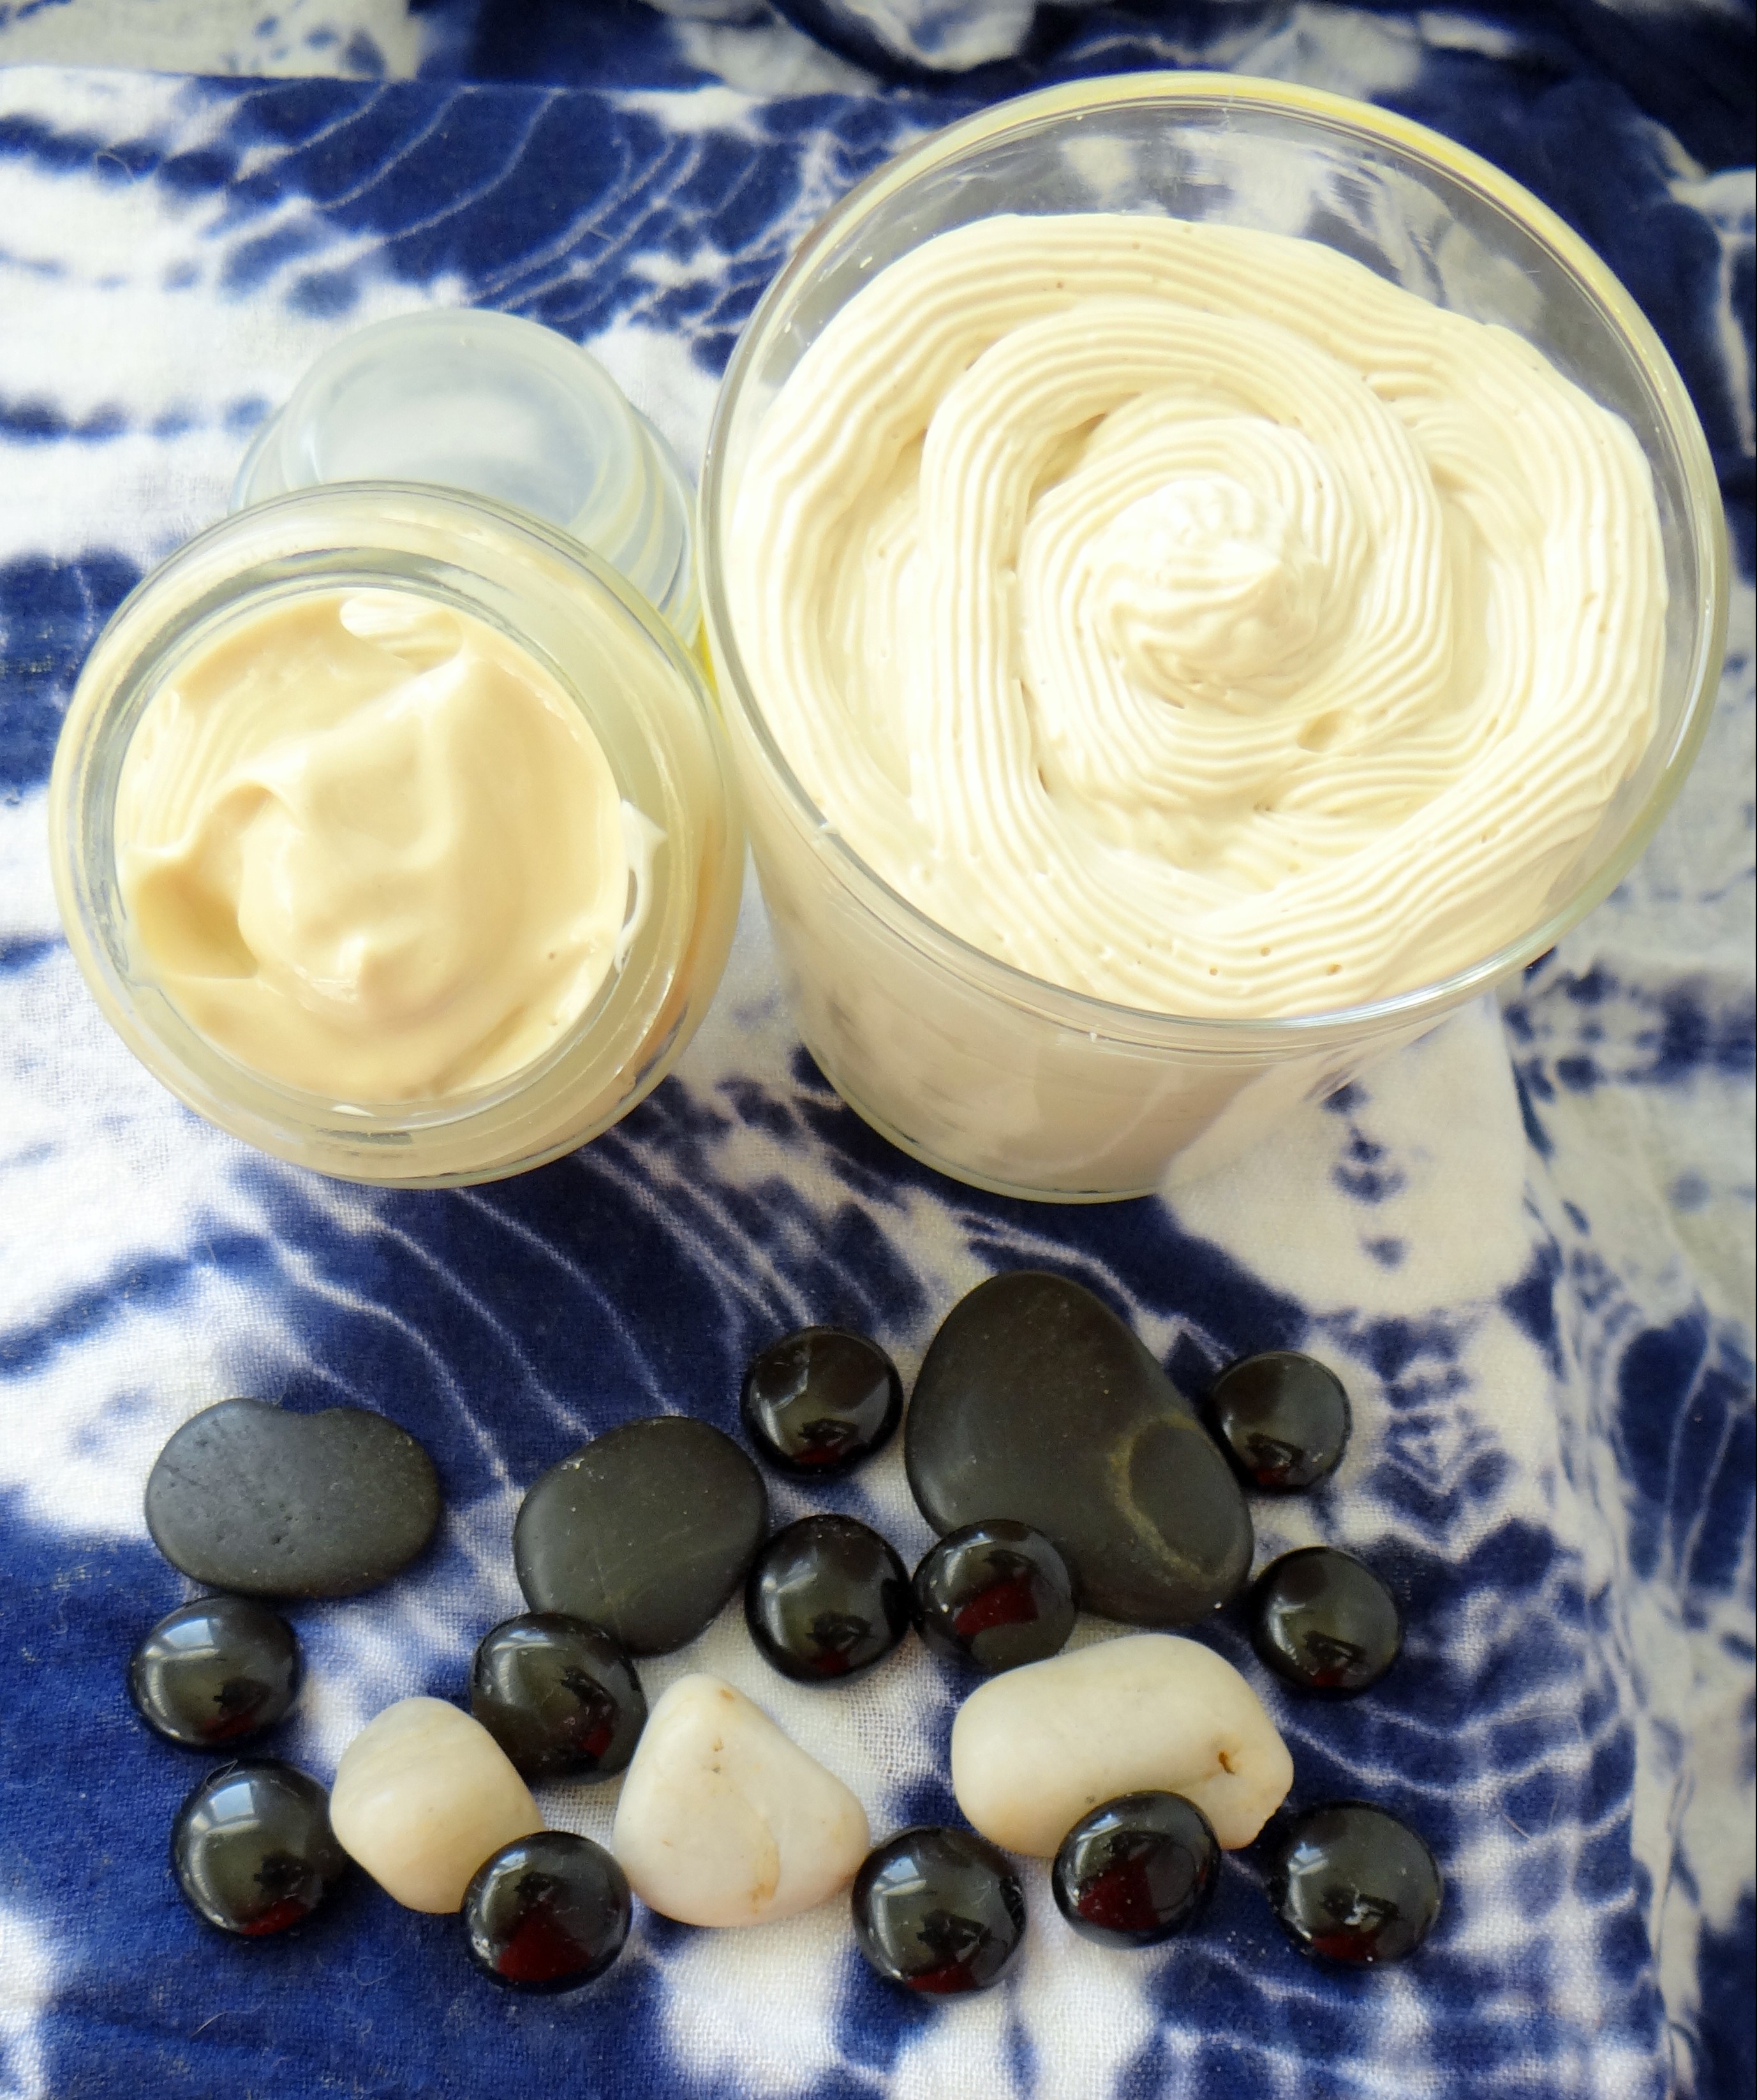
Butter Me Up came to fruition because of a number of reasons: dissatisfaction with Toshia’s previous job, her enthusiasm to create and craft things and a desire to cater to and inform consumers about “processed, synthetic ingredients & organic ingredients”.
As Maicurlies, I believe it is safe to say that you know I am crazy about natural products and Toshia’s deliciously scrumptious looking goodies are no exception (no you can not eat them)!
I am delighted to share more about the business concept of Butter Me Up and what motivated Toshia to create her company. You can read all about her story on my Feature Page herePlease do not forget to check out: ButterMeUpGoods.com & browse through the store (she has a lot on the “shelf”) and I promise they look so good you will want to eat them!
Today I wanted to share one of the methods I use to remoisturize old hair & how I style my hair in a low manipulation style (when I went camping for 2 nights).
So I was off to a beach camping trip for 2 nights and my hair was a MESS! I had it in a twist out that turned into a messy bun. The curls were tangled, dry and just not in a good way! Since I was camping I knew I didn’t want to do anything “drastic” especially since I would be washing my hair once I got back. I also knew I wanted my hair tucked away since sand and my hair just don’t play nice at all so I figured I would remoisturize, bring back some texture but still keep my hair tucked away.
My remoisturizing method was simple, the L.O.C method (Leave-in/liquid, Oil, Cream/Whipped butter) I also used permrods and that was it. I did not use a comb to get through my hair since I wanted low manipulation and to protect my hair during the trip I used a scarf to keep my hair up and away from my shoulders and presto.
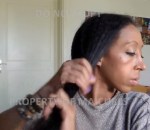
Braid and Perm Rod Set
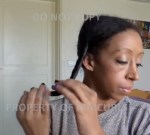
Braid and curl
Braid and curl after separating
Braid and curl
Products/Tools Used:
DIY Spray Leave-In Conditioner (I have two versions on my blog: here and here)
I parted my hair into sections (roughly 15 – 18 in total), spritzed my hair with my DIY Spray Leave-In Conditioner followed by my oil. I then gently, carefully and slowly detangled my hair and get rid of shed hair. I braided my hair but left my ends unbraided. I added a little extra spray leave-in on the ends, smoothed on some whipped butter before wrapping them around the perm rods and then rolling up to my roots.
wrapped up braid out
wrapped up braid out
wrapped up braid out
wrapped up braid out
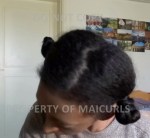
Once I was done I covered my hair at night (I kept it uncovered right until I went to bed). The following morning I took down the perm rods and using a little oil on my fingertips I undid the braids. Now if you want to have definition then take the braids down carefully to keep the integrity of the curl pattern (since I just wanted a little texture, a little volume and was going to cover my hair it didn’t really matter for me). After I took down the braids I separated my hair a tiny bit and covered my hair with the scarf, leaving a swooped bang at the front (the ends tucked away) and pinned the rest of my hair upwards. Presto: happy moisturized and protected hair ready for camping!
I have a video of the whole process:
P.s. In case you were wondering, here is a peak at the spot where we camped.
What is your go to method to remoisturize “old hair” mid-week/before washing your hair?
The DIY freak is back and this shall be my last whipped butter as part of this “series” for now.
Whipped Double Coffee Butter
Fret not (I can hear you screaming whaaaat), I shall have 2 more tutorials that will be released within the next 2 months that will be strength based thanks to an inspiration from a YouTube viewer (thank you)! I am just taking a break to actually have time to use up the whips I already have.
Anyways back to this whipped butter, I can honestly say that this Double Coffee Butter is my favorite (I have probably said this a few times but I truly love this) 😀
From all the mixes/recipes/concoctions I have made, this one has the highest concentration of coffee… coffee is my friend is my love. My curls seem to thrive on products that include coffee/caffeine so why would I not use use different types of coffee butter along with some coffee infused oil right?
I can go on and on about the benefits of coffee for the hair and skin and I of course already have, you can read all about it here where I introduce my DIY Coffee Bean Infused Butter and here my DIY Coffee Bean Infused Almond Oil
Piping Bag (optional) – a sandwich bag can do the trick or a spoon/spatula to transfer the whip to your container)
Note: I want to remind you that I live in the desert so normally during the summer I prefer my mix to be a little more firm therefore I use more butter than oil. If you live in colder climates and especially during autumn & winter I suggest that you add more oil that I do (see below).
Ratio Alternatives/Ingredient Alternatives:
In my opinion the infused coffee bean and the coffee butter are what makes this a double coffee butter however, should you not have any infused coffee bean butter (recipe) you can replace it with either Shea Butter or a Shea & Cocoa Butter combination (40% Cocoa 60% Shea butter). For a less firm whip particularly in autumn/winter I would suggest using 2 oz – 3 oz carrier oils. Technically you can use any carrier oil you prefer, they do not have to be coffee bean or vanilla bean infused oils however again, to make this a coffee focused butter I would suggest using more coffee bean infused oil (recipe) such as 70% coffee oil 30% vanilla bean oil. Other oil alternatives could be: Extra Virgin Coconut Oil, Pure Almond Oil, Grapeseed Oil, Avocado Oil, Extra Virgin Olive Oil etc. Glycerin is an optional ingredient that does not need to be added especially if your hair does not like it. It can either be omitted or even replaced with raw honey.
Method:
Butters and Oils mixed together after 10 minutes in the freezer
Whipped till fluffy!
Once the coffee bean infused butter has been double broiled I add the coffee butter. The warmth from the melted butter will help melt down the coffee butter without the need of additional broiling. I then add 0.8 oz of the Coffee Bean Infused Almond Oil and 0.5 oz Vanilla Bean Infused Almond Oil and stir.
I then place it in my freezer for 10 – 15 minutes till it begins to thicken. Once this happens, I scrape the mix together and then begin to whisk. I whisk for a good 3 – 5 minutes and then add the remaining 0.3 oz of Coffee Bean Infused Almond Oil, 0.15 oz Glycerin (optional) and 3 capsules Vitamin E Oil. I continue to whisk for at least 3 – 5 minutes.
Depending on the consistency you prefer you can stop here and transfer it to an airtight container but I prefer mine to have a fluffy texture so I place it in my fridge, this time for 10 minutes till it becomes a little hard on the top. I then take it out and whisk for the last 5 – 7 minutes and I am happy with the texture. Using a spatula I scoop the whip into a piping bag (because I like being “extra”) and transfer to my container. (The piping bag really isn’t necessary but it makes the butter look extra pretty and is a nice touch if you are giving it away as a gift).
Uses:
It is not just the inclusion of coffee and coffee butter that makes this an excellent choice for your hair and skin care but also the inclusion of cocoa butter, Shea butter, almond oil, vitamin E oil and glycerin (read about the benefits of these ingredients for the Hair and Skin). I like to use this butter on damp/slightly damp hair after I have moisturized to help seal in moisture for styles likes twists, twist outs, braid outs, Bantu knots, Straw Sets, Perm rod sets, Pin curls, Flexi rod sets… basically everything! Whenever I use Flax Seed Gel(FSG) which is full of nourishing benefits and is all natural, I actually like to seal in the FSG too by applying the butter as my last product. If however you are using a store bought commercial gel, you might find it more beneficial to apply the whip before you apply your gel. When it comes to the skin, I like to apply this after a shower to slightly damp skin to help seal in the moisture. It makes my skin super soft, smooth and lush looking and also helps with faint marks!
I of course had to record my tutorial as well:
I would love to hear from you if you try this delicious whipped butter!
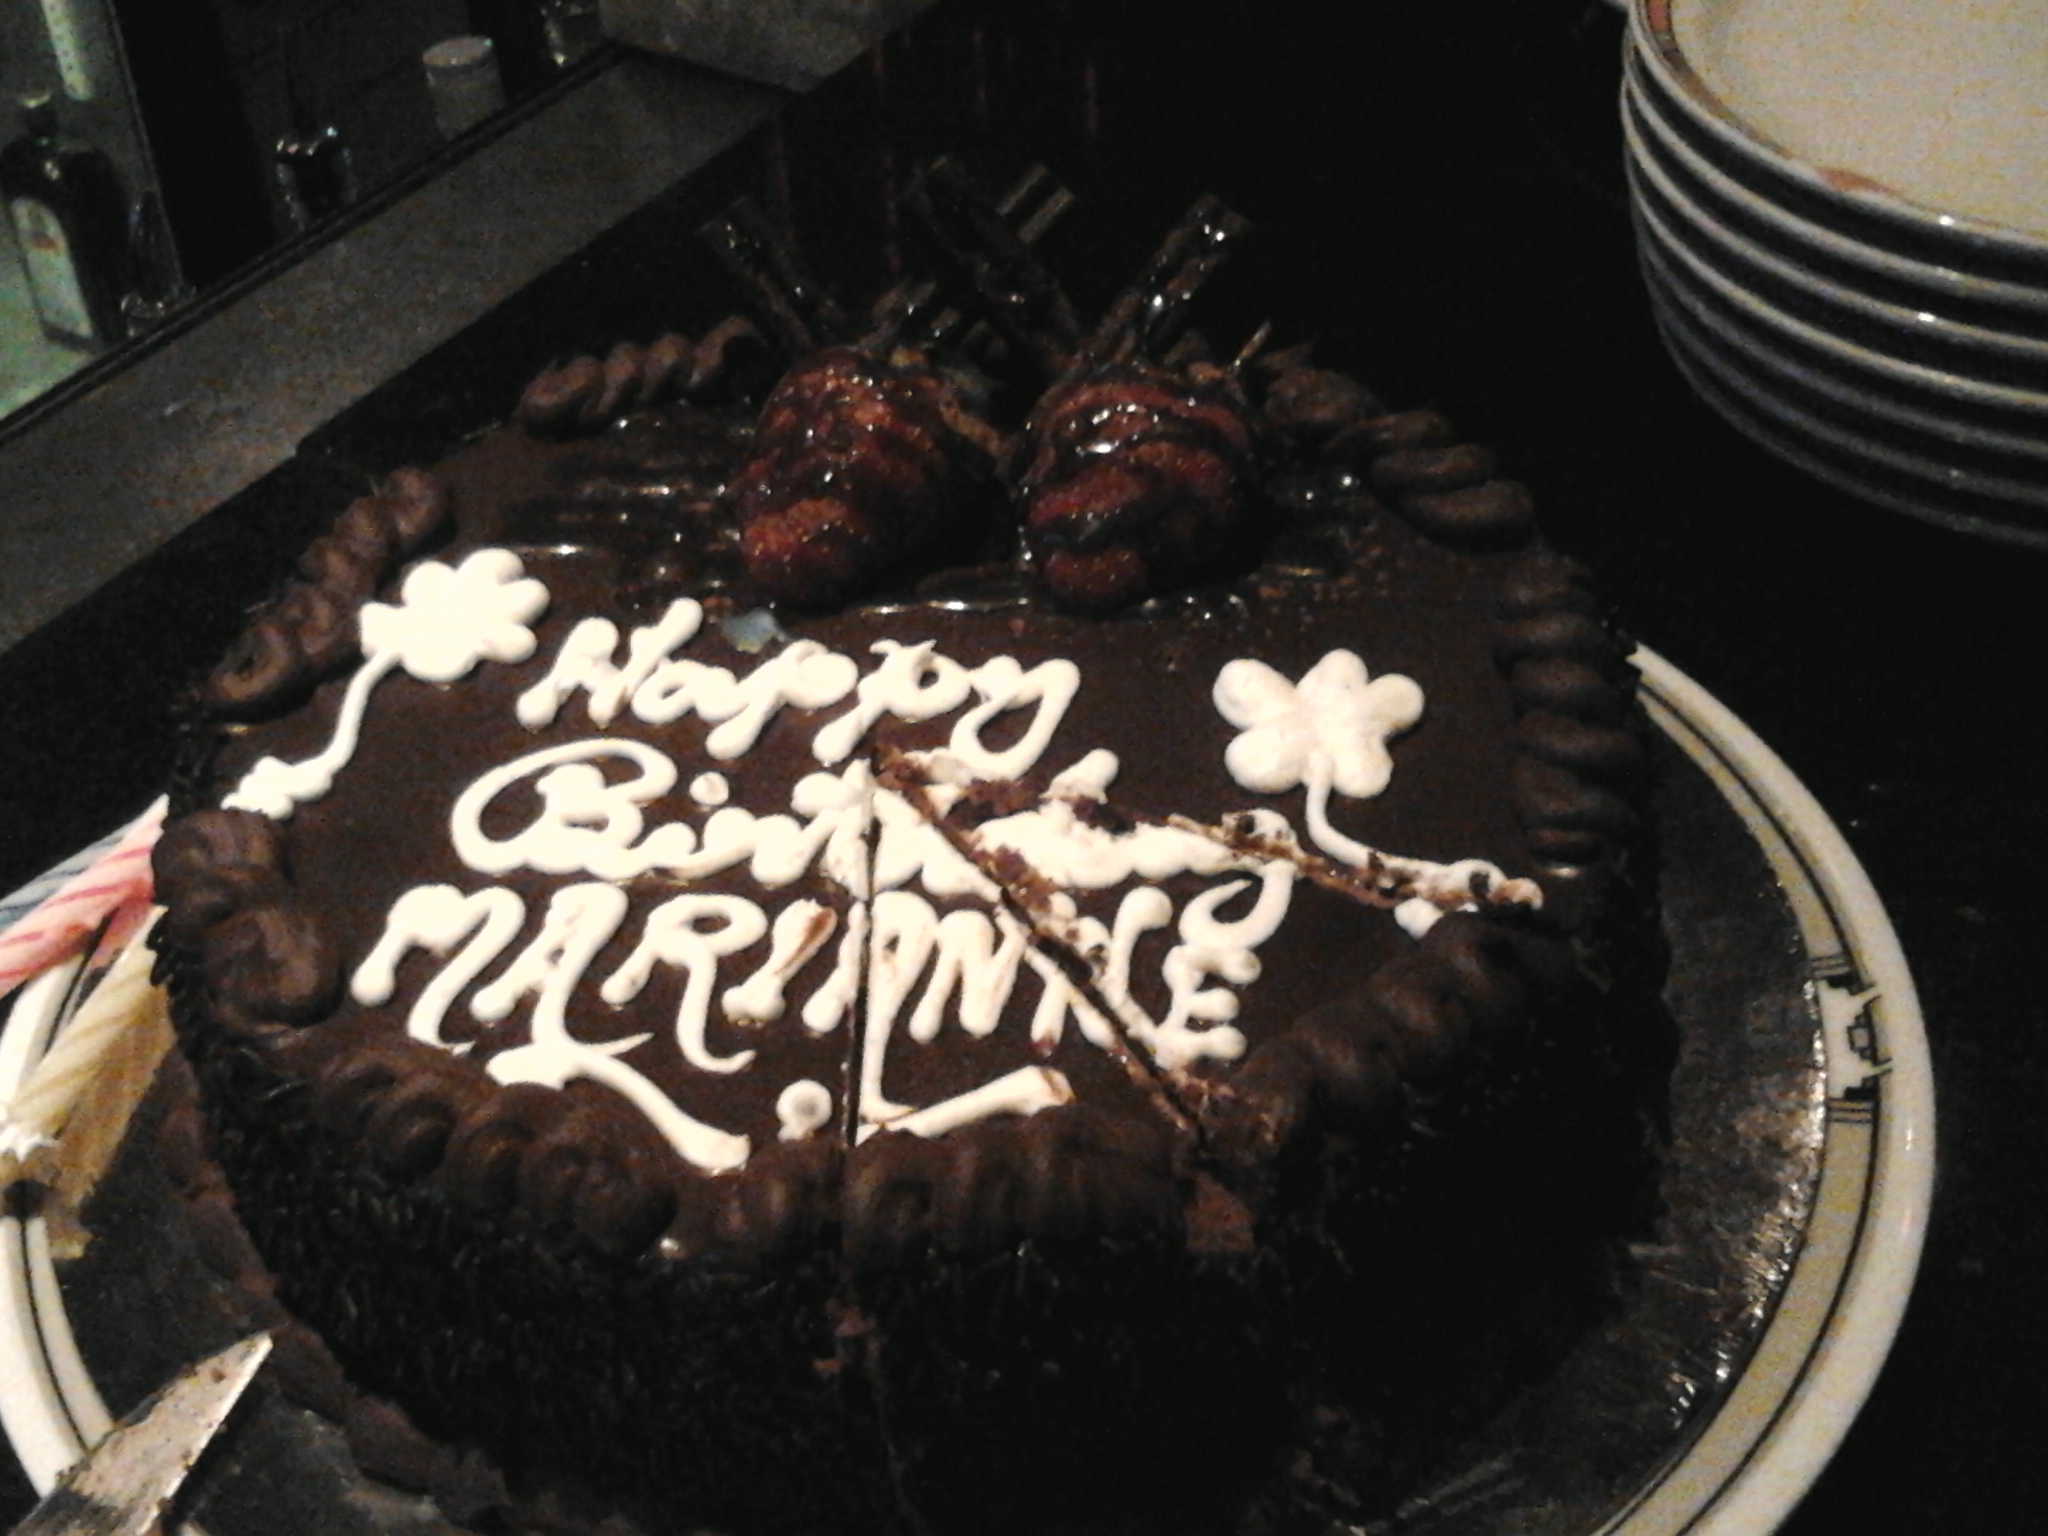
So this is going to be a quick post. It actually was my Birthday a week ago (the 7th) so I wanted to share a few details about what I did, what I did with my hair and all the goodies I got! My loved ones spoilt me rotten 😀
So this is what I did with my hair:
Surprise surprise….a Twist Out! It turned out quite well so I was happy.
I used my leave-in conditioner (my updated mix which I need to post here soon), almond oil and a little whipped butter. I put my hair in 6 twists the night before, covered with a satin scarf and left them in until I was getting ready for the “celebrations”. I took down the twists, separated with a little almond oil on my fingers and fluffed.
So for my “celebration” I went out with my family to this AMAZING Mongolian Restaurant. The food was awesome! The menu included a soup as starter, your main course and dessert. For mains you get to select what you want which could be a mix of: chicken, beef, lamb, shrimp and then a selection of vegetables: carrots, paprika, onions, green beans, tomatoes, spring onions as well as the sauces of which there were about 6 to pick from. You give your bowl to the chef who cooks it in an open kitchen and did I mention you could go for seconds, thirds, etc as many as your stomach can hold! The meats and seafood is kept cold/frozen so that it remains fresh and like I said you could go for only chicken, a combo of chicken and meat and if you are really crazy a mix of both meats and seafood together! Yes I rolled out of there full and happy. Oh and my choice of drink was white wine.
After dinner I went out with my friends for a few drinks…a good number of drinks which were Lychee Martinis! I LOVE this cocktail! My curlfriend got me hooked on them so I had to drag my friends to the best spot for cocktails of course. We ended up in our local spot and was surpirsed with a lovely birthday cake.
Now what did I get in terms of presents? I really got spoilt rotten!
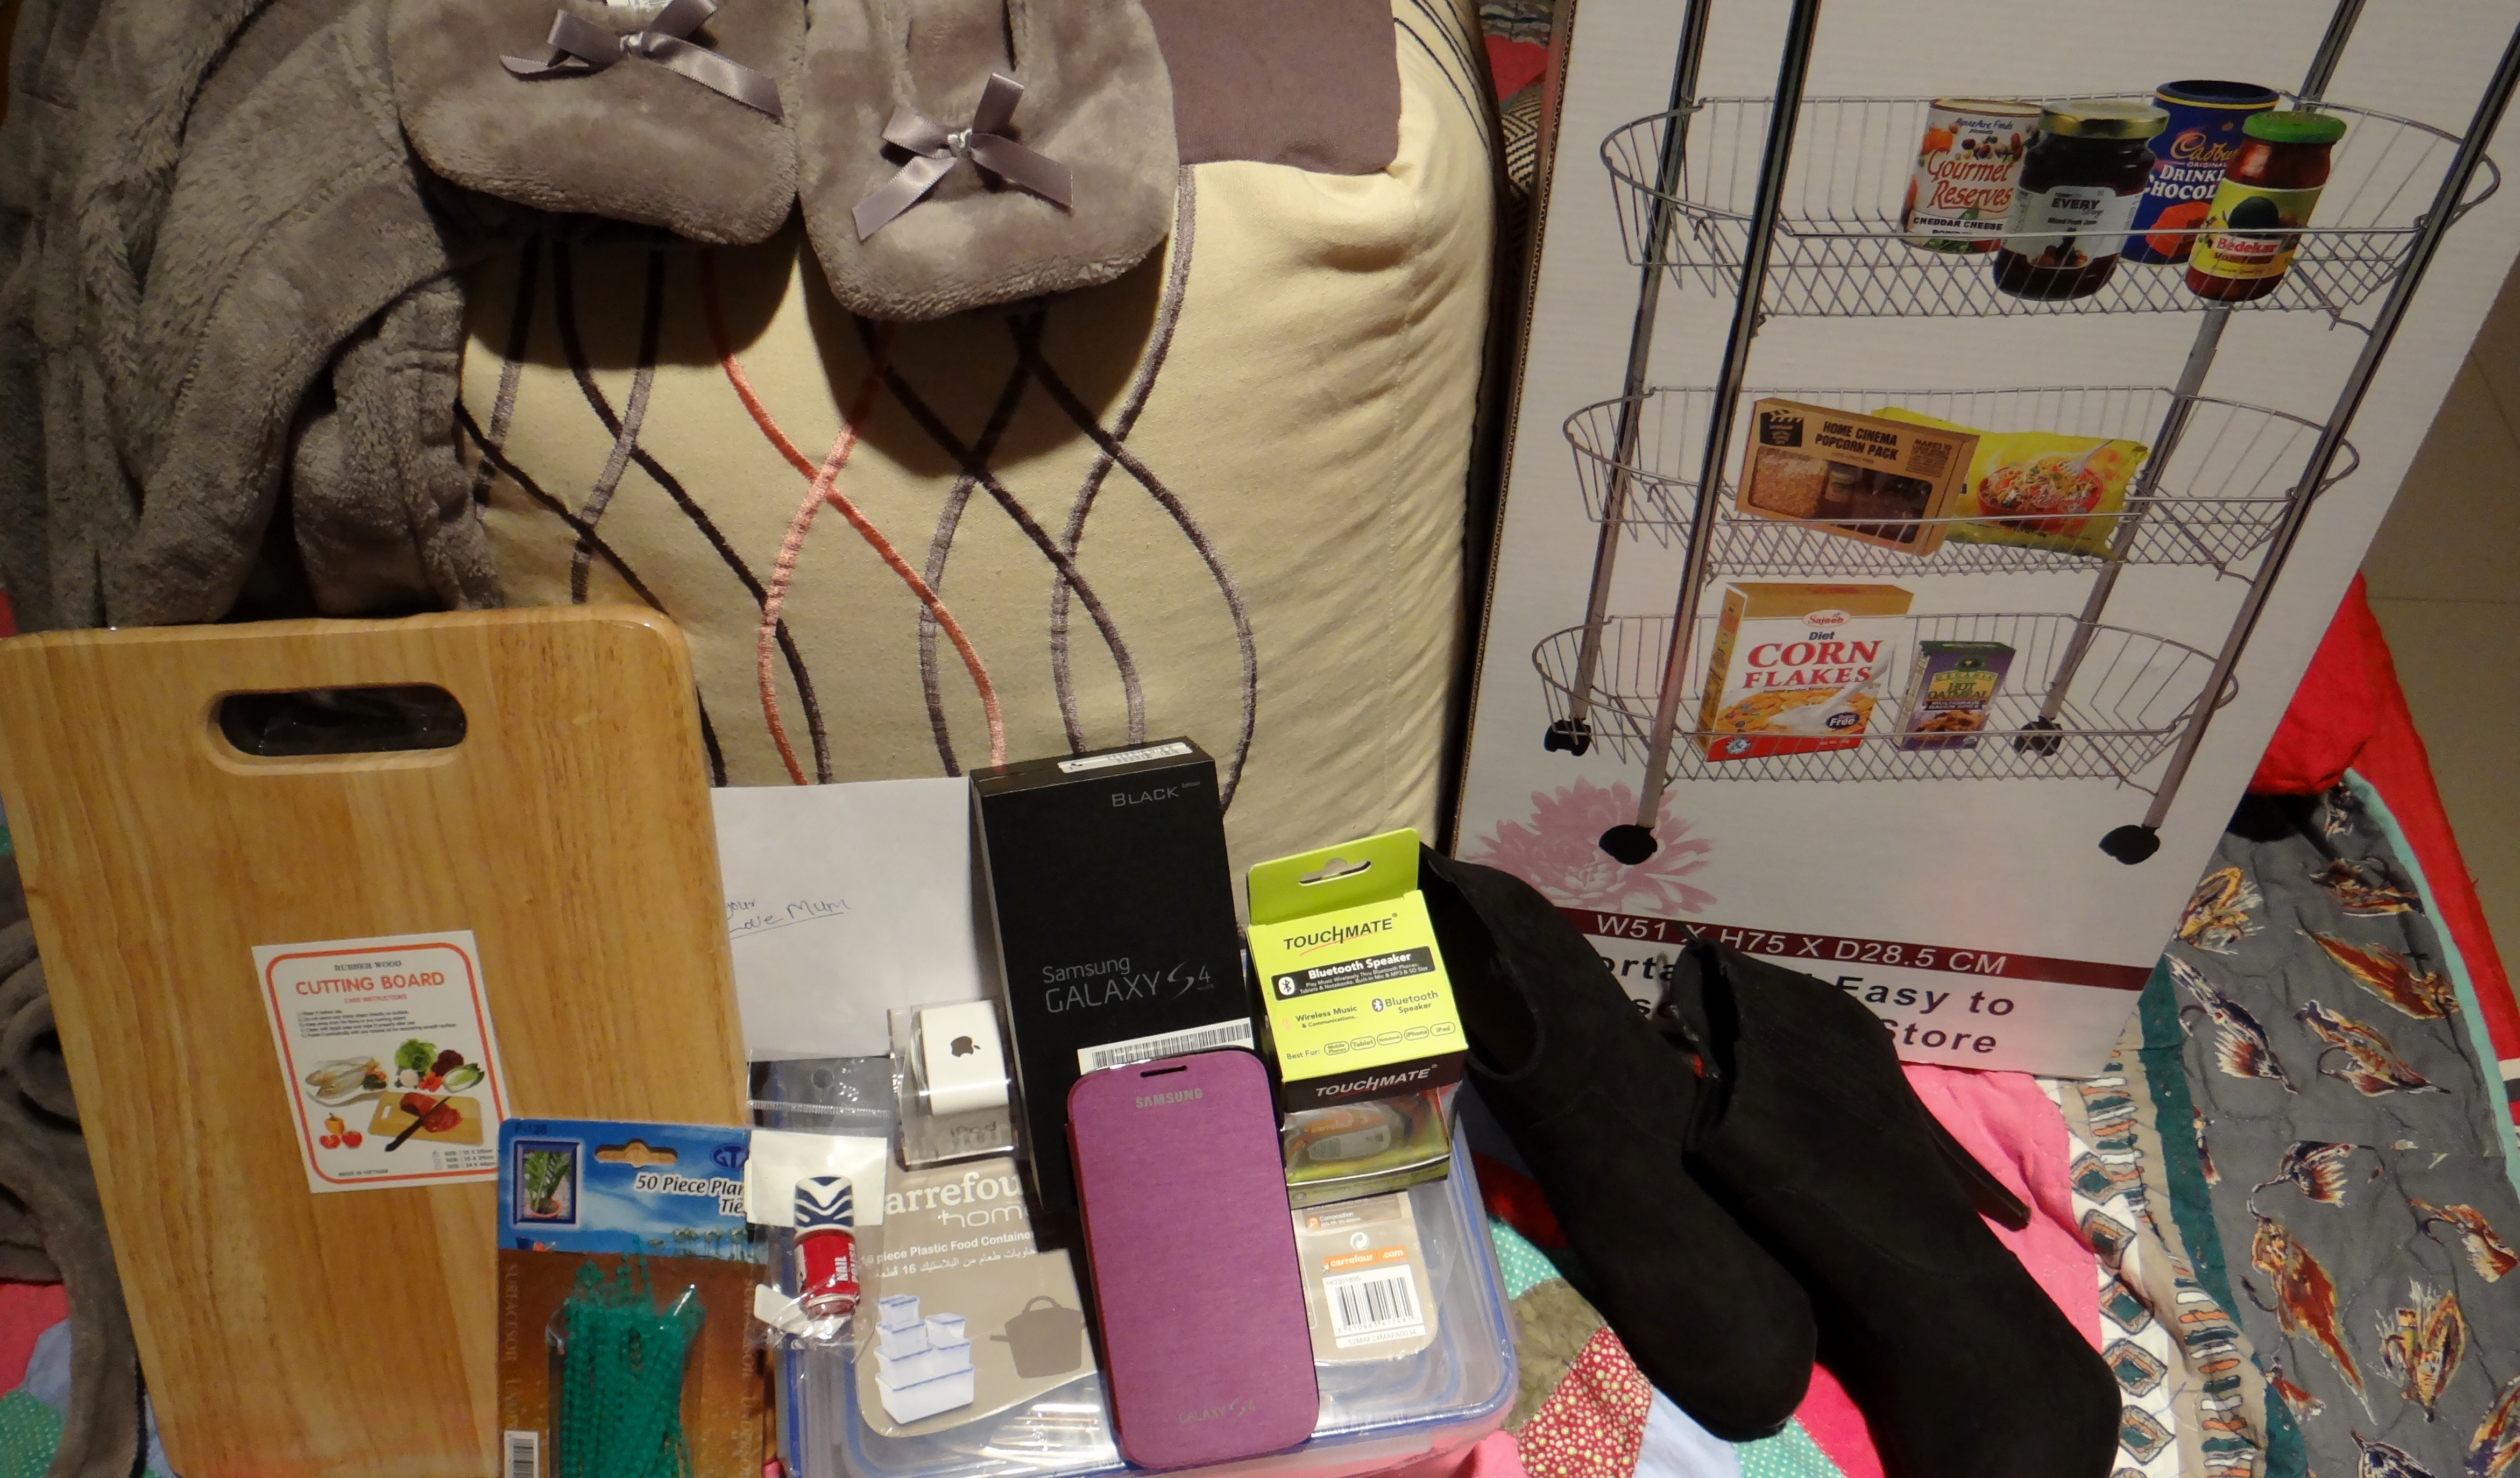
Ok so these are my goodies! My sister and I like to give each other random gifts that we call “silly gifts”. So I got the softest bathrobe/house robe with matching shoes (It is sooooo soft I want to wear it all day everyday!), a square bean bag seat (silly gift), a cutting board (my sister said so I can prep food for her lol), plant ties (for my soon to be green garden), wireless speakers, red nail polish, iPod Shuffle, Galaxy S4, Tupperware (silly gift), boots (a girl can never have too many boots), kitchen trolley (so I can put all my DIY goodies and other ingredients!), money and I forgot to take a picture of 2 tops I also got. 😀 Can someone say spoilt!
It was a great Birthday 🙂 however, now I can no longer tick the box of 25 – 30…not so excited about that but hey!
One thing us naturals can agree on is (our hair needs moisture scratch that) OUR HAIR THRIVES ON MOISTURE. If you are able to get moisture to penetrate the cuticle of your hair, reach the core and (fingers crossed) retain the moisture then chances are your hair will be a happy camper.
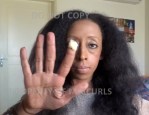
I was recently asked to make a video showing what my hair looks like when it is product free after being freshly washed. The lovely lady who requested the video stated she was having issues with her hair and wanted to see what my hair looked like. I will have that video up soon.
Product Free Hair
First I want to point out I am not a hair expert nor am I professional I am however aware of what my hair likes/doesn’t like and can pretty much tell by the ingredients in a product if my hair will respond positively or negatively to it (most of the time not always).
Our ability to grow healthy hair has to do with knowing how our hair is structured such its porosity & width but also the ingredients in the products we use. Some of you might already be aware of this however, if you are newly natural or unsure then I hope this post will be helpful 🙂
I’ve previously mentioned that I wrote about porosity and hair width for Global Couture and have linked the two articles below:
I was able to identify that I have medium/high porosity with it leaning more towards high porosity and fine hair strands. If you are unsure of how to do the tests to determine your porosity and width there are simple testes you can do at home which you can read about here.
Porosity – How your cuticle is laid. There are 3 main categorizes:
Low Porosity – difficult to absorb moisture due to closed cuticle but once moisture is in the core it is well retained.
Medium Porosity – easy to absorb and retain moisture due to optimum laid cuticles (lucky people!)
High Porosity – easy to absorb moisture but also to lose it due to highly raised cuticles.
My Hair Porosity
I could not only tell from the results of the porosity test but also because of how quickly my hair absorbs anything I apply and how quickly it can become dry if I do not seal my hair properly. Moisturizing and sealing my hair during the week is necessary if I want it to remain moisturized and avoid breakage. After doing a deep condition I will dilute ACV & water run that over my hair and then do a final rinse with cool water (not always pleasant) but necessary.
In the past I have only ever used oils after moisturizing because I did not have access to butters however all that has changed now. 🙂 With that said, I also have to be careful of how I use my products and how much I use. If I am not careful I can weigh down my curls due to the fact that I have fine hair strands (will be covered below).
It is all about layering products for me so I moisturize (water + leave-in) and the seal (oil and/or butter).
Hair width –Identifying you hair’s width allows you to not only determine which products to use but can also help you with length retention and healthy hair growth. Hair width means finding out how thick or thin your individual hair strand is. There are 3 main categories of hair width:
Fine – The hair strands are thin and can be weighed down if a lot of heavy or thick products/ingredients are overly used. The hair is fragile and extremely susceptible to breakage if it is not handled with a gentle hand and care.
Medium – The hair is neither thick nor thin and is able to handle both heavier and lighter products/ingredients but should still be used in moderation.
Coarse -The hair strands are thick and might require you to “work in” products/ingredients in order for them to be dissipate in the hair. It is said to be “strong” but still requires a gentle hand when manipulating it in order to retain and grow your hair
My hair Width
As mentioned I have fine hair and yes a little too much of ANYTHING can weigh down my hair. I like to refer to it as “mousy” (when my hair is damp/wet). I literally look like a wet cat and detest going out like that! So even “good ingredients” such as creams or butters can really make my hair look lifeless, flat and greasy.
While I need to follow the steps of moisturize and seal, in the back of my mind I always have to remember too much of a good thing can be bad. This also applies for styling products.
When it comes to handling my hair I have to be extremely careful. Rushing through detangling is just screaming for breakage which, I have done more than I’d like to admit. So I also look to strengthen and thicken my hair with the help of my Henna treatments.
How do you take care of your hair based on your porosity and hair width? I would love to hear from you.
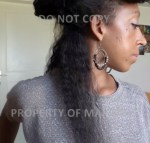
So as the title indicates I stretched my hair out using my heatless “Blowout” method. With this I really really get my hair stretched – it of course is not as stretched as it could be if I were to use a blow dryer but for a heatless method I love it.
Faux Blowout in a ponytail
Now before I start explaining, I want to point out…stress…that I work with dry hair to do this and I am UBER CAREFUL while manipulating dry hair. Manipulating dry hair can lead to damage if you are not careful, gentle and patient so I can not say it enough, I am SUPER CAREFUL with this otherwise breakage ends up being the result.
I have a video up of my method on my Channel which you can see below.
Products/Tools Used (click on the products listed for my recipes)
I usually always start off with hair that has been stretched in some form just because it makes it easier to then completely comb out my curls. I am starting off with day 4 hair (a twist-out I only used my Leave-in no styling product when I set the twists).
Day 4 Twist-out
Process
Prep Hair – Split hair, lightly mist leave-in conditioner & seal with Oil.
I split the section in half
Lightly mist my spray leave-in conditioner and distibute it. I only LIGHTLY MIST not dampen, this will help moisturize and ease detangling
I seal in the moisture and this helps to easy detangling later and provide slip
Finger Detangle – I very carefully finger detangle
I finger detangle using my thumb and collect shed hair with the rest of my fingers
When I get a tangle I stop
Slowly pull the hair down away from the knot
Comb – I comb out the curls really carefully and slowly
I comb the curls out from ends to roots. Carefully.
Completed section and then I repeat on next section
Once completed I comb the entire section together
Option 1: From here I will apply my styling product to twist, braid, Bantu Knot etc my hair or
Option 2: Otherwise I will wear my hair out with option two:
I use a tiny bit of whipped butter per side
Smooth on whipped butter
Twirl hair and put it in a Bantu Knot
Bantu knot each side
Cover for 10 – 15 minutes with a scarf
Undo Bantu Knots and fluff
Faux Blowout when I wear it out.
I would love to hear what your method is. Do you use heat? How? If not what do you do?
Some people prefer to set a style on dry hair while others prefer to work on wet/damp hair. External elements such as the weather can play a role, working with stretched or un-stretched hair and the types of products you use also come into play.
As for me, it depends on what I am planning on doing with my hair and how I want the results to look. Generally when I style on damp/wet hair I get a more “controlled” result (if that is the correct word for it). My hair has more clumped curls and definition. I keep my hair really damp with my spray water bottle while styling and then apply my products.
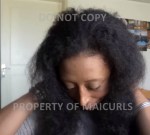
Wash and Go with Flax Seed Gel (Left completely damp hair – Right after air dried )
(P.S. The photo above is of the same day, left when I finished doing my wash-n-go and right after my hair air dried. My hair is really fine and when wet looks ridiculously thin and mousy!)
While I love the definition I get when I style on wet/damp hair, I feel like my hair looks the best when I work on dry hair. For whatever reason when I set on wet hair, the results seem too controlled (if you know what I mean). In order to get more fluffy results, I end up having to manipulate my hair which then results in more frizz then fluff because I always try to get rid of the “flat top” on my roots. It is also more time convenient for me to work on dry hair since I do not have a hooded dryer and it can take hours for my hair to be completed dry when it is in twists, braids, Bantu-knots etc. Another reason I like working with dry hair is that I get to stretch my hair a little and that not only means I get to take advantage of the length of my hair but it also limits tangles and Single Strand Knots (SSK’s) and I HATE those!
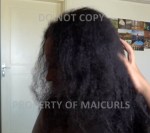
Wash and Go refreshed on Day 5
At the end of the day, there is no “right or wrong” way to style our hair. It all depends on what we hope to achieve, how much time we have for styling and our methods.
How do you like setting your hair? Do you usually work with dry or wet hair?