It has been a while since I’ve had the opportunity to feature a beautiful natural so I am very excited to share a new “Natural In Business”with you today!
Ms. Toshia, an extremely stunning natural business woman, is the proud owner of Butter Me Up and at such an young age (25) she has been able to achieve one part of her ultimate dreams by starting her very own business which, she endearingly refers to as her “baby”. Aside from the business aspect, Toshia has many other goals, one of them is becoming a successful performer & entertainer thanks to her singing and writing creativity, so keep an eye out for her Maicurlies and remember you read about her here when she hits the big screen! 😉
Butter Me Up came to fruition because of a number of reasons: dissatisfaction with Toshia’s previous job, her enthusiasm to create and craft things and a desire to cater to and inform consumers about “processed, synthetic ingredients & organic ingredients”.
As Maicurlies, I believe it is safe to say that you know I am crazy about natural products and Toshia’s deliciously scrumptious looking goodies are no exception (no you can not eat them)!
I am delighted to share more about the business concept of Butter Me Up and what motivated Toshia to create her company. You can read all about her story on my Feature Page herePlease do not forget to check out: ButterMeUpGoods.com & browse through the store (she has a lot on the “shelf”) and I promise they look so good you will want to eat them!
Today I wanted to share one of the methods I use to remoisturize old hair & how I style my hair in a low manipulation style (when I went camping for 2 nights).
So I was off to a beach camping trip for 2 nights and my hair was a MESS! I had it in a twist out that turned into a messy bun. The curls were tangled, dry and just not in a good way! Since I was camping I knew I didn’t want to do anything “drastic” especially since I would be washing my hair once I got back. I also knew I wanted my hair tucked away since sand and my hair just don’t play nice at all so I figured I would remoisturize, bring back some texture but still keep my hair tucked away.
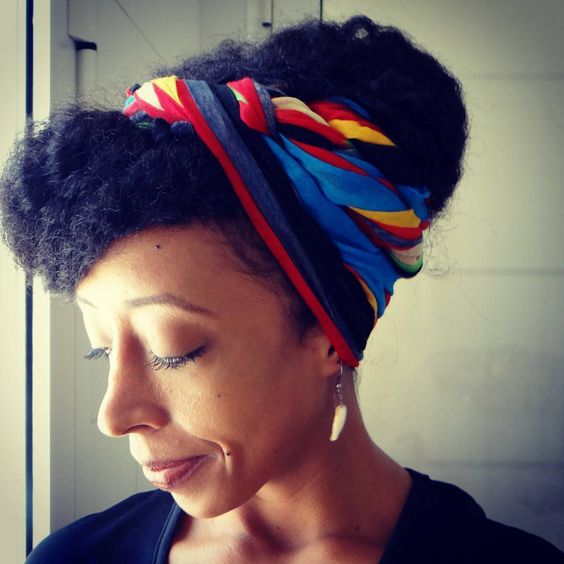
My remoisturizing method was simple, the L.O.C method (Leave-in/liquid, Oil, Cream/Whipped butter) I also used permrods and that was it. I did not use a comb to get through my hair since I wanted low manipulation and to protect my hair during the trip I used a scarf to keep my hair up and away from my shoulders and presto.
Braid and Perm Rod Set
Braid and curl
Braid and curl after separating
Braid and curl
Products/Tools Used:
DIY Spray Leave-In Conditioner (I have two versions on my blog: here and here)
I parted my hair into sections (roughly 15 – 18 in total), spritzed my hair with my DIY Spray Leave-In Conditioner followed by my oil. I then gently, carefully and slowly detangled my hair and get rid of shed hair. I braided my hair but left my ends unbraided. I added a little extra spray leave-in on the ends, smoothed on some whipped butter before wrapping them around the perm rods and then rolling up to my roots.
wrapped up braid out
wrapped up braid out
wrapped up braid out
wrapped up braid out
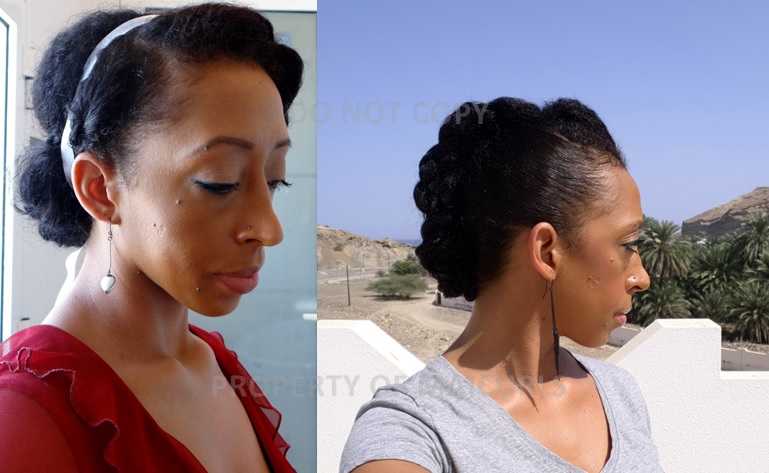
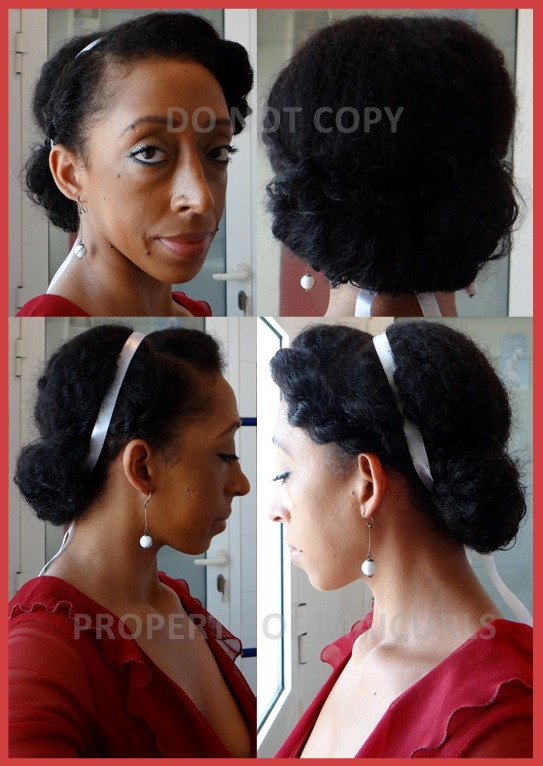
Once I was done I covered my hair at night (I kept it uncovered right until I went to bed). The following morning I took down the perm rods and using a little oil on my fingertips I undid the braids. Now if you want to have definition then take the braids down carefully to keep the integrity of the curl pattern (since I just wanted a little texture, a little volume and was going to cover my hair it didn’t really matter for me). After I took down the braids I separated my hair a tiny bit and covered my hair with the scarf, leaving a swooped bang at the front (the ends tucked away) and pinned the rest of my hair upwards. Presto: happy moisturized and protected hair ready for camping!
I have a video of the whole process:
P.s. In case you were wondering, here is a peak at the spot where we camped.
What is your go to method to remoisturize “old hair” mid-week/before washing your hair?
The DIY freak is back and this shall be my last whipped butter as part of this “series” for now.
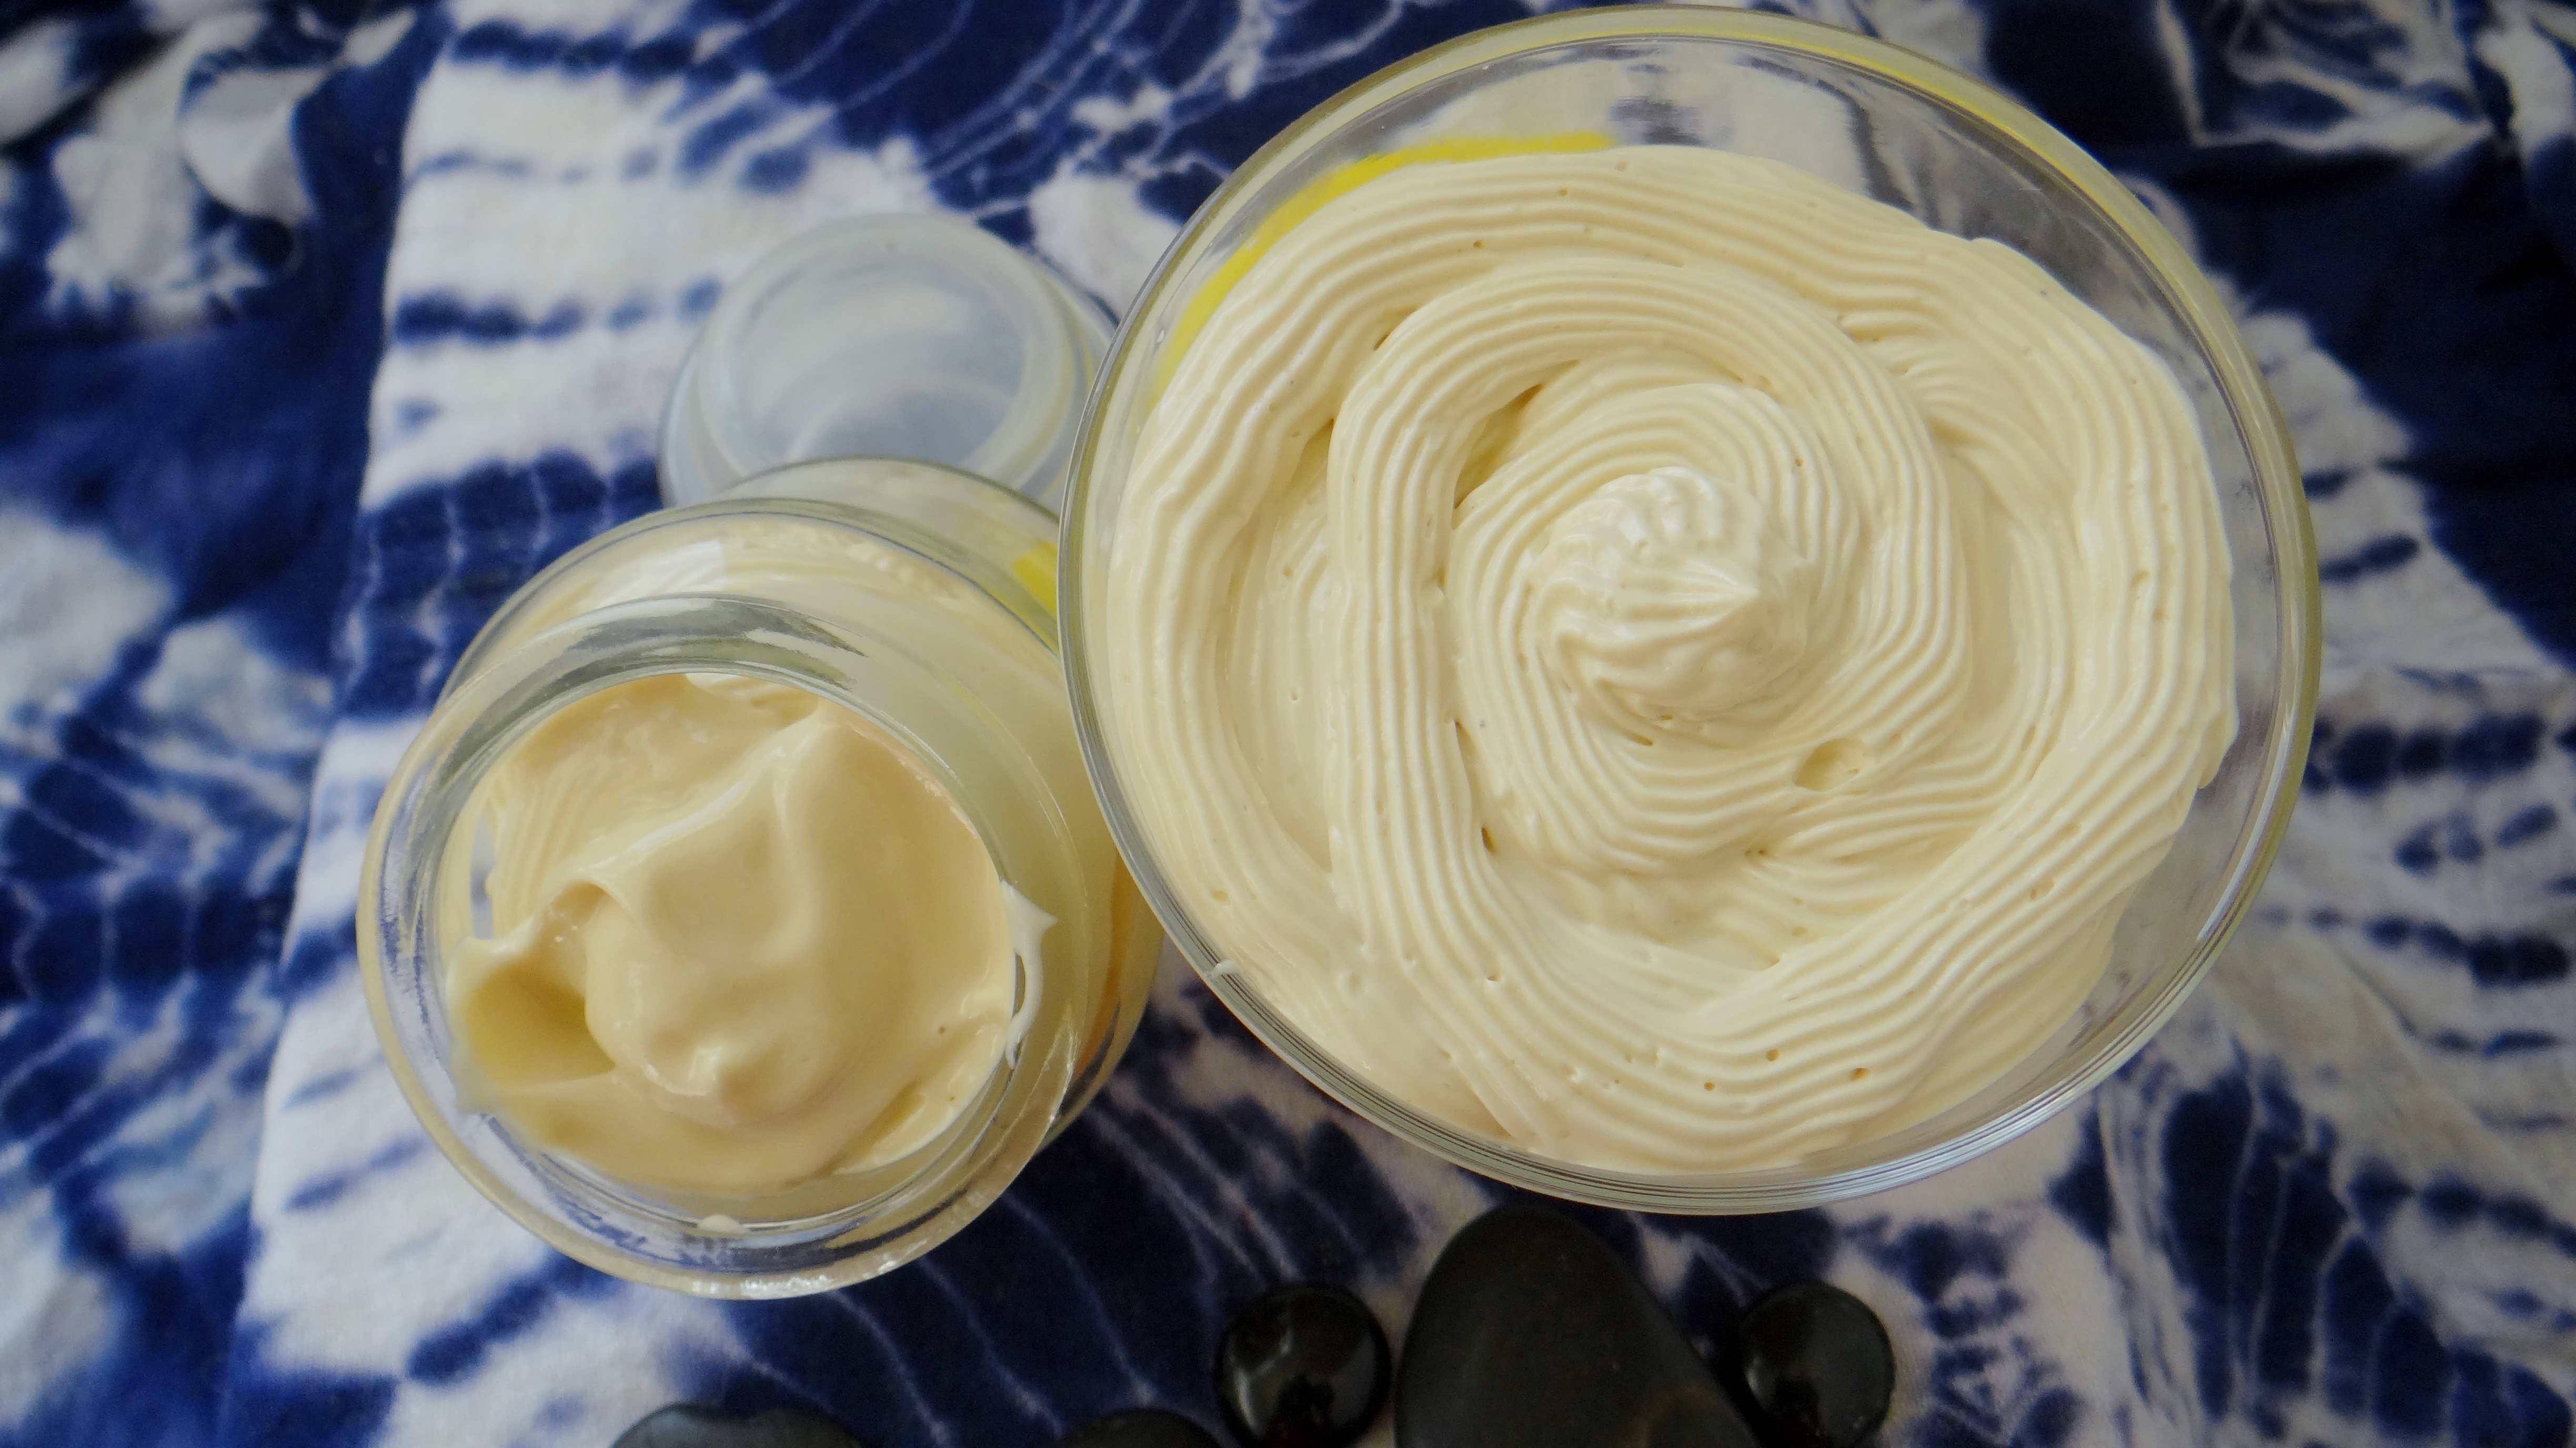
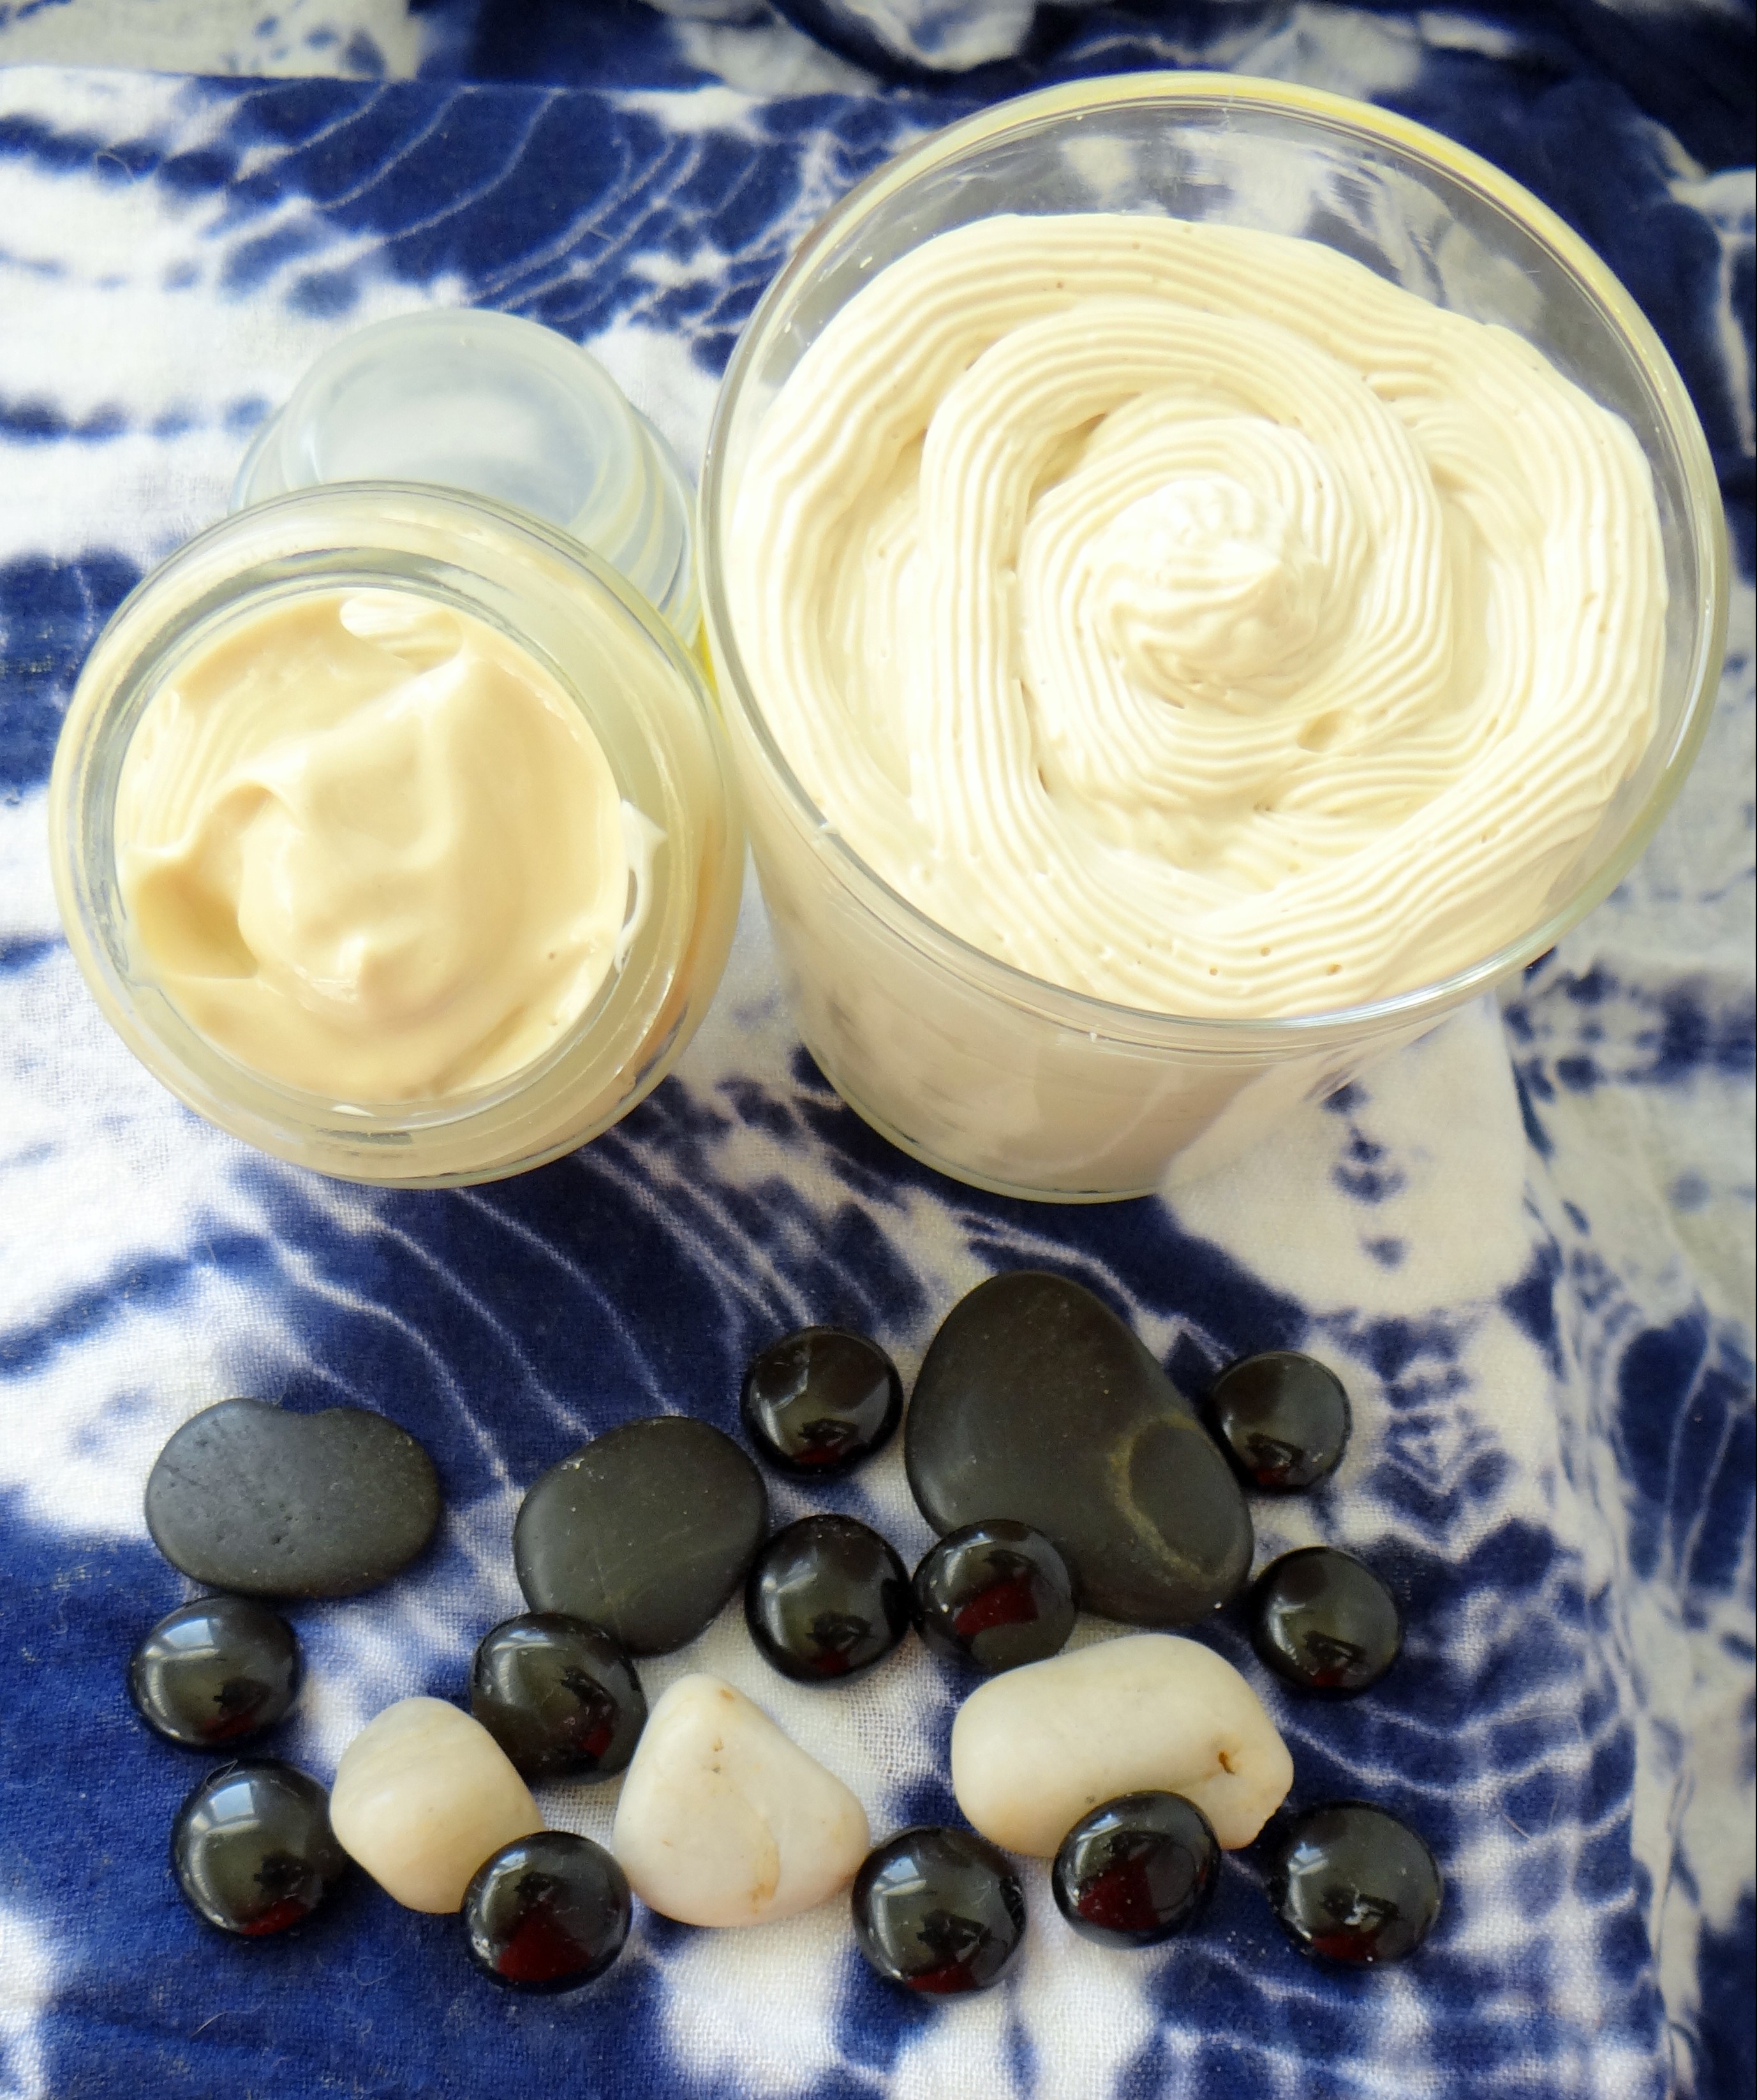
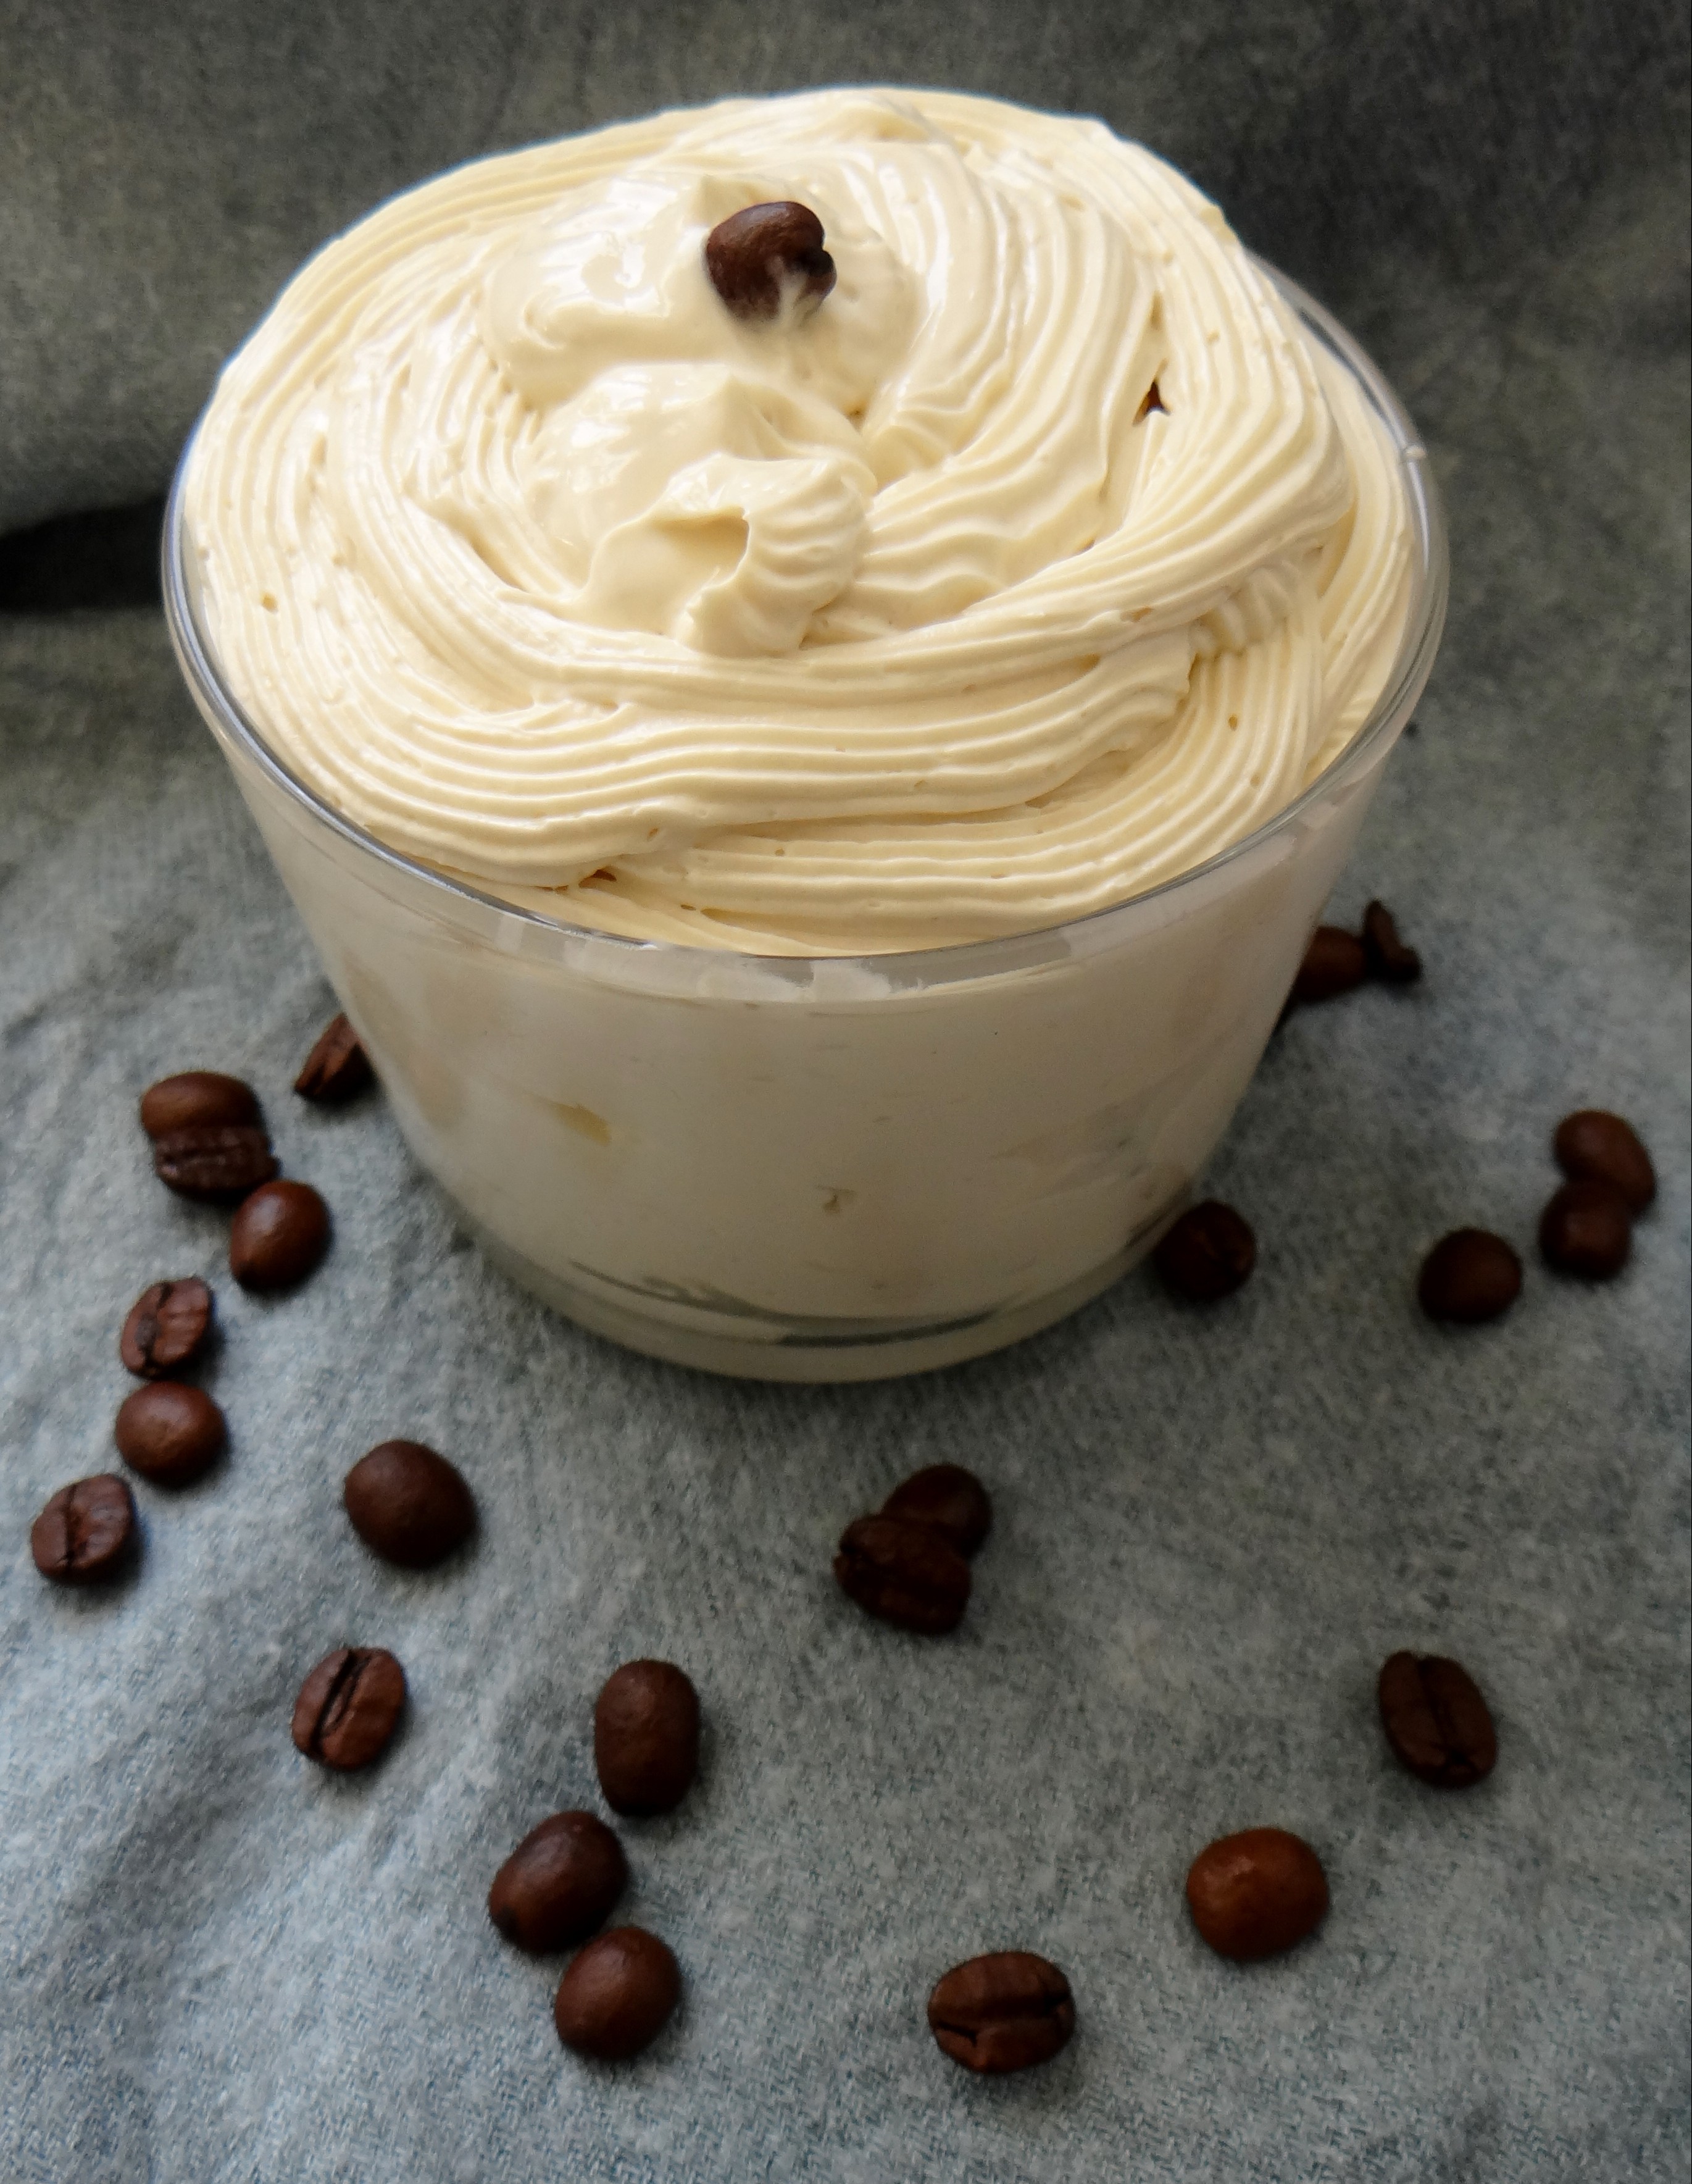
Whipped Double Coffee Butter
Fret not (I can hear you screaming whaaaat), I shall have 2 more tutorials that will be released within the next 2 months that will be strength based thanks to an inspiration from a YouTube viewer (thank you)! I am just taking a break to actually have time to use up the whips I already have.
Anyways back to this whipped butter, I can honestly say that this Double Coffee Butter is my favorite (I have probably said this a few times but I truly love this) 😀
From all the mixes/recipes/concoctions I have made, this one has the highest concentration of coffee… coffee is my friend is my love. My curls seem to thrive on products that include coffee/caffeine so why would I not use use different types of coffee butter along with some coffee infused oil right?
I can go on and on about the benefits of coffee for the hair and skin and I of course already have, you can read all about it here where I introduce my DIY Coffee Bean Infused Butter and here my DIY Coffee Bean Infused Almond Oil
Piping Bag (optional) – a sandwich bag can do the trick or a spoon/spatula to transfer the whip to your container)
Note: I want to remind you that I live in the desert so normally during the summer I prefer my mix to be a little more firm therefore I use more butter than oil. If you live in colder climates and especially during autumn & winter I suggest that you add more oil that I do (see below).
Ratio Alternatives/Ingredient Alternatives:
In my opinion the infused coffee bean and the coffee butter are what makes this a double coffee butter however, should you not have any infused coffee bean butter (recipe) you can replace it with either Shea Butter or a Shea & Cocoa Butter combination (40% Cocoa 60% Shea butter). For a less firm whip particularly in autumn/winter I would suggest using 2 oz – 3 oz carrier oils. Technically you can use any carrier oil you prefer, they do not have to be coffee bean or vanilla bean infused oils however again, to make this a coffee focused butter I would suggest using more coffee bean infused oil (recipe) such as 70% coffee oil 30% vanilla bean oil. Other oil alternatives could be: Extra Virgin Coconut Oil, Pure Almond Oil, Grapeseed Oil, Avocado Oil, Extra Virgin Olive Oil etc. Glycerin is an optional ingredient that does not need to be added especially if your hair does not like it. It can either be omitted or even replaced with raw honey.
Method:
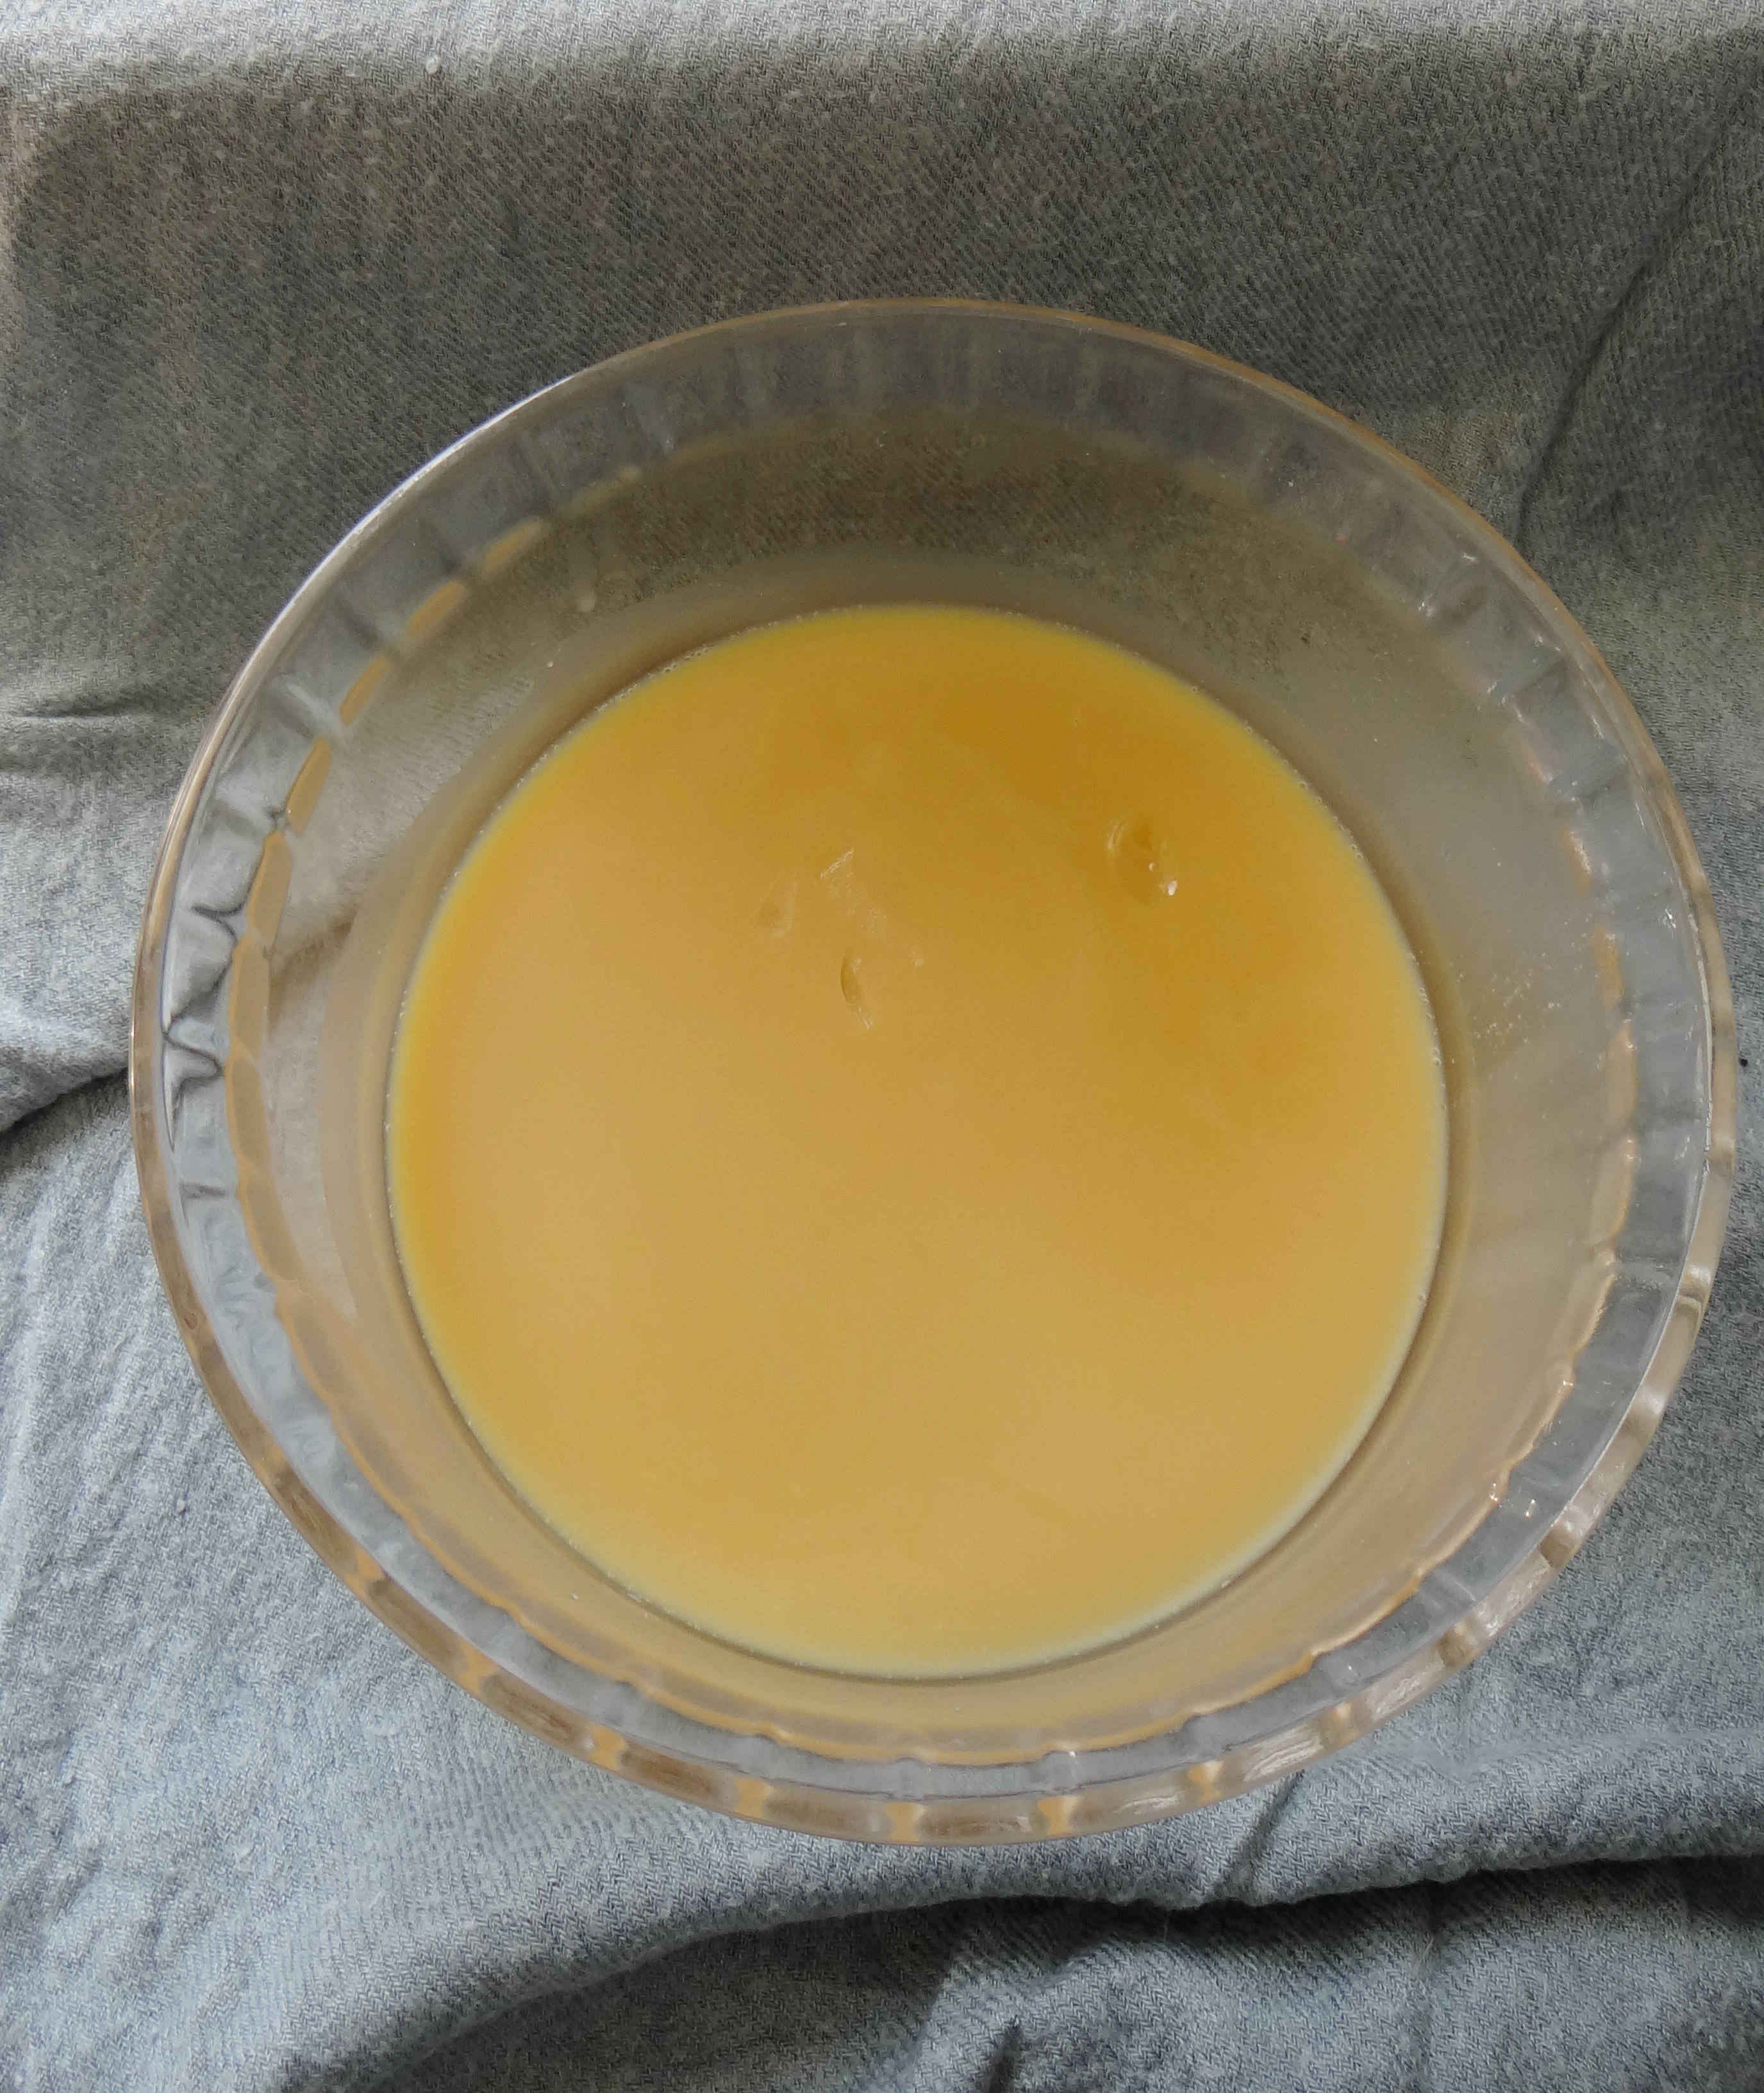
Butters and Oils mixed together after 10 minutes in the freezer
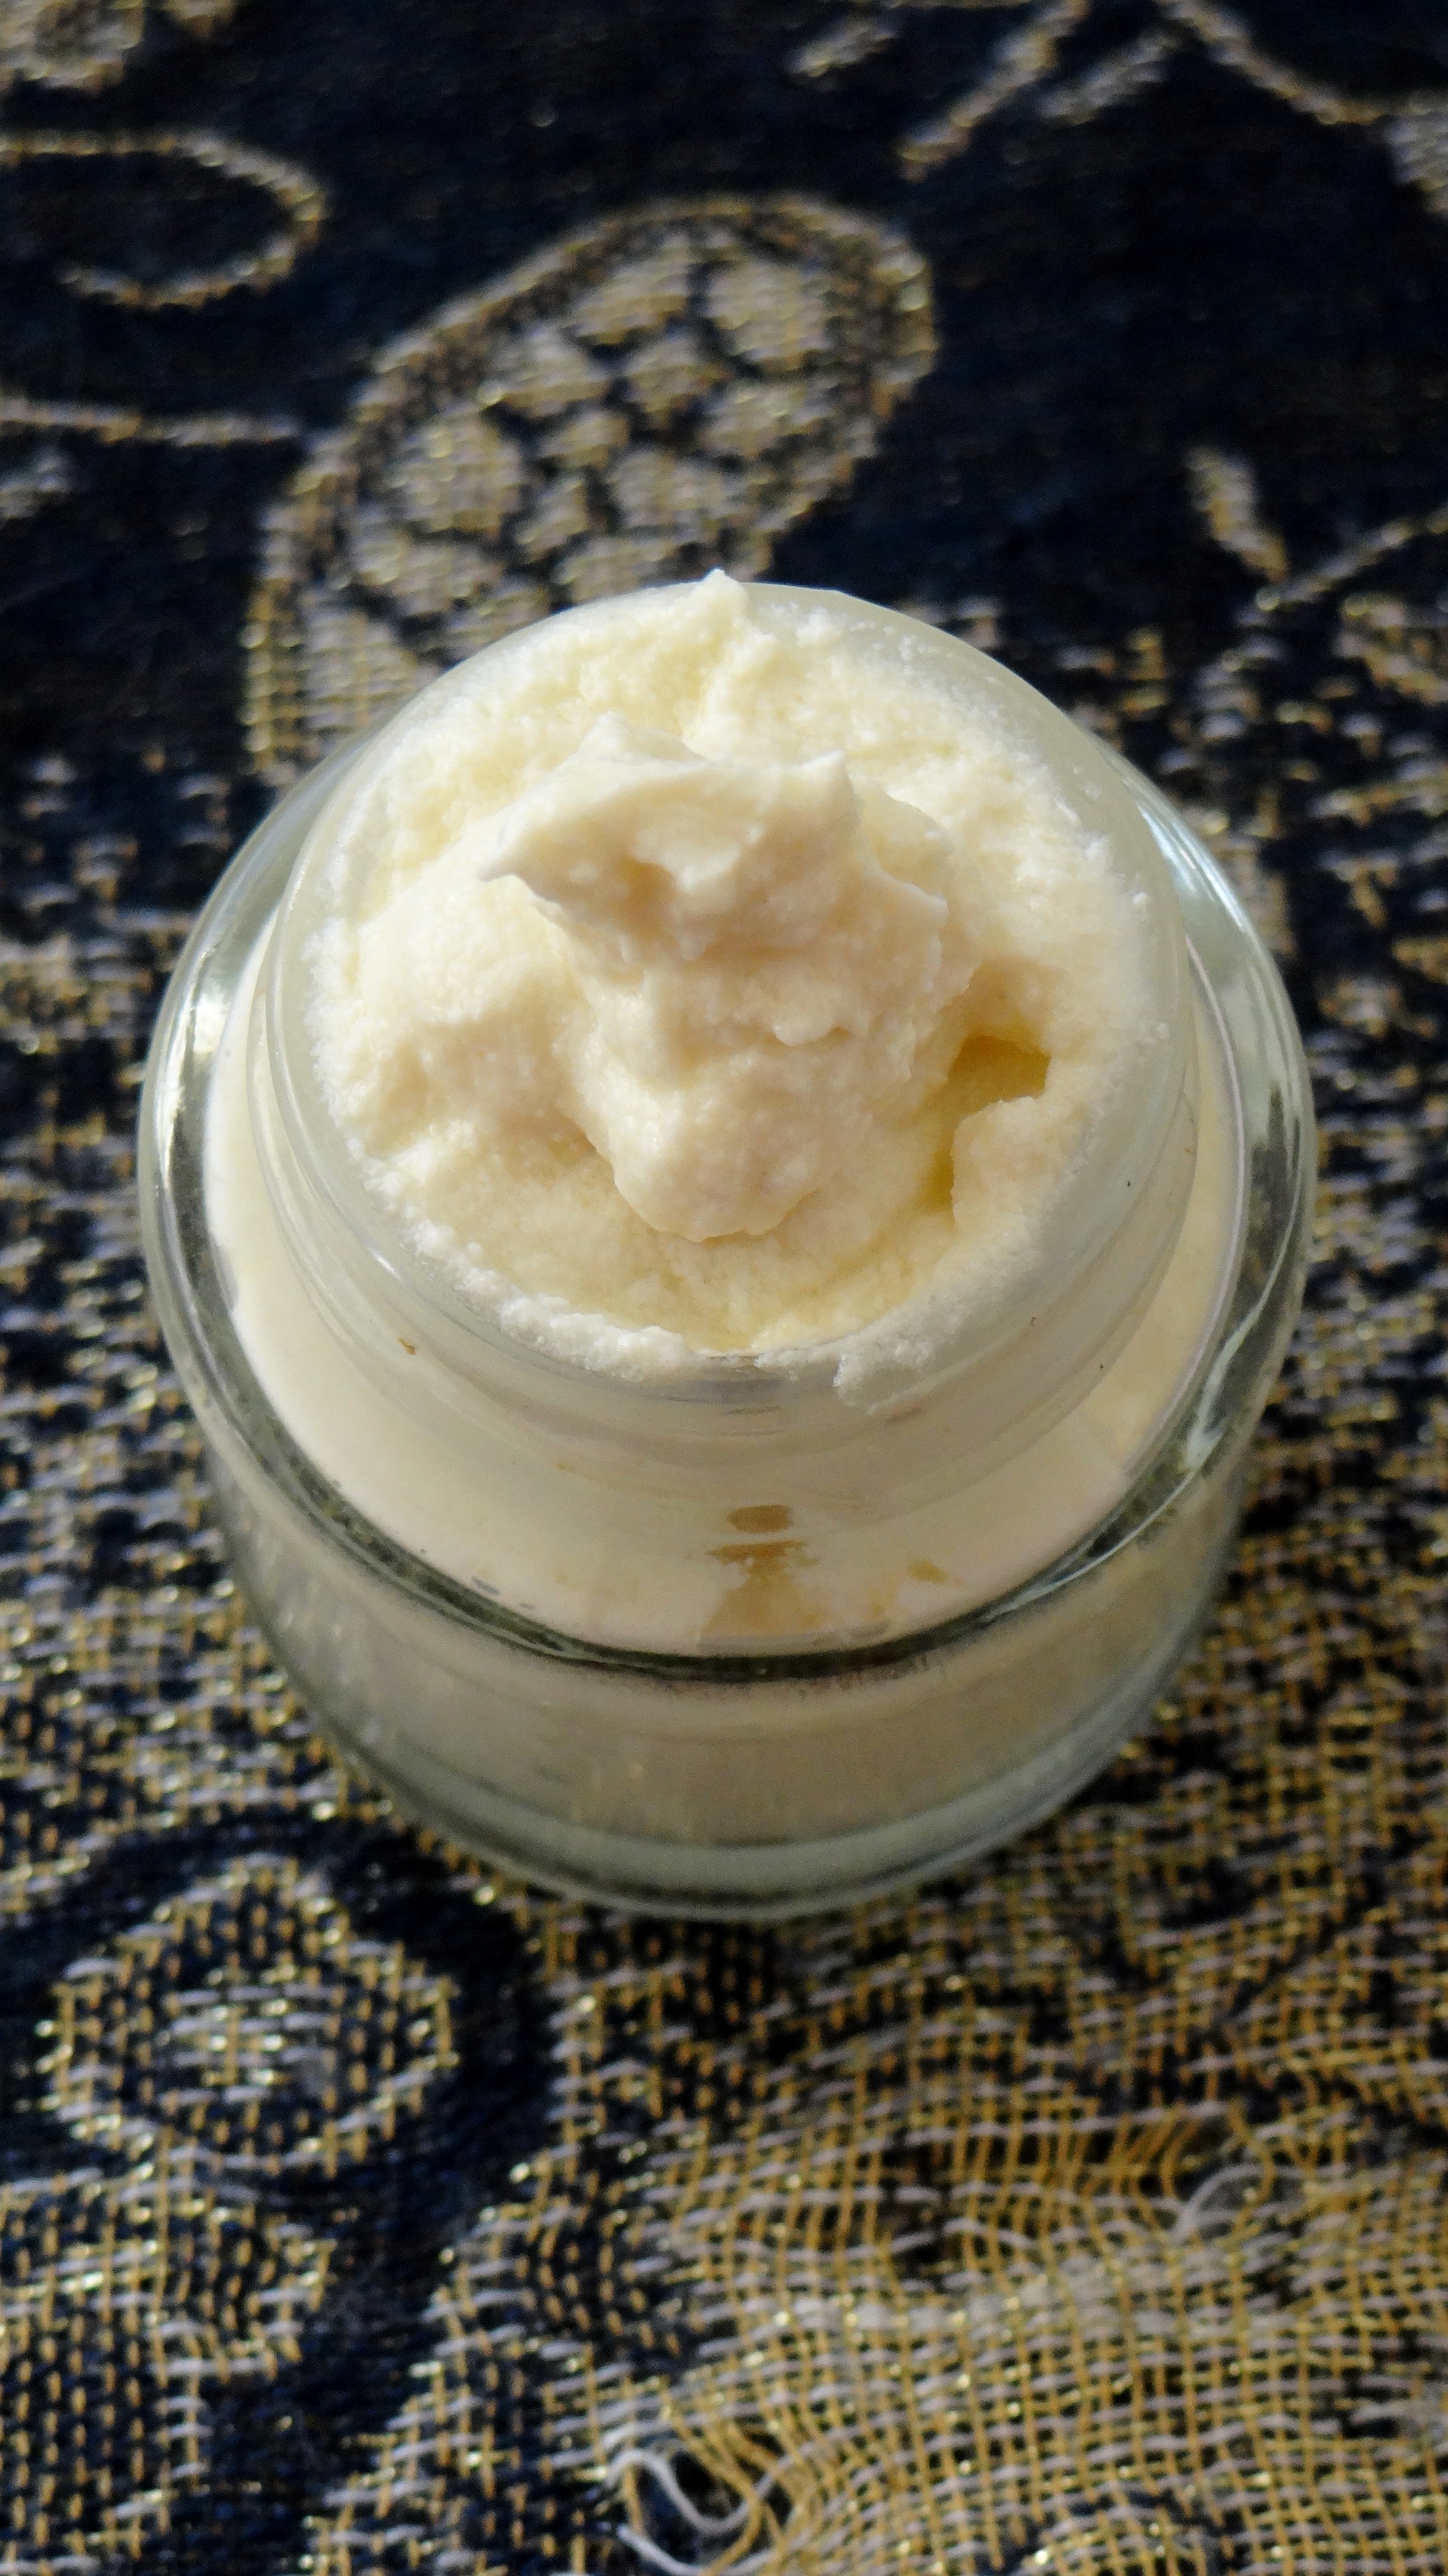
Whipped till fluffy!
Once the coffee bean infused butter has been double broiled I add the coffee butter. The warmth from the melted butter will help melt down the coffee butter without the need of additional broiling. I then add 0.8 oz of the Coffee Bean Infused Almond Oil and 0.5 oz Vanilla Bean Infused Almond Oil and stir.
I then place it in my freezer for 10 – 15 minutes till it begins to thicken. Once this happens, I scrape the mix together and then begin to whisk. I whisk for a good 3 – 5 minutes and then add the remaining 0.3 oz of Coffee Bean Infused Almond Oil, 0.15 oz Glycerin (optional) and 3 capsules Vitamin E Oil. I continue to whisk for at least 3 – 5 minutes.
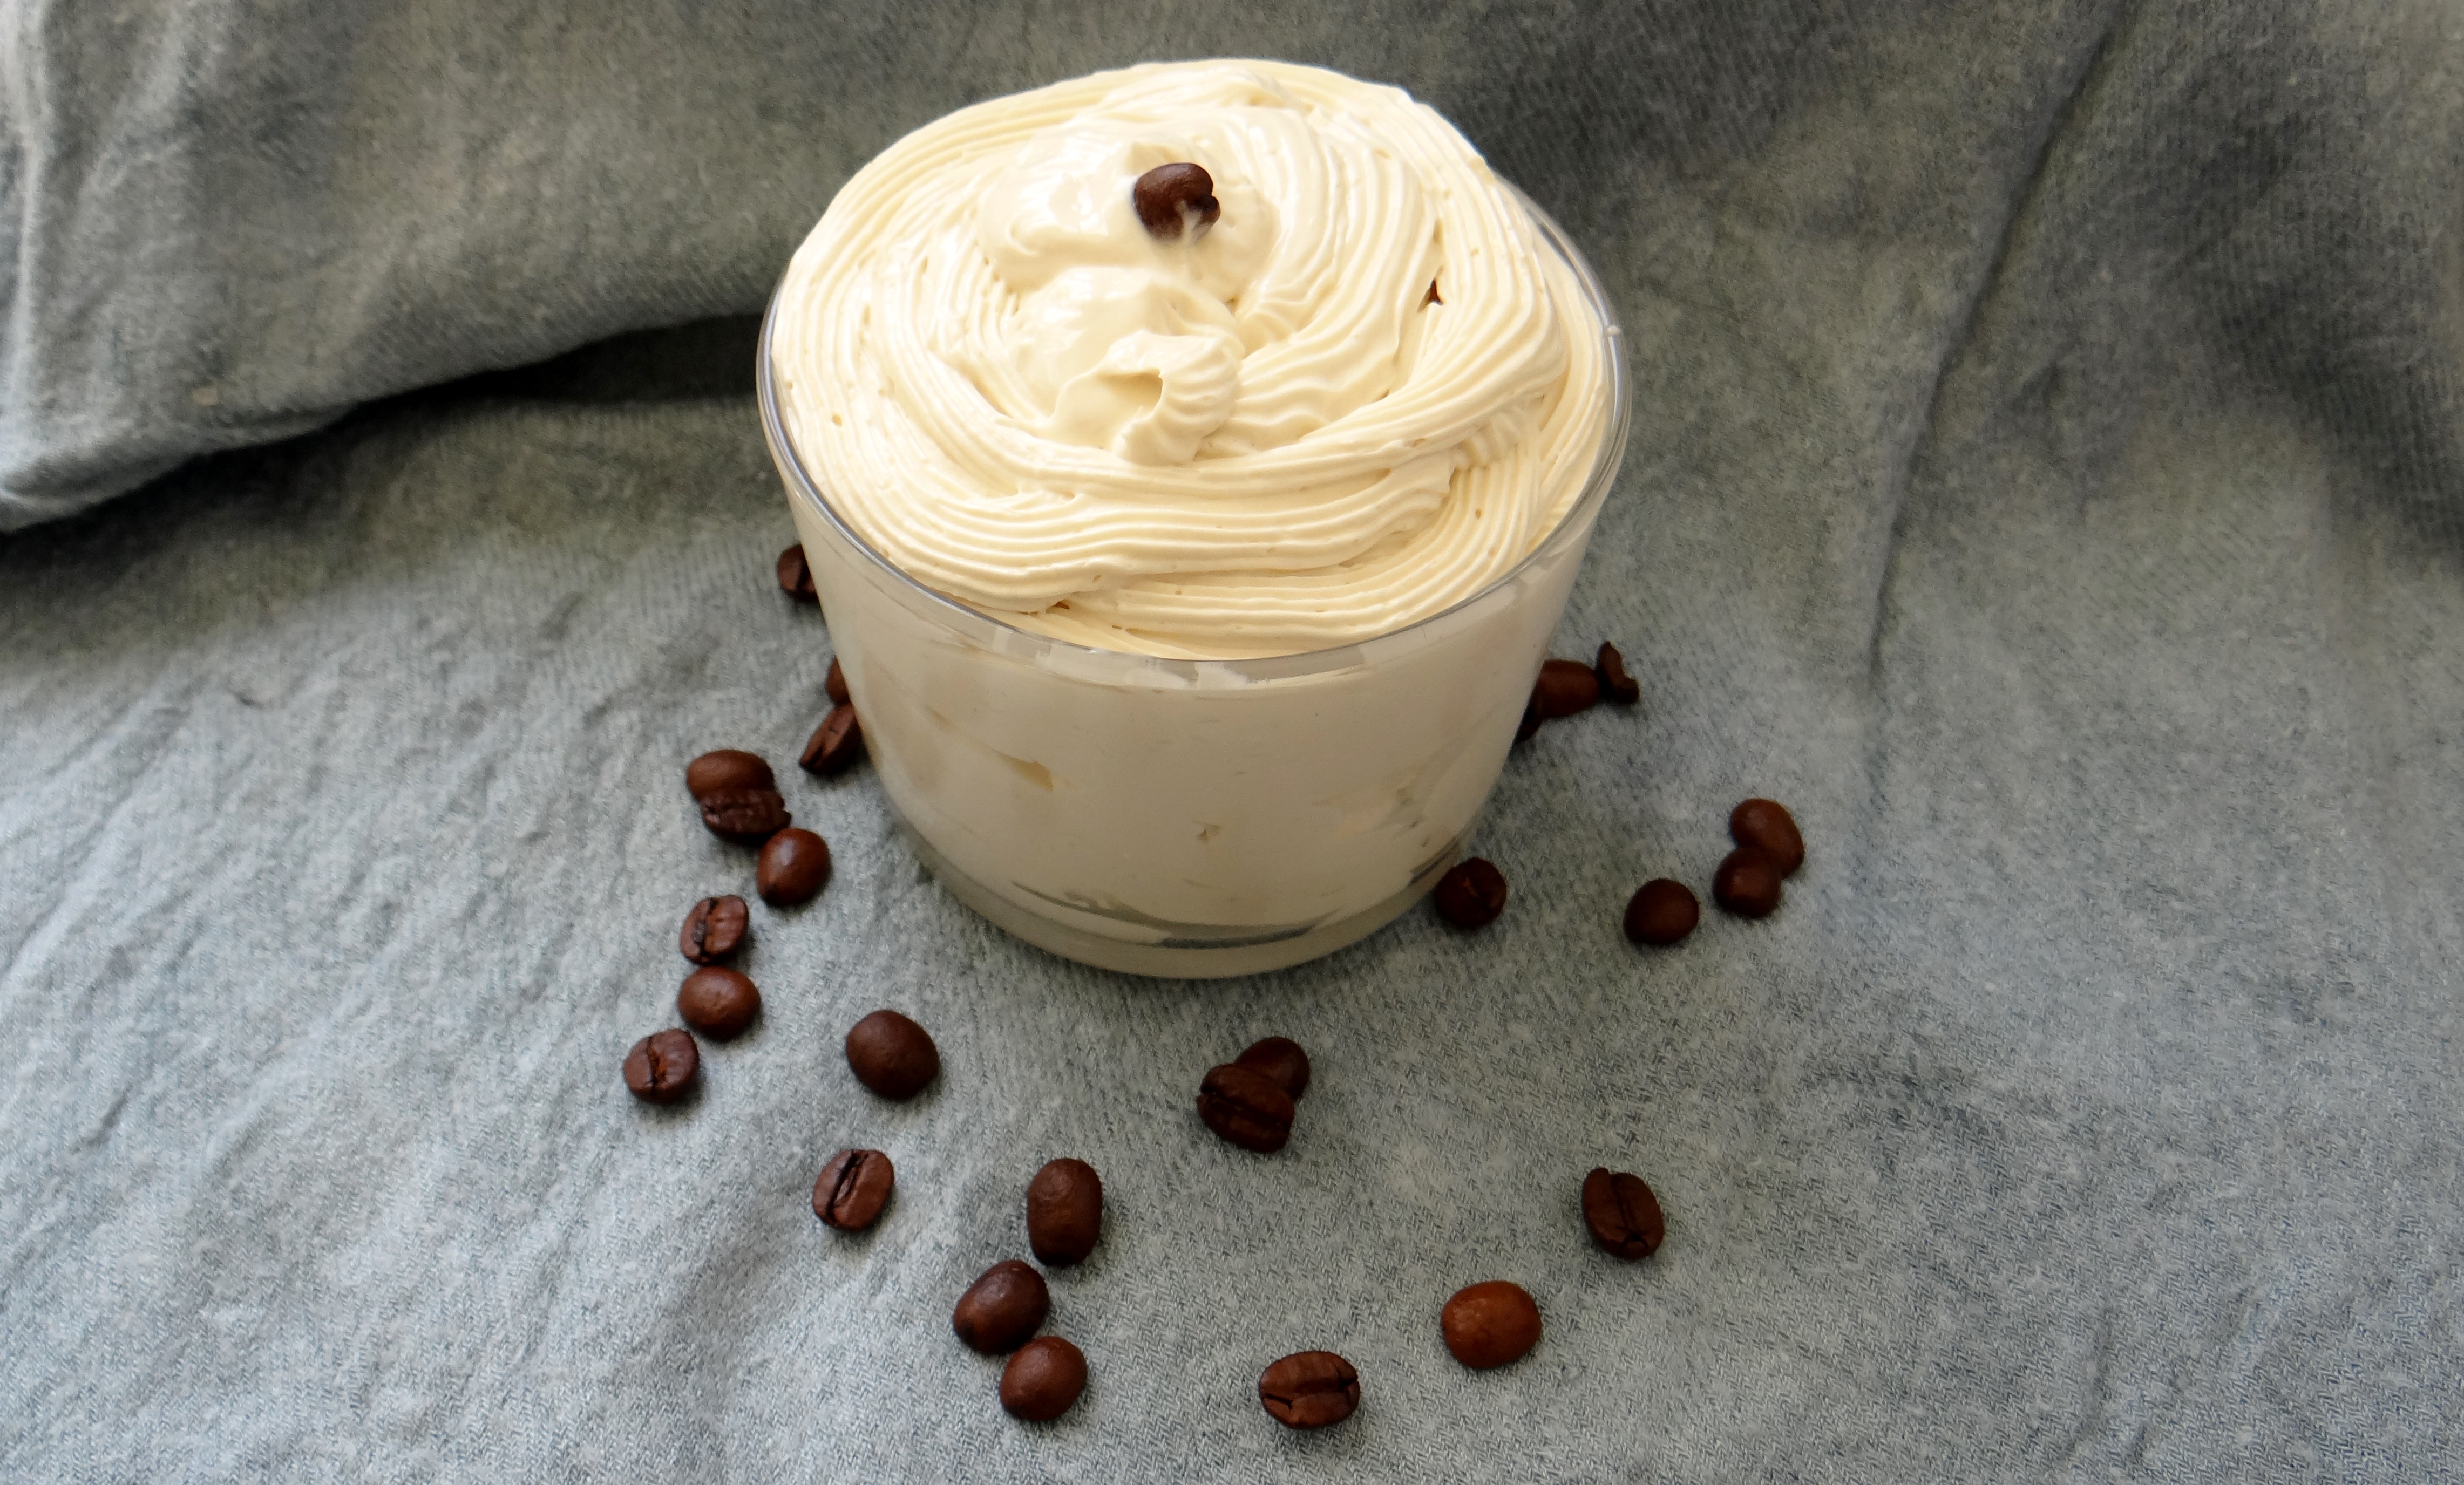
Depending on the consistency you prefer you can stop here and transfer it to an airtight container but I prefer mine to have a fluffy texture so I place it in my fridge, this time for 10 minutes till it becomes a little hard on the top. I then take it out and whisk for the last 5 – 7 minutes and I am happy with the texture. Using a spatula I scoop the whip into a piping bag (because I like being “extra”) and transfer to my container. (The piping bag really isn’t necessary but it makes the butter look extra pretty and is a nice touch if you are giving it away as a gift).
Uses:
It is not just the inclusion of coffee and coffee butter that makes this an excellent choice for your hair and skin care but also the inclusion of cocoa butter, Shea butter, almond oil, vitamin E oil and glycerin (read about the benefits of these ingredients for the Hair and Skin). I like to use this butter on damp/slightly damp hair after I have moisturized to help seal in moisture for styles likes twists, twist outs, braid outs, Bantu knots, Straw Sets, Perm rod sets, Pin curls, Flexi rod sets… basically everything! Whenever I use Flax Seed Gel(FSG) which is full of nourishing benefits and is all natural, I actually like to seal in the FSG too by applying the butter as my last product. If however you are using a store bought commercial gel, you might find it more beneficial to apply the whip before you apply your gel. When it comes to the skin, I like to apply this after a shower to slightly damp skin to help seal in the moisture. It makes my skin super soft, smooth and lush looking and also helps with faint marks!
I of course had to record my tutorial as well:
I would love to hear from you if you try this delicious whipped butter!
In my last video I demonstrated how I make my Coffee Bean Infused Butter and today I am using that butter to make a whipped butter for the hair and skin.
DIY Whipped Coffee Bean Infused Hair & Body Butter
In case you missed the post on on how I make my DIY Coffee Bean Infused Butter please click heresince that is the base of this recipe.
I have previously swooned about my love for all things coffee when it comes to my hair and skin (and yes it is a guilty drink pleasure too) and so this whipped butter is no exception.
Benefits of Coffee for the Hair and Skin.
Hair:
Reduces hair shedding and said to reduce excessive hair loss because of the antioxidants present in caffeine.
Increases hair growth since caffeine promotes blood circulation in the scalp which promotes growth.
Known to darken the hair and slowdown the early onset of grey hairs (with frequent and consistent use)*
Adds sine and dimension to the hair due to the darkening effect of the oil
*Should you have bleached/blond or dyed hair you do not want to darken, I suggest trying this with caution. The darkening is nothing drastic or overly evident however there is a potential that you will notice your hair getting a little darker so please keep that in mind.
Skin:
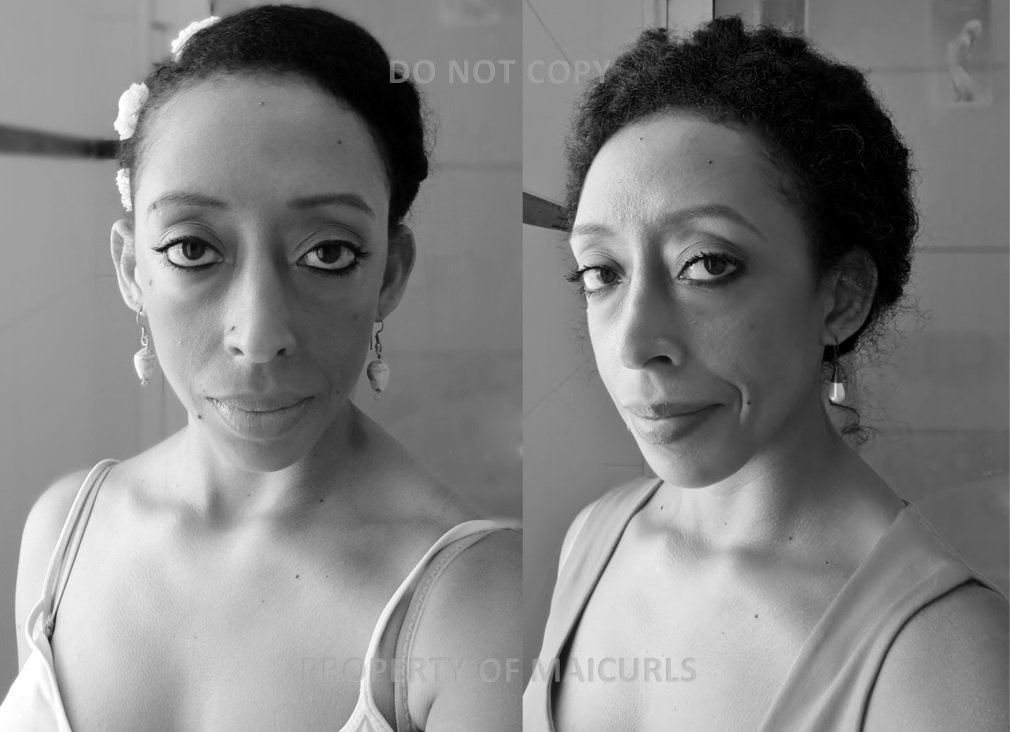
The caffeine helps reduce puffy and dark circles under the eye.
Tightens the skin giving you a youthful fresh glow.
Its anti-inflammatory properties is said to reduces redness in the skin and inflammation.
Known to reduce the appearance of cellulite.
Known to help reduce the appearance of fine lines and wrinkles on the face.
Fights free radicals thanks to the antioxidants contained in caffeine.
Apart from the benefits of coffee, the recipe is really simple to throw together and quick to make plus it smells great too! I have written (several times) about the benefits of each individual ingredient used in this particular recipe because I tend to integrate ingredients I know my hair likes over and over. So for a breakdown of each individual ingredient please read these links Hairand Skinbenefits.
Piping bag to transfer the whip to the container (not necessary)
Note: You can use any carrier oil you wish, I just like to reinforce the coffee with a little coffee infused oil. Glycerin is an optional ingredient that can be used (it is a humectant and not everyone’s hair plays well with it). You can also replace the glycerin with raw honey if your hair prefers that.
I live in really warm weather practically 365 days a year therefore I prefer my butter mix to be more butter focused however, if you want a less firm mix (particularly in winter) then you can add more oil e.g. I suggest using a total of 2 oz for 6 oz of butter. Keep in mind the more oil you use the more runny it will be particularly in the warm summer months
Method:
Melted Butter with carrier oils after 15 minutes in the freezer
I add the carrier oils to the melted infused butter, stir everything together and then place it in my freezer for 15 minutes. After 15 minutes I mix everything together with a spatula, the butter will be harder on the top and softer underneath. I whisk for a good 3 – 5 minutes and then I add the Vitamin E Oil and Glycerin (Essential Oil if you choose to add it) and then place it in my fridge for 5 minutes.
This helps to thicken the whip a little and will help make it fluffier since I re-whip again. After 5 minutes in the fridge I whip for at least 5 minutes and that is it. I like using my spatula to get the whip out of the bowl and then a piping bag to transfer it because I like being “extra” but that is not necessary.
I as always have a video on my channel:
I hope you enjoy the recipe & video, please let me know what you think!
Today I have the second recipe for my Whipped Butter “series”.
DIY Whipped Moisturizing Conditioning Butter
This Whipped Moisturizing Conditioning Butter is quite simply wonderful for the hair! The recipe is quick to make and literally can be done with 2 ingredients (I use an extra ingredient to make it super moisturizing but this is optional).
Why is this a Moisturizing Conditioning Whipped Butter?
I have been asked if whipped butter (on its own) is moisturizing for the hair and in my opinion it isn’t really “moisturizing” because I find that in order for a product to be truly moisturizing it should have proper moisturizing ingredients – basically it should have water included in some way. Water, at least for my hair, is the beginning and end of moisture. Regular whipped butter (on its own) doesn’t usually include water (especially if it is homemade) unless you have also added preservatives to keep it from going rancid and growing bacteria. I find regular whipped butter to be excellent at sealing, providing shine, making the hair soft, but not necessarily a moisturizing product in itself. For example, I would not abandon using leave-in conditioner in place of regular whipped butter.
So the combination of the moisturizing leave-in with the whipped butter makes this a moisturizing conditioning butter! To make sure you are using a moisturizing leave-in look at the back of your product to see if water is listed within the top three ingredients (if it is the very first ingredient even better).
Products/Tools:
DIY Whipped Moisturizing Conditioning Butter
1 oz Whipped Shea Butter (you can use any whipped butter, I used my DIY Whipped Butter)
0.7 oz Moisturizing Leave-In Conditioner (you might need to experiment with different leave-ins)
0.2 oz Glycerin (Optional for additional moisture)
Whisk
Bowl
Gloves
Airtight container
When & how do I like to use this mix?:
I consider this an ‘all in one’ product. It has moisturizing properties, the ability to seal in moisture and at the same time also helps to give a little definition. I normally apply the butter mid-week on hair that was already properly moisturized and sealed after it was washed. I use it to help restyle my hair, giving back curl definition on styles like a twist-out, braid-out, Bantu knot-out, pin curls etc. I usually lightly spritz my hair with water and then follow up with the mix and move onto setting my hair. If my hair is feeling uber dry I will use my DIY Spray Leave-In Conditioner or my DIY Moisturizing and Curl Activating Spray. I do not follow up with an oil since the whipped butter already contains oil.
Storage/Shelf life:
I make small batches of this since I do not use preservatives. The combo of the leave-in and butter can result in bacteria/mould growth if it is left for weeks and weeks before being used up or properly stored. I have kept my mix for 4 weeks without any issues (by week 4 I had used everything up) but I strongly recommend making small batches especially when you are first trying out the recipe because not all leave-ins will mix well with your chosen whipped butter. You can store it in your fridge to help extend its shelf life for a little longer, just keep in mind the cold temperatures in the fridge will make the mix a little hard so take it out at least 30 minutes before you want to use it.
I have a video demo of how I make my Whipped Moisturizing Conditioning Butter:
Ingredient benefits:
Shea Butter:Shea butter acts as an excellent sealant and is known to help “trap in” moisture and moisturizing products applied to hair. Shea butter is actually considered to have some moisturizing properties and is therefore wonderful for the scalp as well as the hair. Shea Butter provides nourishment to dry or damaged hair from the roots to tips and is said to help repair and protect against weather damage, dryness and brittleness. It also has a smoothing effect that helps provide shine to the hair.
Water Based Leave-In:Water based leave-ins are a vital part of proving our naturally dry hair with moisture and should be part of our moisturizing routine. Leave-ins help to continue to condition the hair over the days they are left on and therefore help to prolong moisture in the hair while at the same time keeping the hair soft and supple. Leave-ins help to refresh styles, revitalizes our curls and help to smooth the hair cuticle, leaving us with shiny hair.
Glycerin:Vegetable Glycerin is a humectant that attracts water in the air (humidity) and directs it to the area applied (the hair.) Due to its oily nature it can also be used as a sealant however should be used sparingly and should be diluted since it is thick and sticky. Vegetable Glycerin is better served when used in moderately humid climate, if used where there is a lack of humidity in the air it can do the opposite, extract moisture from the hair to the air. At the same time too much humidity in the air can cause frizz. (Not all naturals like to use glycerin so this is a head to head preference).
I would love to hear what you think about this mix, especially if you try it out!
So I have come to the end of my Protective Style and Castor Oil Challenge and have to admit I am a little sad. Figured B&W pictures would show “sadness” but to be honest I just love the look of B&W photos!
Anyways, I will have a separate overview of the challenge as a whole, along with a video shortly but I just wanted to share how my last week went in this post.
Not to sound like a broken record but it went well. I did two protective styles over six days and of course also massaged my Castor Oil Mixon my scalp, hairline and ends four times in the week. My two styles were as always super simple. For the first three days I did a really quick & loose pinned back up-do using only bobby pins. On the last three days I did a roll and tuck with 3 two-strand twists & accessorized the style with my DIY Floral hairband.
What Did I do?
I did my wash day routineon Sunday, moisturized and sealed before twisting my hair at night.
Day 1 – After taking down the twists in the morning I massaged my Castor Oil Mix on my scalp, hairline, ends and did one of the simplest styles since starting the challenge for the next 3 days.
Literally all I did was very loosely take my hair back fold it over and pin it down. The style was so loose that you could see a little frizz I call this being “carefree” ( it doesn’t bother me but I could be done the style with a little of my DIY Flaxseed gel for a “neater” look.)
Day 3 – I reapplied the Castor Oil mixto my scalp, hairline and ends at night.
Day 4 – In the morning I moisturized my hair with my DIY Creamy Leave-In Conditioner and sealed with my whipped butter mix then put my hair into a rolled back up-do accessorized with a DIY floral headband. (I had my DIY shell earrings on that day and it get a beach feeling when I wear them) 😀
I left two sections on the sides and one at the front to make two-strand twists. The rest of my hair was pulled back and rolled up. I pinned my hair at the top instead of under (by my neck). I took the twists to the back to give my hair a little texture and pinned the twist at the top as well.
Day 5 – At night I took my hair down, massaged my scalp, hairline and ends with the Castor Oil Mix and pineappled to sleep.
Day 6 – Redid the style and at night I repeated the night method of day 5.
Day 7 – Was supposed to wash my hair but got caught up with house work
Castor Oil Challenge:
As mentioned, I used the castor blend 4 times during the week. My hair felt a little limp by day 7 because I might have used a little too much whipped butter after re-moisturizing but I was still left with smooth, moisturized, shiny and soft hair.
So that was my first attempt at 6 weeks of protective styling and castor oil massages. Like I mentioned I will have a recap post of my final results along with a video explaining my experiences and plans but I can tell you now I enjoyed the whole challenge and it shall be repeated!
First I want to apologize for being late with this post I once again got caught up with work and personal stuff but I am here with an update!
Protective Style Challenge Week 5
There is just one week left of my Protective Style and Castor Oil challengeand I can proudly say that I am glad I did it and look forward to incorporating more protective styles into my routine from now on.
Similar to the previous weeks, everything followed together really well. I had my hair tucked away for 6 days of the week, used my Castor Oil Mix 4 times and then washed my hair. I noticed that I tend to do a really quick style at the start of the week and then try to do a little more for the second part (probably because I subconsciously want a little more “oomph” on the weekend). I will admit that when I took my twists down on the first day I really really wanted to rock a twist-out…the definition was AMAZING but I was strong.
The first style I did was a SUPER quick and simple tuck and pin and then finished with a big puff bun with a deep side-bang (I really liked this one)!
What Did I do?
I did my wash day routineon Sunday which included a new and improved Protein Deep Condition (DC) followed by my Moisturizing DC. (The Protein DC involved egg yolks, hibiscus tea, gelatin, coffee infused oil and a little conditioner. I will eventually have a write-up and how to video). I moisturized my hair with my creamy leave-in conditioner, lightly sealed with a tiny bit of oil and then added some of my whipped butter before putting my hair into 12 twists.
Day 1 – After taking the twists down I massaged my Castor Oil Mix on my scalp, hairline, ends and randomly pinned my hair back. There was no real strategy to the method I lightly rolled my hair at the front, tucked it and used bobby pins to hold it in place. For the hair at the back I loosely rolled my hair under and then pinned it (repeating this every morning gave me slight variations in the look).
Loose pin and tuck
Loose pin and tuck right
Loose pin and tuck back
Loose pin and tuck left
Day 3 – I reapplied my Castor Oil mixto my scalp, hairline and ends.
Day 4 – I moisturized my hair with my DIY Creamy Leave-In Conditioner and sealed with Almond Oil. I then put my hair into a big puff bun with a side-bang.
Puff bun with deep side-bang front
Puff bun with deep side-bang right
Puff bun with deep side-bang left
Side-Bang of Puff bun
Puff bun with deep side-bang back
Day 5 – I took down my hair at night, massaged my scalp, hairline and ends with my Castor Oil Mix then pineappled for the night.
Day 6 – I repeated what I did the night before.
Day 7 – Wash day routine and then got my hair ready for the final week.
Castor Oil Challenge:
I still am amazed at the fact that although I have fine hair, I can still get away with using a thick oil like castor without ending up with greasy limp hair. Since I thoroughly enjoyed incorporating my whipped butter into my routine last week I used it again and yes this addition is a winner! I ended the week with hair that wasn’t thirsty, dull or knotty. I will say that I started the week with hair that felt different…stronger, I think my hair was in need of a really strong Protein DC. I will just end this with: I was working with hair that retained moisture, had less tangles and less frizz = happy Mai.
So digging this challenge experience and experiment!
It went by well. I was able to protect my hair for 6 days and used my Castor Oil Mix 4 times in the week. I did a REALLY simple updo at the start of the week (I don’t want to call it “boring”) – the “Gibson Tuck” and then finished with what I call the “Chameleon Twist” (I liked this one!)
Day 1 – After taking down the twists I massaged my Castor Oil Mix on my scalp, hairline, ends and put my hair in the Gibson Tuck with 2 two-strand twists on the side and a chunky two strand twist at the front – pinned as a “side bang”.
Gibson Tuck with two two strand twists on the side and a chunky two strand twist as a side bang.
Day 3 – I reapplied my Castor Oil mixto my scalp, hairline and ends.
Day 4 – I moisturized my hair with my DIY Creamy Leave-In Conditioner and sealed with my whipped butter mix. I then put my hair into my Chameleon Twist. To do the style I first did my “Twisted twist”.
Twisted Twist
– After making one big two strand twist from 7 medium twists held at then center of my head I tucked away the ends of my hair by wrapping it around the base.
Chameleon twist with pompadour
Day 5 – I took the Chameleon Twist down and massaged my scalp (as best I could), hairline and the ends of each of the 7 twists with my Castor Oil Mix then wrapped it back up.
Day 6 – At night took my hair down, massaged my scalp, hairline and ends with the Castor Oil Mix and pineappled to sleep.
Day 7 – Wash day routine and then got my hair ready to be set for week 5.
Castor Oil Challenge:
As mentioned, I used the blend 4 times during the week and my hair was suuuuuper smooth, moisturized, shiny and soft! I think my whipped butter sort of helped with that as well (particularly on my ends). I had been using my DIY Spray Leave-In Conditioner to remoisturize my hair mid week but decided to use the Creamy Leave-in and whipped butter for a change. My hair LOVED the combination of being moisturized and super sealed. I can’t say it enough, castor oil is the truth and when combined with other nourishing ingredients …bye bye dryness!
I finally recorded how I make one of my all time favorite DIY products… my Whipped Cocoa, Shea and Mango Butter!
DIY Whipped Butter
Isn’t it so pretty and yummy looking! It smells and feels amazing but NO you CAN NOT eat it!
I wrote all about where I got my butters (Sheabutter Cottage) in my previous post “Butters…Butters…Butters” I only recently started to incorporate whipped butter into my routine (for both my hair and skin) and I must say I was missing out before because my hair LOVES butter and so does my skin!
Now, I do have to say that I have fine hair and therefore I have to watch how much I use and the ratio of the ingredients I use otherwise I end up with weighed down greasy limp curls (not a good look). Those with thicker or coarser hair strands can be a little more heavy handed without worrying that their curls will look lifeless and flat.
I recorded how I make my Whipped Cocoa, Shea and Mango Butter and have it on my YouTube Channel. The video demonstrates exactly how I mix everything along with the exact amounts of each ingredient. I have listed the ingredients I use below for your reference.
Recipe (this makes 9.4 oz):
2.5 oz Unrefined Cocoa Butter
4.5 oz Unrefined Shea Butter
1.0 oz Unrefined Mango Butter
5 tablespoons Virgin Coconut Oil
3 tablespoons Grapeseed Oil
3 tablespoons Almond Oil
1 teaspoon Glycerin
3 capsules Vitamin E Oil
10 drops Peppermint Essential Oil
How I use my Whipped Butter
Personally I use a little to seal* in moisture or to help give my hair a little hold. I can not use the whipped butter as a moisturizer because as I mentioned, I end up with limp greasy curls. *When I use my whipped butter I do not use my DIY Mixed Sealing Oil because again it would just end up weighing down my hair.
A lot of people use whipped butters in different ways and I know that some use it as a “moisturizer”. Now for me, a moisturizer needs to include water at the very least and since I do not add water (you would need a preservative to keep the mix from going rancid) using it as a moisturizer would not work (for me). P.S. water, honey, Aloe Vera Juice and so on can also be added to whipped butters but all of the above would require a preservative in order to stop the mix from growing bacteria and expiring really quickly.
Process of Application:
I use my DIY Leave-In Conditioner either the Creamy Leave-In or Spray (if I am using my Flaxseed Gel I would apply that next) and then seal everything with my Whipped Butter.
How it makes my hair feel?
AMAZING! Really, my hair just loves this mix! I get super soft, shiny hair that retains moisture throughout the week. I do not need to reapply the whipped butter after the initial application but because I love it so much I sometimes add a dab during the week just because!
I have a few other recipes so if you would like to hear about those please do let me know. I would also love to know your favorite mix and how you apply it!