Hello Lovely Maicurlies,
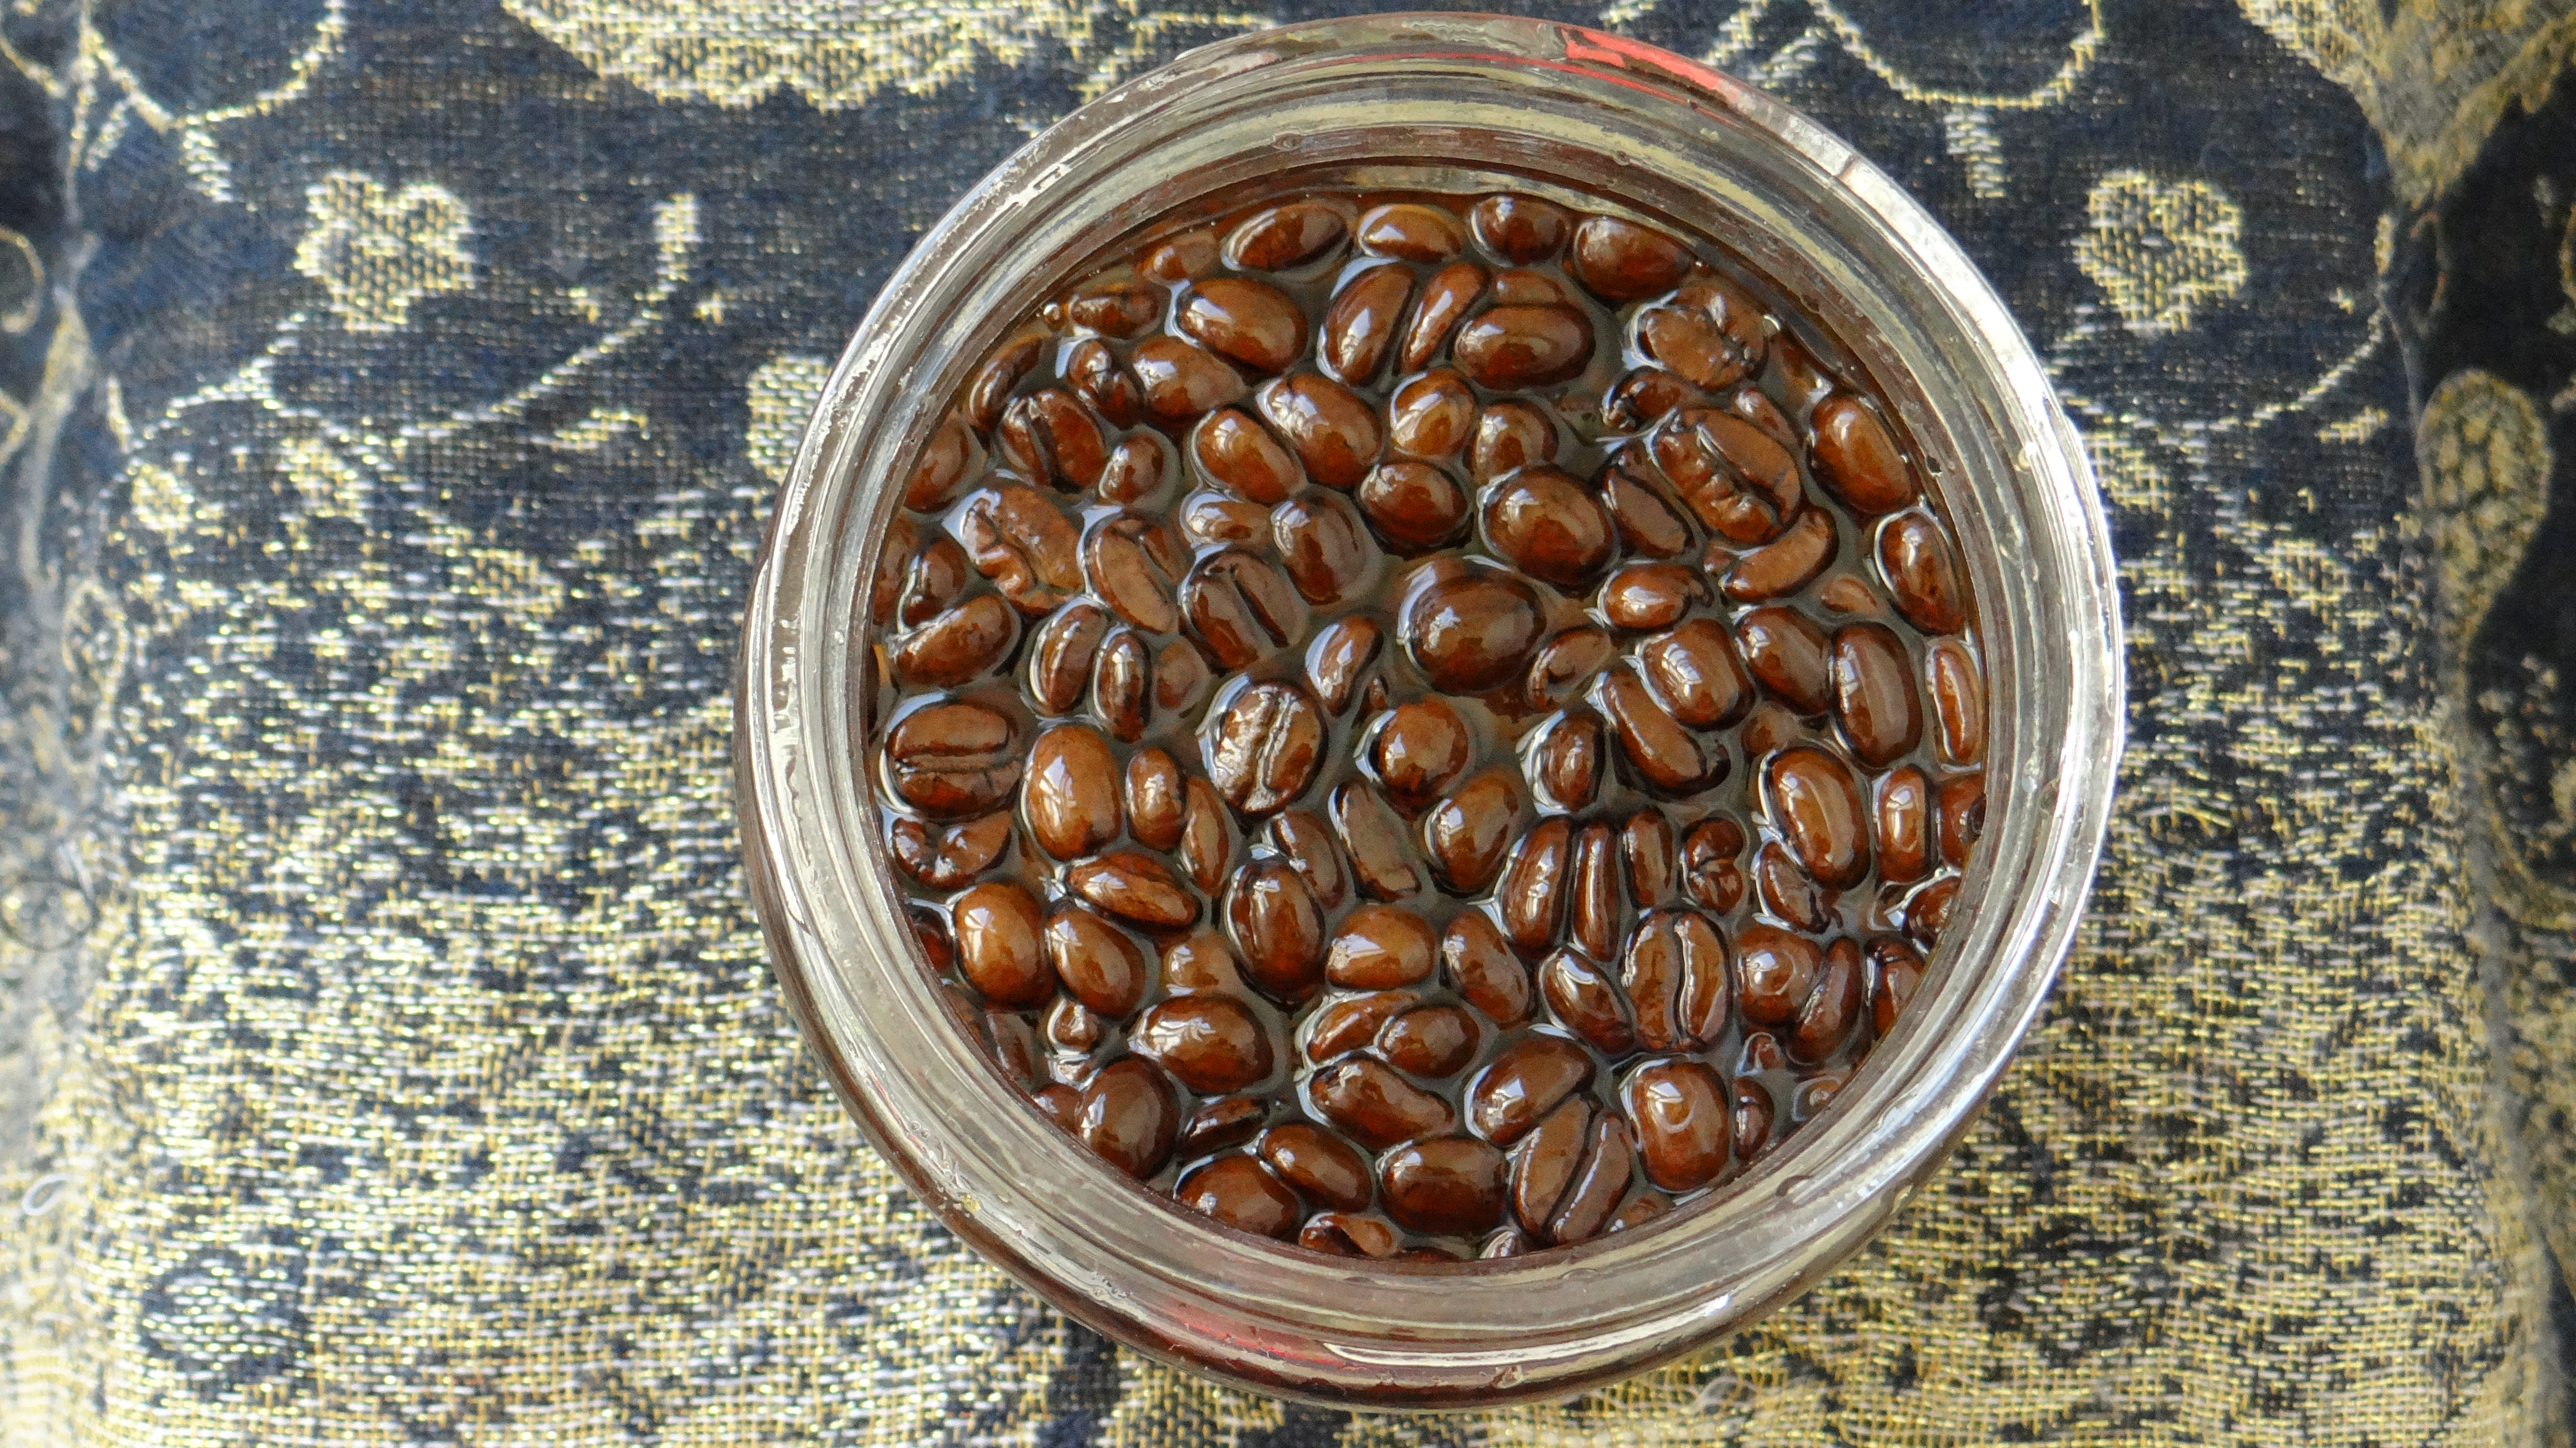
In my last video I demonstrated how I make my Coffee Bean Infused Butter and today I am using that butter to make a whipped butter for the hair and skin.
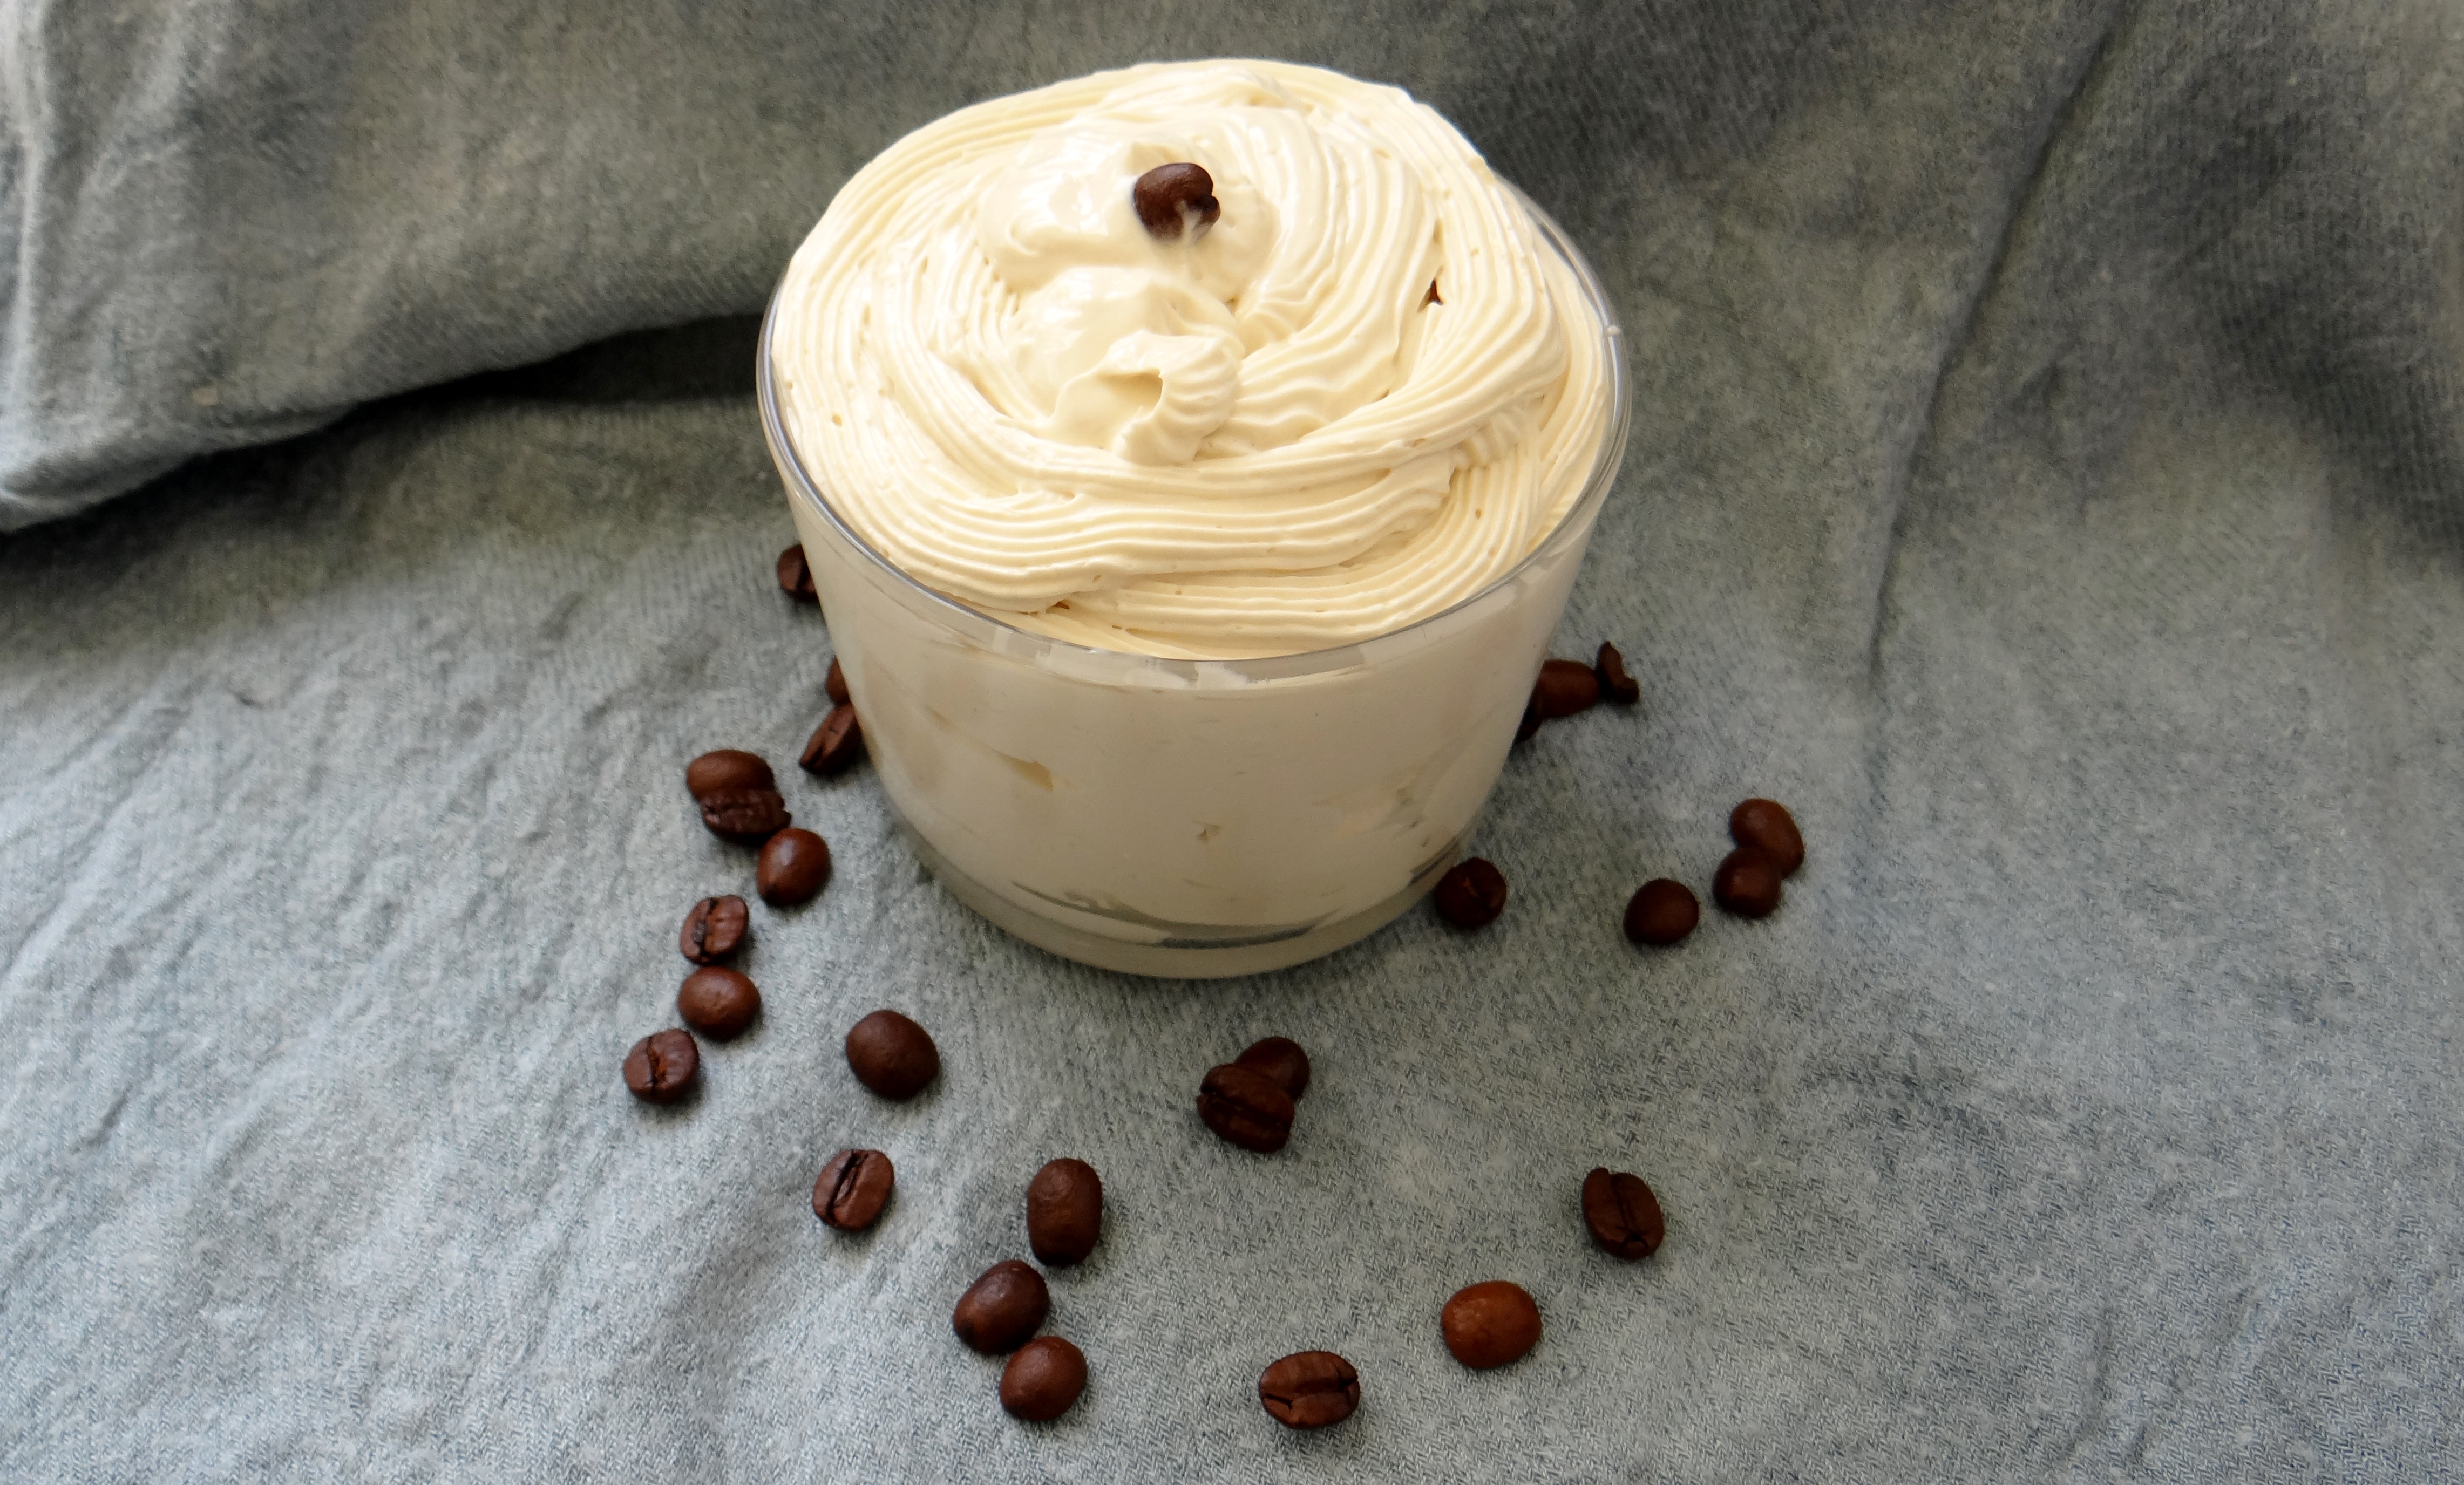
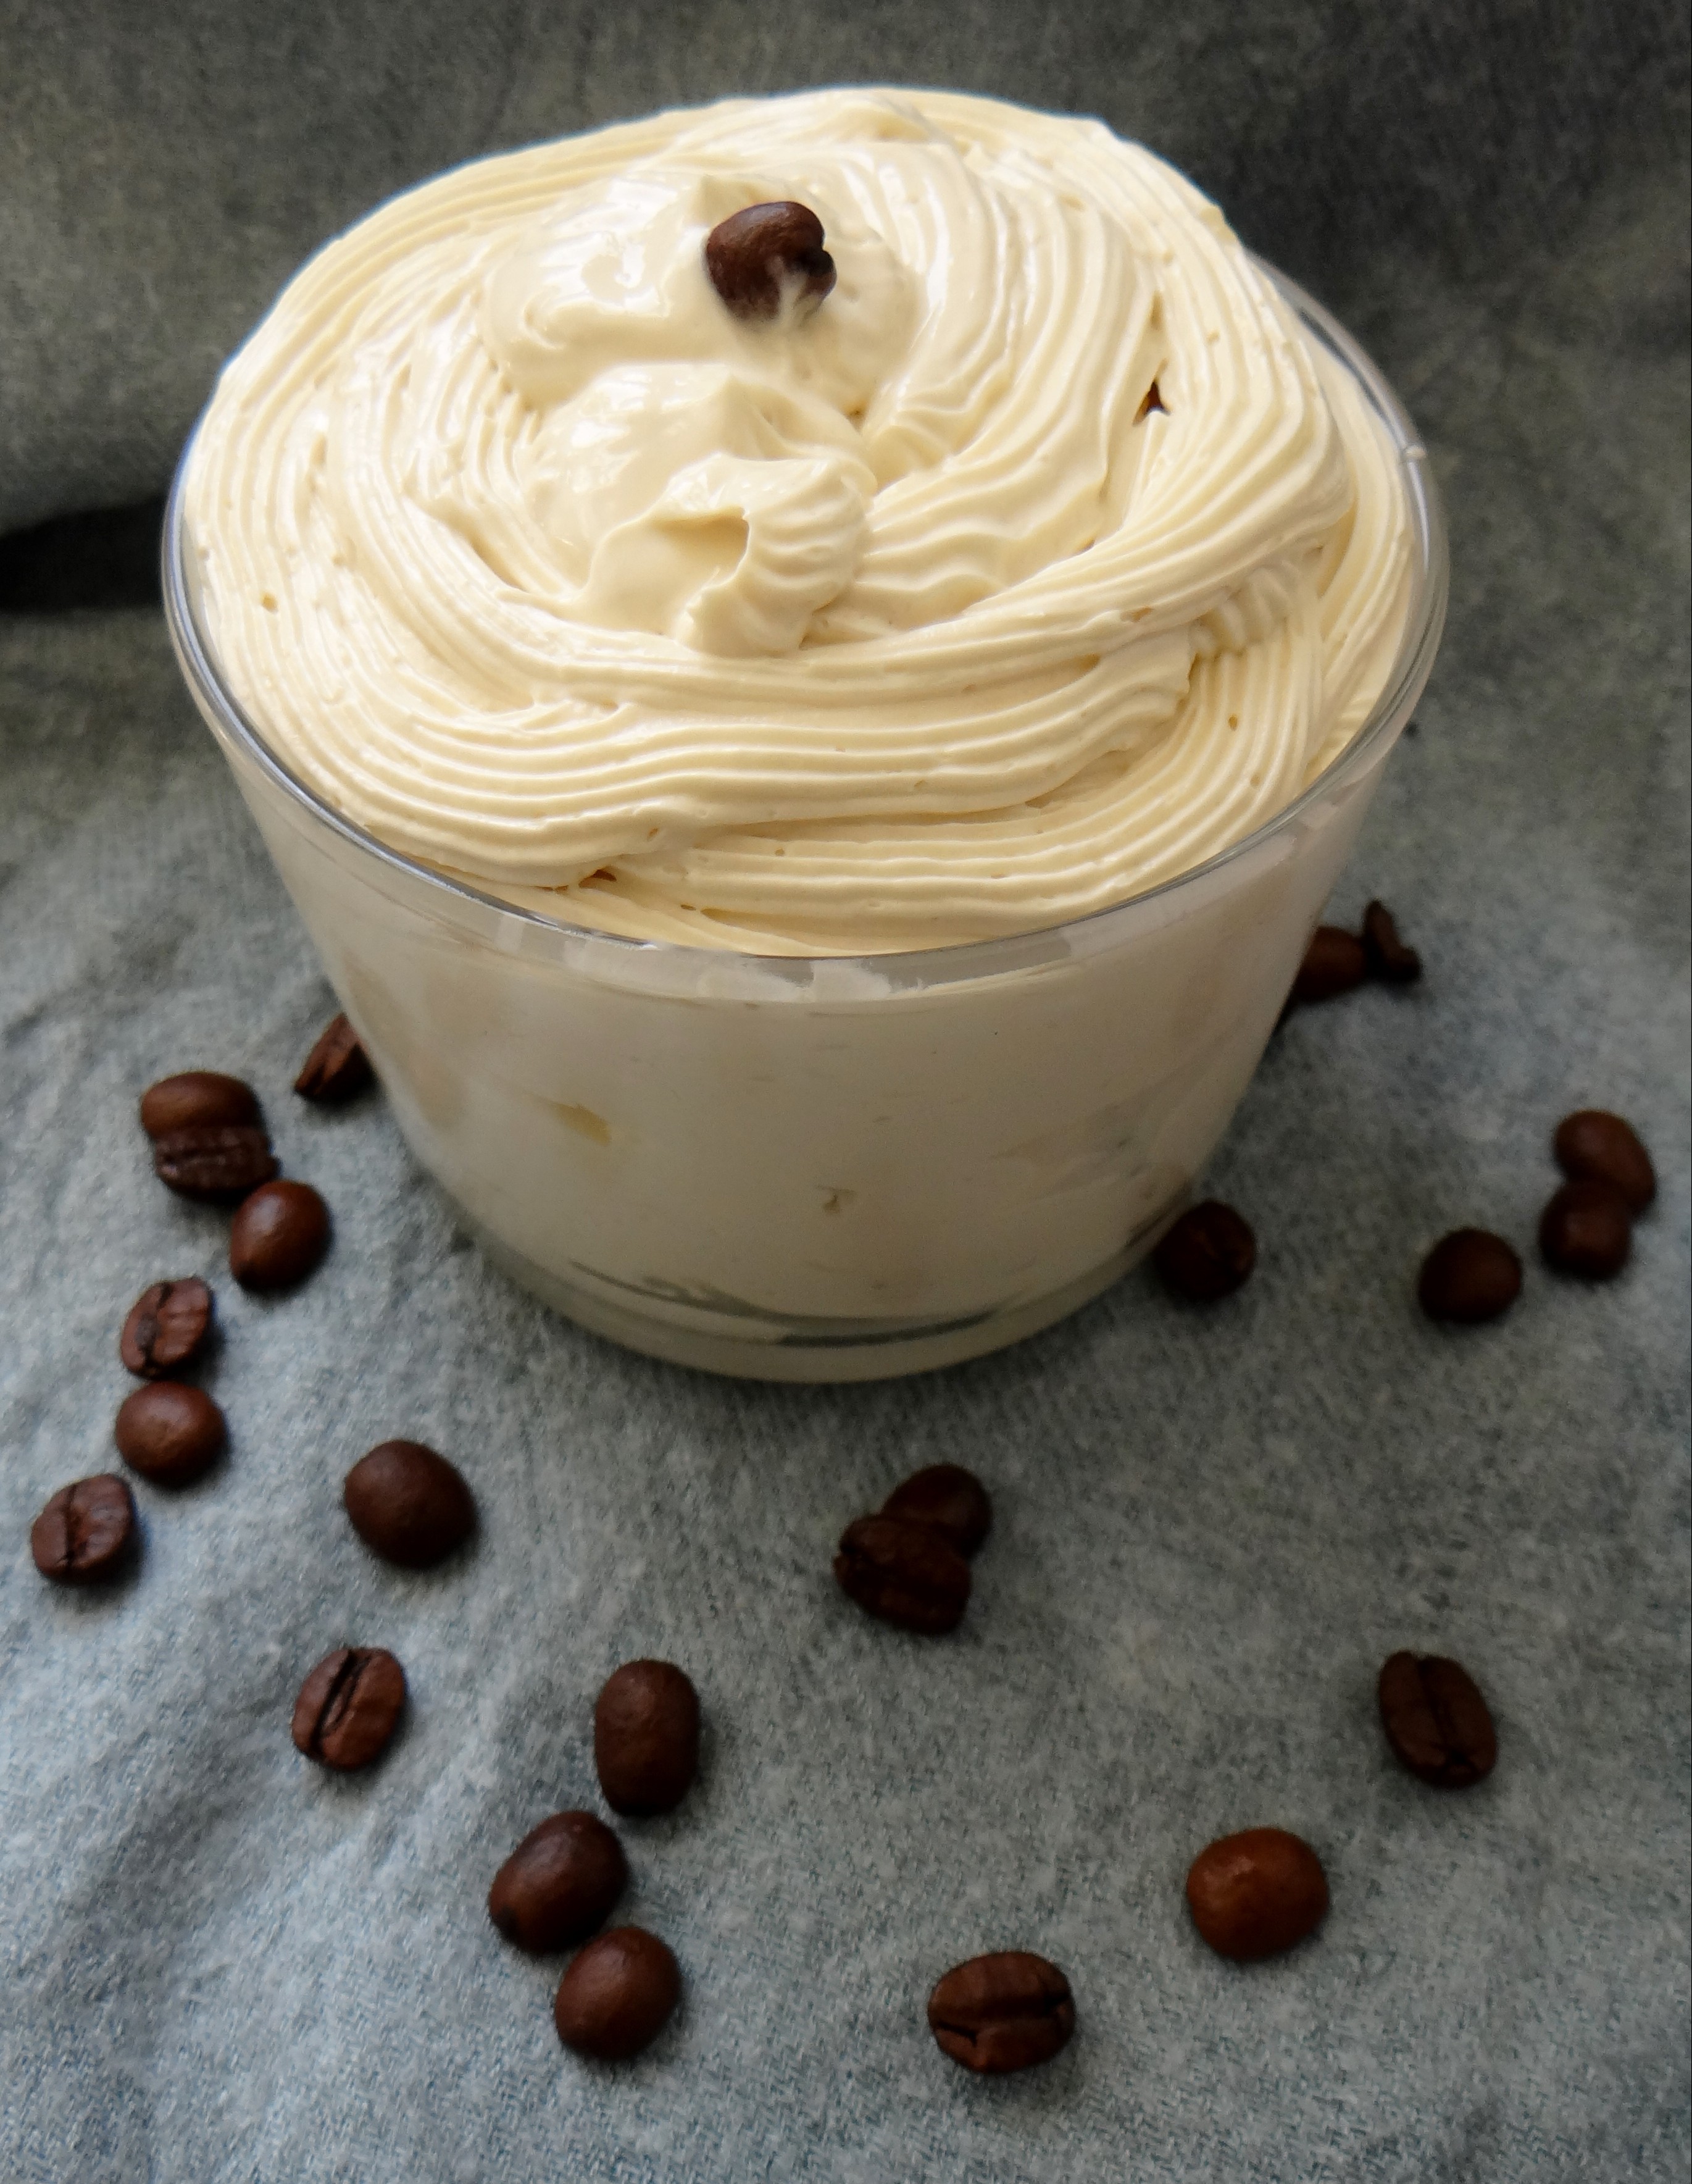
DIY Whipped Coffee Bean Infused Hair & Body Butter
In case you missed the post on on how I make my DIY Coffee Bean Infused Butter please click here since that is the base of this recipe.
I have previously swooned about my love for all things coffee when it comes to my hair and skin (and yes it is a guilty drink pleasure too) and so this whipped butter is no exception.
Benefits of Coffee for the Hair and Skin.
Hair:
- Reduces hair shedding and said to reduce excessive hair loss because of the antioxidants present in caffeine.
- Increases hair growth since caffeine promotes blood circulation in the scalp which promotes growth.
- Known to darken the hair and slowdown the early onset of grey hairs (with frequent and consistent use)*
- Adds sine and dimension to the hair due to the darkening effect of the oil
*Should you have bleached/blond or dyed hair you do not want to darken, I suggest trying this with caution. The darkening is nothing drastic or overly evident however there is a potential that you will notice your hair getting a little darker so please keep that in mind.
Skin:
- The caffeine helps reduce puffy and dark circles under the eye.
- Tightens the skin giving you a youthful fresh glow.
- Its anti-inflammatory properties is said to reduces redness in the skin and inflammation.
- Known to reduce the appearance of cellulite.
- Known to help reduce the appearance of fine lines and wrinkles on the face.
- Fights free radicals thanks to the antioxidants contained in caffeine.
Apart from the benefits of coffee, the recipe is really simple to throw together and quick to make plus it smells great too! I have written (several times) about the benefits of each individual ingredient used in this particular recipe because I tend to integrate ingredients I know my hair likes over and over. So for a breakdown of each individual ingredient please read these links Hair and Skin benefits.
Products/Tools used:
- 6 oz DIY Coffee Bean Infused Butter
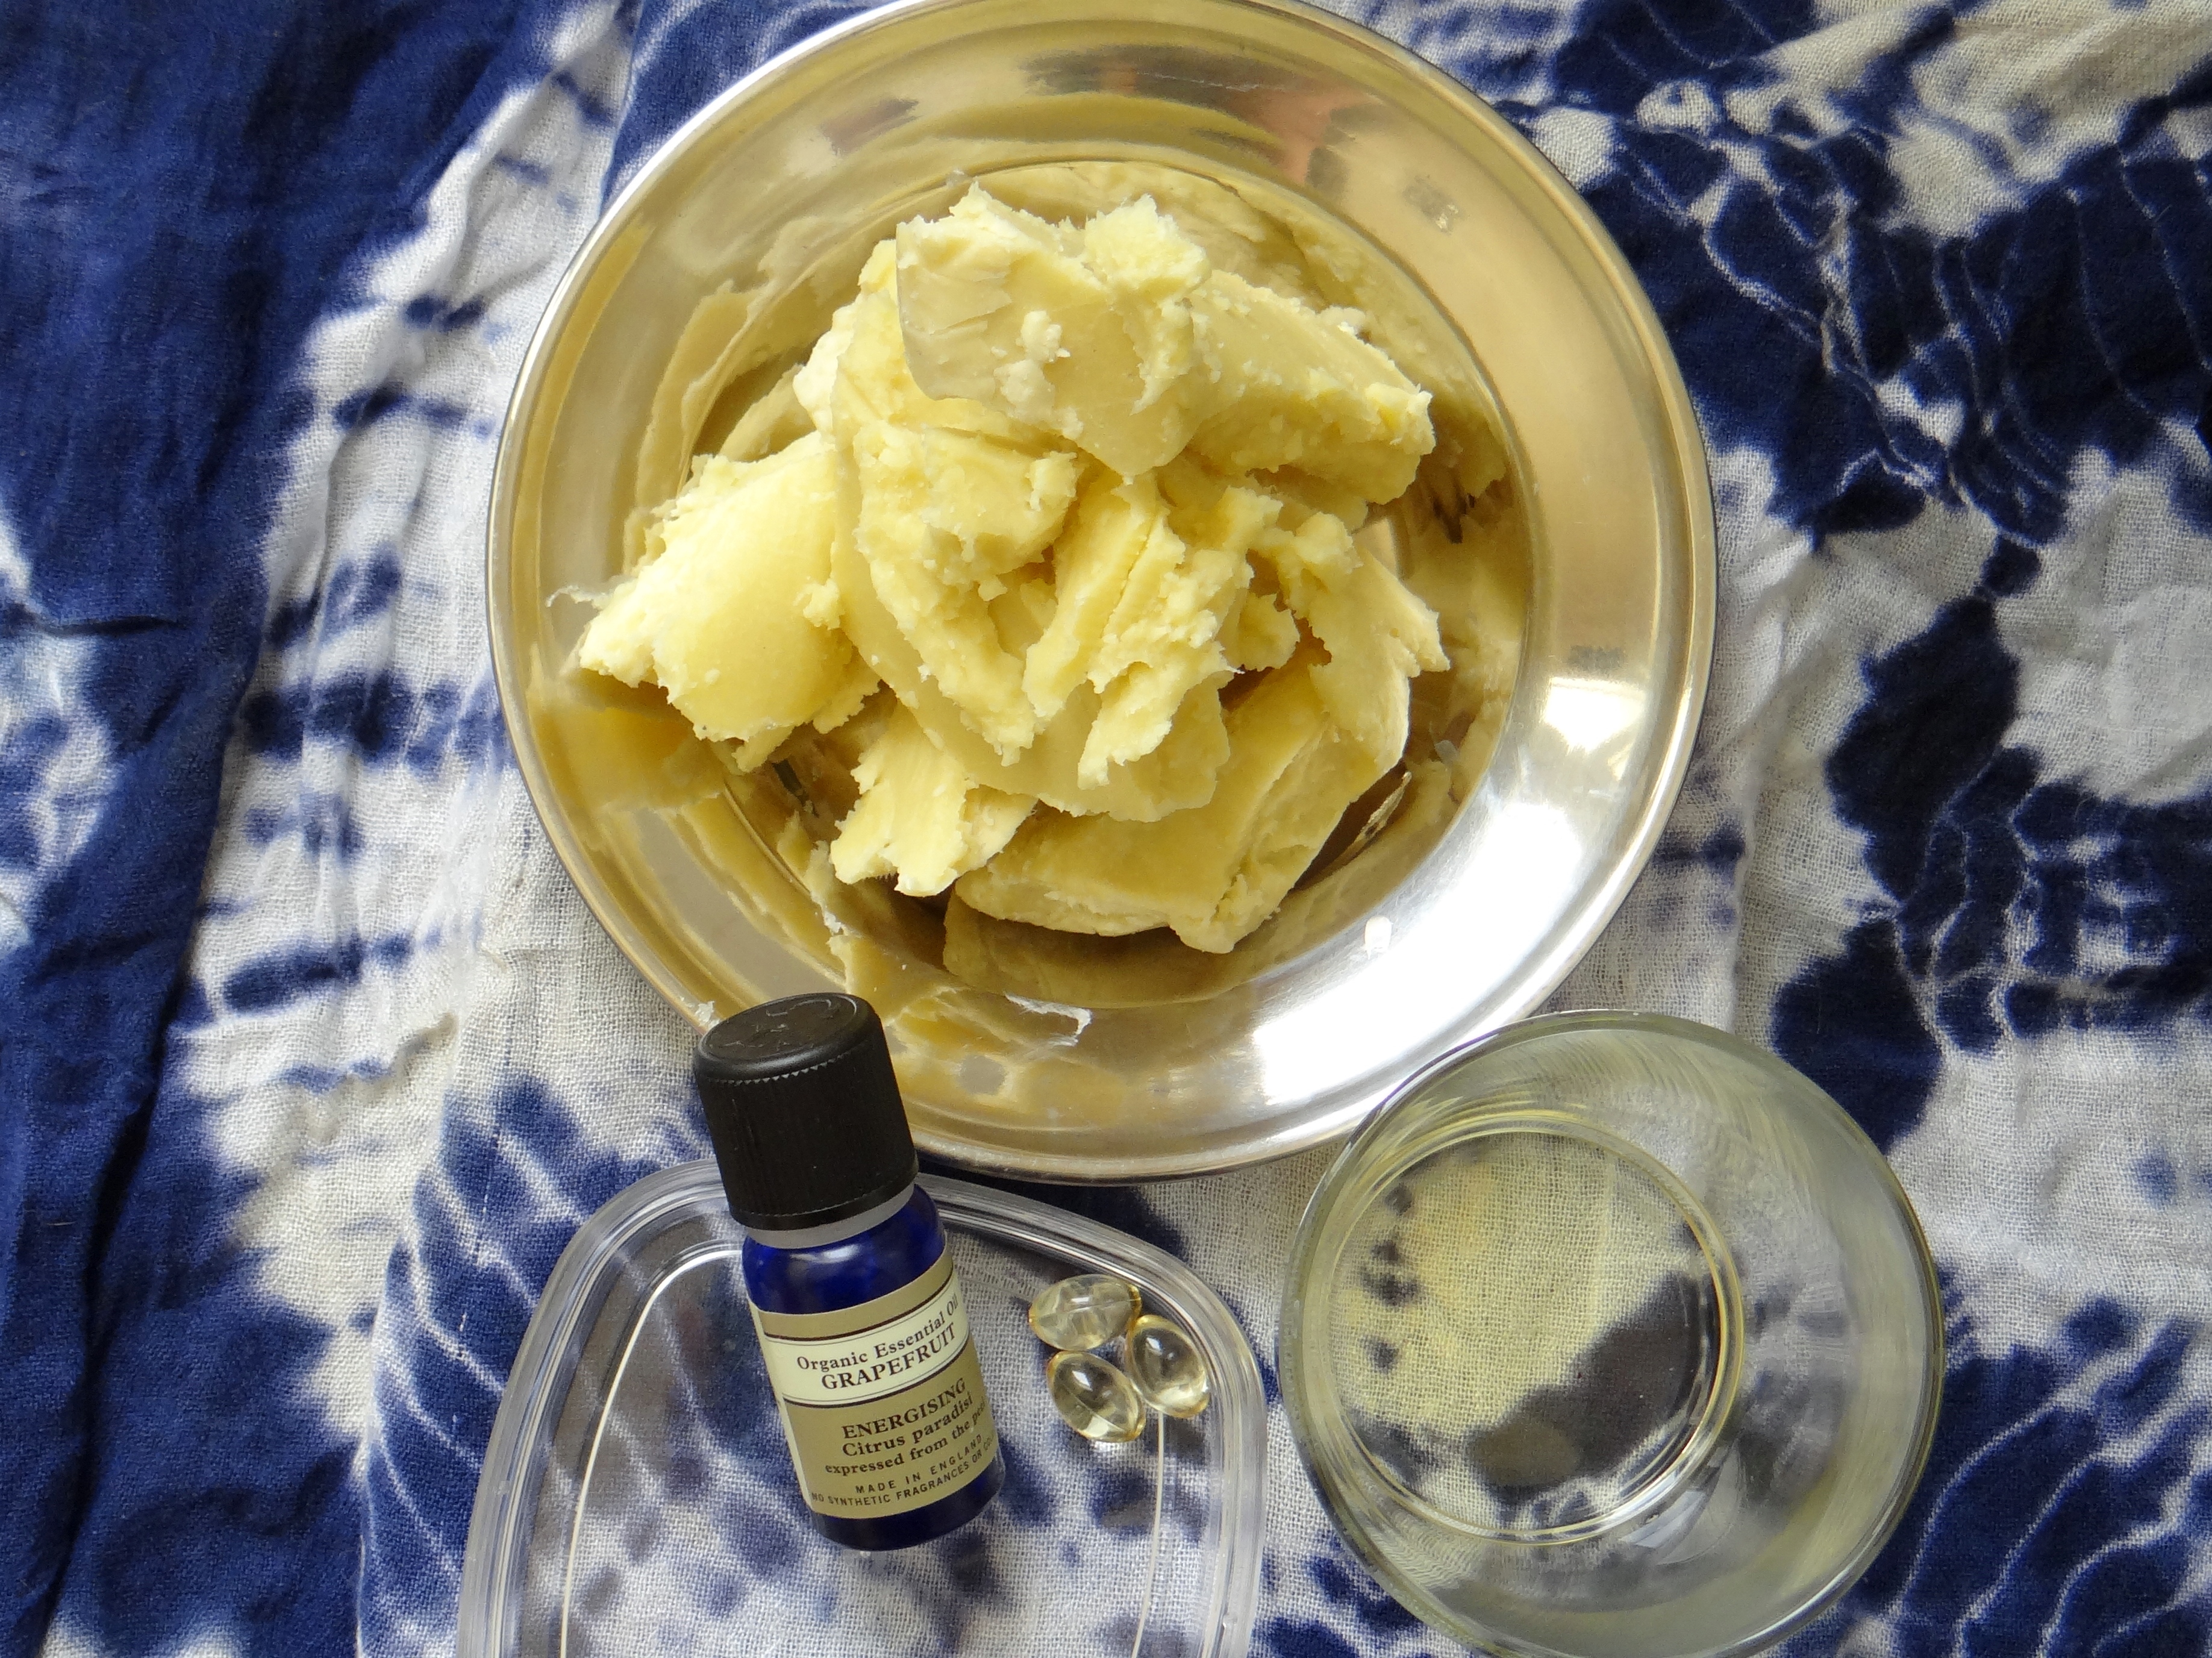
- 0.4 oz DIY Vanilla Infused Almond Oil
- 0.6 oz DIY Coffee Bean Infused Almond Oil
- 2 capsules Vitamin E oil
- 0.2 oz Vegetable Glycerin (optional)
- Essential Oil (optional 3 – 5 drops max)
- Heatproof bowl
- Whisk
- Spatula
- Gloves
- Airtight Container
- Piping bag to transfer the whip to the container (not necessary)
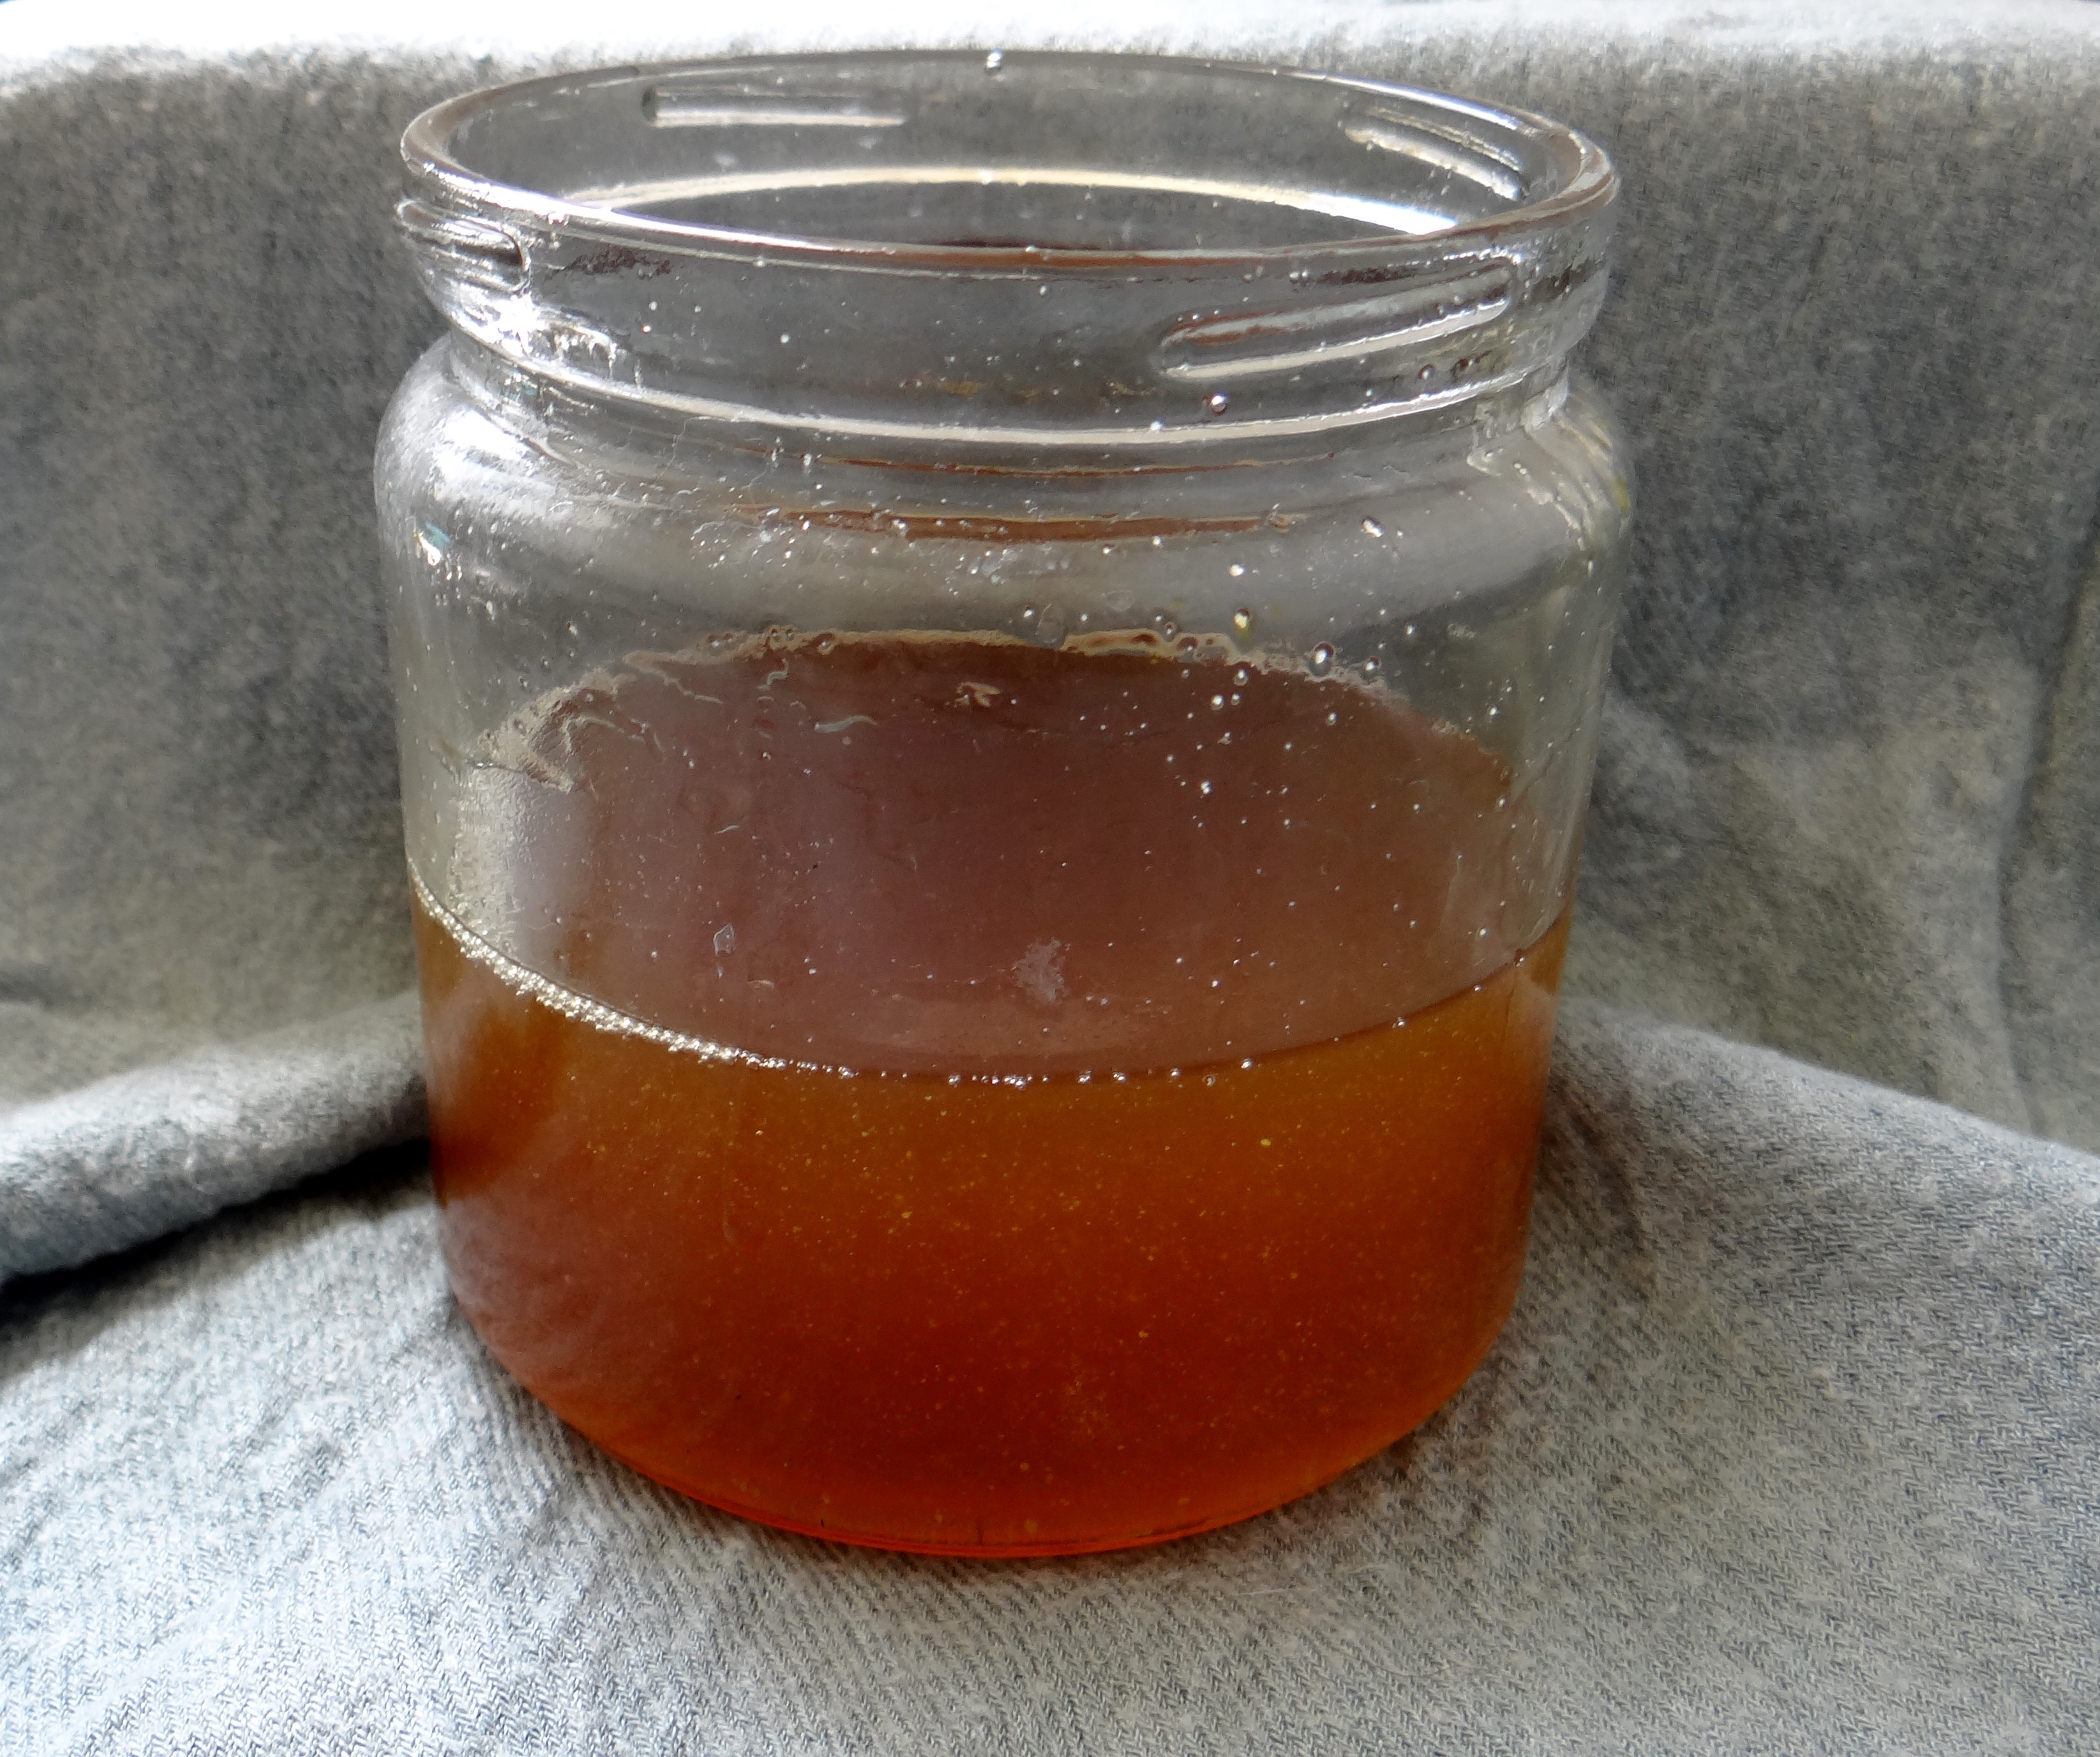
Note: You can use any carrier oil you wish, I just like to reinforce the coffee with a little coffee infused oil. Glycerin is an optional ingredient that can be used (it is a humectant and not everyone’s hair plays well with it). You can also replace the glycerin with raw honey if your hair prefers that.
I live in really warm weather practically 365 days a year therefore I prefer my butter mix to be more butter focused however, if you want a less firm mix (particularly in winter) then you can add more oil e.g. I suggest using a total of 2 oz for 6 oz of butter. Keep in mind the more oil you use the more runny it will be particularly in the warm summer months
Method:
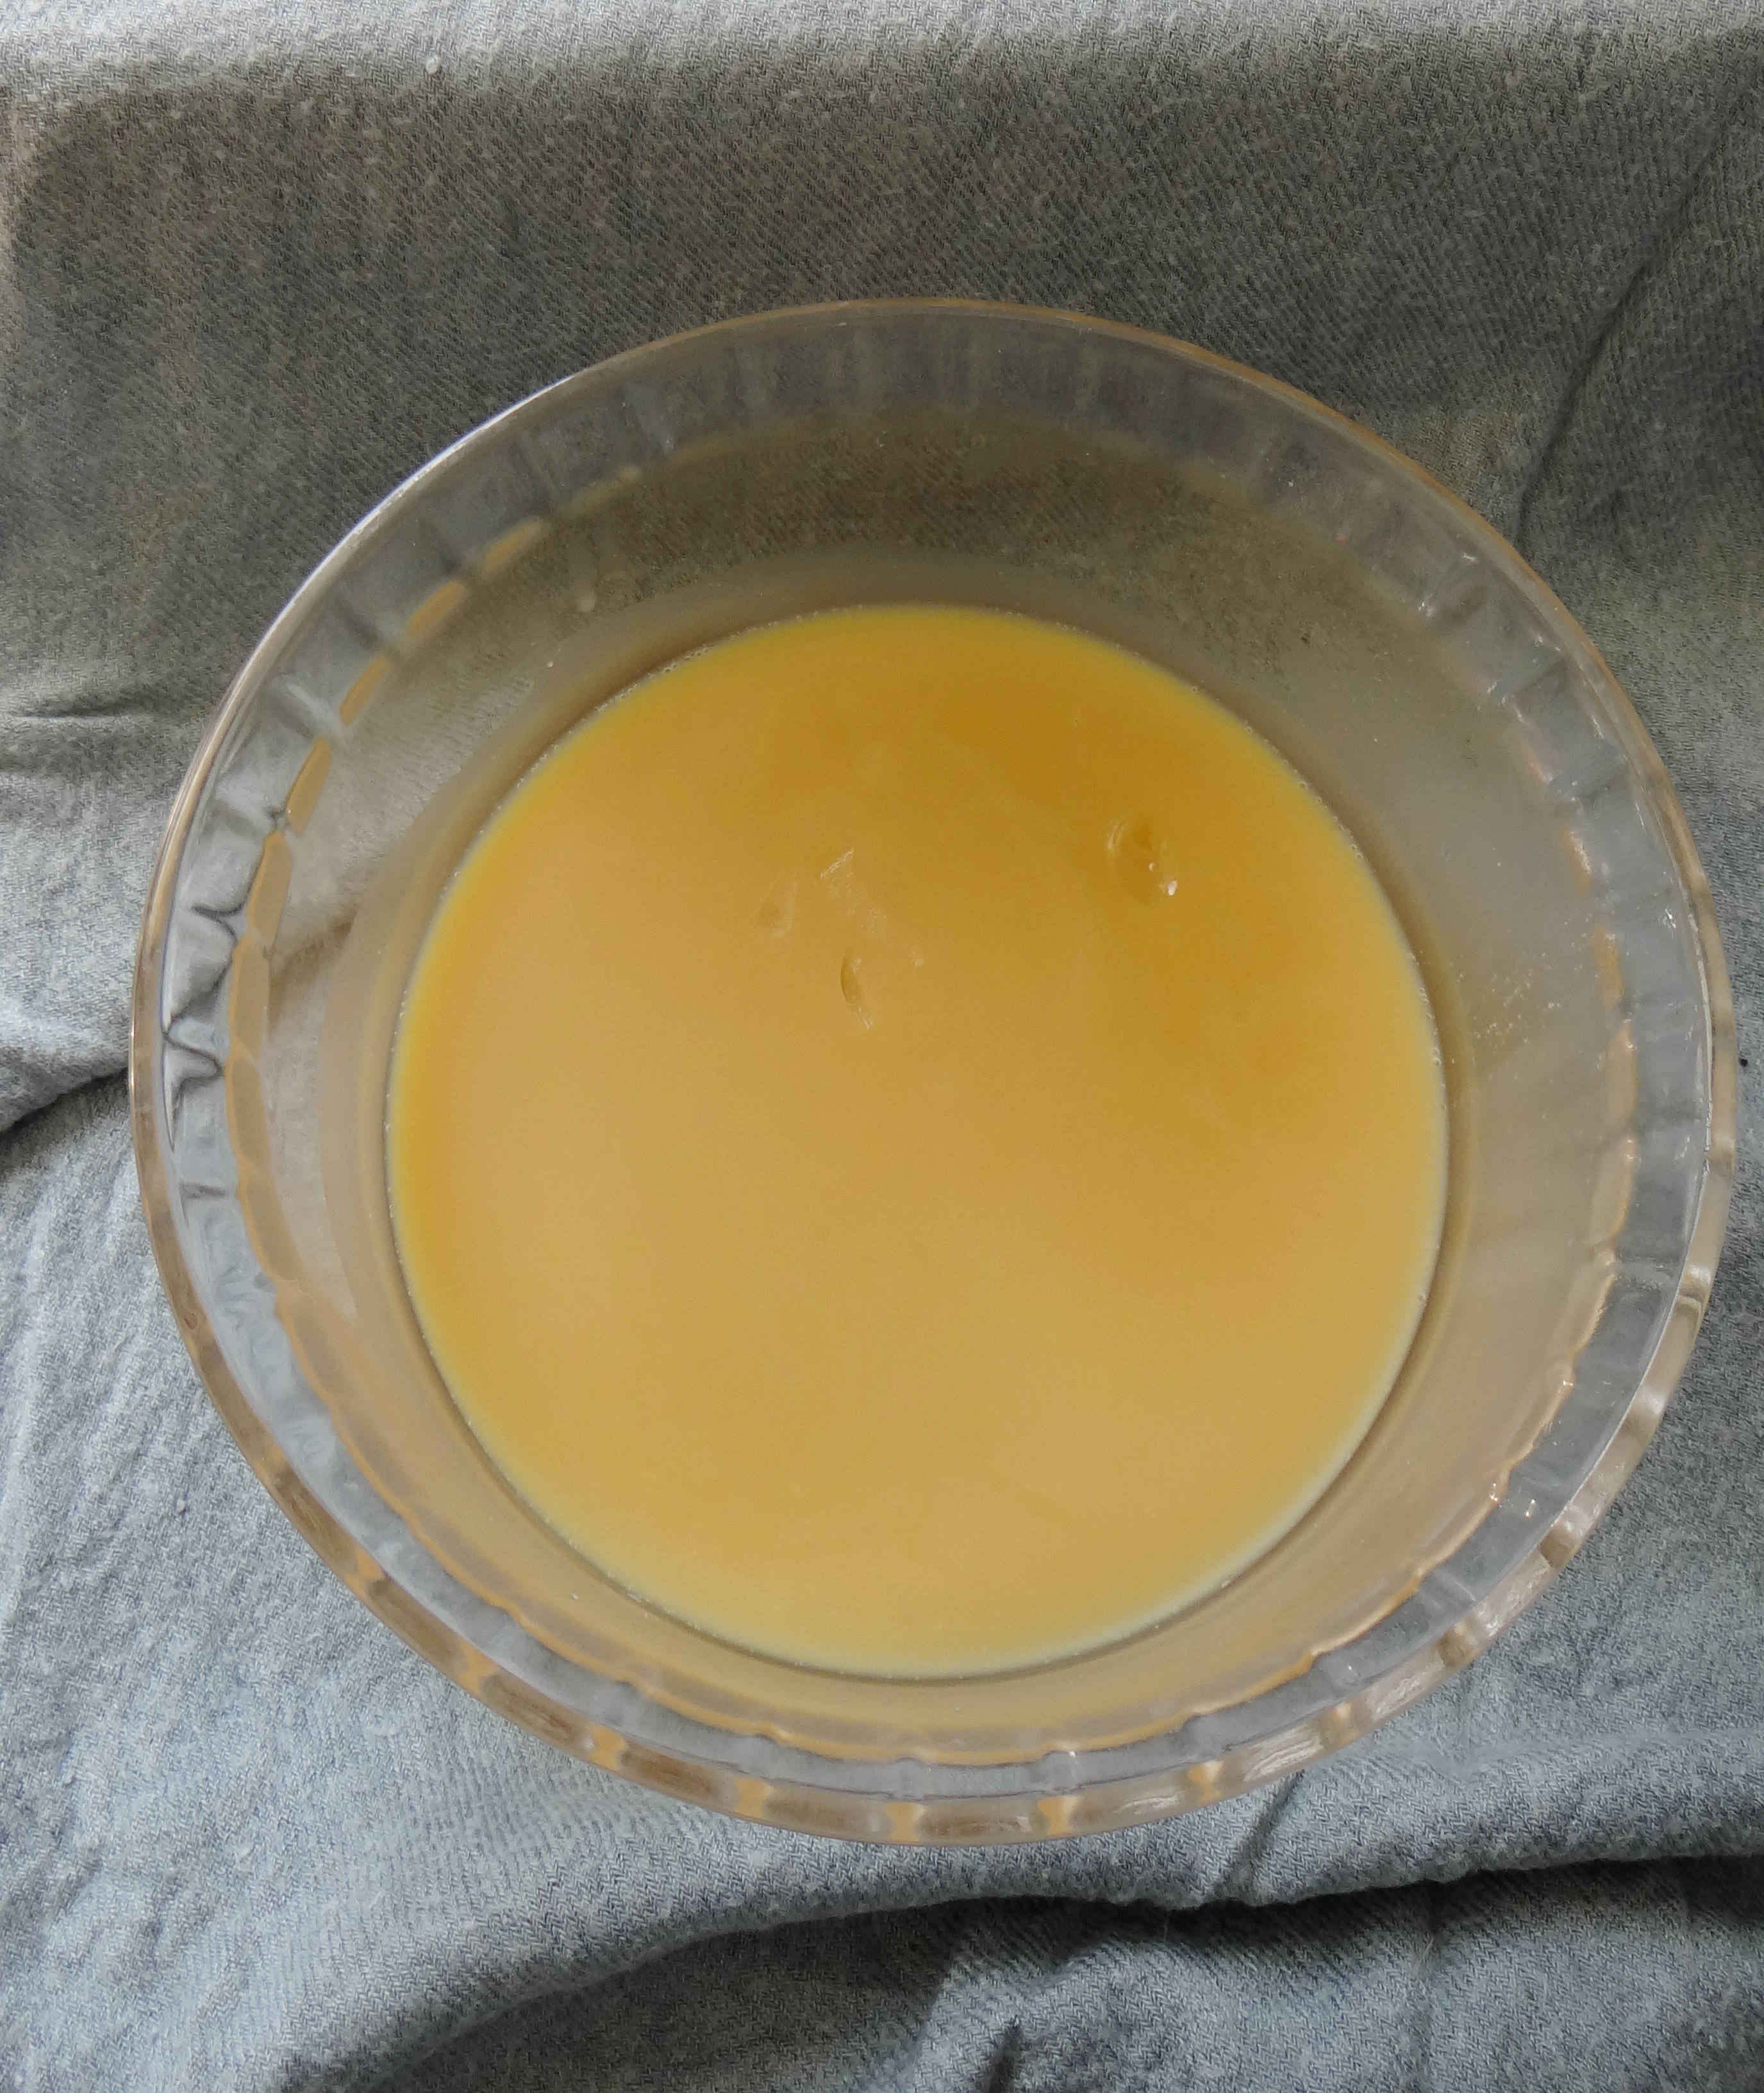
Melted Butter with carrier oils after 15 minutes in the freezer
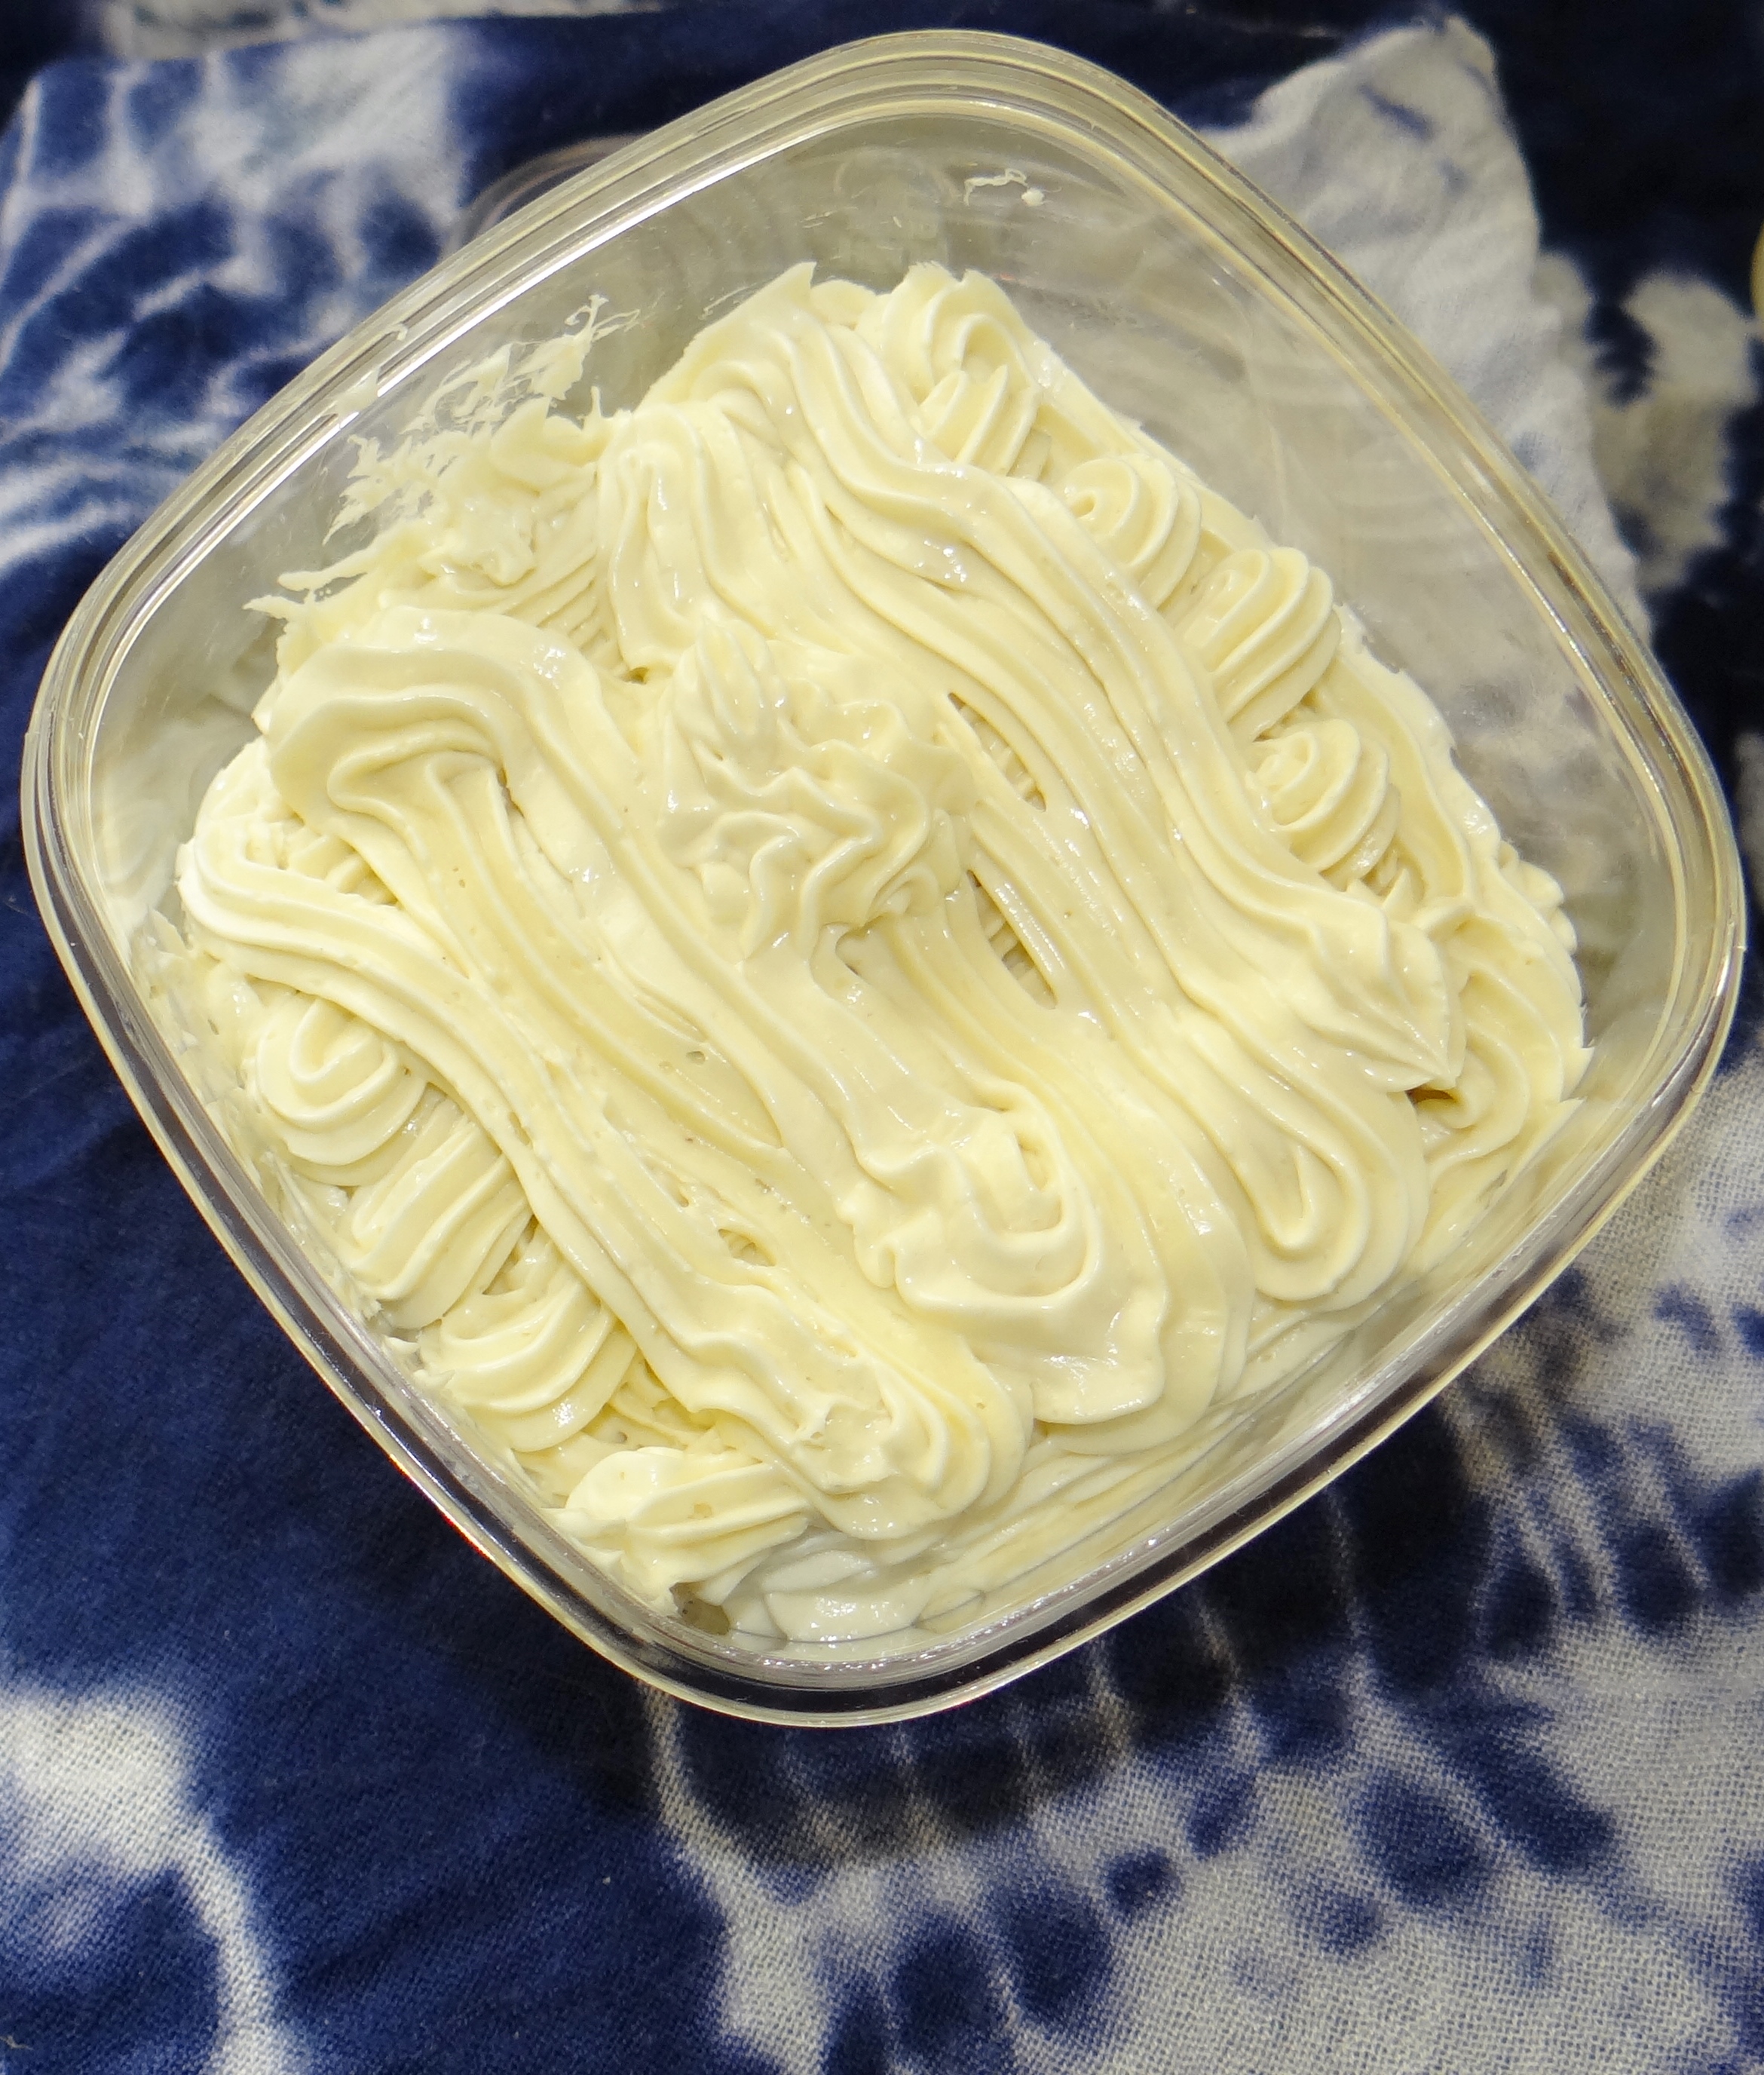
I add the carrier oils to the melted infused butter, stir everything together and then place it in my freezer for 15 minutes. After 15 minutes I mix everything together with a spatula, the butter will be harder on the top and softer underneath. I whisk for a good 3 – 5 minutes and then I add the Vitamin E Oil and Glycerin (Essential Oil if you choose to add it) and then place it in my fridge for 5 minutes.
This helps to thicken the whip a little and will help make it fluffier since I re-whip again. After 5 minutes in the fridge I whip for at least 5 minutes and that is it. I like using my spatula to get the whip out of the bowl and then a piping bag to transfer it because I like being “extra” but that is not necessary.
I as always have a video on my channel:
I hope you enjoy the recipe & video, please let me know what you think!
Thanks
Maicurls