Hello Maicurlies,
I am FINALLY back with a DIY!
I was requested to share a whipped butter recipe that doesn’t include Shea Butter or Coconut Oil but first, I have a few other whipped butter recipes which you can find below:
- DIY Cocoa, Shea, Mango Butter
- DIY Whipped Shea Butter
- DIY Whipped Moisturizing Conditioning Butter
- DIY Protein Whipped Deep Conditioner Butter
- DIY Coffee Bean Infused Butter
- DIY Double Coffee Butter
- DIY Coffee Bean Infused Whipped Butter
I replaced the Shea and Coconut Oil with alternative ingredients but the process of making the whipped butter follows the same pattern as the previous mixes I have shared above.
Ingredients/Tools:
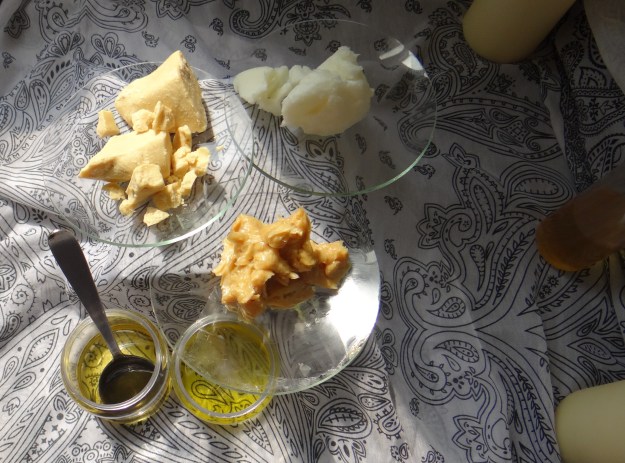
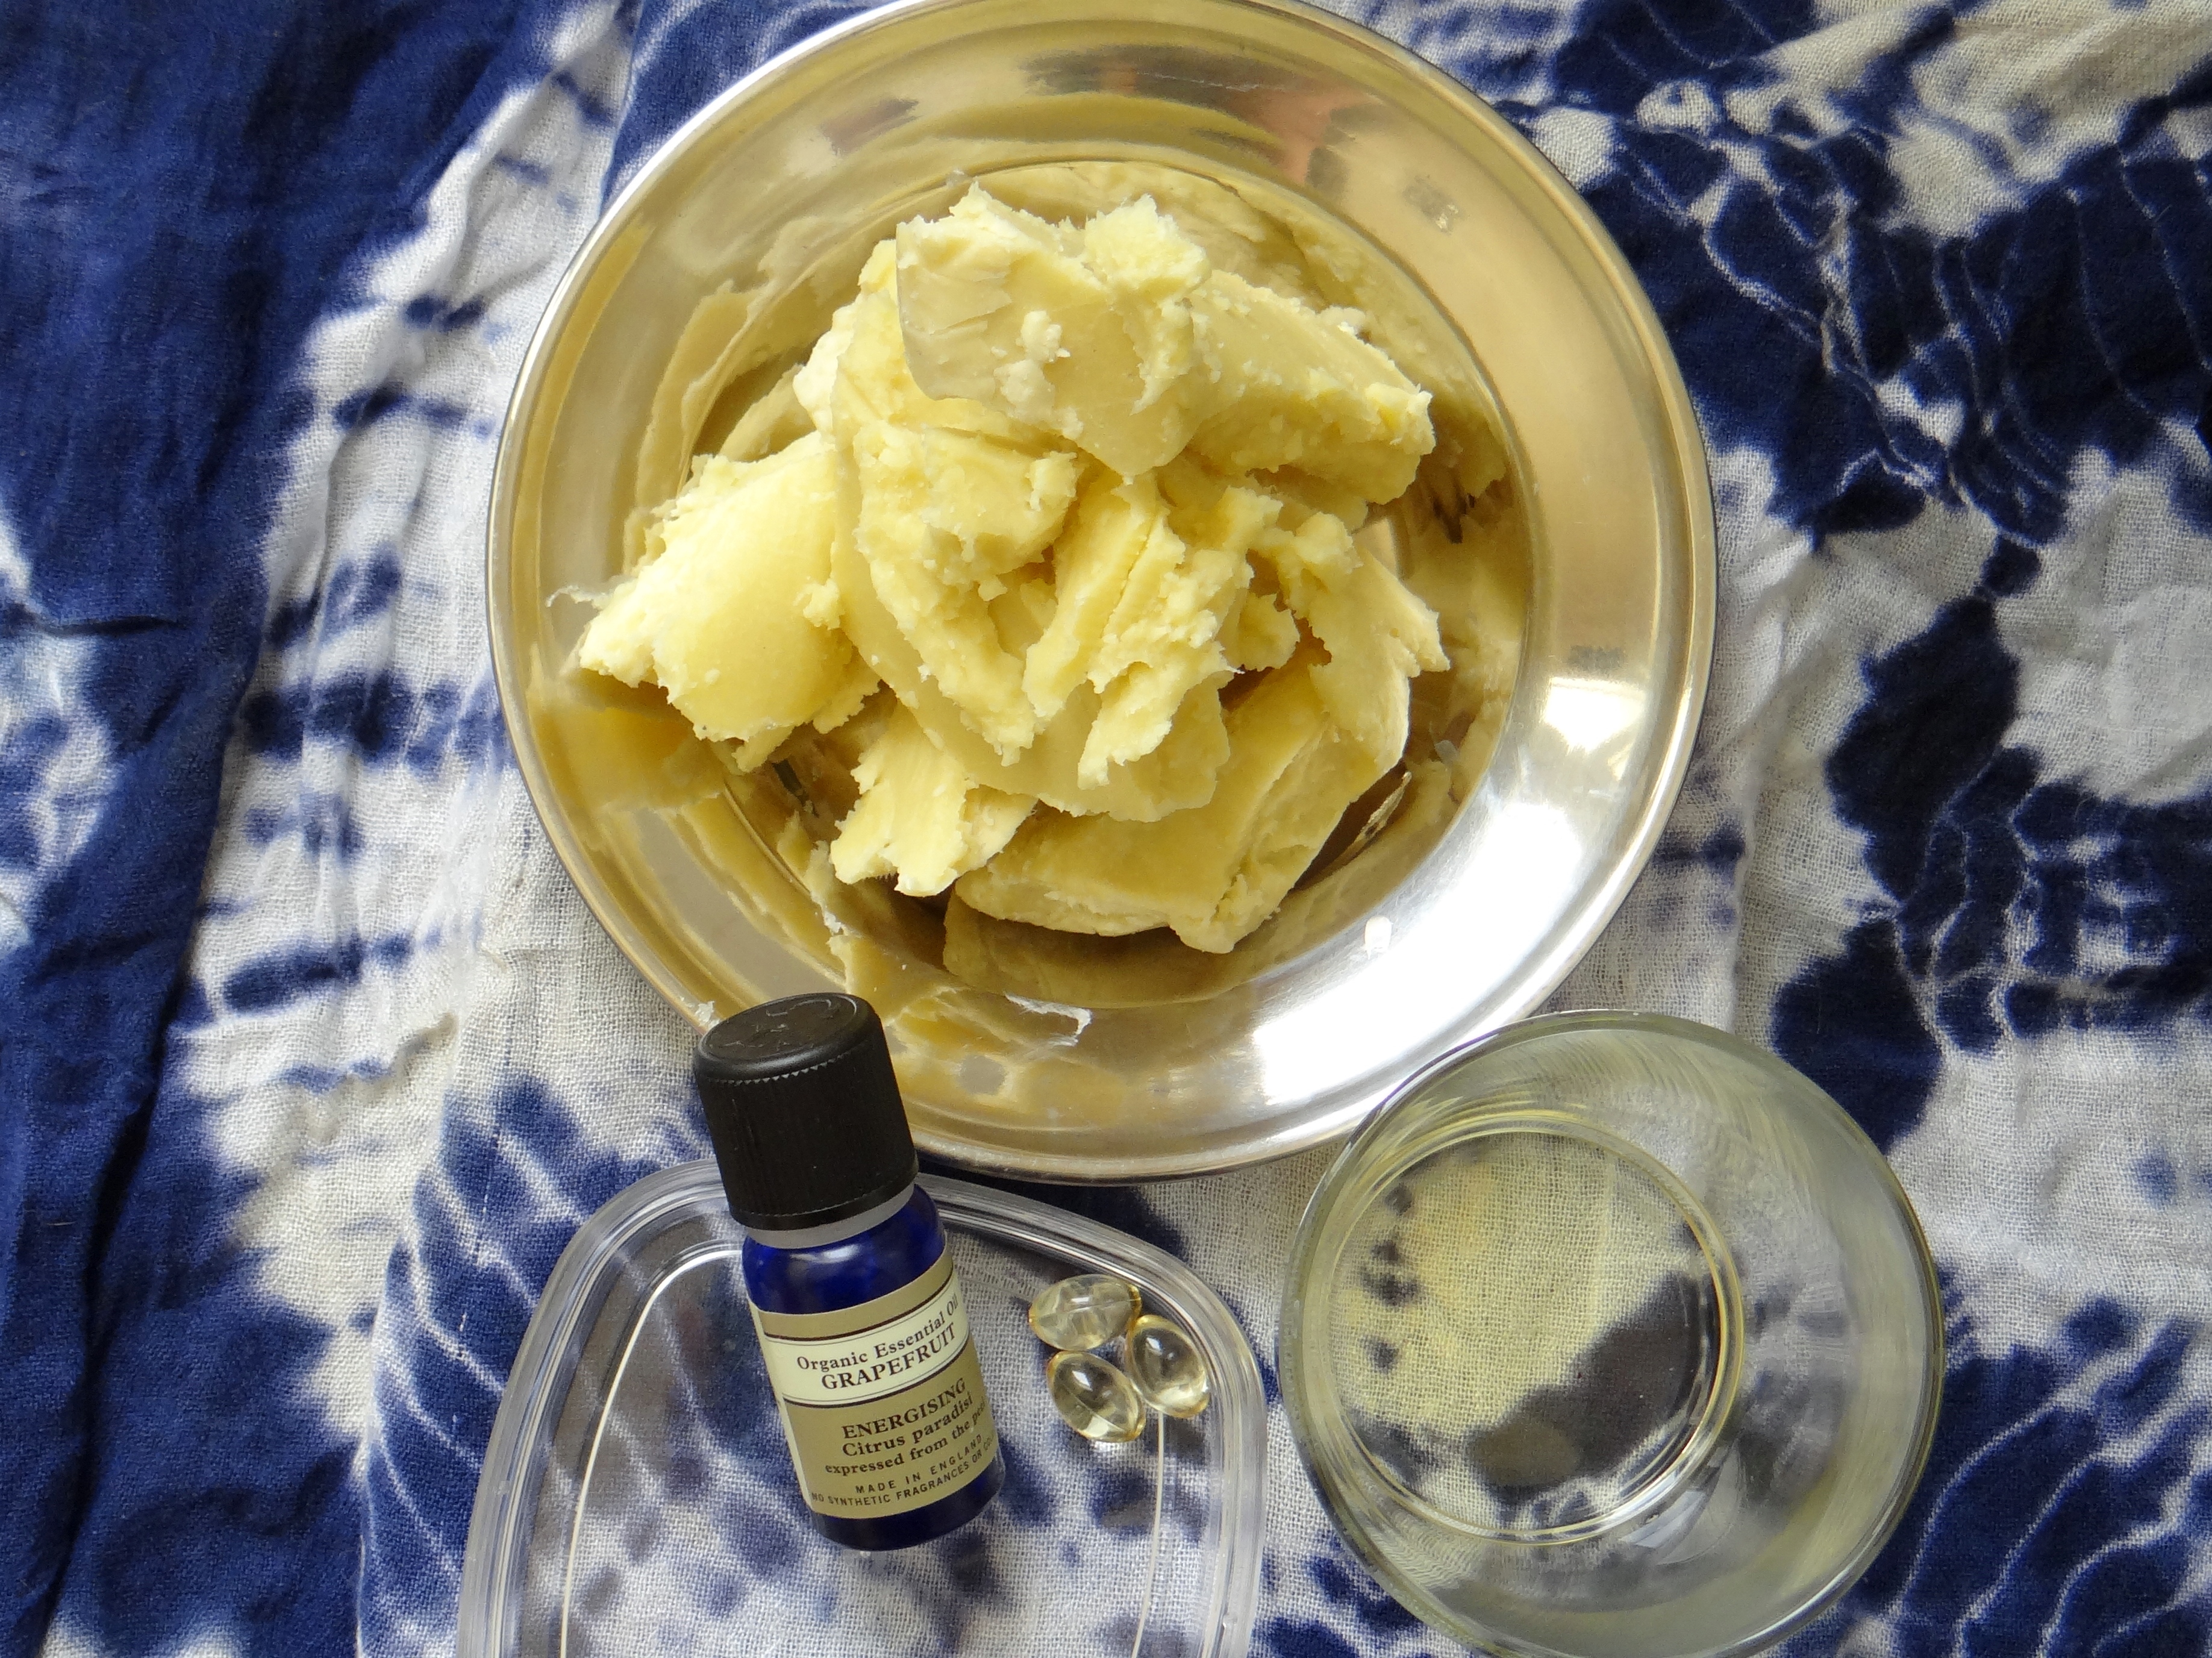
- 3oz Unrefined Cocoa Butter
- 2.5oz Mango Butter
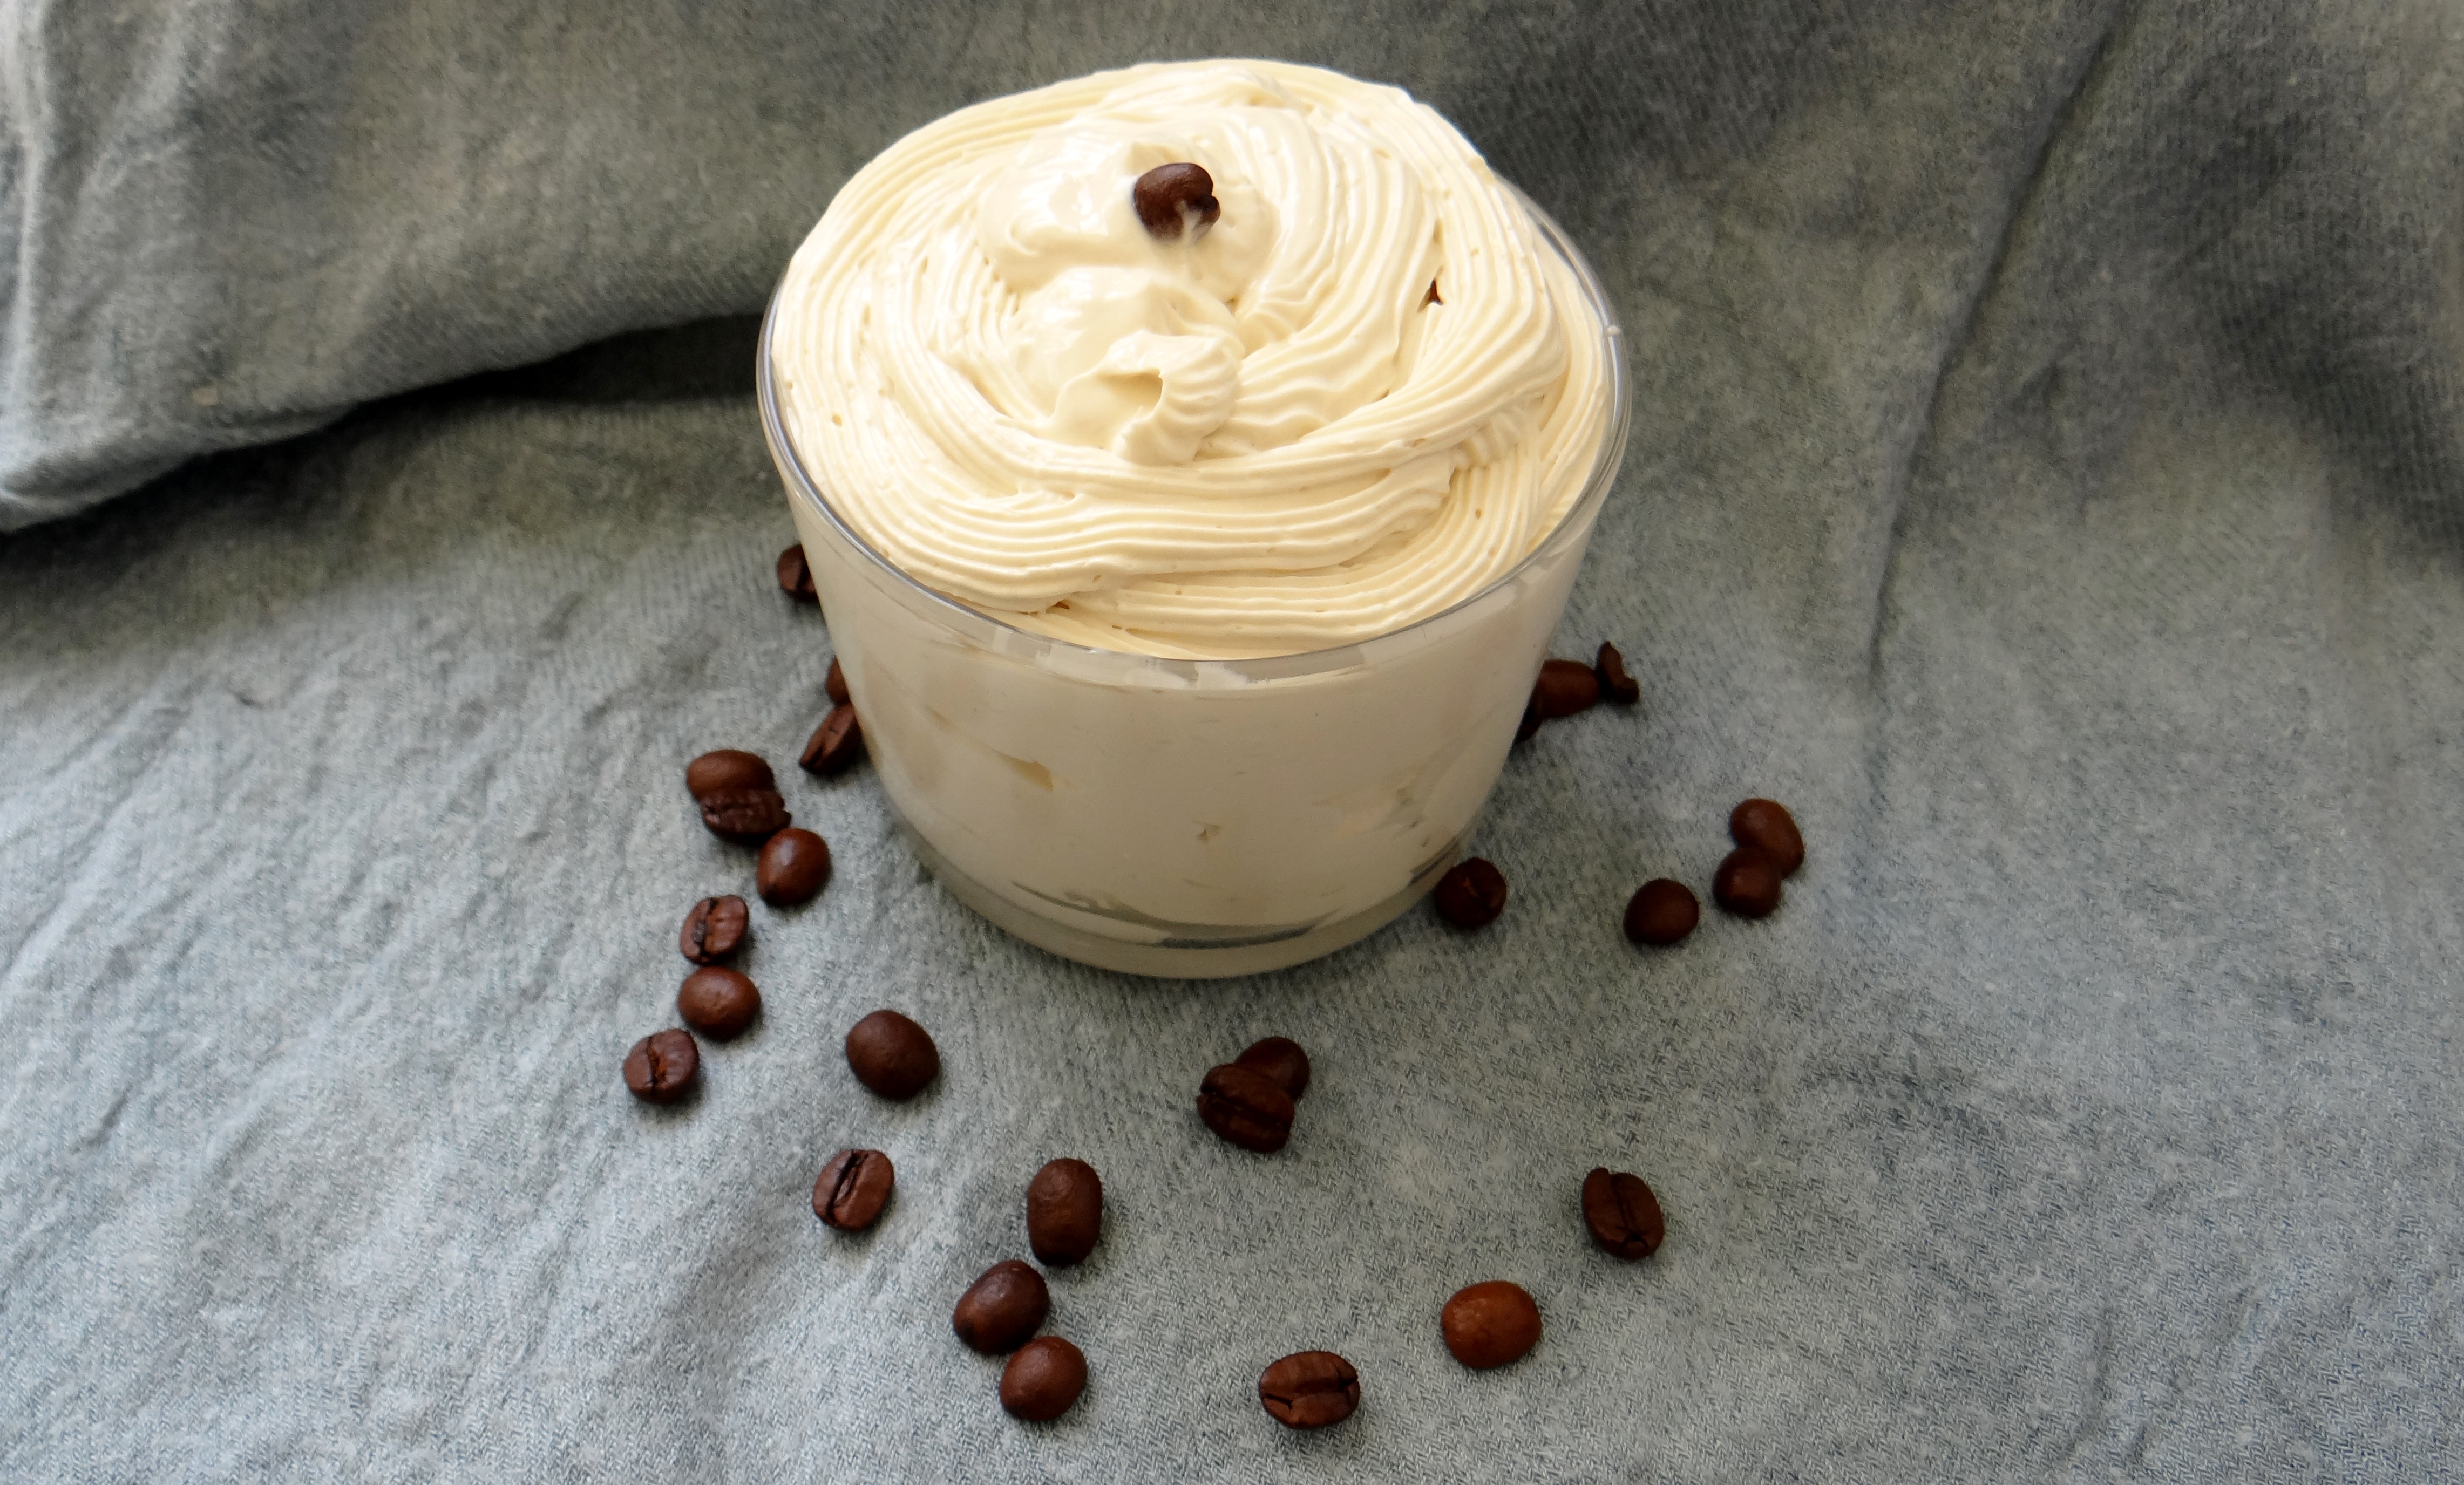
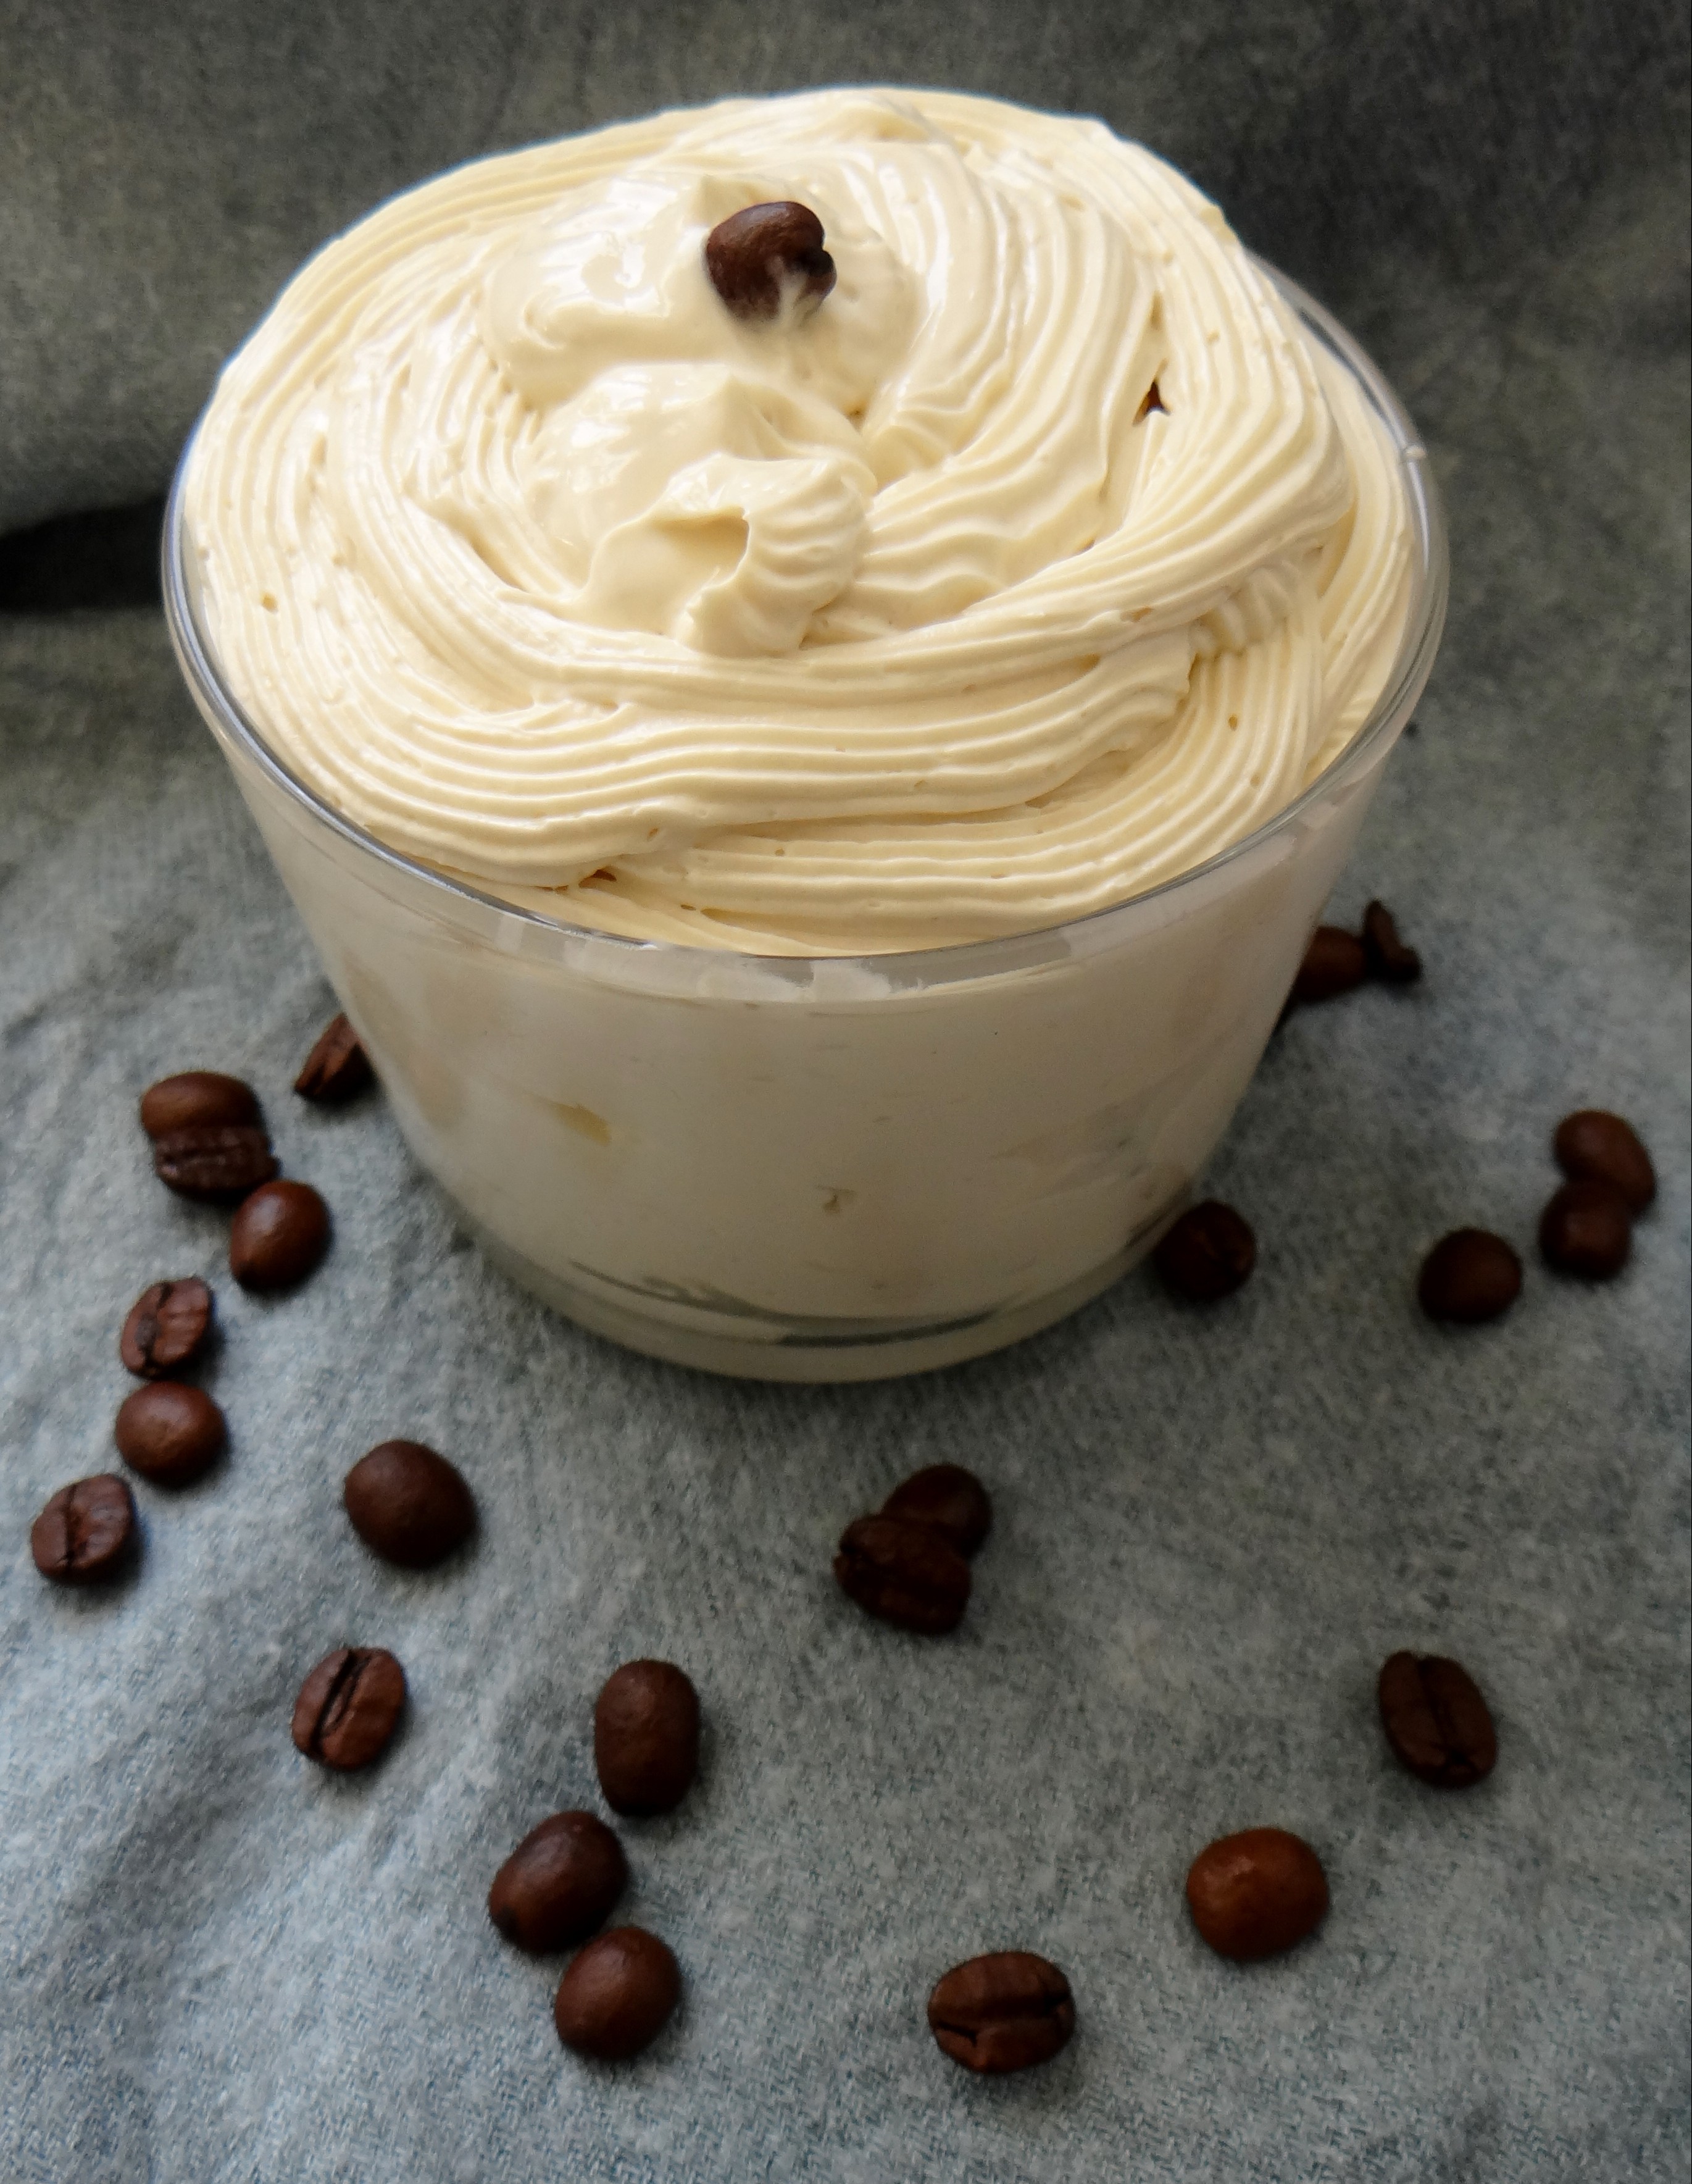
- 2.5oz Coffee Butter
- 4oz Coffee infused Grapeseed Oil
- 3oz Extra Virgin Olive Oil (EVOO)
- 0.1oz Glycerin (optional)
- 3 drops Peppermint Essential Oil (optional)
- 3 capsules Vitamin E Oil (0.15oz)
- 5 drops Chocolate Fragrance (optional)
- Double Broiler
- Spoon
- Weighing scale
- Containers
- Gloves (optional)
(P.s I purchased all my butters from SheaButter Cottage – an awesome company that not only provides superb products but also gives back to local village women in Ghana with every purchase made!)
Ingredient Alternatives:
The EVOO and Grapeseed Oil can be replaced with any other carrier oil of choice. You can replace the butters as well, I suggest using at least one hard butter (if you live in warm climate). The Essential Oil can either be replaced with an oil of choice or omitted altogether. Keep in mind that EO’s MUST be diluted otherwise it can cause skin/scalp irritations and if you are pregnant please refrain from using any EO.
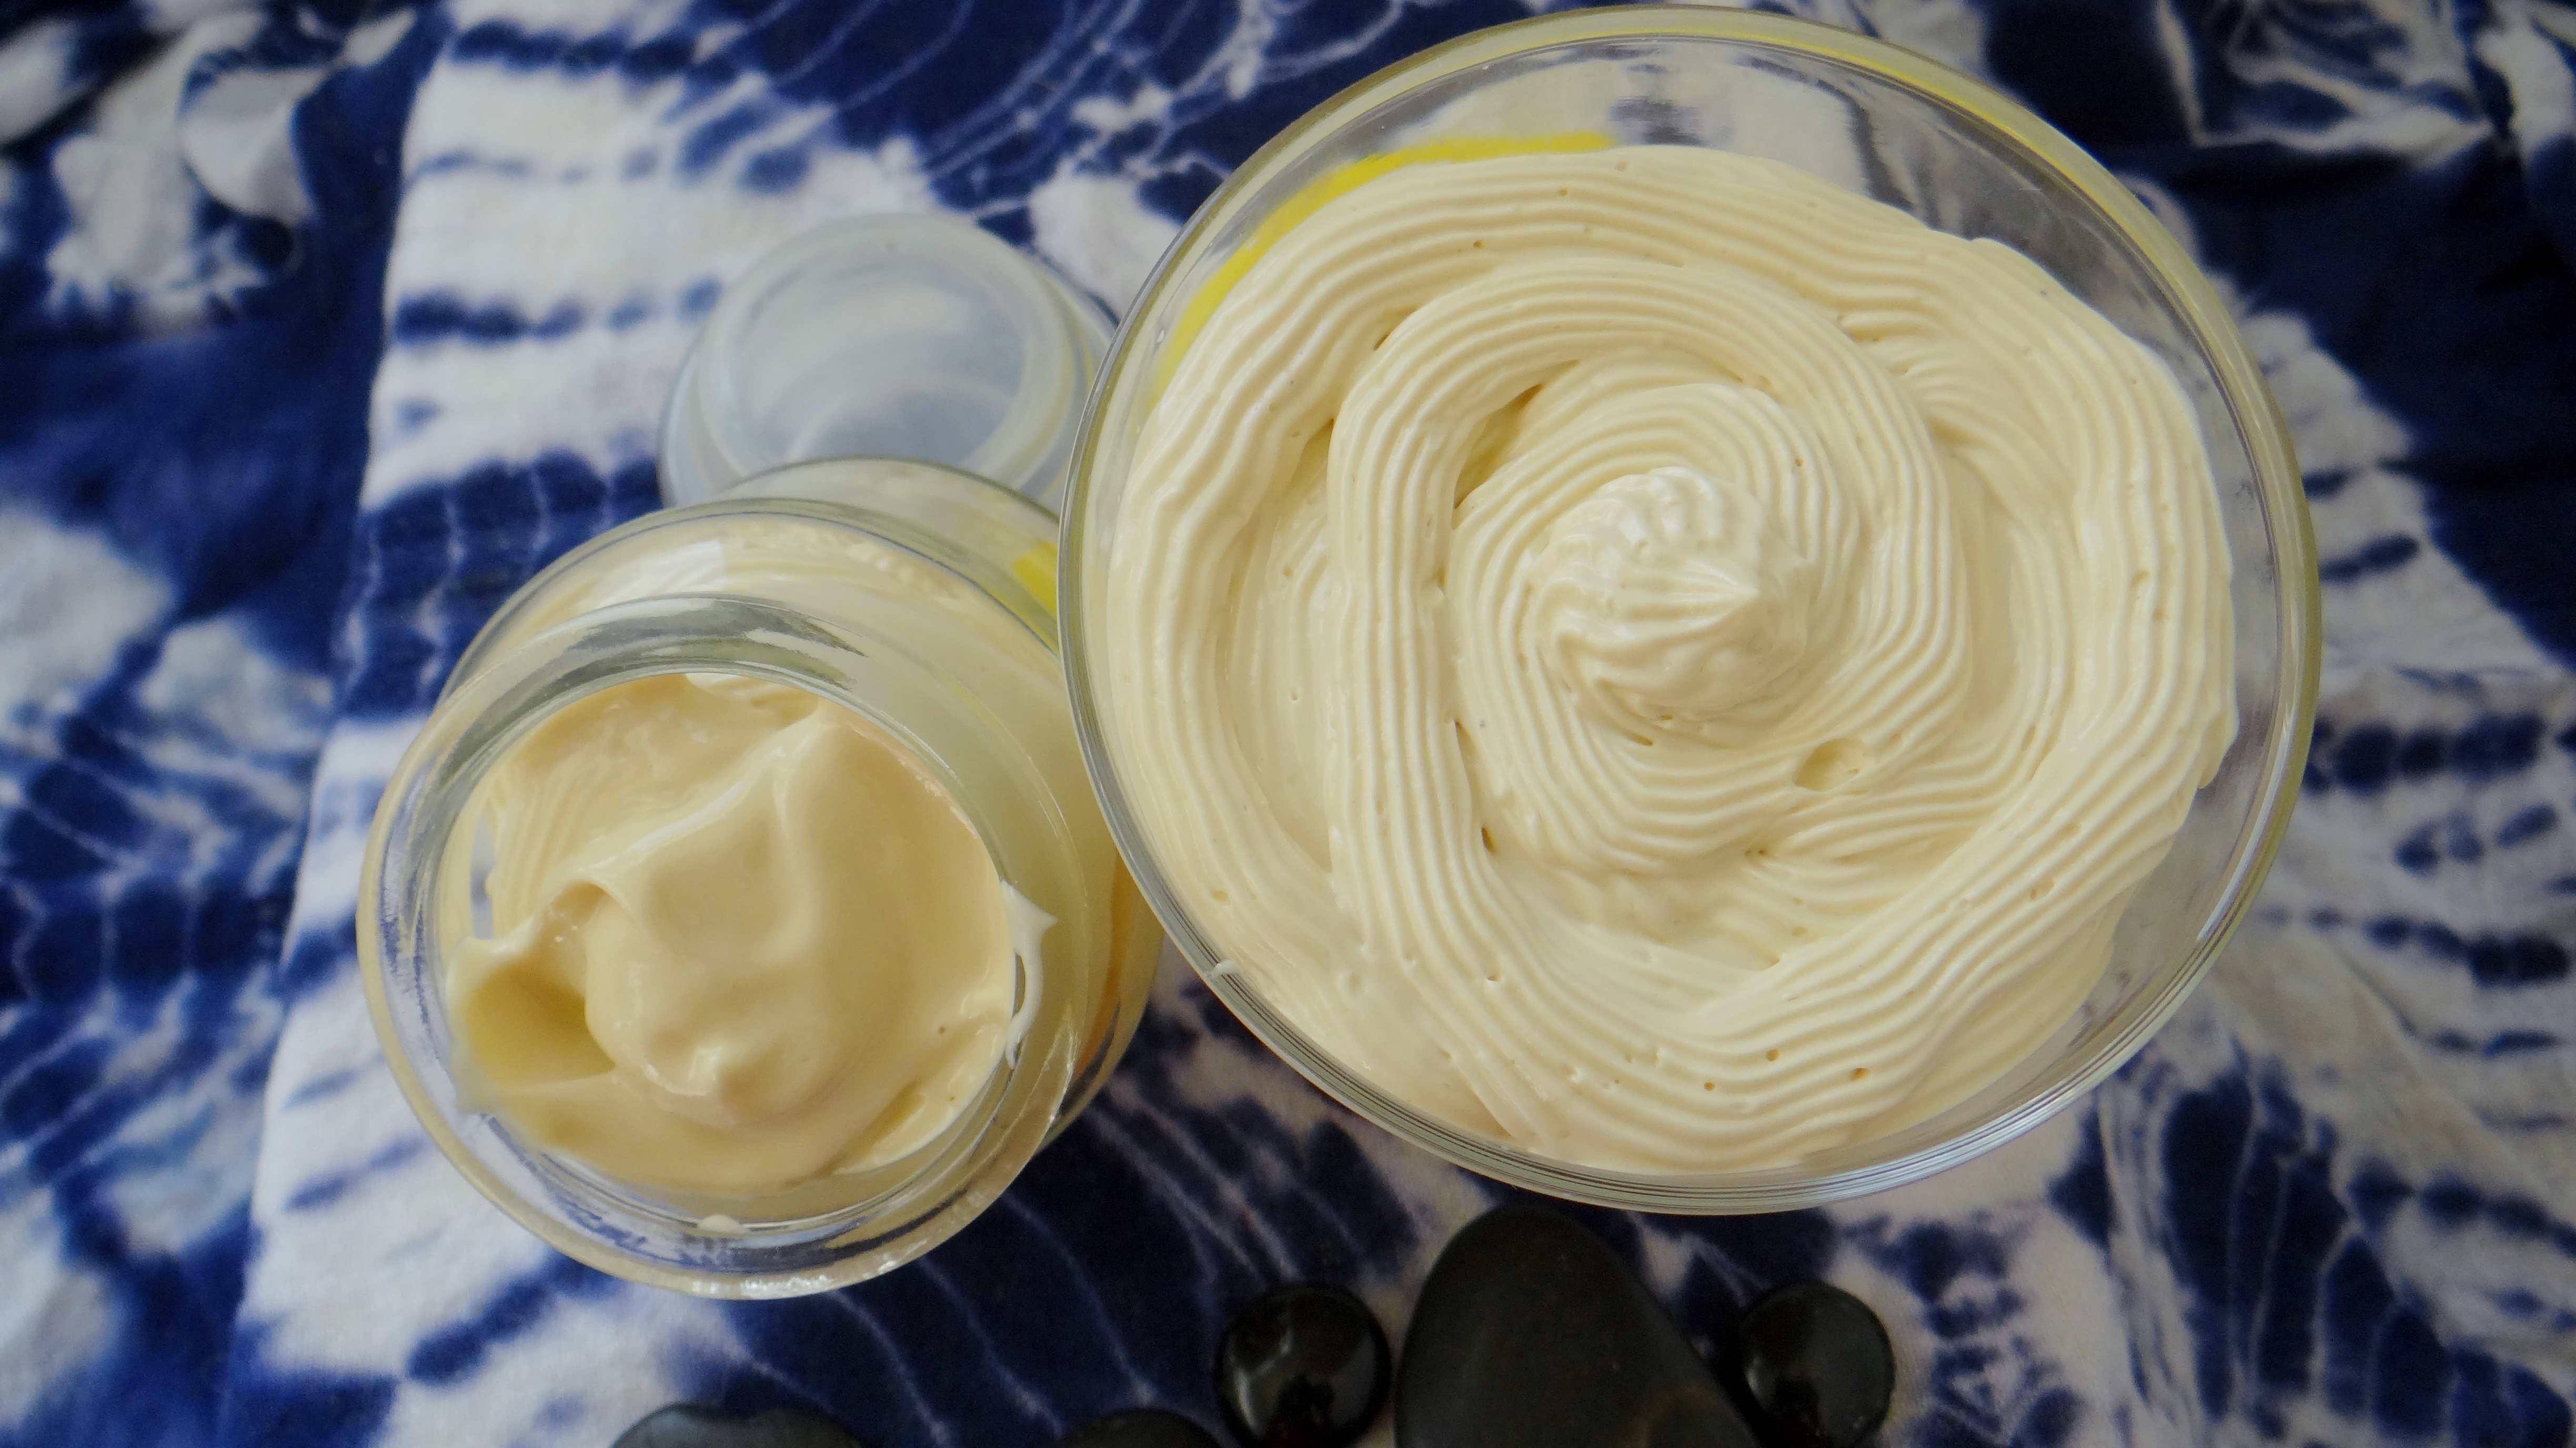
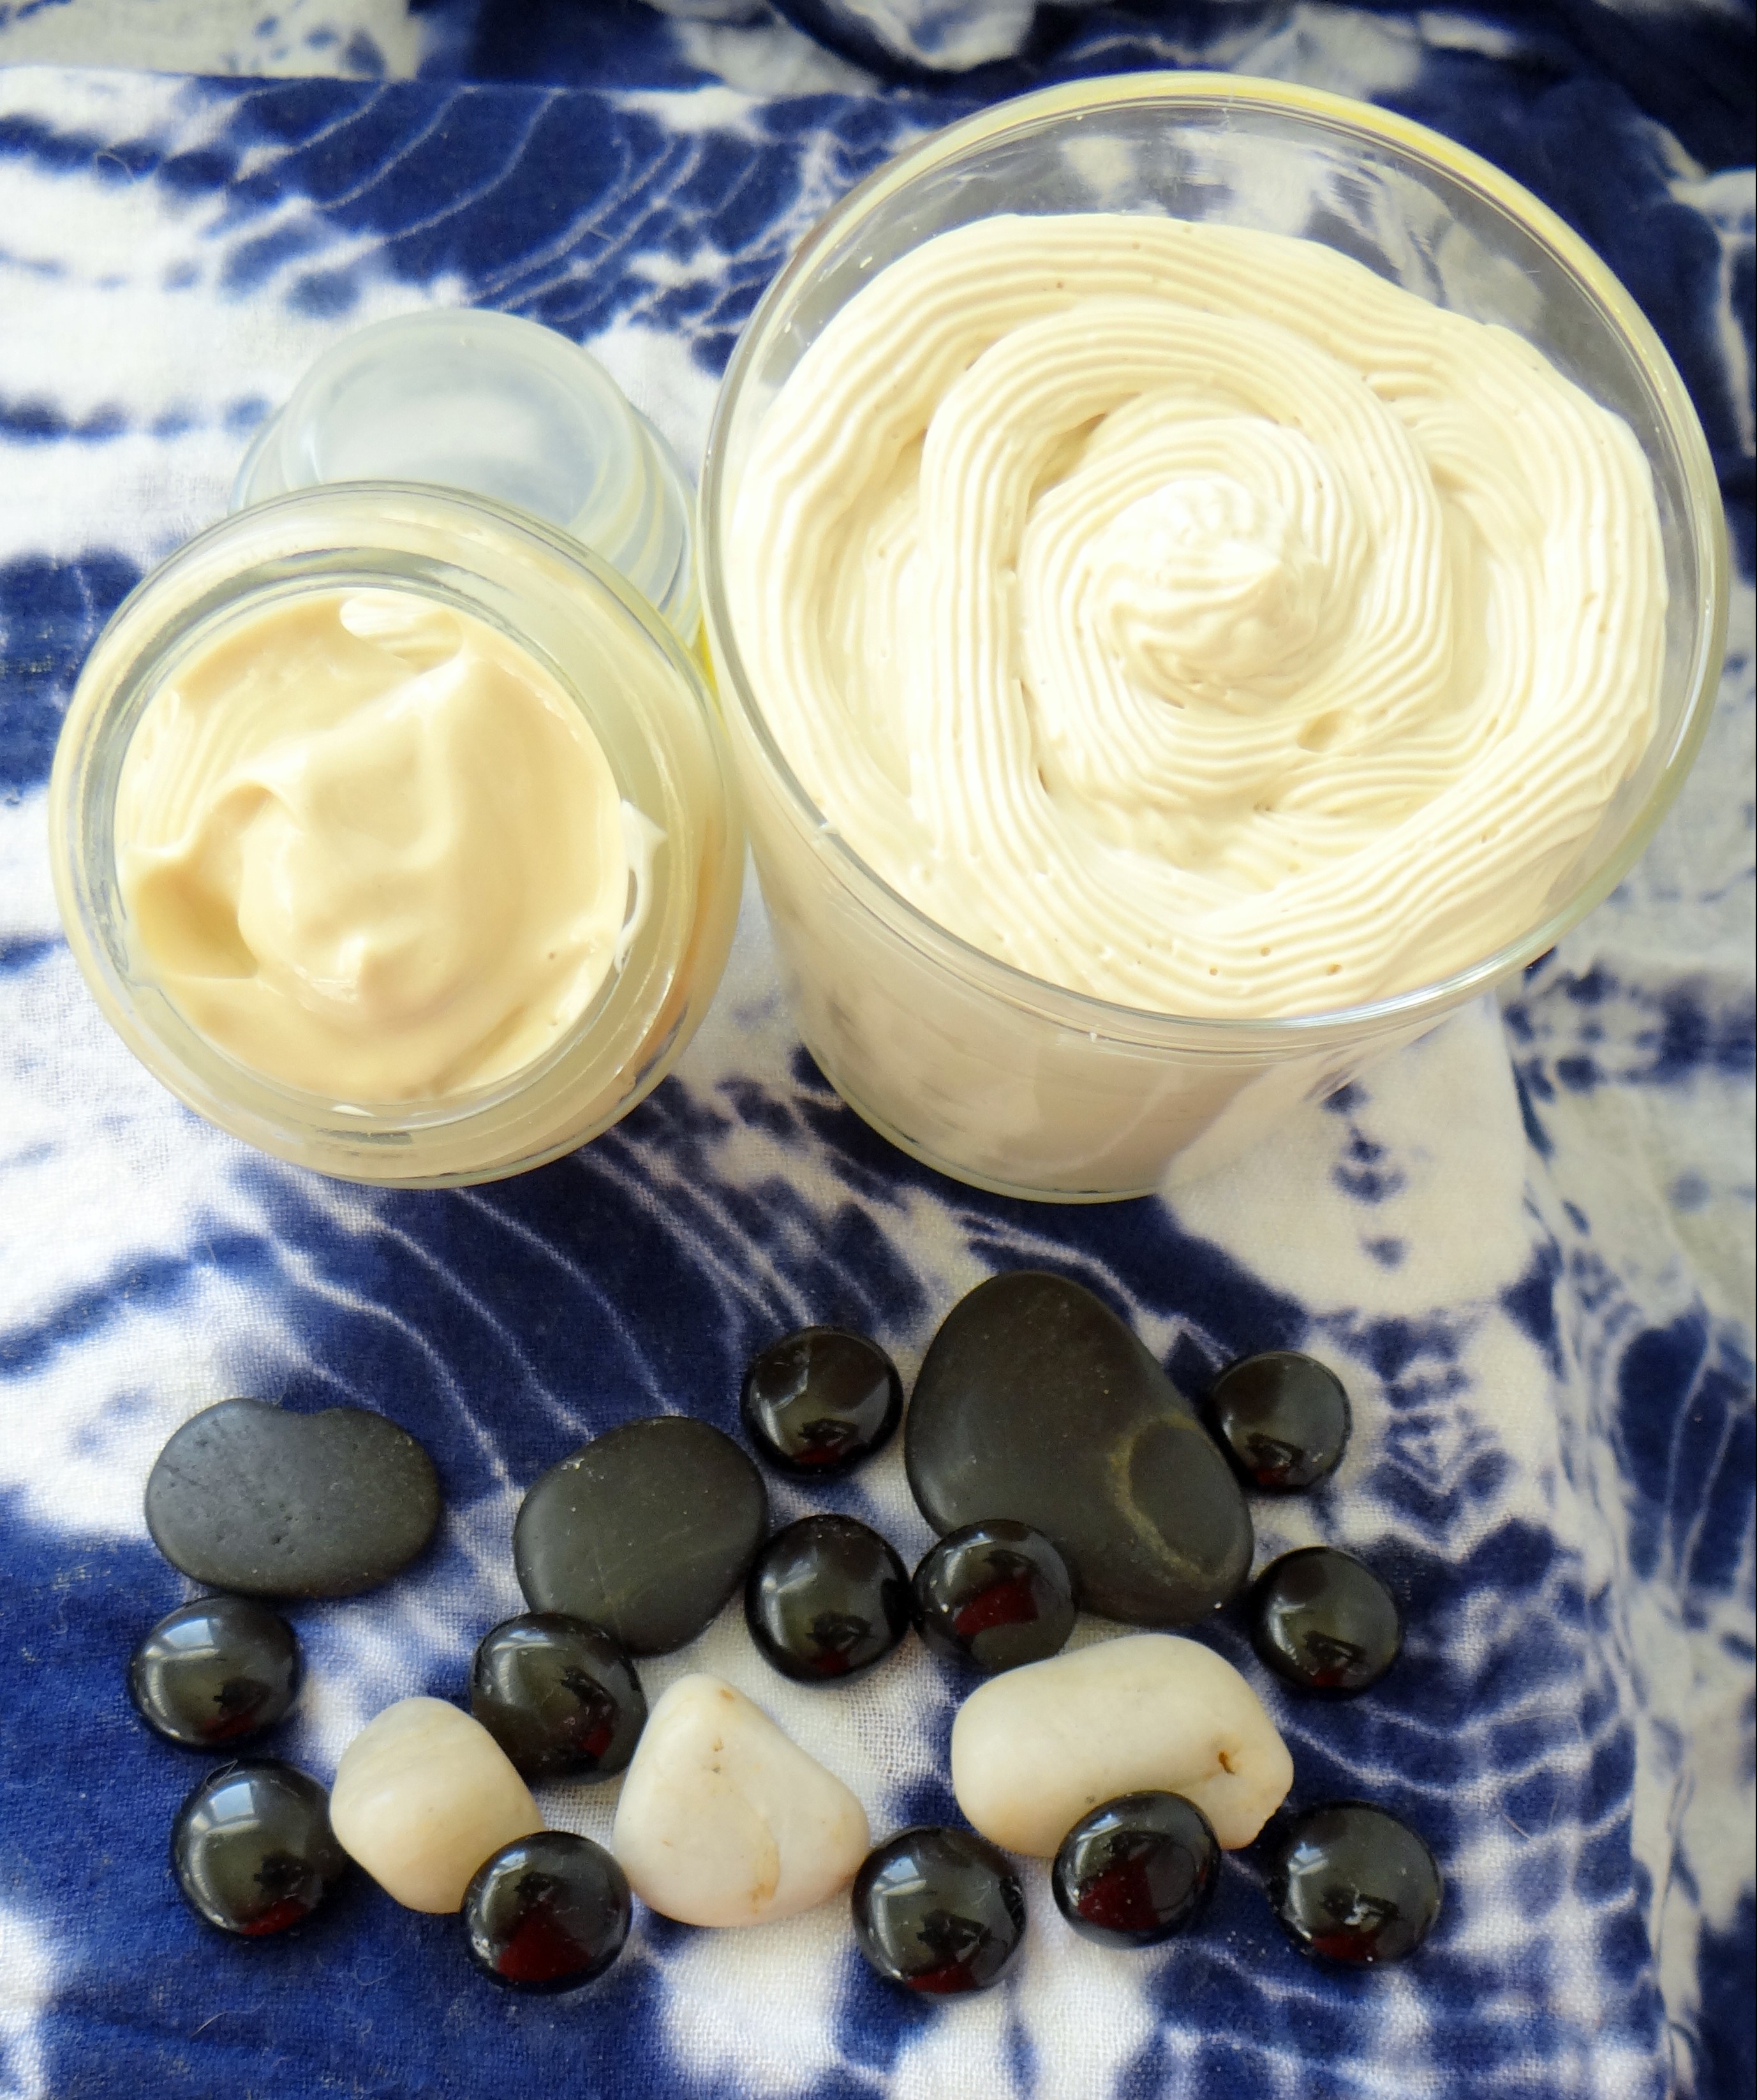
Mixing Process:
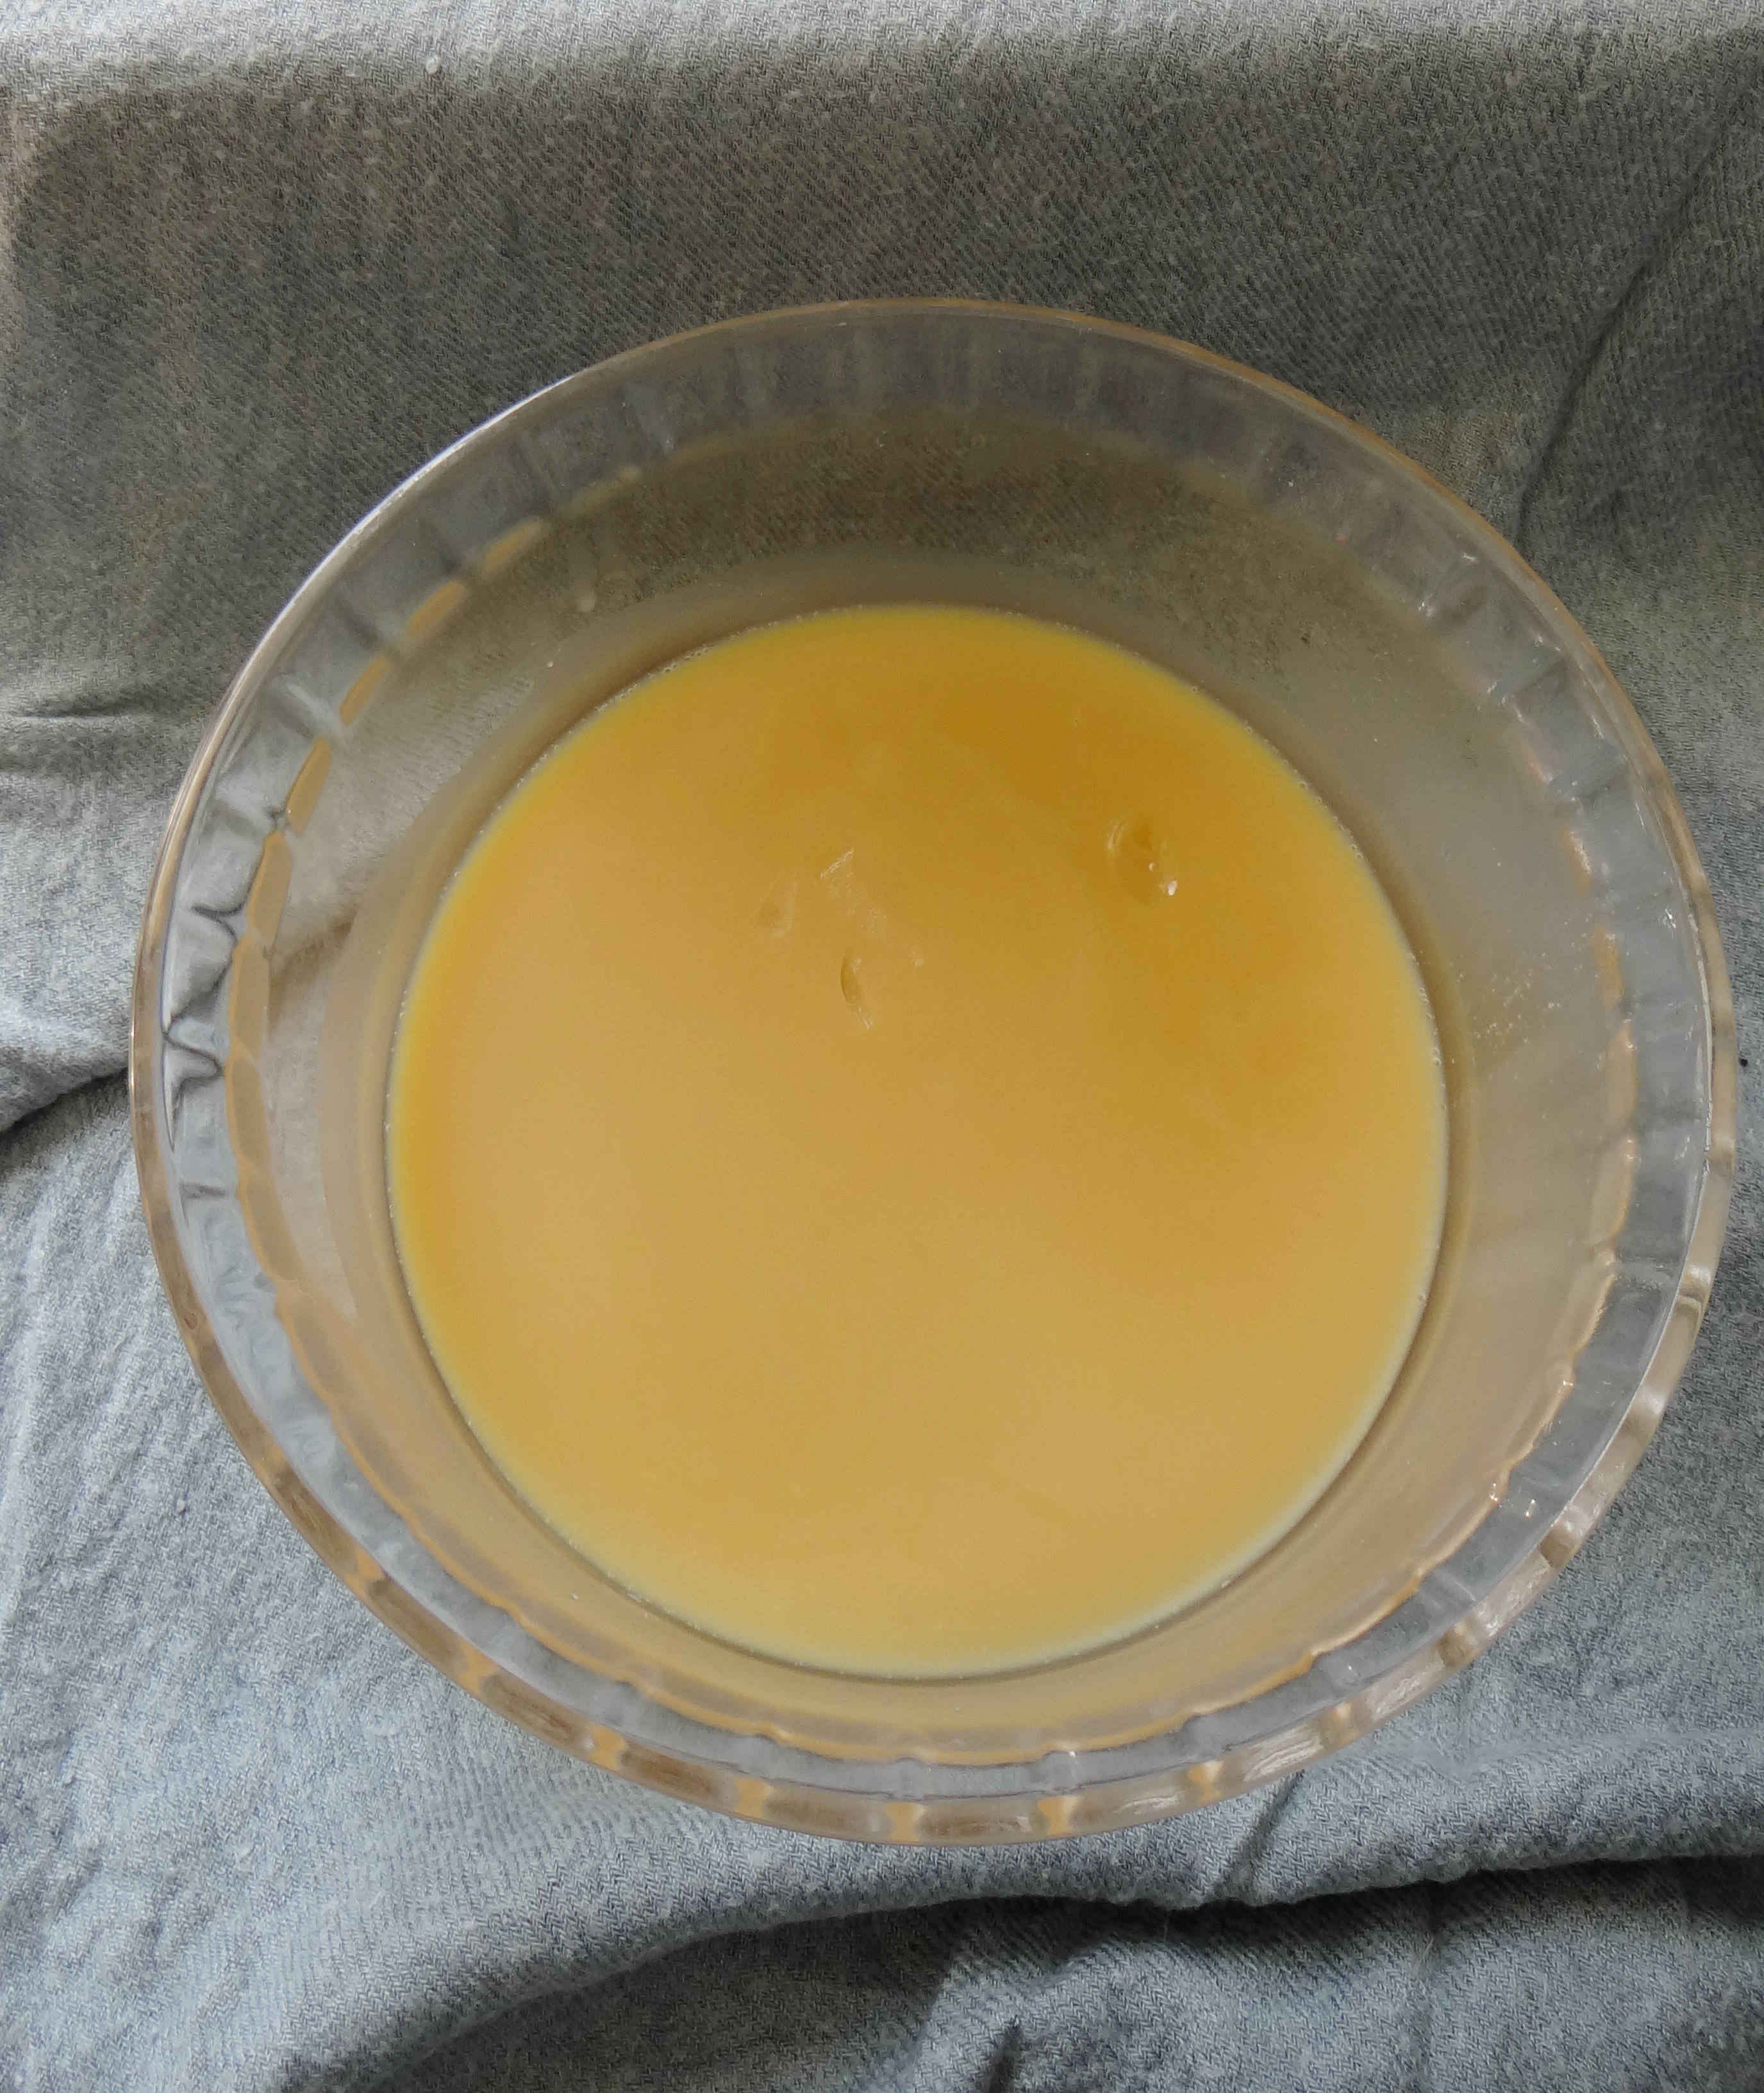
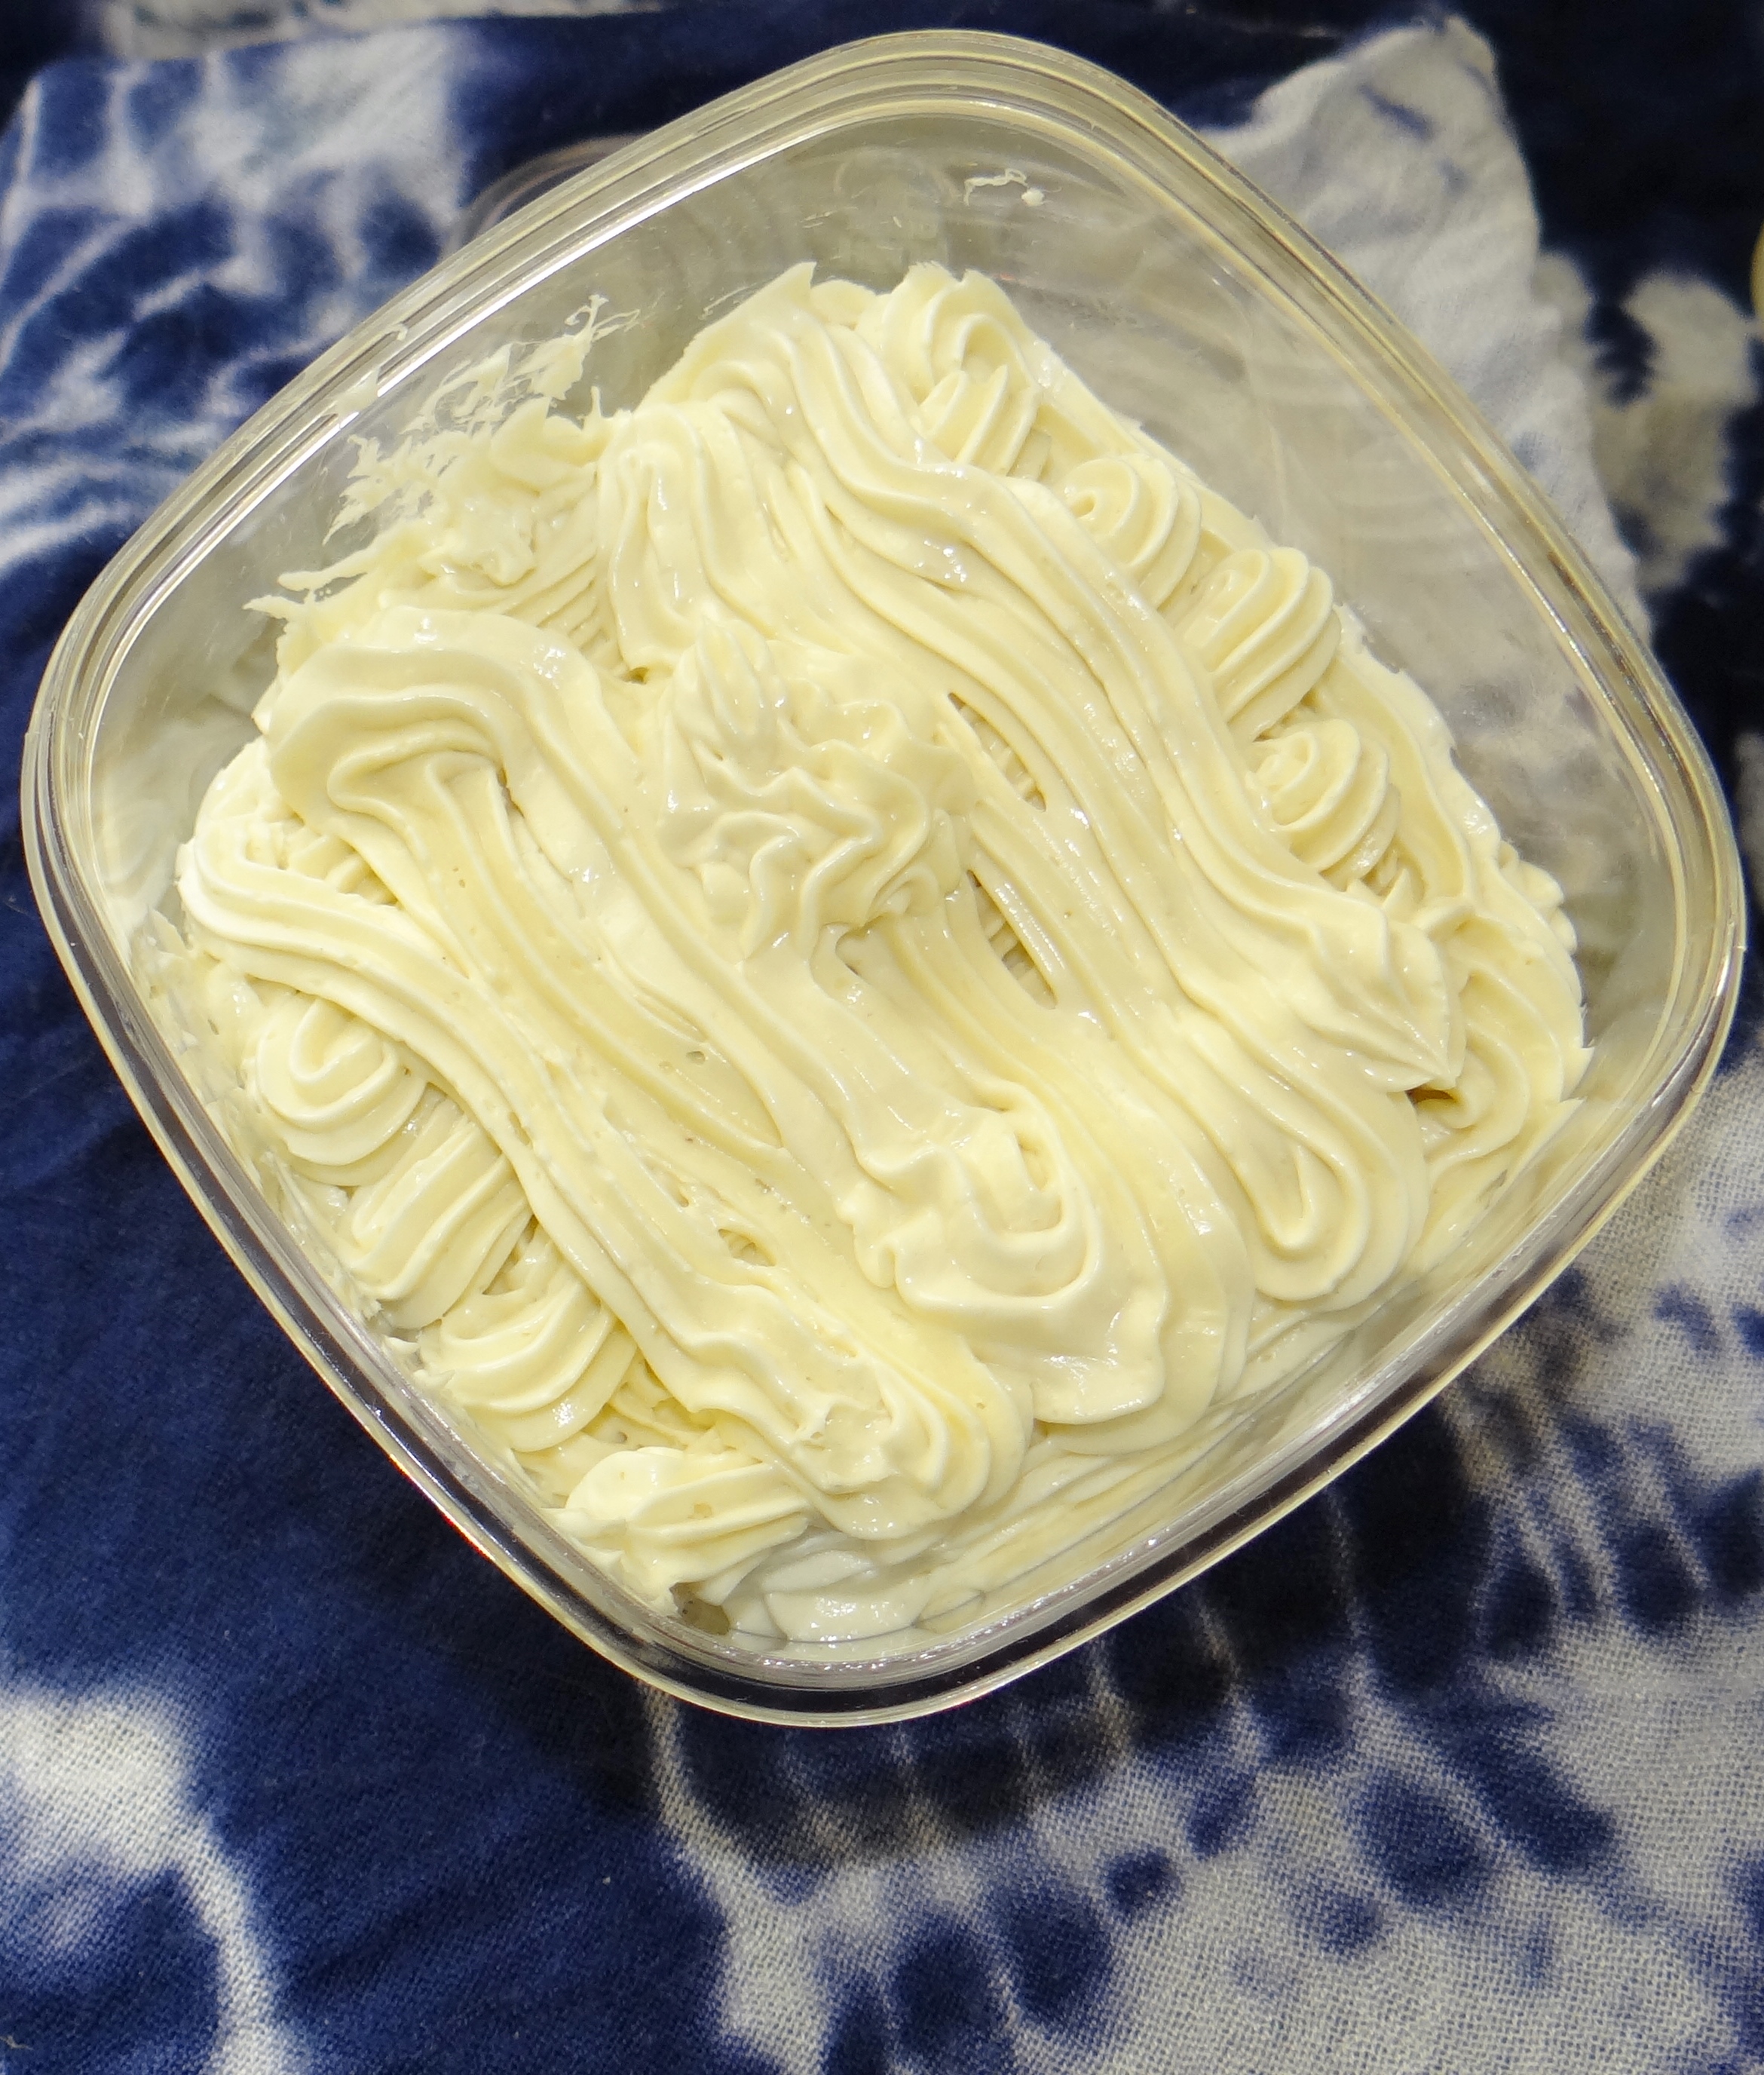
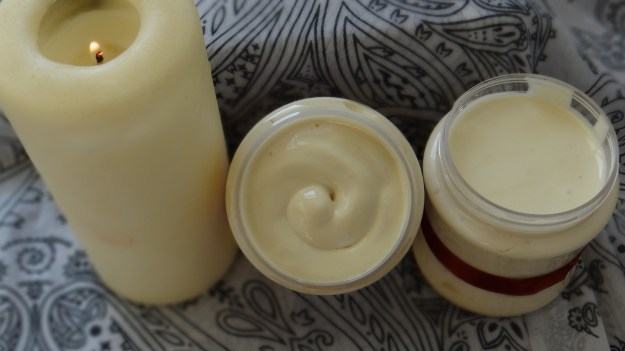
You want to first double broil the Cocoa Butter on low/medium heat for no more than 5 minutes. Once the butter melts (don’t melt all the way) remove it from the heat and add the mango & coffee butter along with the Extra Virgin Olive Oil and stir. Place the bowl in the fridge for 15 – 20 minutes. Whip the mix and then add the remaining ingredients. I like to replace the bowl in the freezer for 15 minutes before I do a final whip till I get it to the consistency I like.
Benefits:
Unrefined Cocoa Butter: is an extremely popular natural ingredient that is used to help increase the hairs manageability and moisture. The butter is known to help reduce hair loss and breakage. Due to its highly moisturizing properties it can alleviate scalp itching and irritation which in turn can eliminate dandruff. Since it is a fat, it can be used to replenish lost oils due to chemical processes such as perms and dye. It is known to effectively strengthen hair, tame frizzy and flyaway hair.
Mango Butter: Mango butter contains high levels of antioxidants and beneficial vitamins A, C, and E. It is a highly moisturizing butter which is able to restore flexibility, effectively treat dry and itchy scalps and therefore aid in the growth of hair (due to a healthy scalp.) Because of its high content of fatty acids it is believed that it might actually be more moisturizing that Cocoa and Shea butter (I cannot attest to that as I have never used it before.)
Coffee Butter: caffeine helps with hair growth stimulation and it helps reduce shedding. The natural butter helps with sealing in moisture, provides shine, makes the hair soft and (p.s is incredible for the skin)
Extra Virgin Olive Oil: can be used to help seal in moisture, aid hair manageability but can be a little “heavy” (especially for those with fine hair) therefore it is best to use it lightly so it does not weigh your hair down.
Grapeseed Oil: Another example of an oil that is easily absorbed into the hair and scalp without weighing down the hair or clogging up pores due to the fact that it is an extremely “light” oil. Although it is a “light” oil it gives hair a sheen so those with fine hair can use it without worrying about having greasy hair. It is known to help heal alopecia areata as well dry and itchy scalps therefore helping fight dandruff. It is great and sealing in moisture and retaining the natural moisture in our hair.
Vegetable Glycerin: Vegetable Glycerin is a humectant since it attracts water in the air (humidity) and directs it to the area applied (the hair.) Due to its oily nature it can also be used as a sealant and “trap in” moisture however should be used sparingly and should be diluted since it is thick and sticky. Vegetable Glycerin is better served when used in humid climate since it attracts that moisture however, if used when there is a lack of humidity in the air it can do the opposite (extract moisture from the hair to the air.)
Vitamin E Oil: Vitamin E is a commonly used oil to help extend homemade products shelf life (however only extends products for a little bit.) This oil rejuvenates and offers protection for the scalp and skin by nourishing both.
Peppermint Oil: Helps to stimulate blood flow to the scalp which results in hair growth as the root of the hair is being nourished.
Chocolate Fragrance: the scent of course!
I hope you enjoy this recipe!
Thanks
Maicurls