Hey Maicurlies,
Today I have yet another DIY to share! 😀
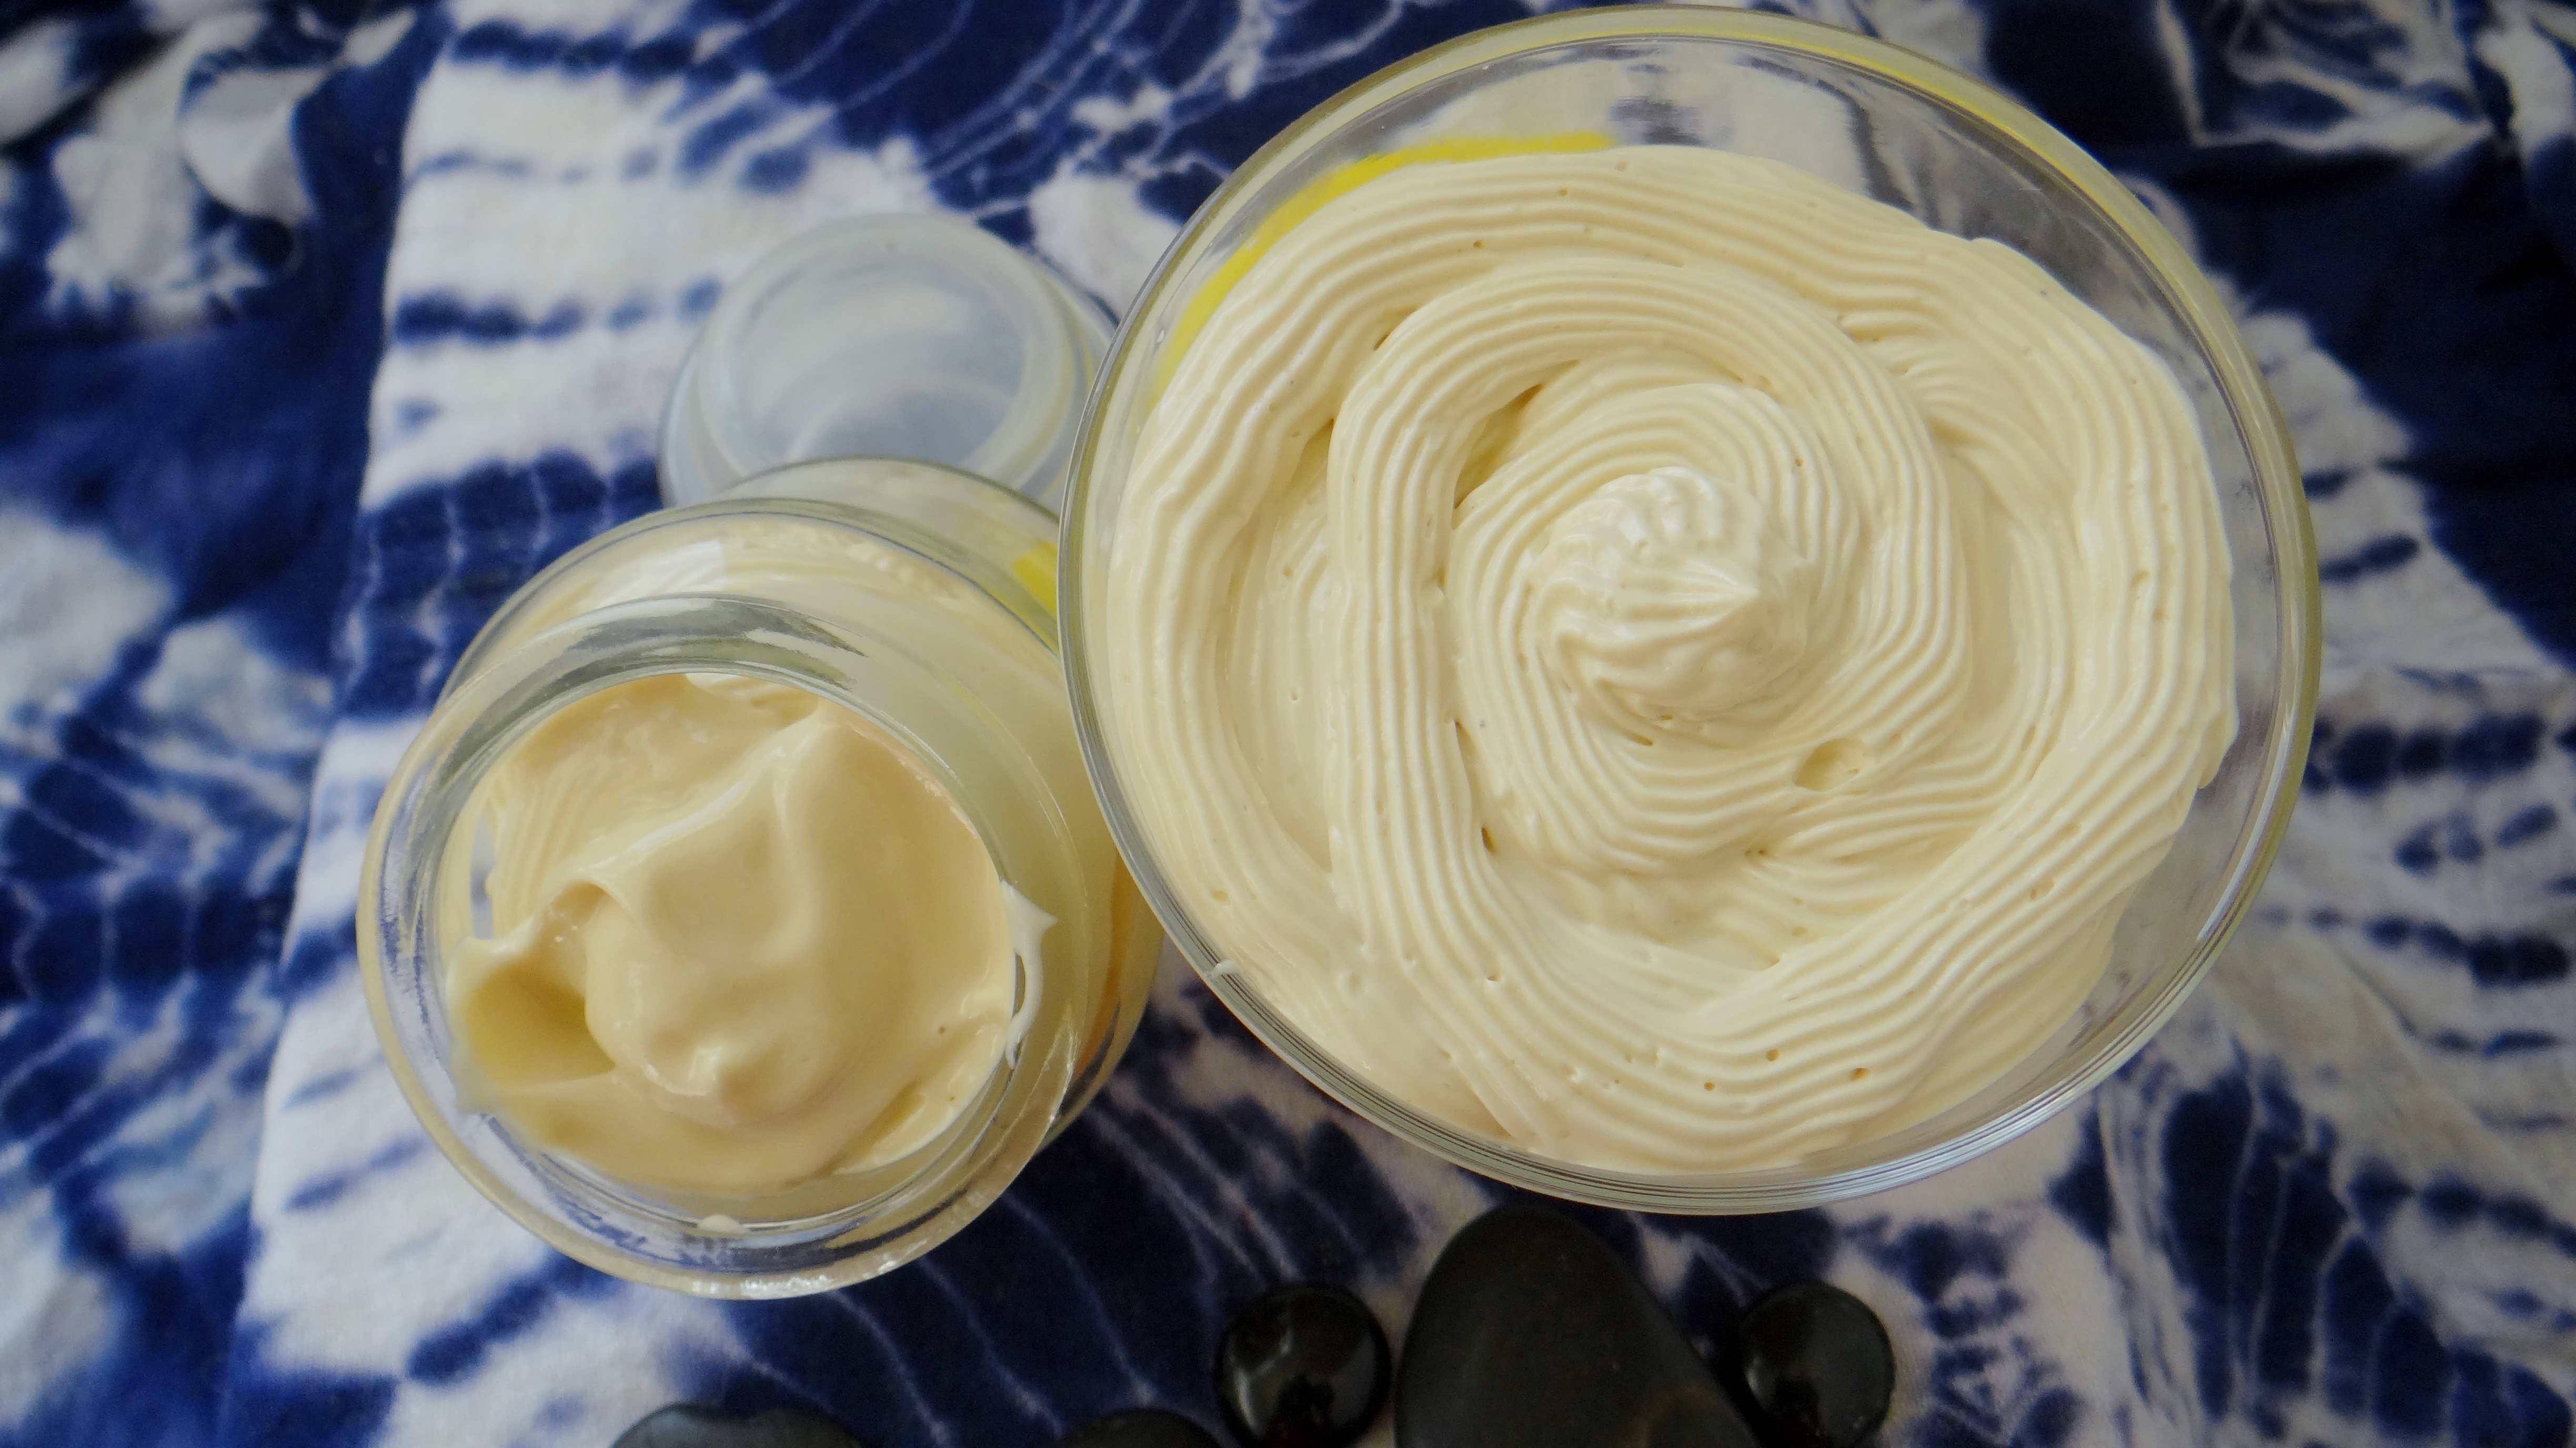
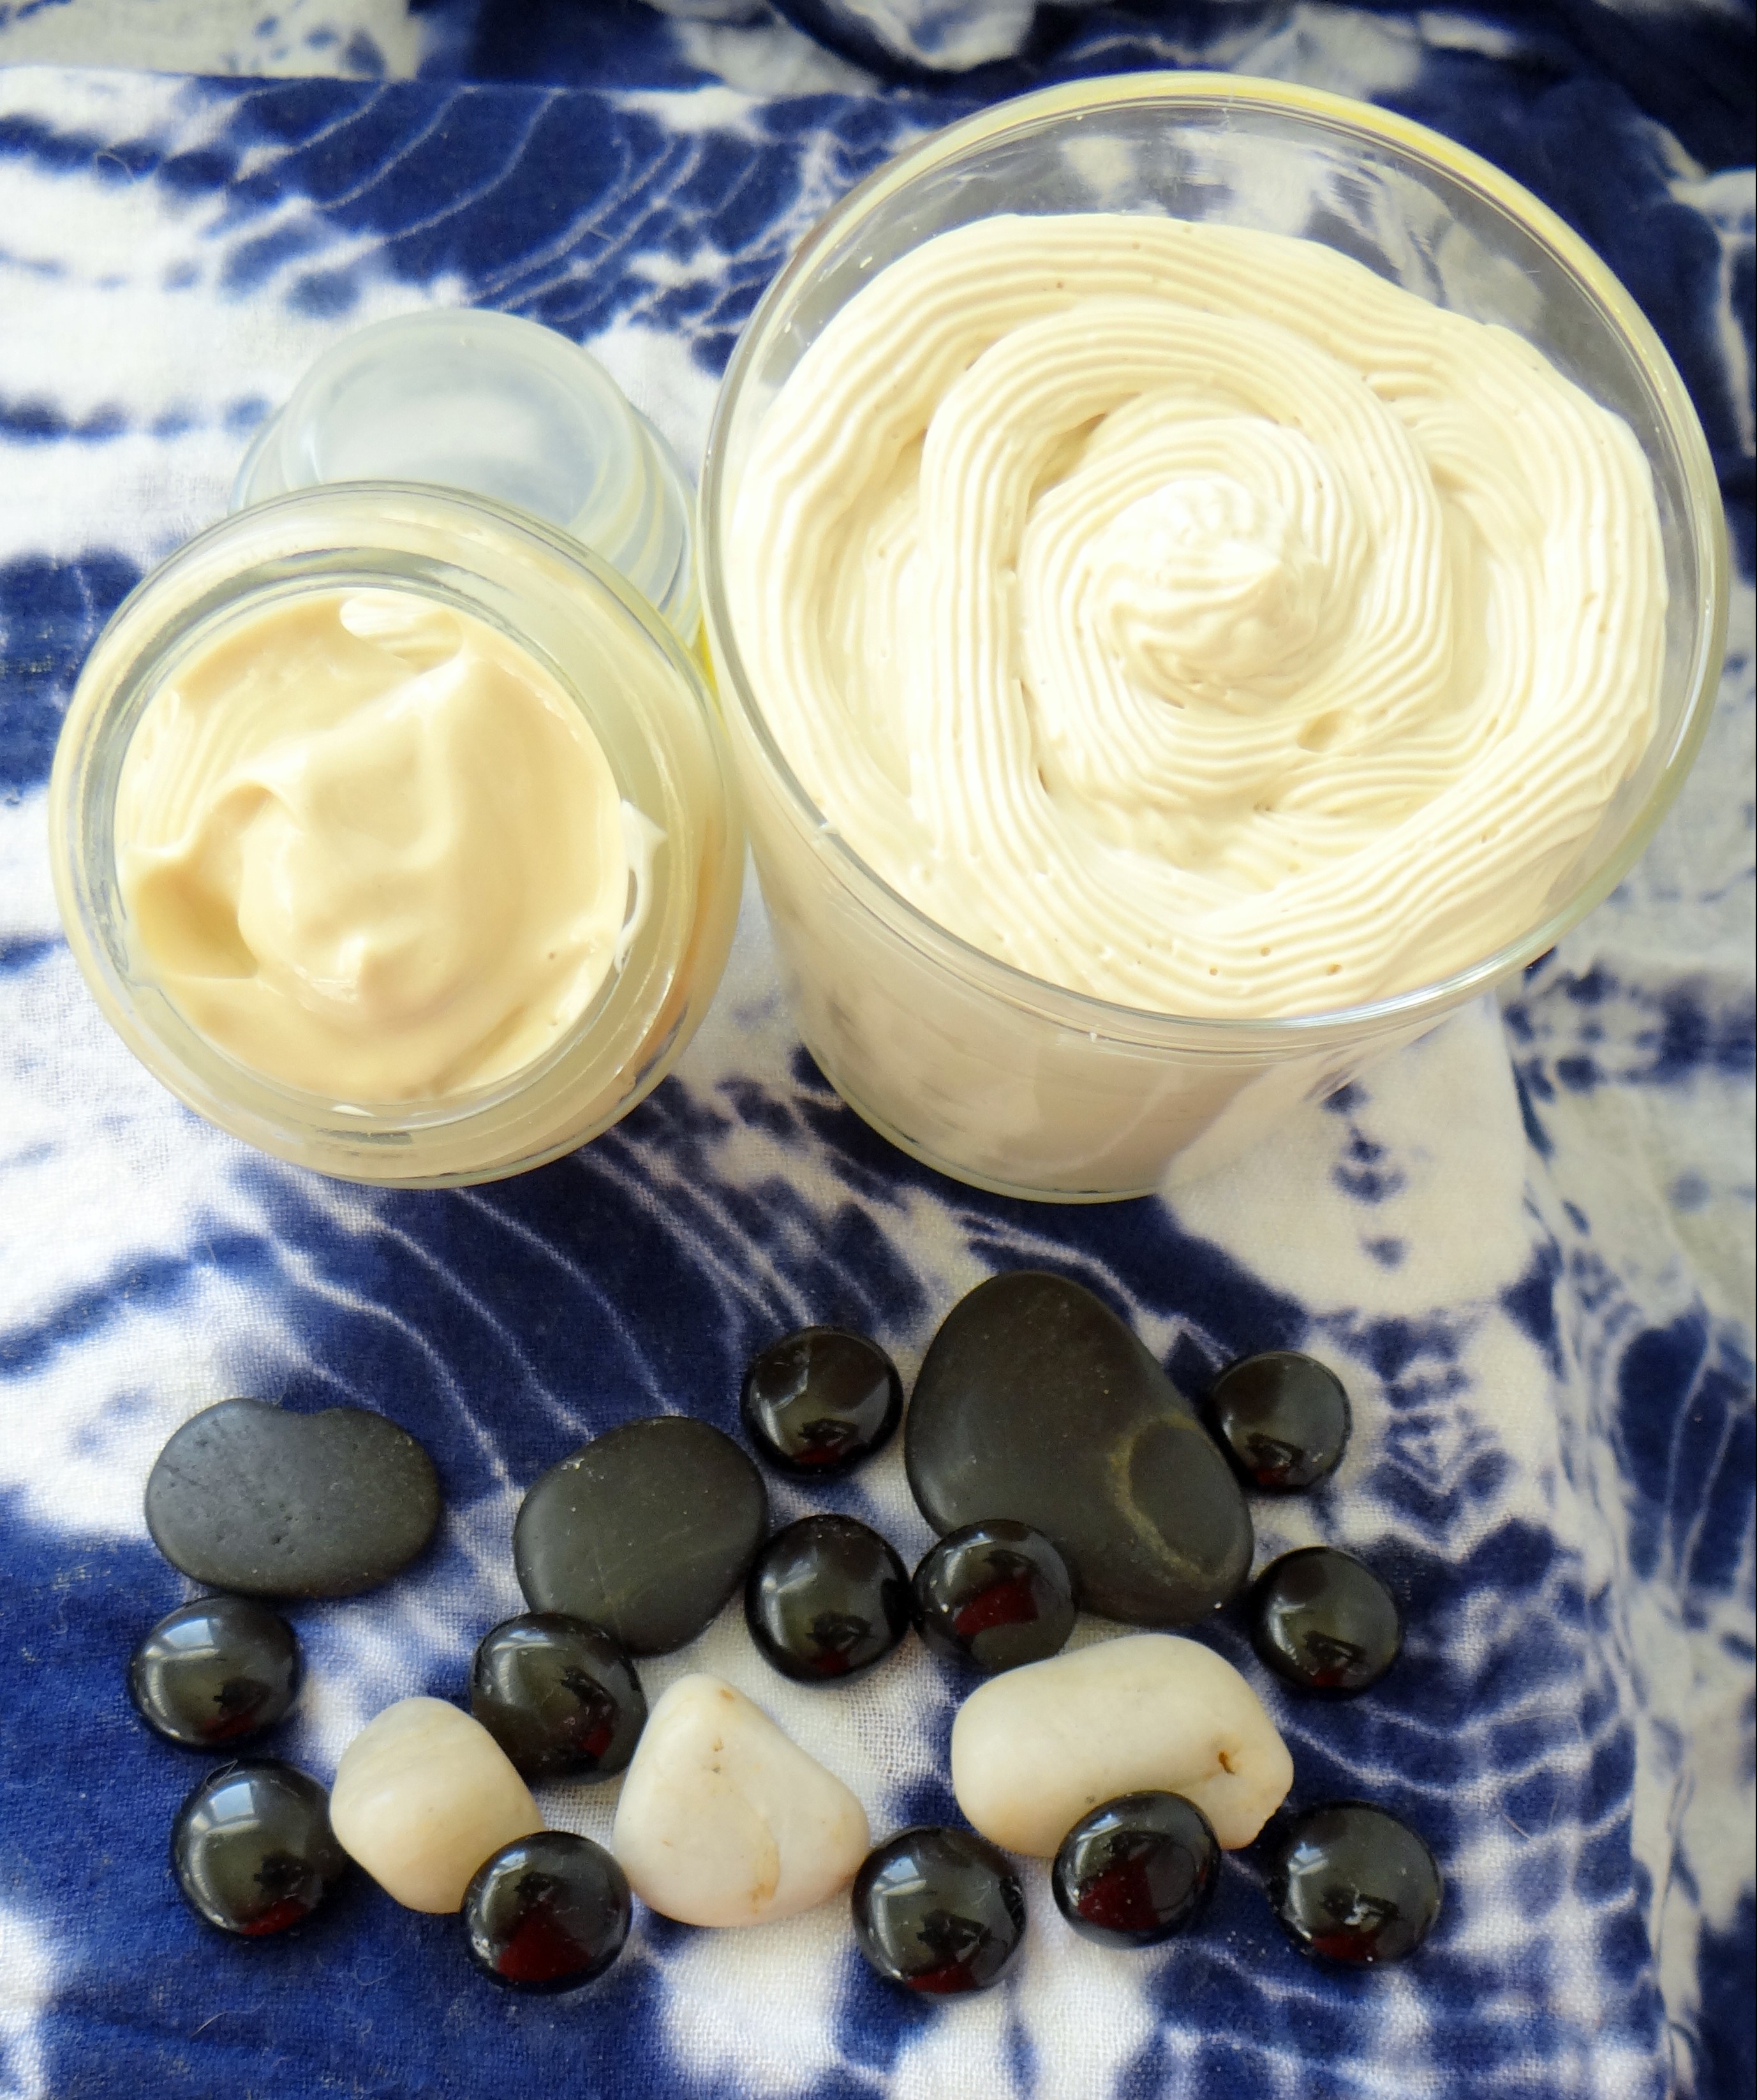
DIY Hair Setting Lotion
This baby is my DIY Hair Setting Lotion and before I begin I want to point out that while I consider this a “lotion” the name comes from the fact that it has a lotion-ish consistency. It does not contain the main ingredients included in most normal hair lotions/creams you can buy from the store. What this recipe does contain is Flax Seed Gel (FSG) and Whipped Butter, along with a little natural honey. It is an all natural (no parabens, no chemicals, no alcohol) product that helps enhance your curls, provides you with light hold while at the same time provides moisture and seals in that moisture.
As I have always mentioned in all of my DIY recipes, you do not have to follow my recipe step by step (it is good to experiment for yourself) but just so you have an idea of what I do, I include my: DIY Protein Hibiscus Flax Seed Gel and my DIY Double Coffee Whipped butter. (I will provide you with ingredient alternatives below).
I have used this product in a number of different ways and loved the results of each for example to set a rake & shake (similar to a wash and go), perm rod curls, twist-outs. I like to apply this as a final product after I have moisturized my hair with a leave-in conditioner. I do not follow up with a butter/oil/gel since this basically has it all!
Ingredients/Tools Used:
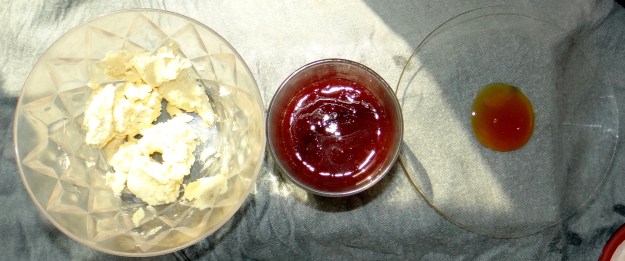
- 1.3 oz Double Coffee Whipped Butter (use any whipped butter you like)
- 3 oz Protein Hibiscus Flax Seed Gel (you can use regular FSG)
- 0.2 oz Raw/Natural Honey (optional – for additional moisture)
- Emulsifier/Blender
- Spatula
- Bowl/Container
- Clean & disinfected Squeeze bottle
Mixing Method:

Hair Setting Lotion
1. I put my (super fluffy and delicious smelling) double coffee whipped butter in a tall container and pour in the FSG. 2. Using an emulsifier (you can use a blender) I pulse the butter and gel together until it starts to combine, add the honey and continue to pulse till it starts to turn into a lotion-ish consistency (usually no more than 3 – 4 minutes). That is it! Simple 😀
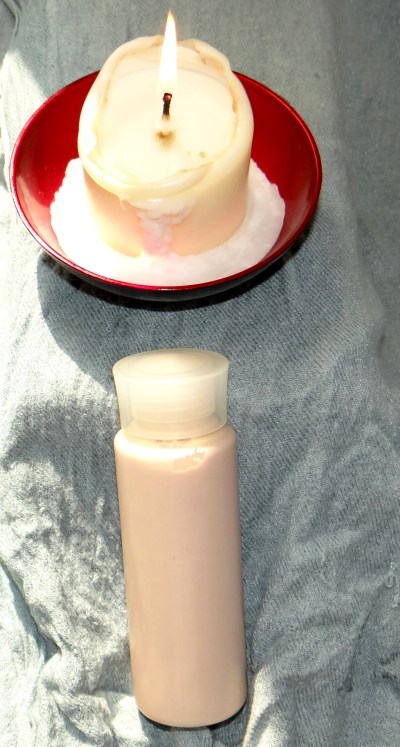
Storage:
You MUST I repeat you MUST store this in the fridge. FSG has a short shelf life on its own and while the honey does help to extend the shelf life, you are combining butter together with a liquid; therefore in order to avoid bacteria from growing too quickly it has to be stored in the fridge. You also only want to make small amounts so that you can use it up quickly and then just remake some more. Again, this will reduce the chances of your product growing mold before it is used up (avoid wasting it).
Ingredient alternatives:
Instead of the Protein FSG I use you can of course use regular FSG. The whipped butter used is completely up to you, whipped Shea butter, mango butter, a combination of butters will work just as well. Honey is an optional ingredient that can either be skipped all together or replaced with glycerin or agave nectar. The addition of this helps to provide the mix with a little extra moisture and again helps to extend the shelf life of the product (just a little nothing major). You could also opt to try and use a store bought gel (however the consistency of the end product will probably be much thicker and more like a DIY hair custard which is great too)!
Benefits:
- Provides light hold (none crunchy hold)
- Helps enhance curl defintion
- Proivdes moisture
- Provides shine
- Helps seal in moisture
This product has the ability to provide your hair with hold and curl definition while at the same time it provides moisture due to the Flax Seed Benefits such as the Omega fatty acids present in the seeds. Depending on your FSG recipe you might have extra moisturizing elements e.g. I use rose water, and plain water which is great for the hair and scalp. The addition of carrier oils in the gel also helps with providing the hair with sheen and the ability to seal in moisture. The same applies for the whipped butter which helps to soften the hair, smooth the hairs cuticles, provides shine and seals in moisture. If you added Essential oil in the process of your gel/butter making this again helps with the overall health of your hair and scalp. Overall this is one goody in a squeeze bottle!
Here is my “how to” video:
I would love to hear what you think if you try this recipe and if you attempt this with a store bought gel I really would love to hear how it turned out!
Thanks
Maicurls