Hello Maicurlies,

I had mentioned my simple two ingredient Flaxseed Gel (FSG) that I usually use whenever I am travelling/away from all my extra goodies at home; in a video I made about all my favorite DIY’s/Store bought products (while travelling) and was asked to share the recipe, so here it is!
This recipe is honestly one of the simplest gel’s I make and while it doesn’t involve a lot of ingredients, it is still packed with nourishment for the hair AND still does an excellent job at providing shine, definition and hold (without any crunchiness).
I have a few videos and posts about other FSG recipes that are more intricate and involve a lot more ingredients here and even a protein FSG to make a strengthening Gel). They also include more details about the benefits of using FSG for the hair (you know I have to give props to the fact that this gel is ALL natural, doesn’t include any chemicals and actually provides nourishment to the hair)!
So let’s get to the good stuff!
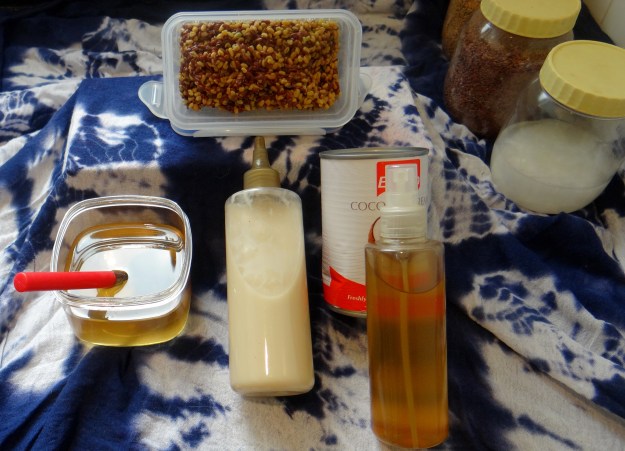
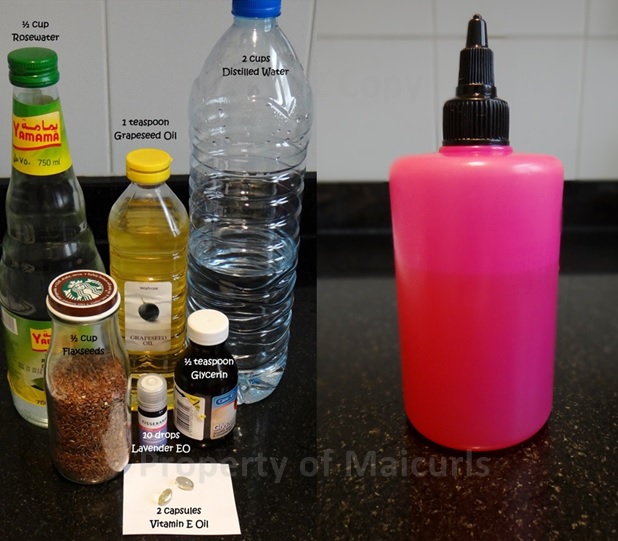
Ingredients/Tools:
- 1/2 cup Flaxseeds
- 2.5 cups Rosewater (reserve 1/2 cup for after boiling)
- 3 teaspoons Almond oil
- Pot
- Spatula
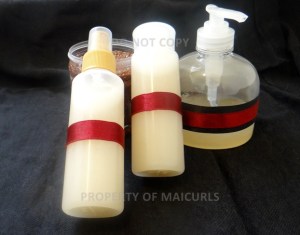
- Container
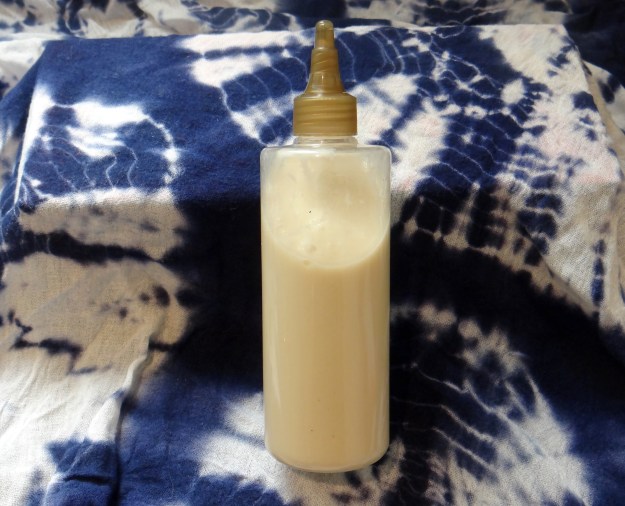
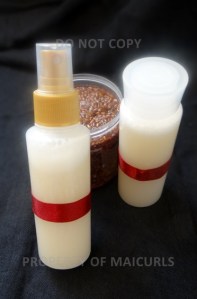
- Pump bottle
- NEW stocking cap
Additional/Optional Ingredients:
Instead of Rosewater, you can use plain water and/or a combination of both (Rosewater has been my go to because of its nourishing benefits for the hair and skin). In place of Almond oil, you can use any carrier oil of choice.
Method:
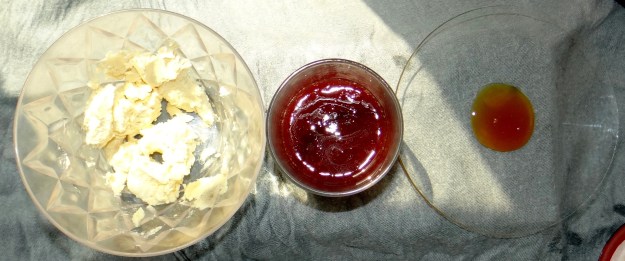
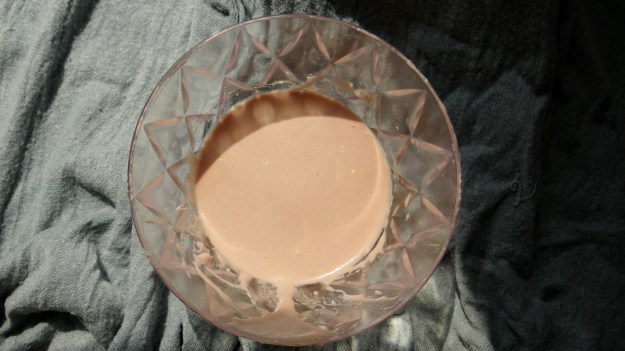
In a pot, I start by adding the Flaxseeds to the Rosewater, making sure that all of the seeds are submerged. Slowly allowing the water to form a gentle rolling boil on low-medium heat, while stirring, till I have the consistency of egg whites. I let the gel cool down completely to room temperature (the seeds still in the gel). I add the additional 0.5 cups of Rosewater to the gel and seeds, while in the pot to make it easier to strain the gell from the seeds. I add the oil to the gel, stir really well so that the oil and gel combine and then transfer into my pump bottle.
Additional Information:
FSG has a relatively short shelf life in general and should ALWAYS be stored in the fridge, especially since I don’t use preservatives, nor do I add ingredients that help to extend the shelf life in this particular recipe (to keep it simple). I ordinarily do eg Essential oils and Vitamin E oil. It is best to keep the gel in the fridge for no more than 2 weeks. An alternative option is to freeze the gel in an ice-cube tray and then when ready take out a few FSG blocks to defrost and use. You can reuse the Flaxseeds by storing in a container/airtight zip lock bag.
I would love to hear what you think of this recipe Maicurlies!