Hello Beautiful Maicurlies,
So today I wanted to do a quick post on my first attempt with one of my newest hair tools – Super Large Perm rods!
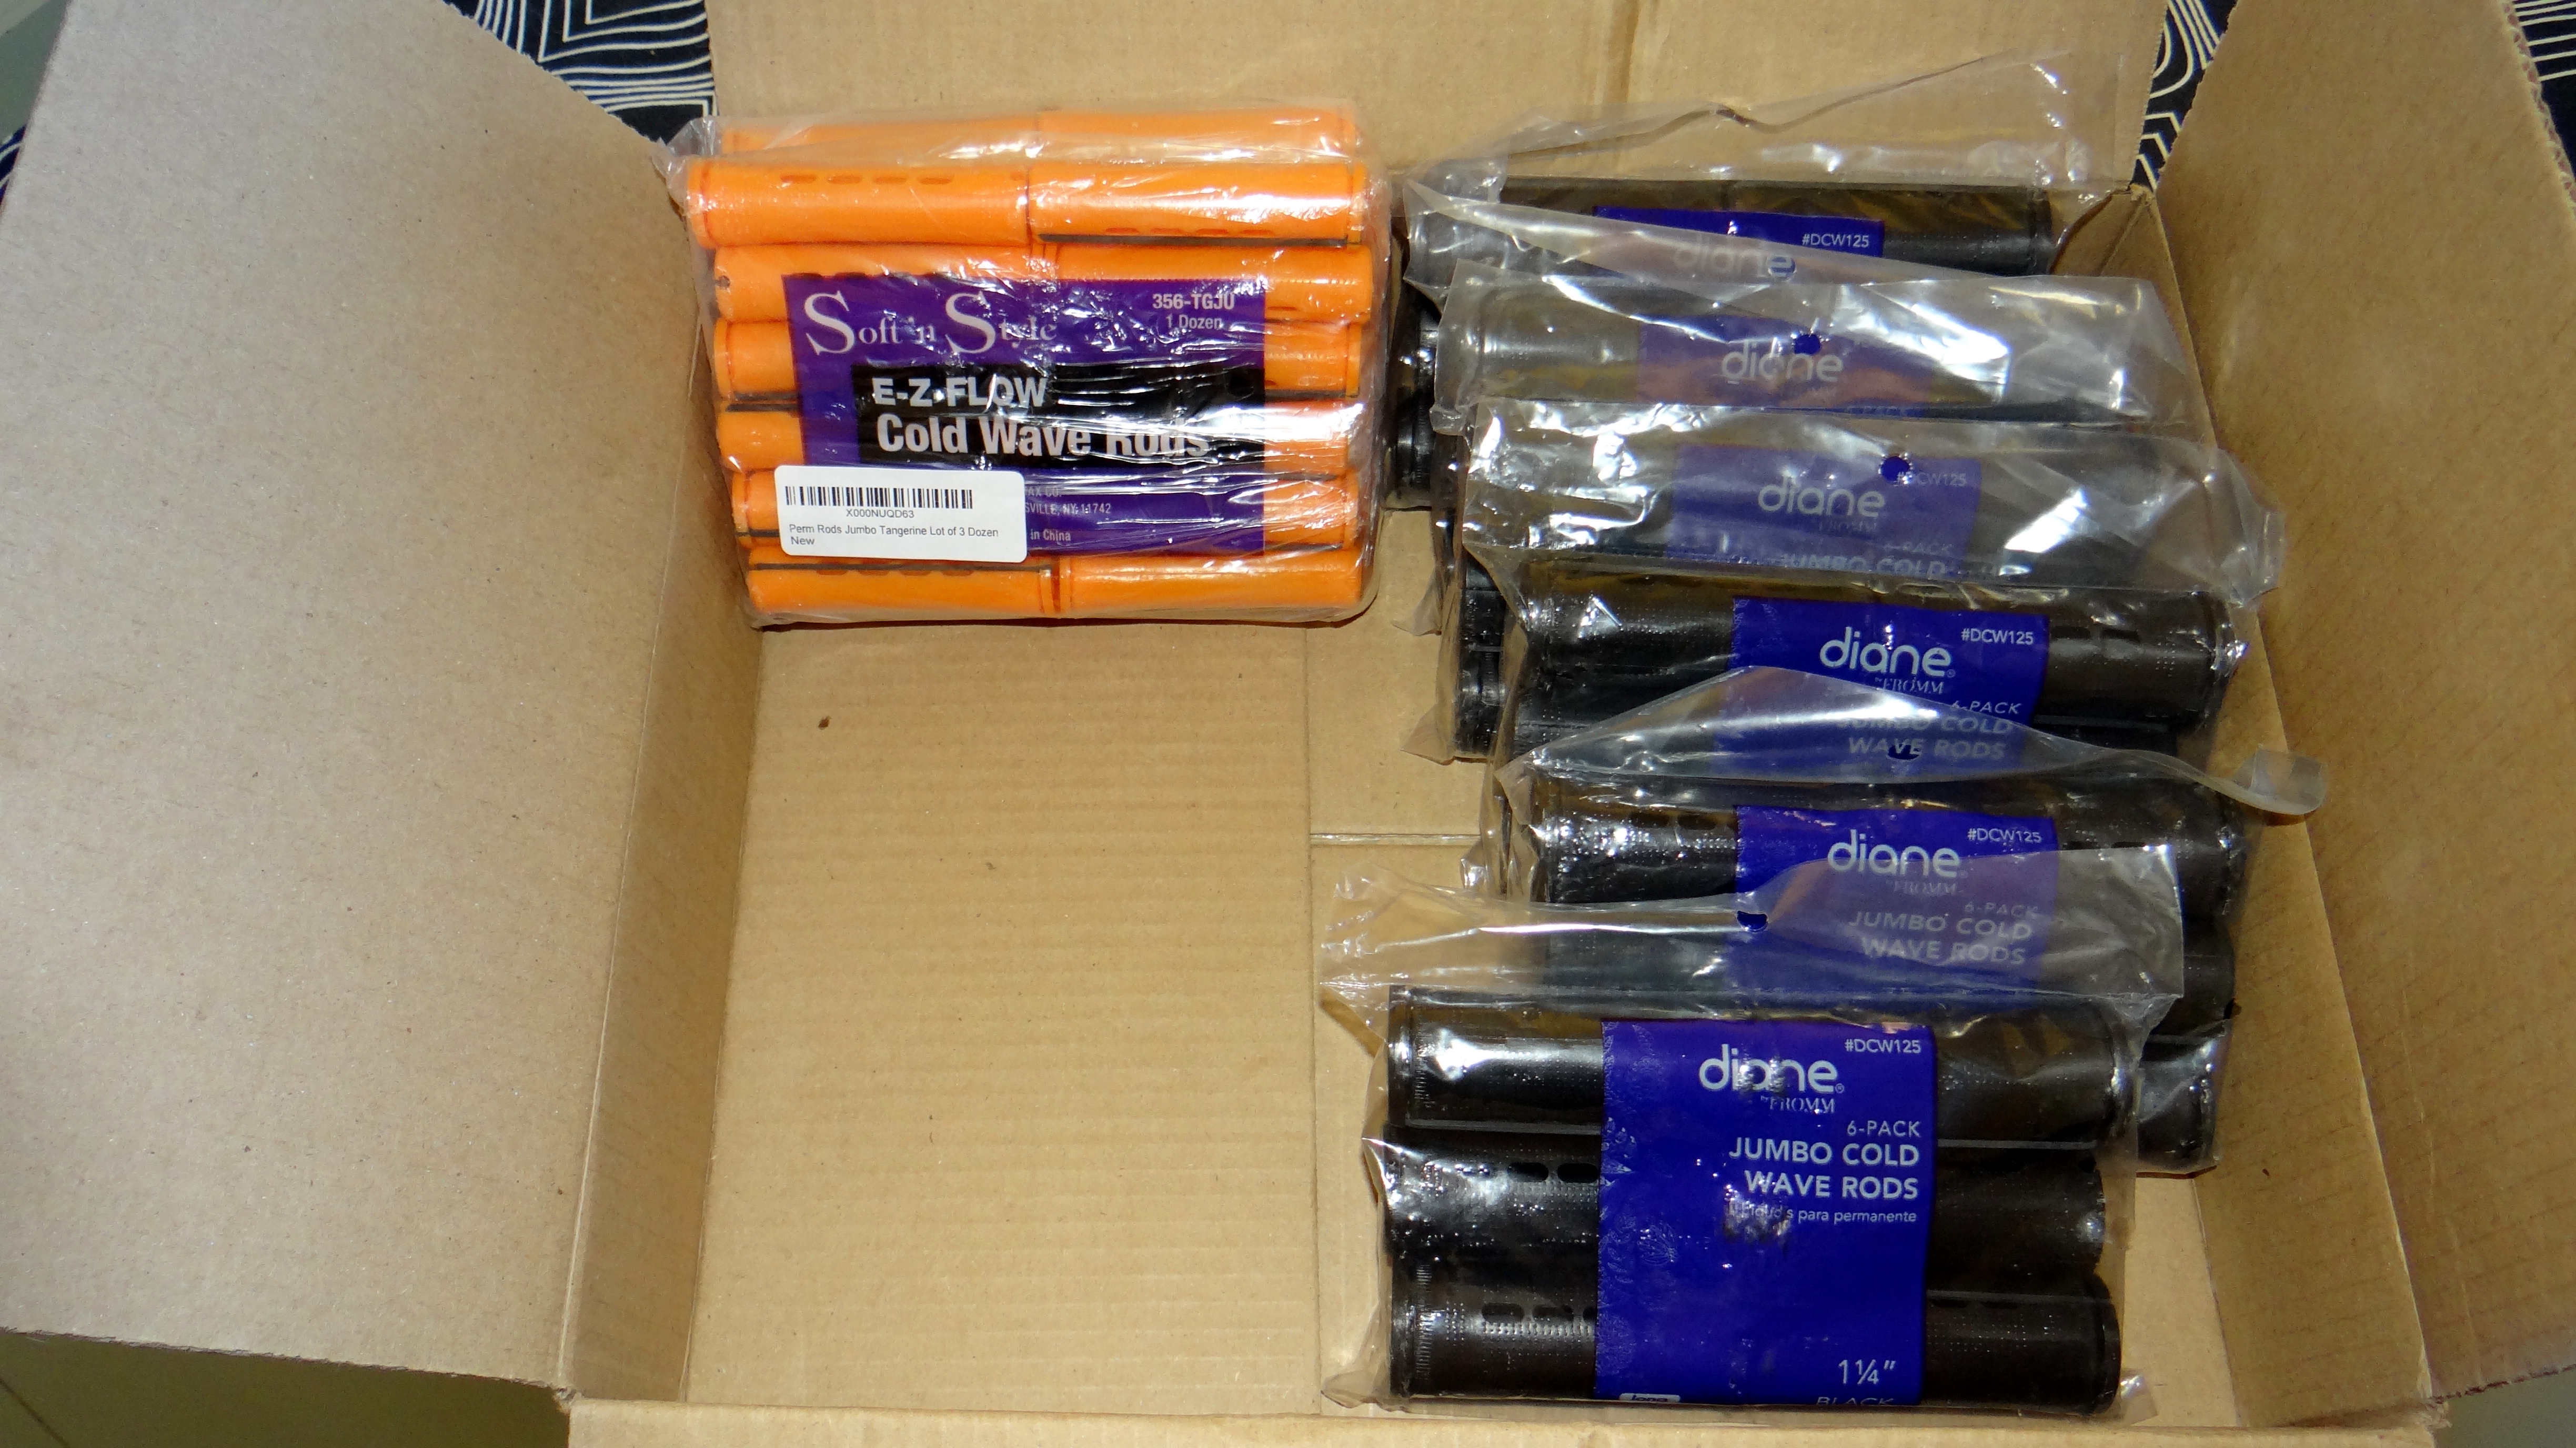
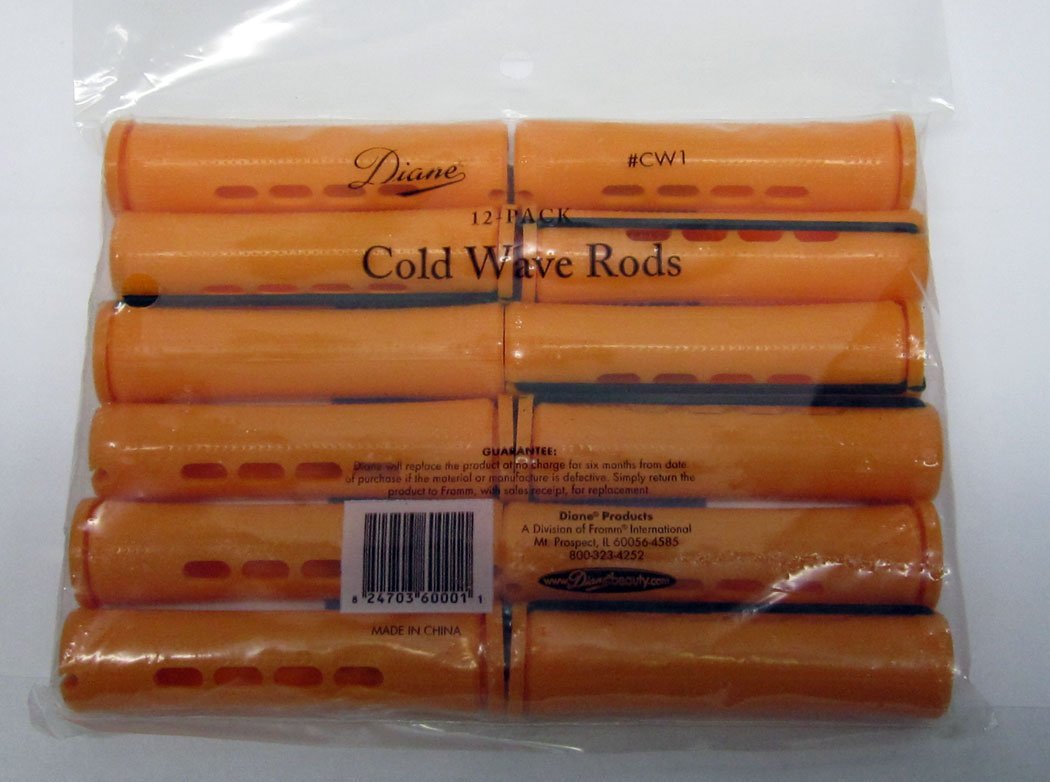
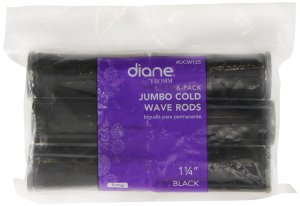
I actually purchased two different perm rods sizes from Amazon (I will provide links to both the sets at the end of this post) but for this particular style I used the black Jumbo Perm Rods.

I bought:
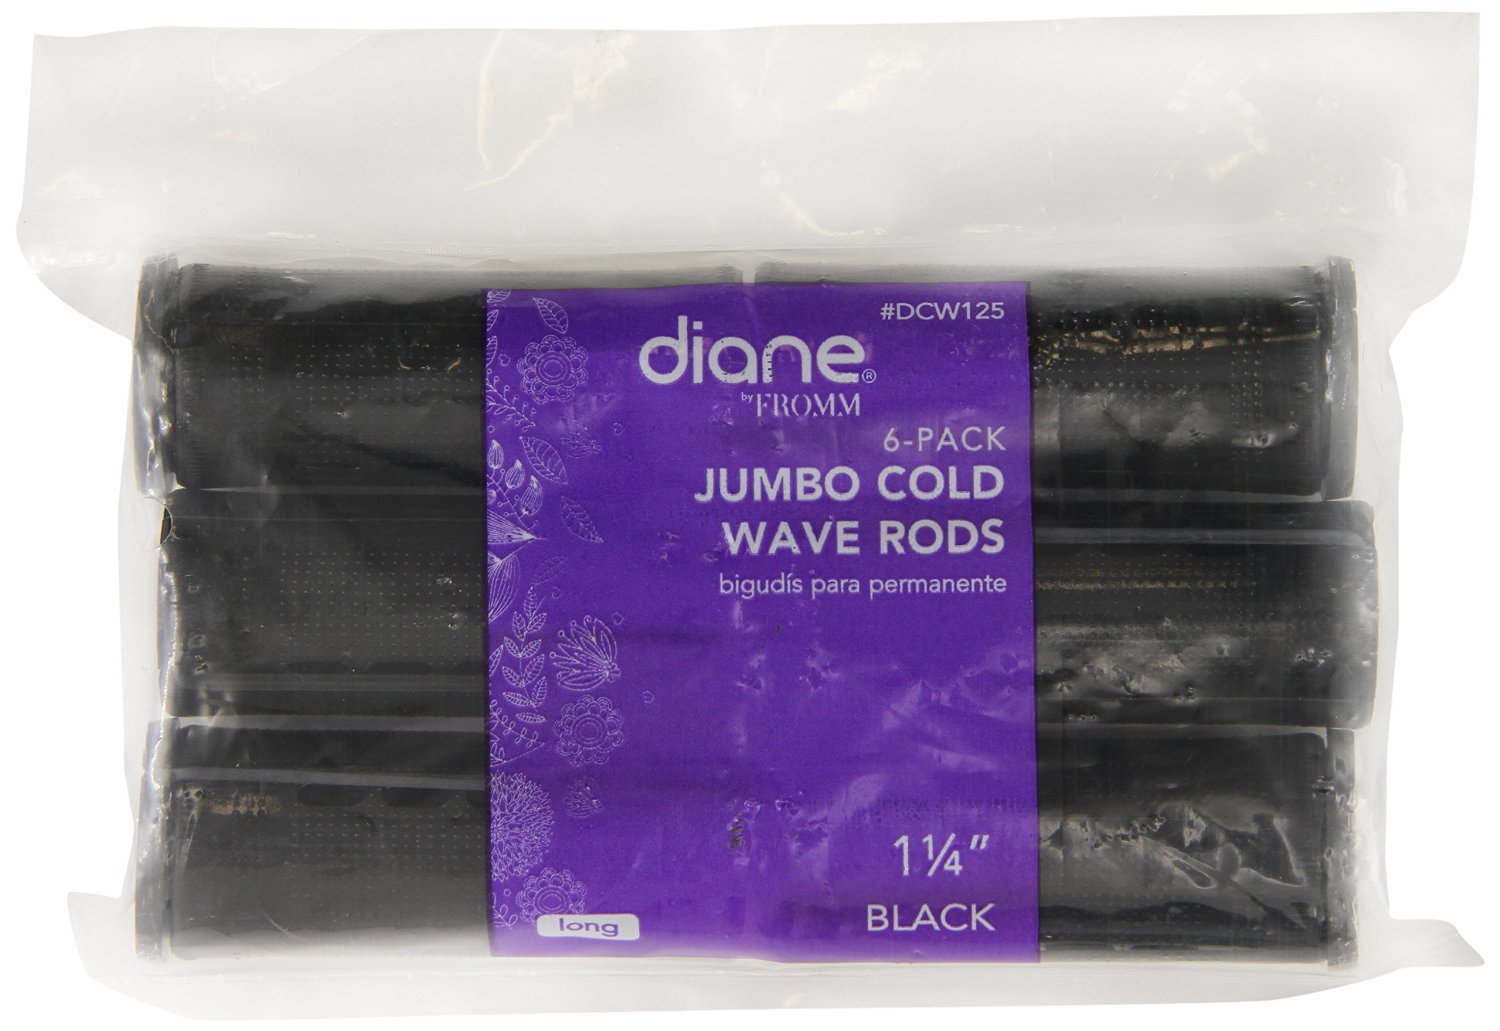
- 36 x Diane Cold Wave Head Band ( 1-1/4 inch diameters) – Each pack contained 6 perm rods so I got 6 packs.
- 36 x Perm Rods Jumbo Tangerine (3/4 inch diameter) – Each pack contained 12 perm rods so I went for the option of 3 packs (it worked out cheaper that way)

I will say that the rods arrived as promised actually even earlier than anticipated! Payment and delivery went smoothly and like I said the perm rods turned up as anticipated so I do recommend buying from these sellers (based on my own experience). Please note: I was not asked or paid to mention the rods, the buyer experience or the point of purchase and I bought the rods with my own money.
My Process:
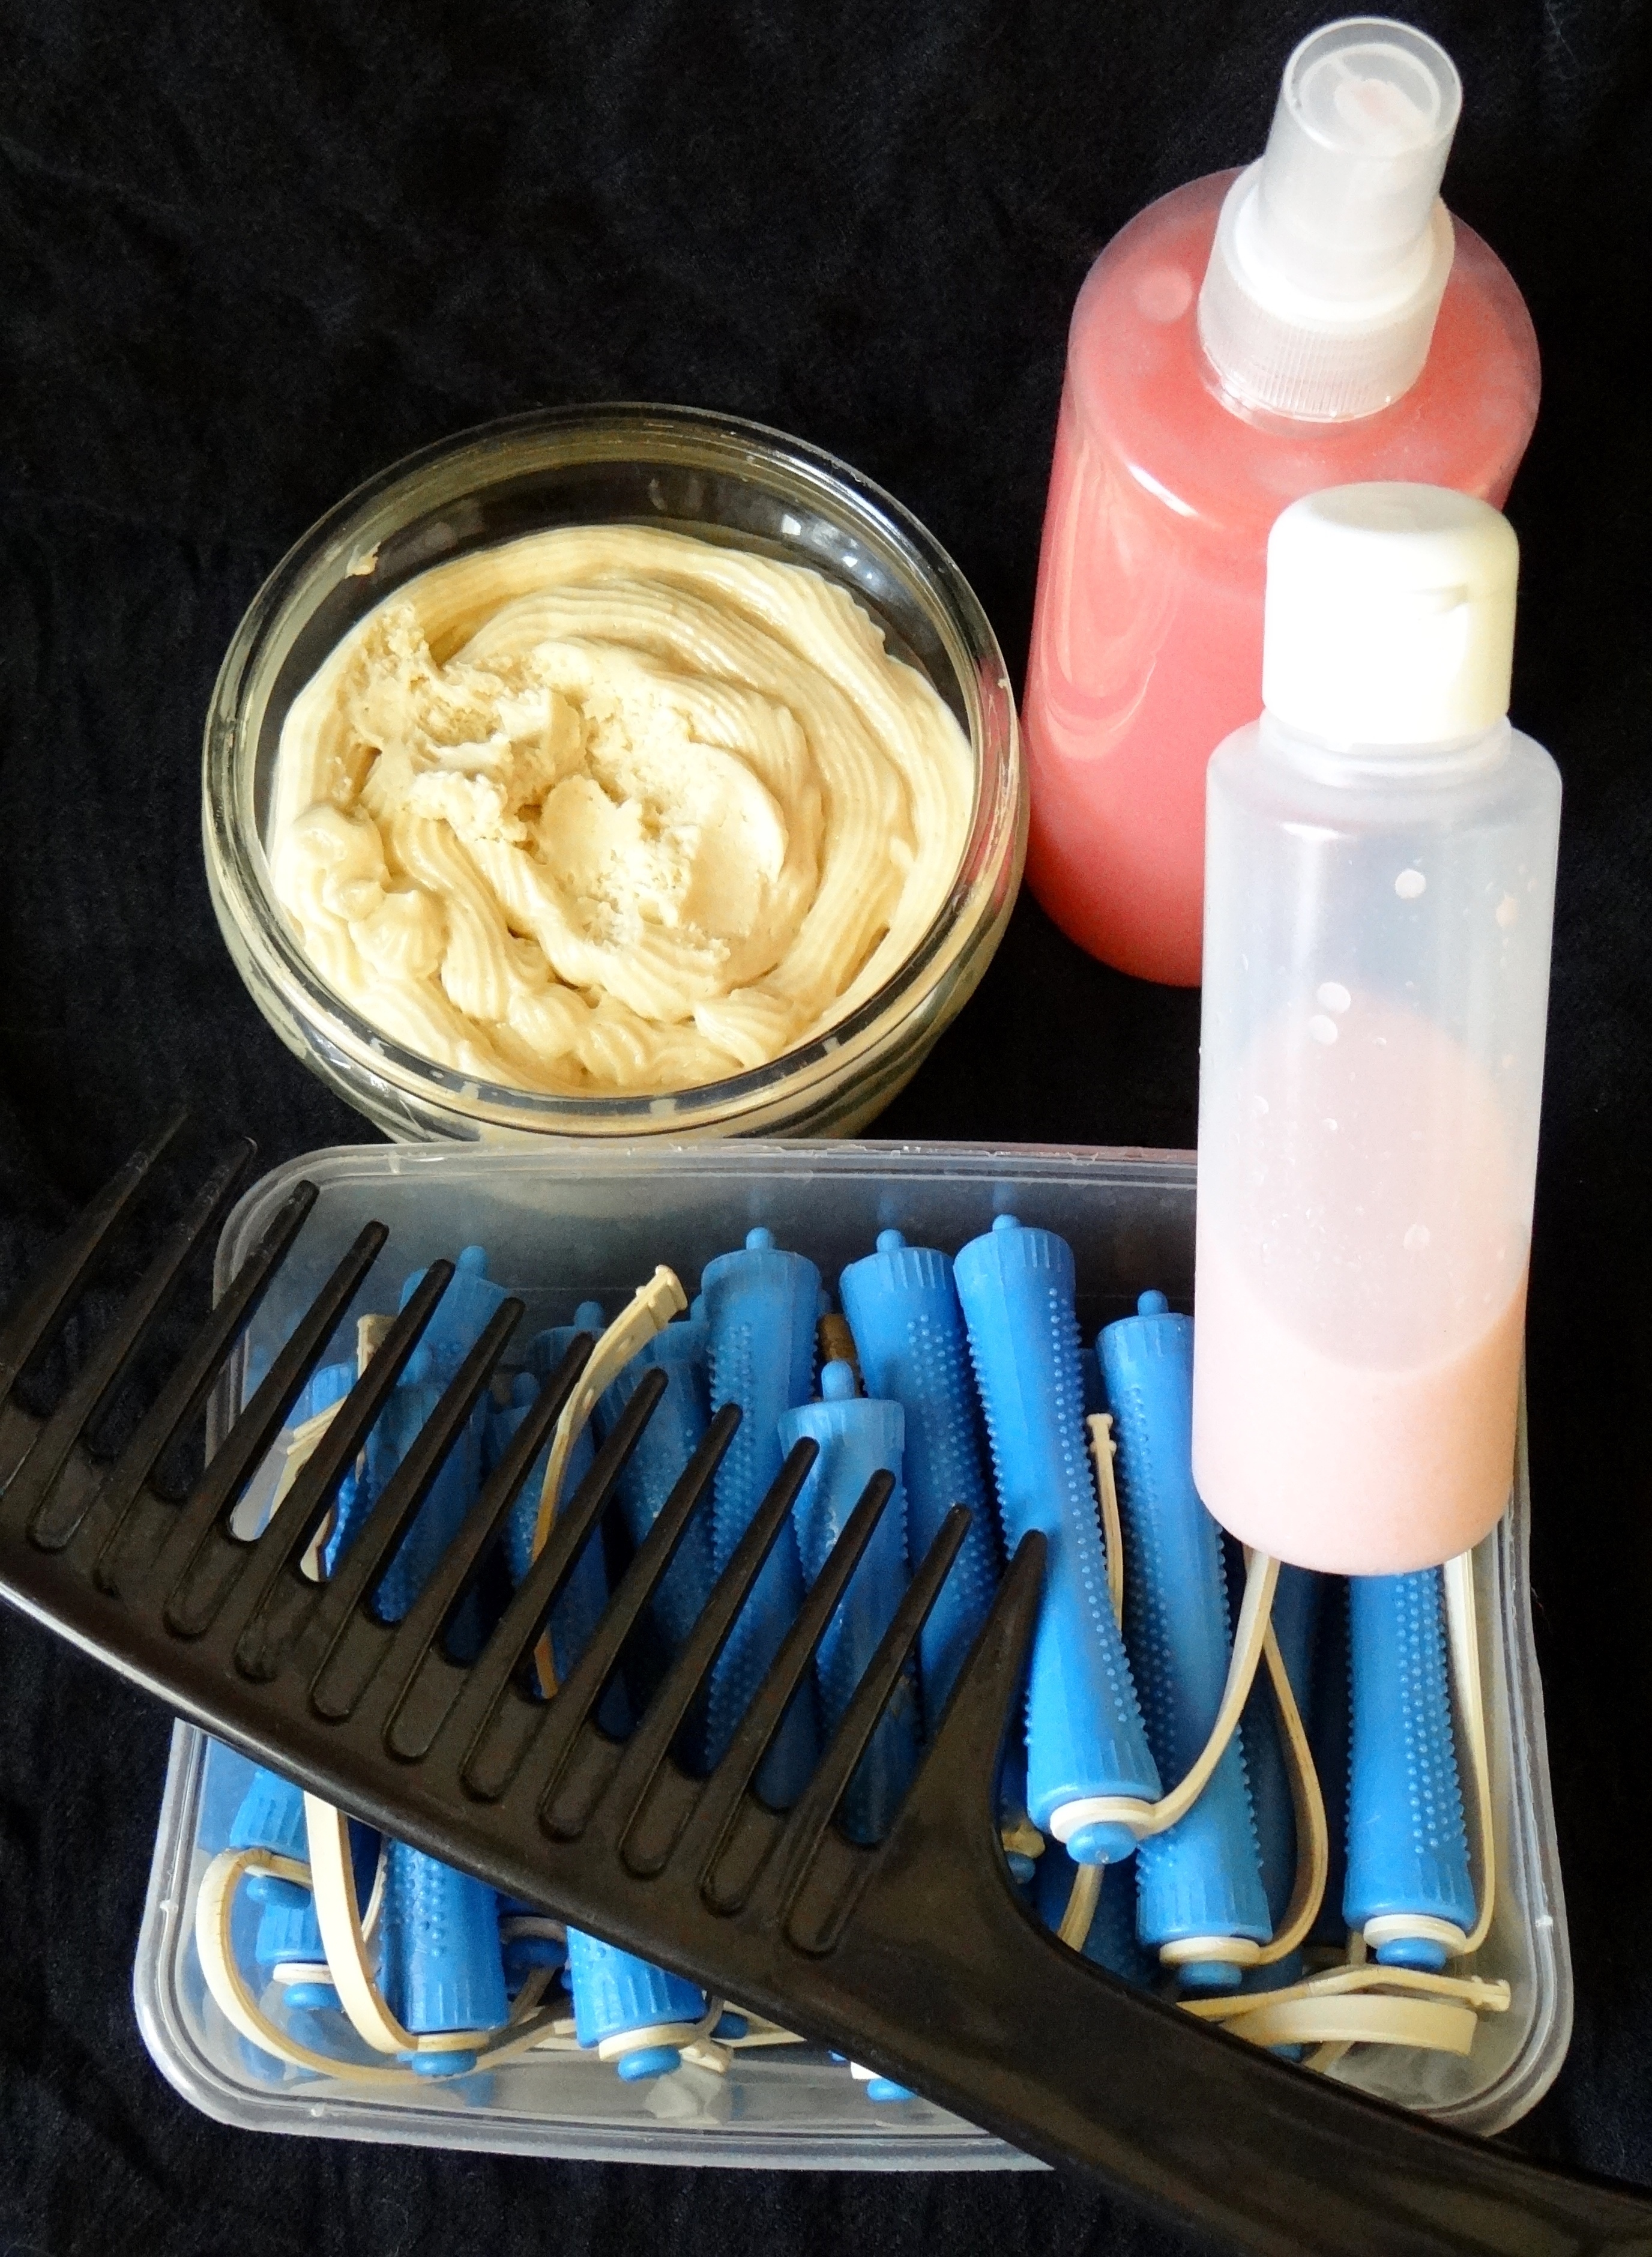
I was working with super stretched hair (heat free) which started of as a twist out, then was stretched when I used a hair donought to make a bun and finally I had two flattwists. I used a little of my DIY Spray Leave-In Conditioner to very very lightly mist my hair (it was barely damp) just so my hair would take on the curl shape of the rods and I also use a tiny bit of gel right before twirling my hair around the rods.Using a hair net and satin scarf I let my hair set overnight (sleeping wasn’t as bad as I’d imagine it would be). The next morning using a little DIY Coffee Bean Infused Almond Oil on my fingers I took my hair down and separated the curls and that was it.

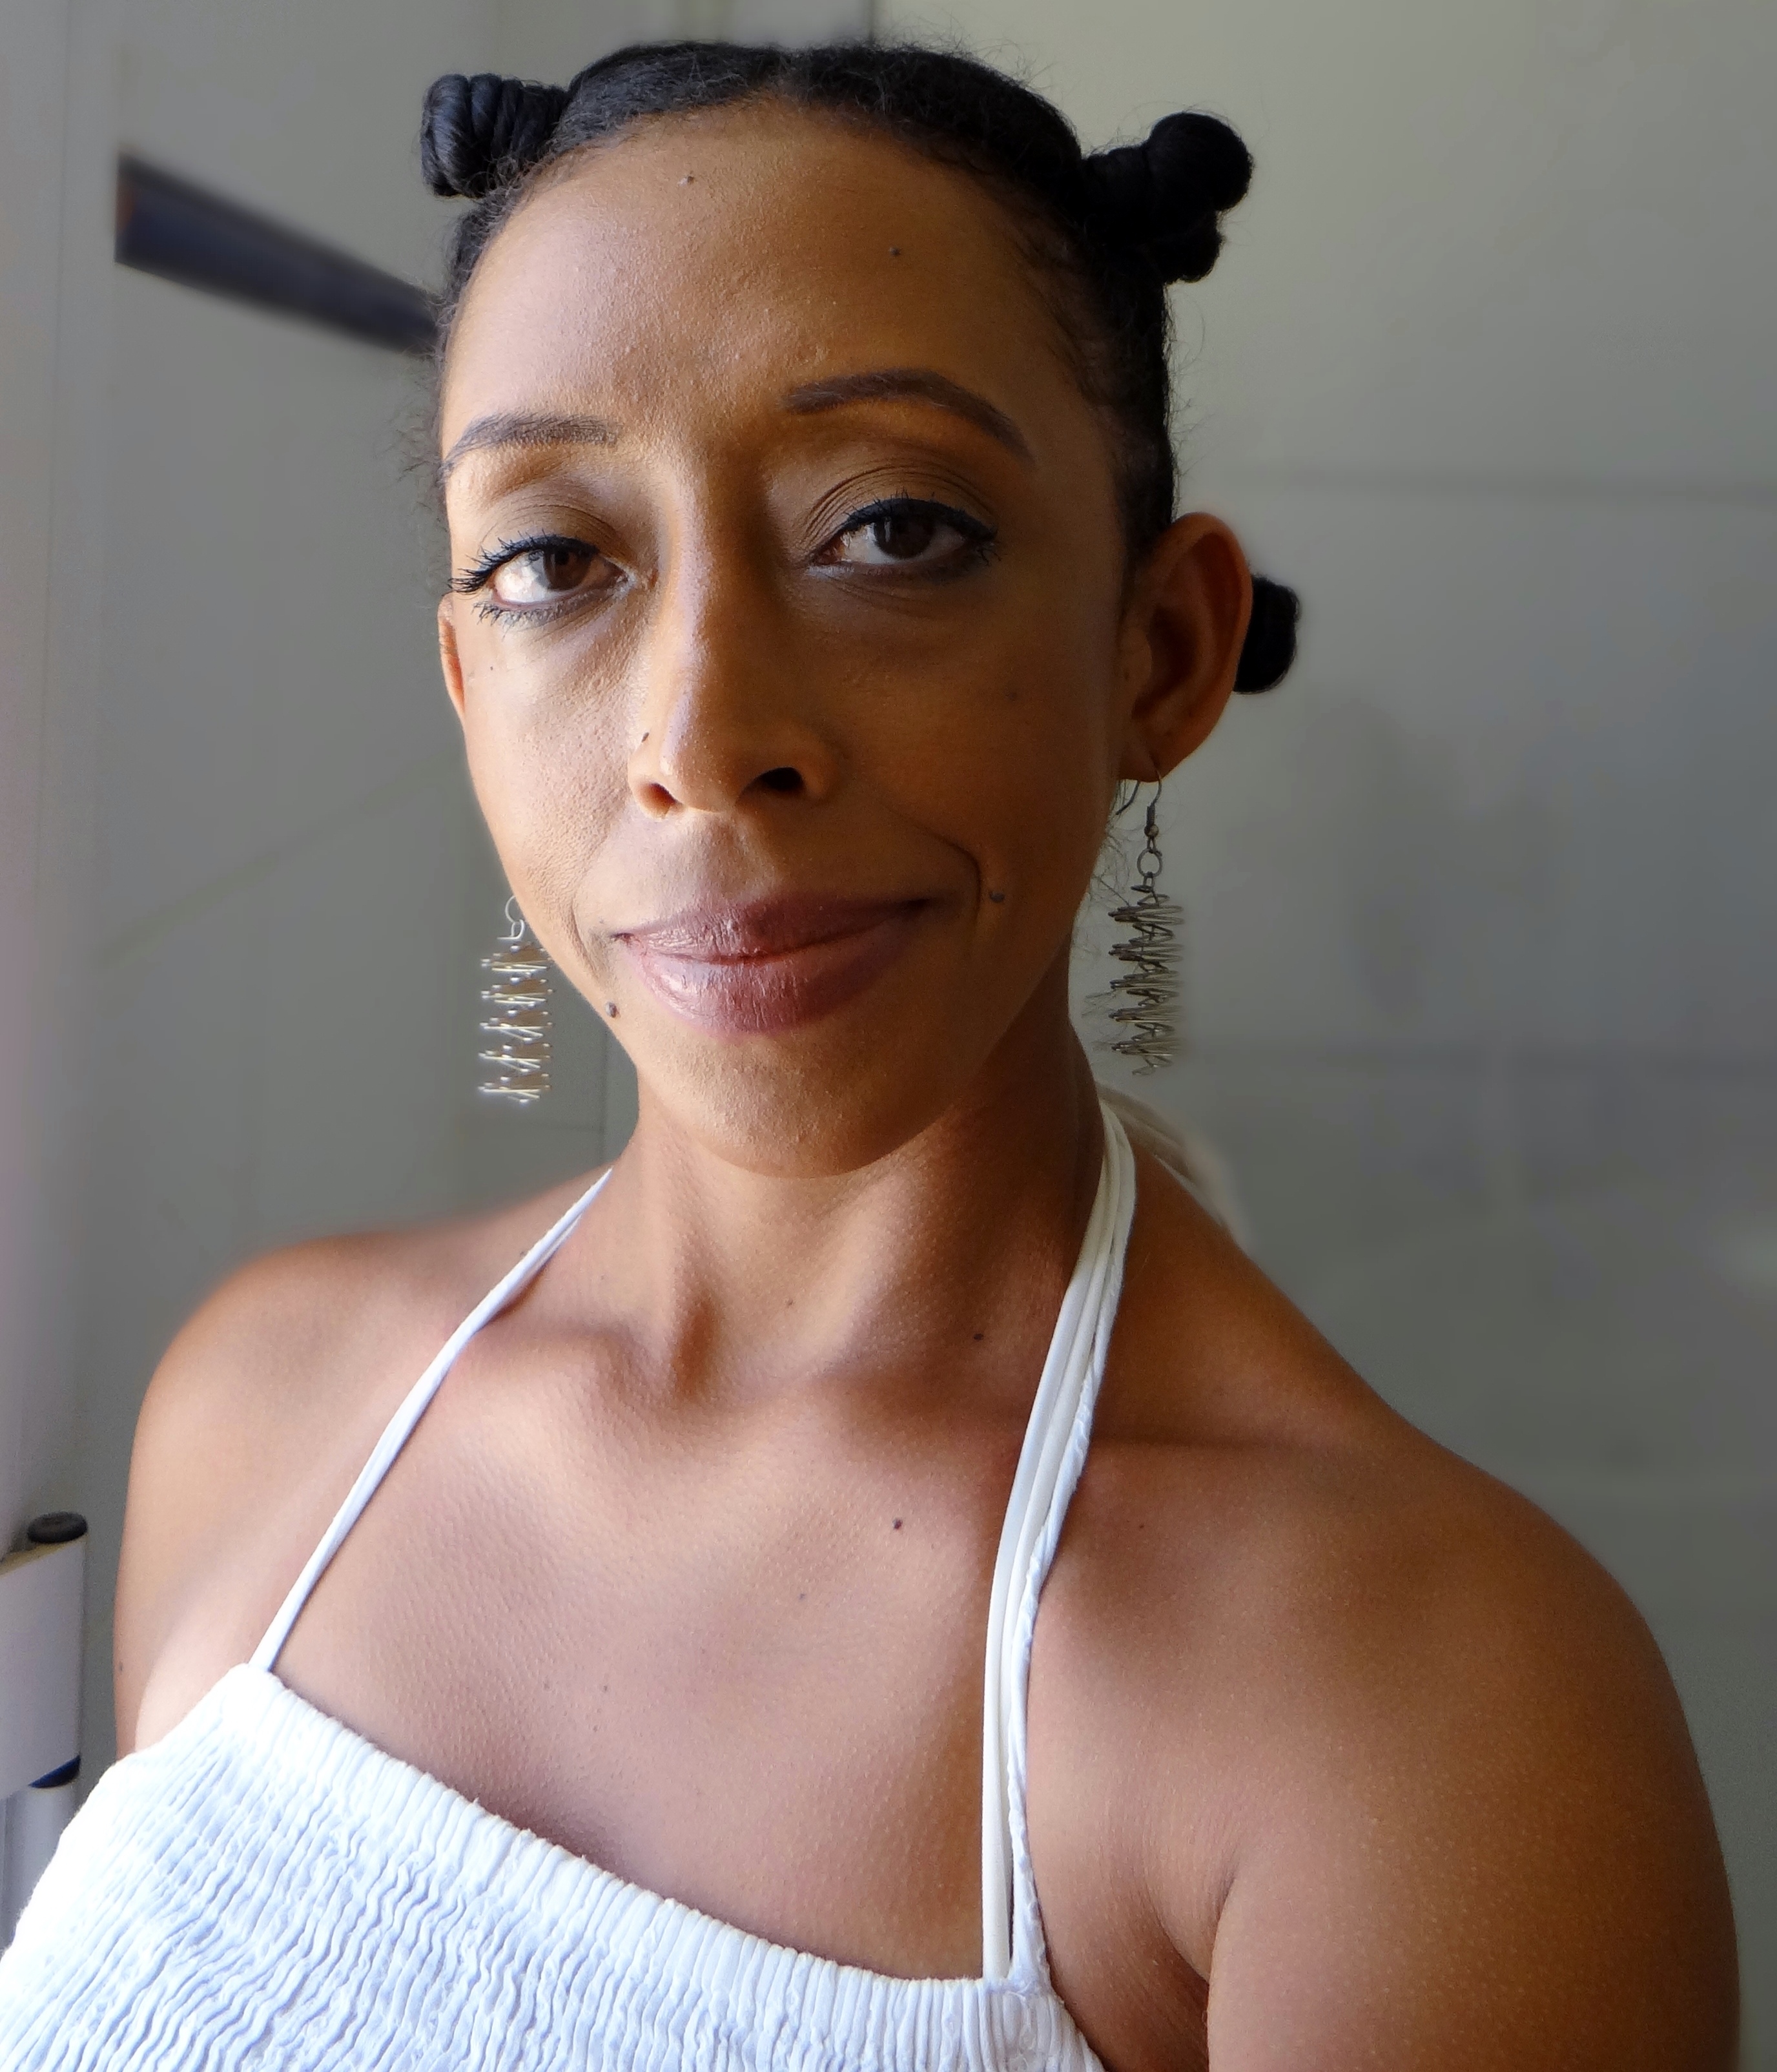
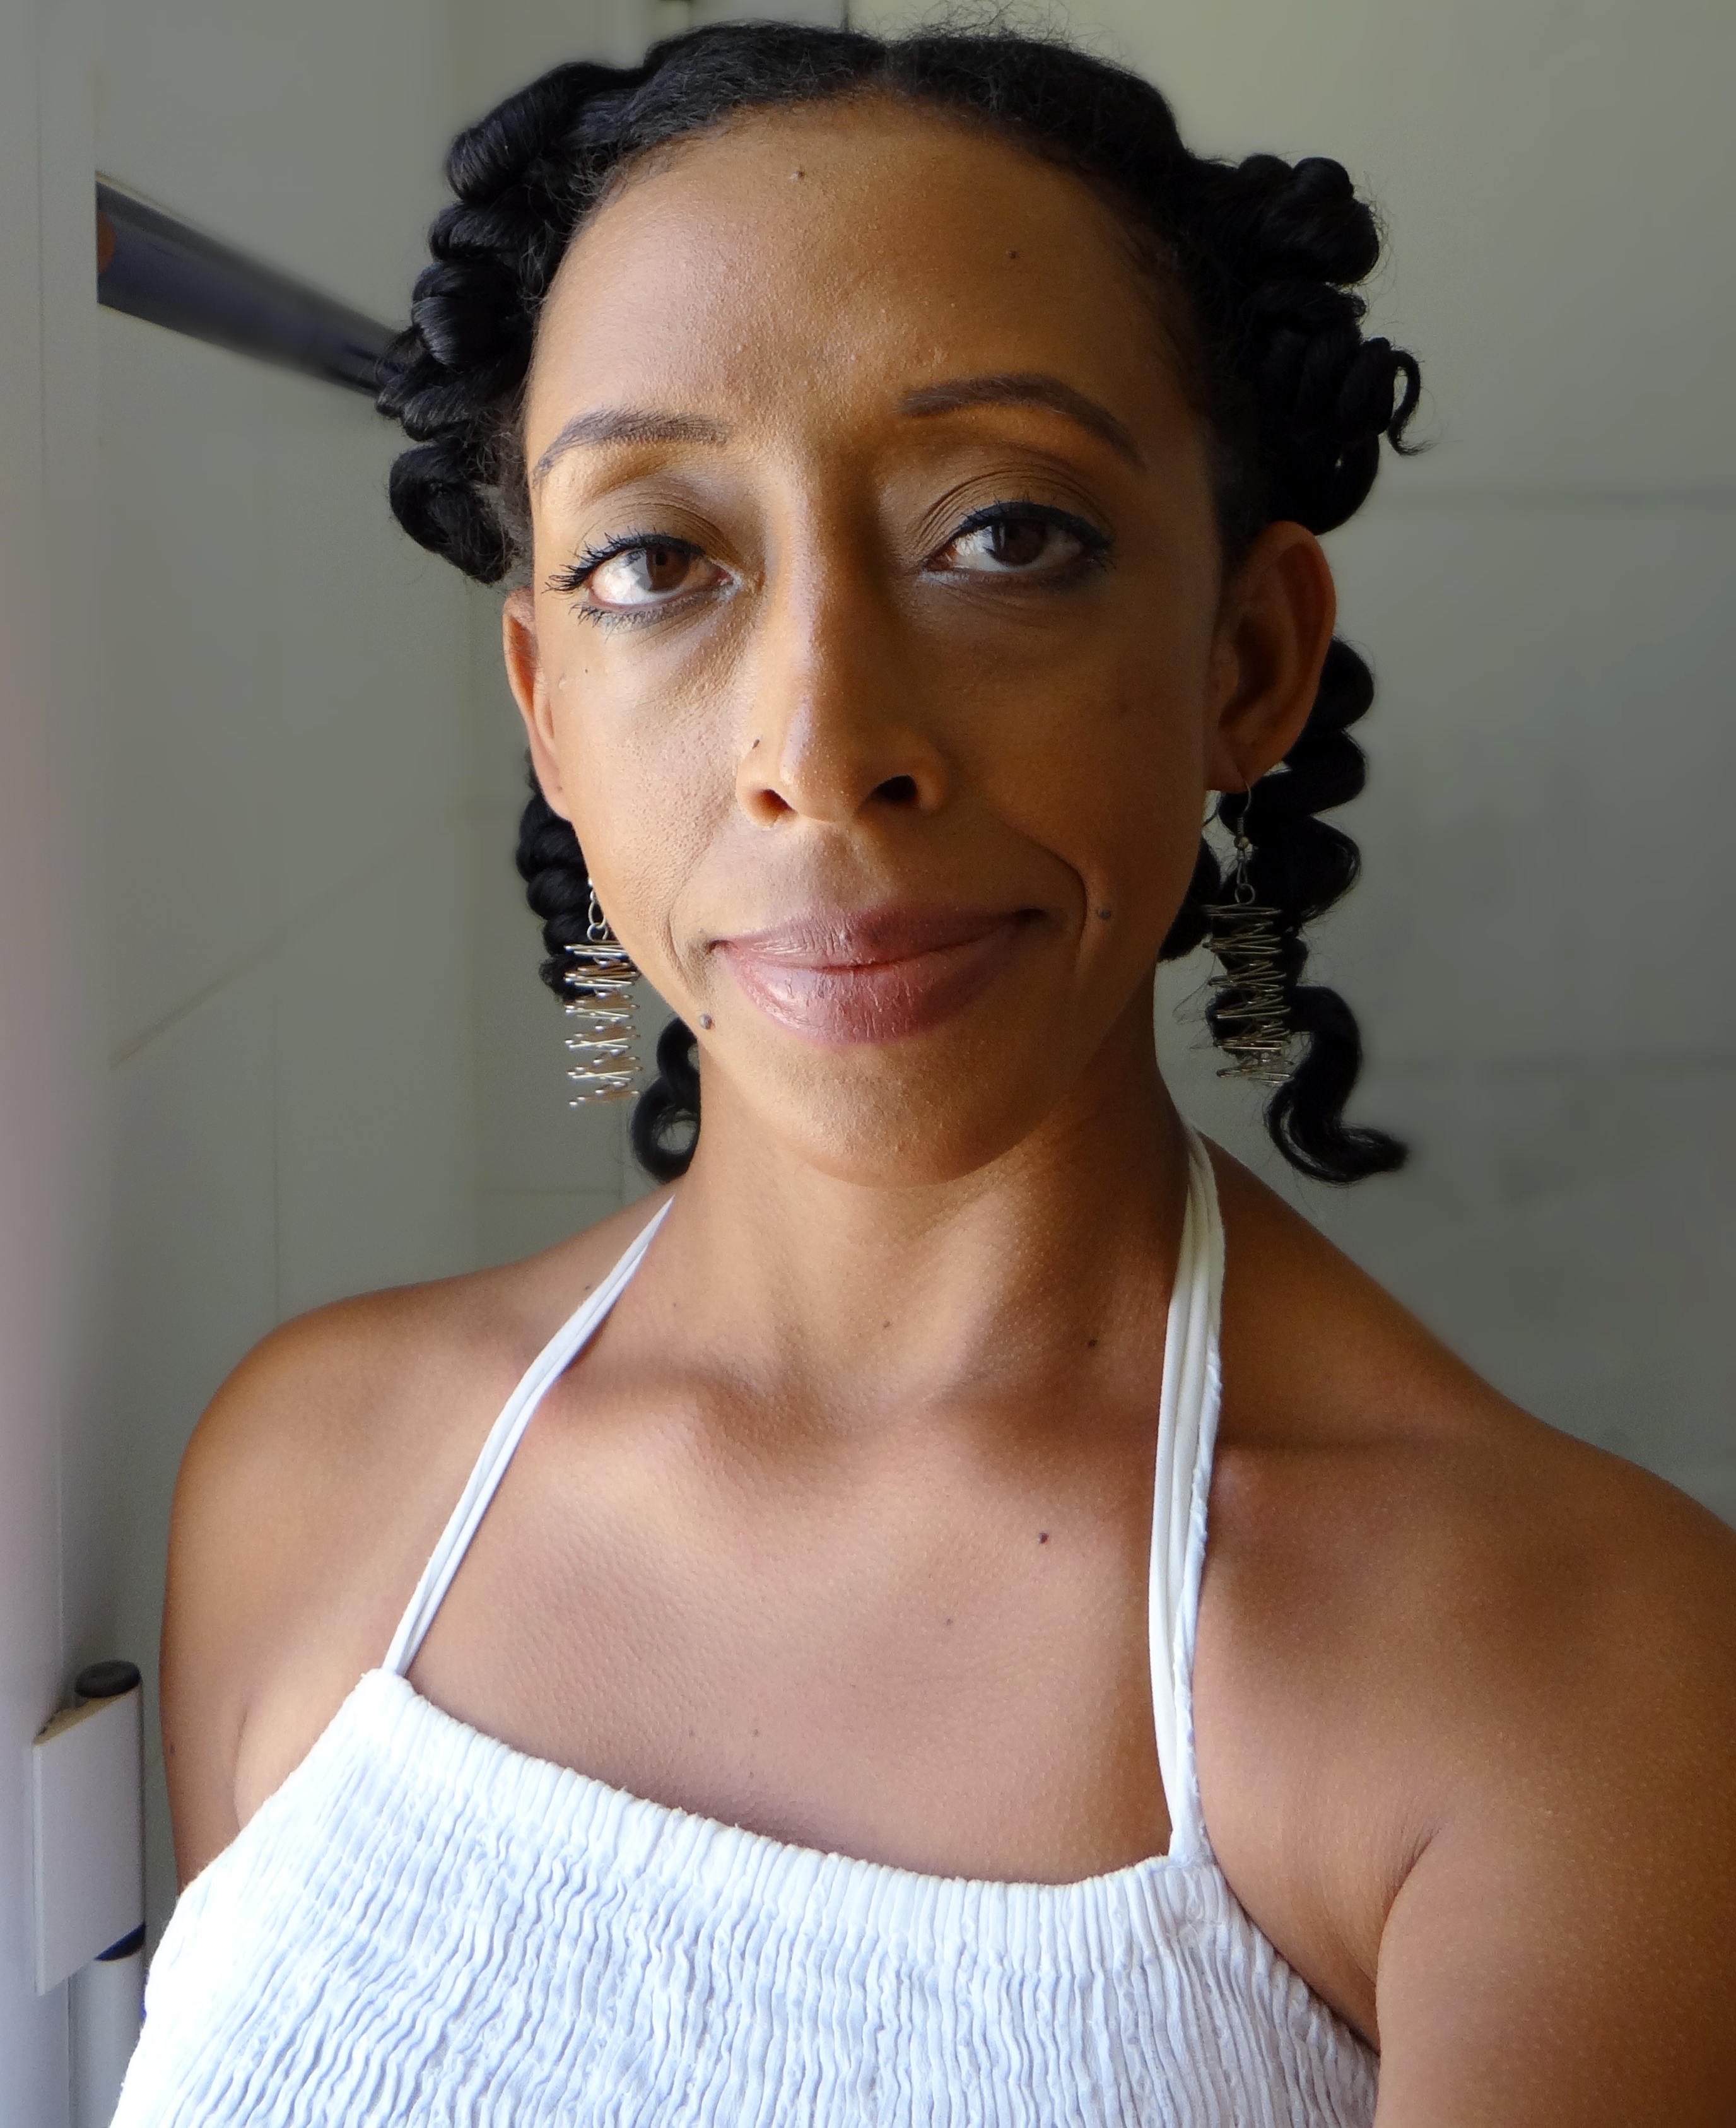
Heat Free Stretched Hair

Jumbo Perm Rods Installed

Rods taken down to reveal soft curls

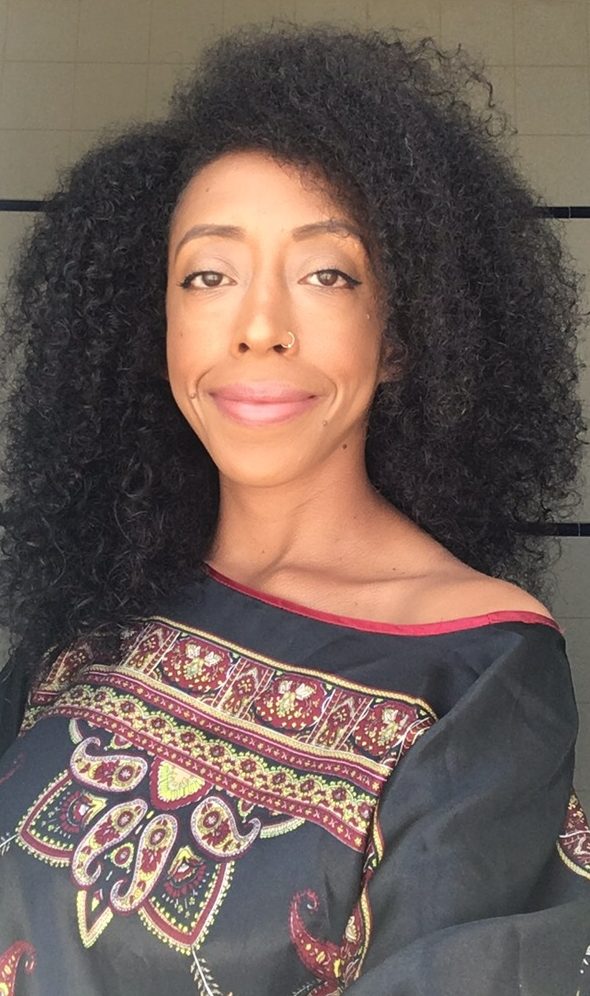
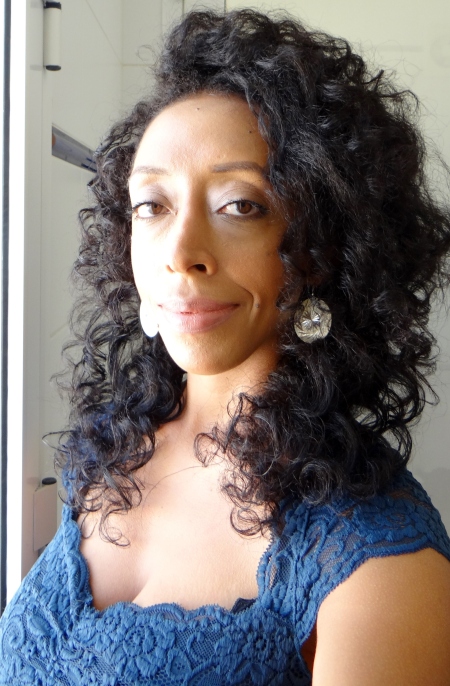
Jumbo Perm Rod Curls Separated

Jumbo Perm Rod Curls Separated

Jumbo Perm Rod Curls Separated
I really do love the results!
I need to practice a little on how I roll my hair because since the rods are so large it took a little getting use to (you know I am styling challenged lol). I will try different ways of rolling my hair to see if I get different curl results but for a first attempt I was happy. 😀
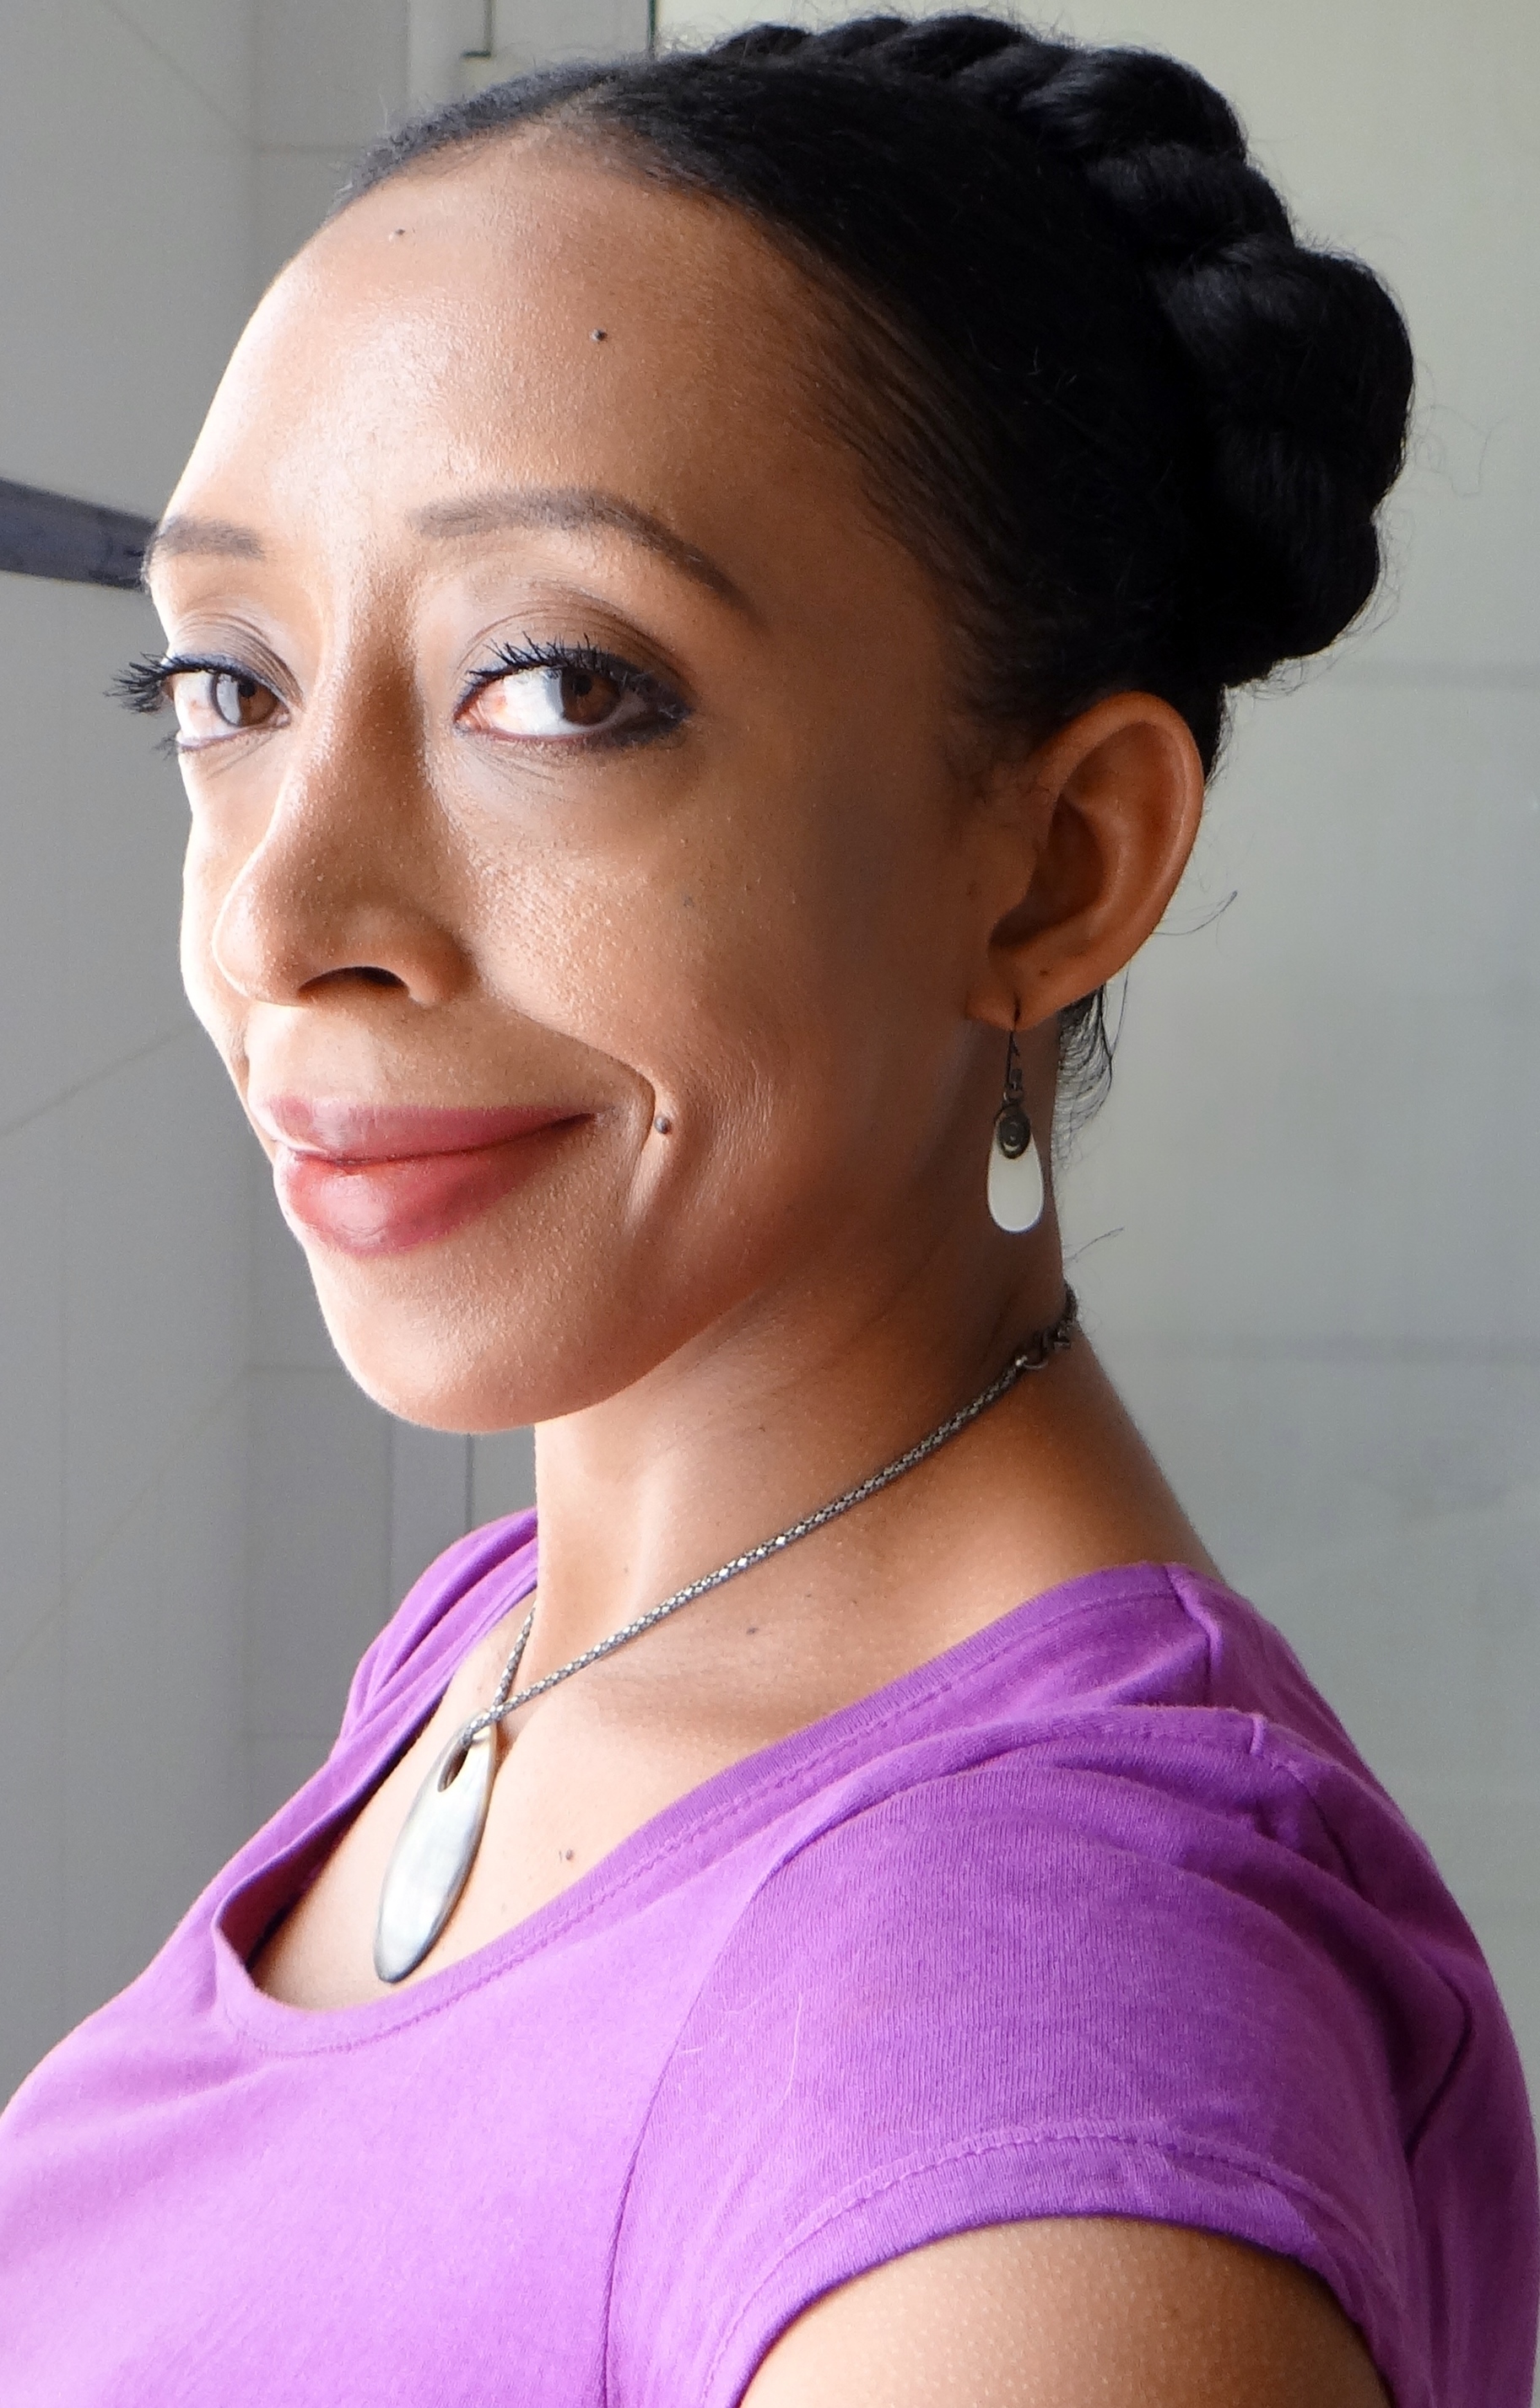
These are photos from day 3 of the same perm rod curls. Of course I was even happier with the results on day 3 because my hair was fluffier and bigger! Give me volume…give it to me!!!! 😀

Day 3 Jumbo Perm Rod Curls

Day 3 Jumbo Perm Rod Curls

Day 3 Jumbo Perm Rod Curls
Have you tried Jumbo perm rods? Do you have a particular rolling method? I would love to hear from you!
Diane Cold Wave Head Band, DCW125, 1-1/4 Inch: http://amzn.to/1OOfP6s
Perm Rods Jumbo Tangerine Lot of 3 Dozen: http://amzn.to/1PBBfV7
Thanks

Maicurls