Today I am here with a Product Review based on one of my own recipes after being kindly requested to do so. (Thank you for the requests and please do keep them coming!)
So I know a few of you will be wondering how can you “objectively” review a mix you made yourself. Obviously I made, use and shared this recipe because I love it however, that doesn’t mean I can not explain how it works, its limitations (as a DIY product), how it will probably work for others and to do so honestly. I also demonstrate how the mix works on my own edges in my video (below).
So in case you want to take a peek at the “how to” of this DIY you can find the recipe here.
Let’s get down to it shall we.
Since this is a DIY I always suggest that you do not use your fingers to dip into the product. This recipe does not utilize any anti bacterial ingredients other than Vitamin E Oil and Essential Oil which, are great at extending the shelf-life of products however, they DO NOT eliminate the growth of bacteria/fungus etc.
Use a spoon (I like using the back of a spoon) to scoop up a little of the mix at a time. This will prevent you from dipping wet/product covered fingers in the mix.
Use a CLEAN and UNUSED toothbrush to apply the mix onto your edges. It will help control how much of the mix you are applying and will also help you “lay down” your edges. (Buy a soft new toothbrush that is used solely for your edges)
Depending on your choice (pomade or balm) you will need to store the mix in your fridge (for the balm) or a cool and dry place e.g. your cupboard (for the pomade).
This is a wax free recipe (because I have fine hair and wax makes my hair feel really “gummy” and sticky).
You might notice that if you make this as a pomade it could potentially become a little more running during the hot summer months (this is particularly true for me) due to the lack of wax.
The lack of wax in this mix also means there isn’t that “hard hold” you might get from commercial pomades/balms. This recipe is more for “laying your edges” versus giving your a sculpted hold. So if you want that, you will want to add wax e.g. bee’s wax (a search on google will provide you with a list of recipes that includes nearly all the same type of ingredients I use along with wax).
The overall shelf-life of this mix will depend on 1. the shelf life o the individual ingredients you use. E.g. if you oils and butters have a 1 year shelf life your mix will be good for 1 year. 2. As long as you are not adding water based ingredients to the mix, not dipping wet/product covered fingers in your product it should last a while.
If you have a thick hairline (high density) then you will probably notice that your hair requires the addition of wax to help “lay” your edges so it might be a trial thing for you!
For my fine haired ladies, a little of this goes a LOOOONG way, trust me a dab of this will do the job!
Aside from helping with styling your edges this mix includes a number of nourishing ingredients for the hairline which can actually help moisturize, stimulate hair growth and provide overall goodness for your edges!
You can see how I “lay my edges” in my explanation video below!
I would love to hear what you think and if you will give it a try and please let me know if there are any videos/posts you would like me to cover, I love hearing from you!
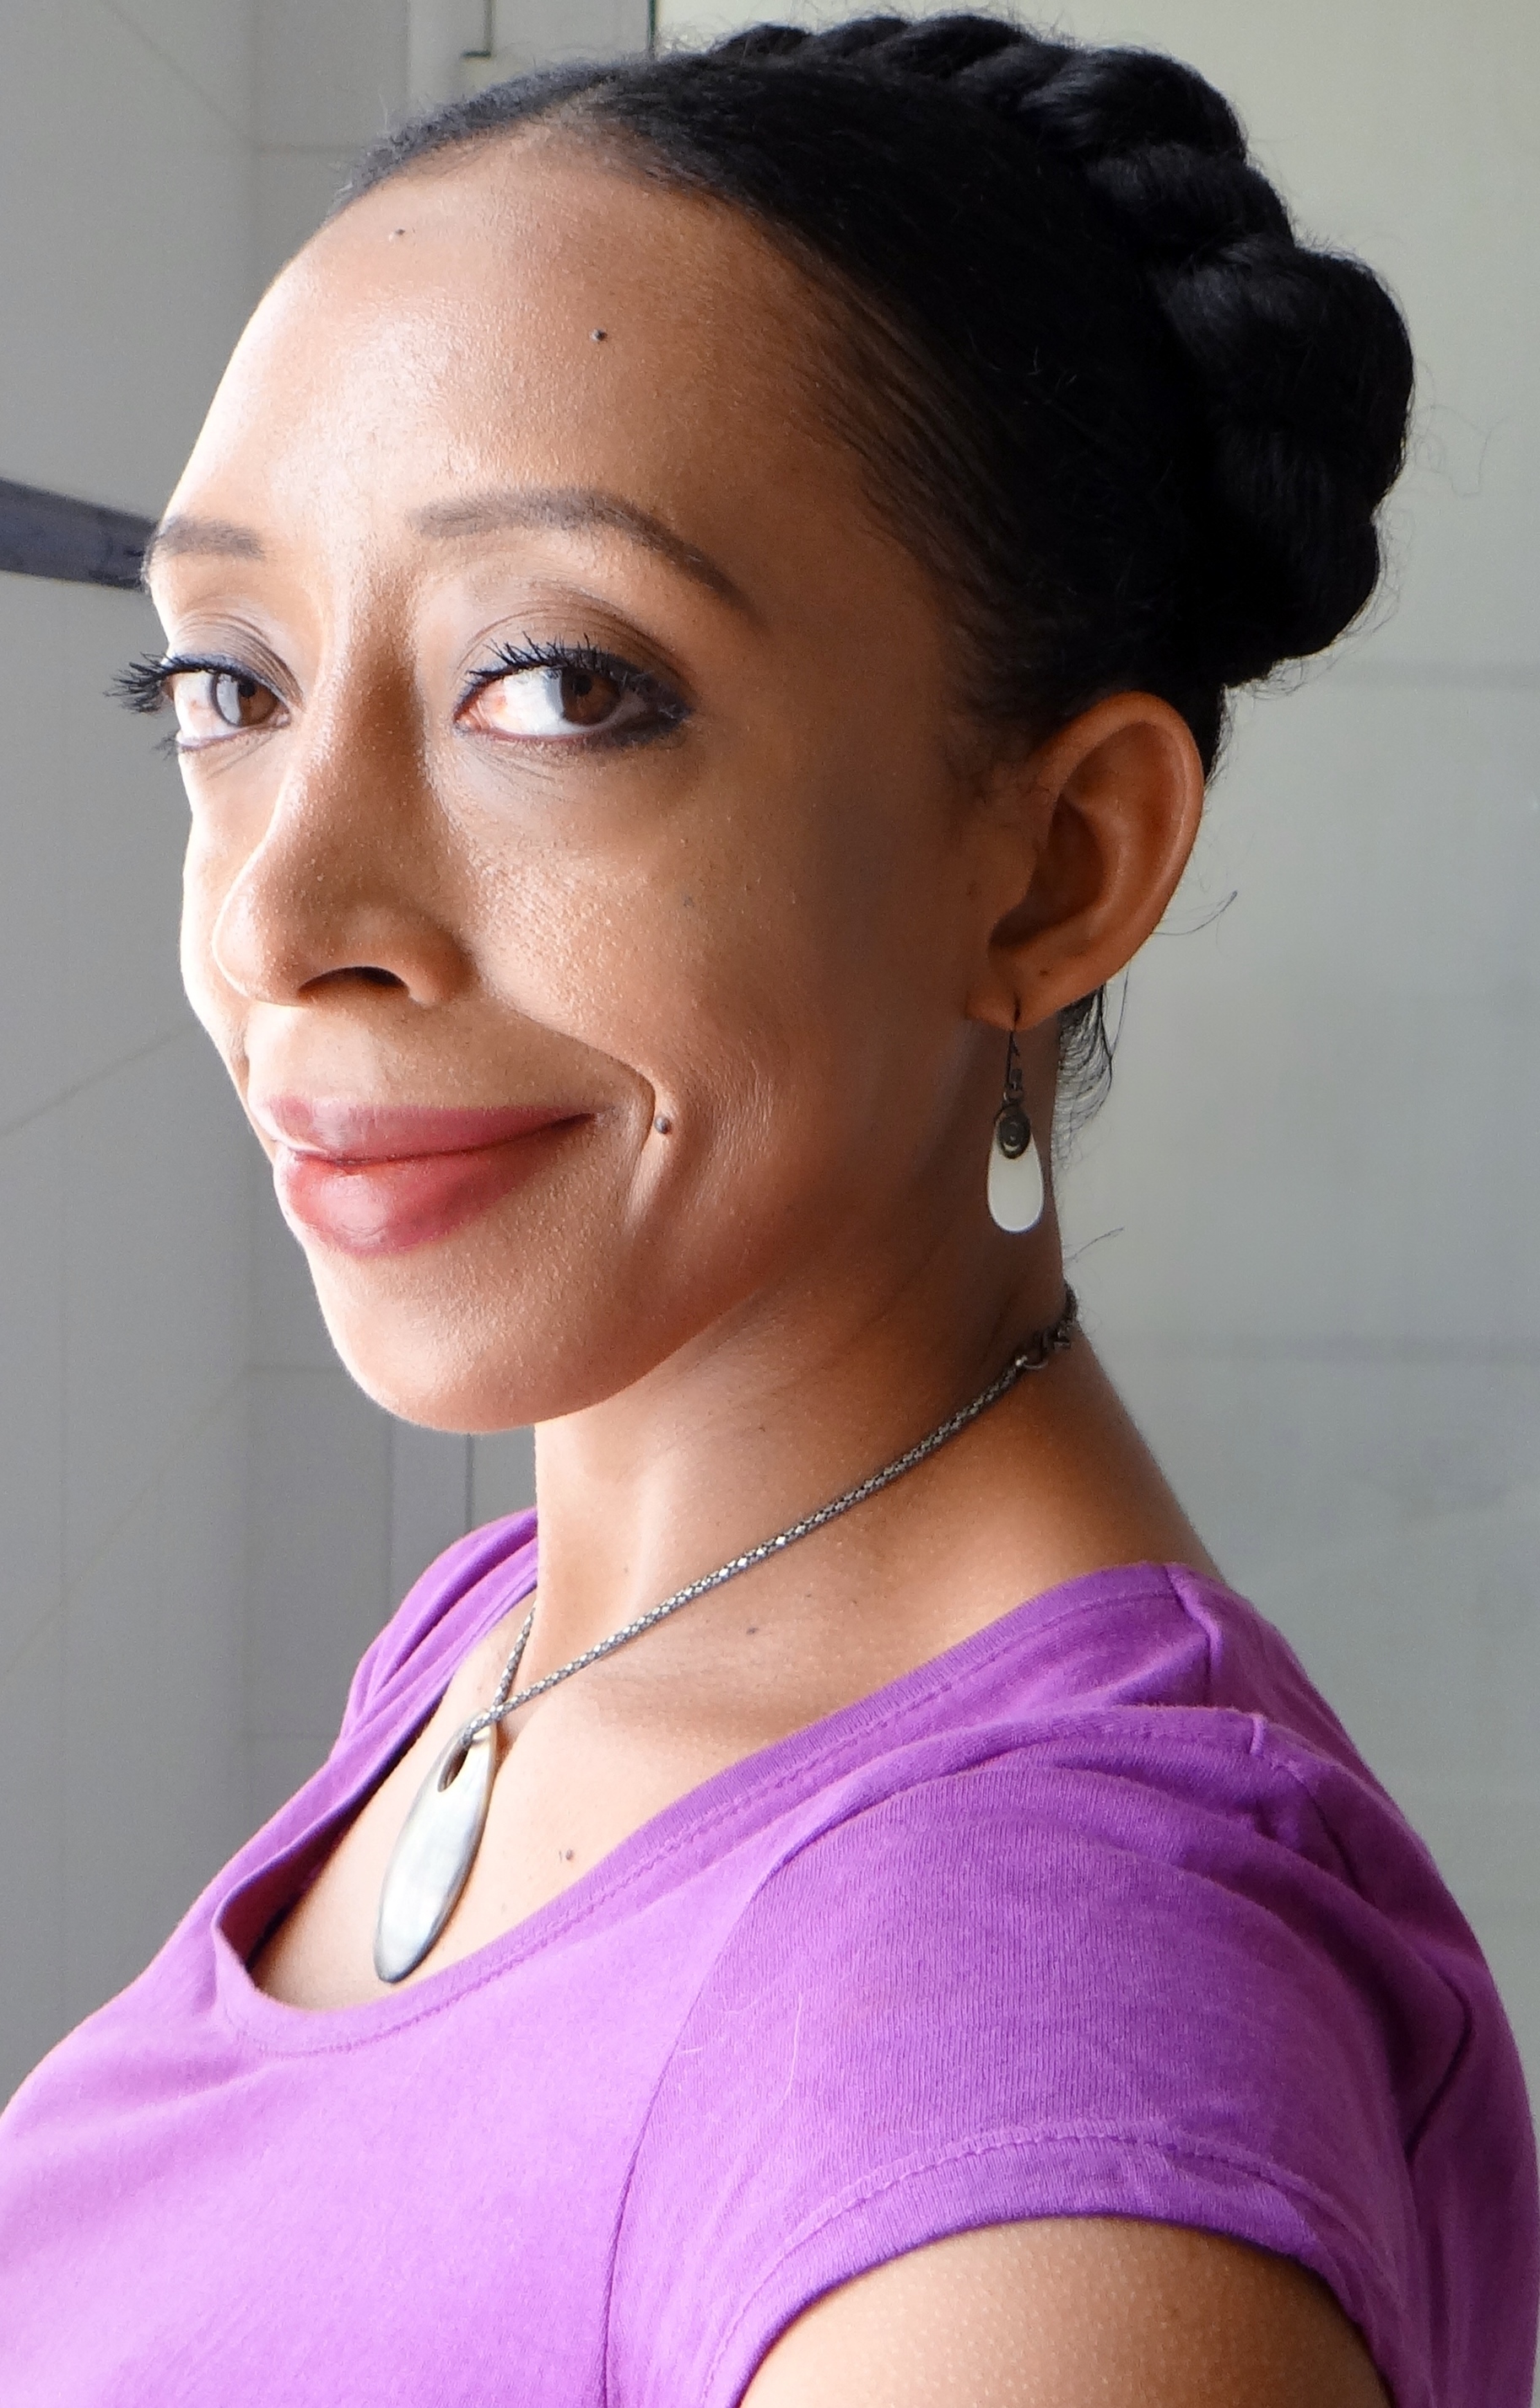
So today I have a styling tutorial of my Milkmaid Twists.
Milkmaid Twists
Now I will point out that I am not all that crazy about how this particular style looks on me (I love the style on others) the main reason why I don’t like it on myself that much is because my forehead and ears become quite obvious because all my hair is pulled back and away from my face LOL. I do like the fact that it is a protective/ low manipulation style since your hair is tucked away and can be left alone for days even.
The style of course is a breeze to do and doesn’t require too many products either. Please note: I actually recorded this video working on old, frizzy hair (that had seen better days) but even with the frizz and mess the final look still ends up looking polished and neat. The video was recorded a few months back but since I was not that big of a fan I put it away without editing it, until I was kindly requested to share the video so I did 🙂
Tools/Products used:
2 ouchless Hair Bubbles
2 Bobby Pins
Dye Brush (the pointy part to make a middle parting)
The first step is to split my hair in the middle in order to make two side ponytails (please note again apart from the frizz I also don’t make neat partings – I have issues). After parting, I use some FSG to help smooth out my hair and “tame” the frizz a little. I also follow up with a little of my Hair Pomade on my edges to help provide a little extra shine and thanks to the ingredients in the pomade it also helps protect and aid in the health of my edges. I use the soft bristle brush to bring my hair together and distribute the products applied. The soft bristle brush along with the gel and pomade really helps to give that “smooth” look. I pull my hair together into two side ponytails and then two strand twist each side. I then cross each twist over the top and bobby pin them on the opposite side (under the base of the twist) and tuck away the ends under the base of each twist and that is it.
Milkmaid Twists
Milkmaid Twists
Milkmaid Twists
Additional:
I tend to add a wide ribbon to help accessorize the look, I like to think it makes the style look a little more “fancy” while at the same time helps me feel that I have caused some distraction away from my forehead and ears (yes I am not a fan of them!)
Milkmaid Twists with Ribbon
Milkmaid Twists with Ribbon
Milkmaid Twists with Ribbon
Milkmaid Twists with Ribbon
Whenever I do this style I actually just take down the bobby pins, cover my hair with a scarf for the night and the next morning I touch up my edges if there is need to and then re-pin them down so I get to protect my hair for a few days.
I have a video of course:
Would love to hear if you do Milkmaid Twists, if your method is different or if you have any suggestions for me.
I want to share my DIY Edge Regrowth & “Tame” Pomade/Balm. I put the tame in quotation marks just because I am not the biggest fan of people thinking they NEED/HAVE to have their edges “laid”. Personally I do not mind a little frizz but will admit there are times when I want a more “polished” look. If I want my edges “laid” I want to do so with a product that I know is not harming my delicate, fragile and super sensitive edges. So apart from using Flax Seed Gel (if I happen to have it on hand) then this is my “go to”.
One of the the other reasons why I love this product is because it is a 2 in 1 mix. The most important aspect is that the ingredients used in the mix helps to grow healthy edges, takes care of your edges, is all natural and at the same time can help flyaways/edges (while not being damaging or containing chemicals & alcohols). It does not have a super hard hold but will definitely help with flyaways.
Edge control and tame pomade/balm
I will point out that you will only need a little dab of this at a time since a little goes a LOOOONNG way, so you won’t have to remix again for a while. Those with fine hair (e.g. yours truly) will literally only need to glide their fingertip over the product and it will suffice. P.S you can actually use a tiny amount of this on the ends of your hair too to help keep your twists from unraveling & to seal in moisture on your ends too! (So I guess it is a 3 in one product!)
If you are wondering why is it a pomade/balm, basically you can select how you want the mix to set and depending on which of the two options you go for, you end up with either a pomade or a balm! Personally I prefer using it as a pomade because it is easier to get out of the container, quickly melts upon contact with your skin and you don’t have to store it in the fridge. It will not go off if it’s not in the fridge because I do not mix liquids (e.g. water, aloe vera juice etc) with the oils and butters. The shelf life should be 6 months to 1 year but it will really depend on the shelf life of the oils and butters you use. I have been using my mix for 2 months now and it is still going strong even though it is not stored in the fridge.
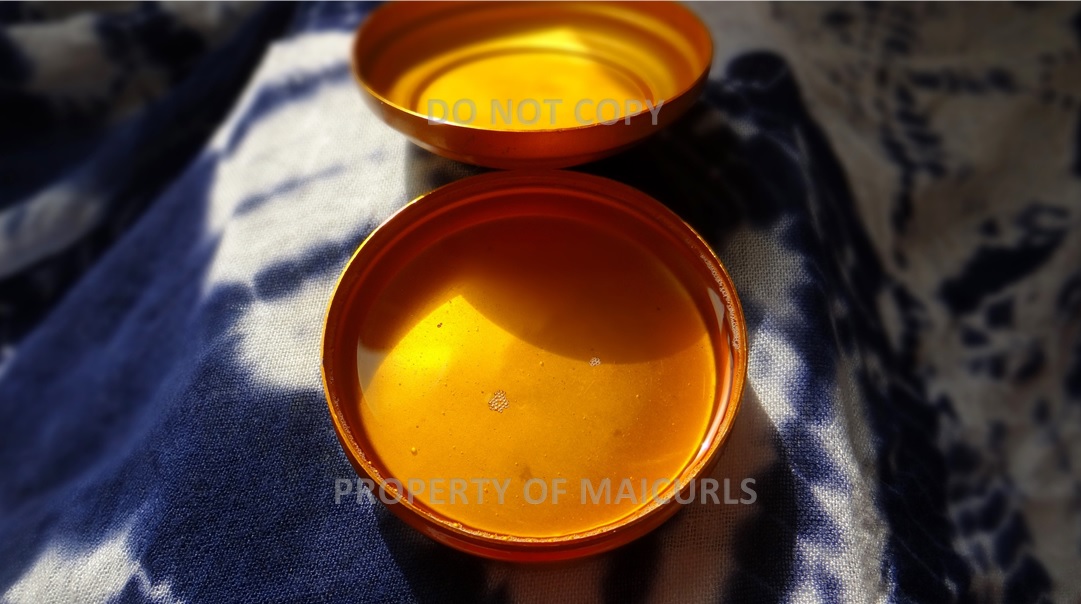
Ingredients I use:(I use a 3oz container)
0.9oz. Unrefined Shea Butter
0.5oz. Unrefined Mango Butter (you can use any other semi-soft butter)
0.7oz. Virgin Coconut Oil
0.4oz. Coffee Bean infused Almond Oil (can be replaced with any carrier oil)
4 Vitamin E Capsules (roughly 0.2oz.)
0.15oz. Castor Oil
4 drop Citronella Essential Oil (Optional – you can use any Essential Oil of choice, Peppermint is a good choice to simulate growth).
Ingredient details
Shea Butter – acts as an excellent sealant to help “trap in” moisture and moisturizing products applied to hair. Shea butter is highly moisturizing for the hair on its own as well and has the same affects for the scalp. It provides nourishment to dry or damaged hair from the roots to the very tips; repairing and protecting against weather damage, dryness and brittleness. Due to its moisturizing properties it gives hair a natural shine and has smoothing effect. (“lays” the hair and helps with growth)
Mango Butter – contains high levels of antioxidants and beneficial vitamins A, C, and E. It is a highly moisturizing butter which is able to restore flexibility, effectively treat dry and itchy scalps and therefore is said to aid the growth of hair. Because of its high content of fatty acids it is believed that it might actually be more moisturizing that Cocoa and even Shea butter!(“lays” your hair and helps with growth).
Virgin Coconut Oil – provides shine and strength to the hair, has conditioning properties and even helps promote a healthy scalp which can result in healthy hair growth. It does not make the hair feel greasy and since it is penetrates into the hair shaft, the oil strengthens from within. Aids in sealing in moisture and works well to stop frizz as well. (“lays” your hair and helps with growth).
Coffee Bean Infused Almond Oil – reduces hair shedding and said to reduce excessive hair loss because of the antioxidants present in caffeine. Increases hair growth since caffeine promotes blood circulation in the scalp which promotes growth and is known to darken the hair and slowdown the early onset of grey hairs with frequent and consistent use*. (helps with growth).
Vitamin E Oil – commonly used oil to help extend homemade products shelf life (however only for a little bit.) This oil rejuvenates and offers protection to the scalp because of its nourishing properties which can lead to hair growth. (helps with growth).
Castor Oil (Jamaican Black Castor Oil) – considered as a humectant that also happens to hold anti-fungal properties. It helps thicken and grow the hair while working as an excellent sealant. Due to its thick and sticky nature a little goes a long way (which is why I use so little of it). (helps with growth).
Mixing Instructions:
Melt down the butters in a double broiler (no more than 5 minutes required) then take it off the heat.
Add the Virgin Coconut Oil to the melted butter (the warmth from the butters will melt the oil).
Add the remaning ingredients: coffee infused almond oil, Vitamin E oil, castor oil & essential oil.
Mix everything really well and pour into your container
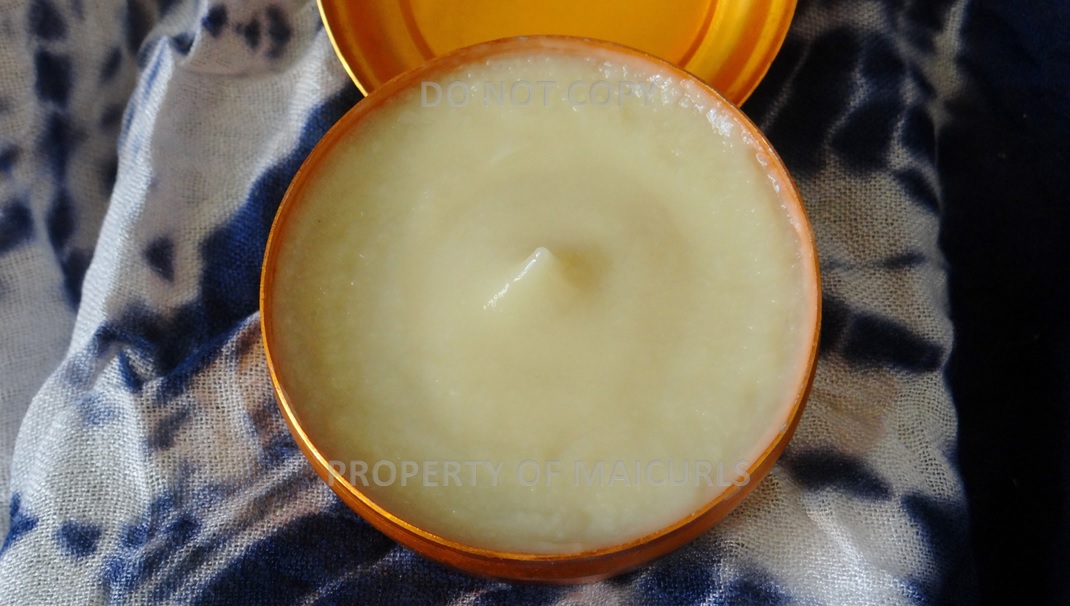
Letting it set/results:
Edge Regrowth and Tame mix before it sets
Pomade:To make it a pomade just let the mix set at room temperature overnight. Depending on how warm/cold your house is, the mix can become a little more runny or slightly thicker but it will not become extremely firm or liquid.
Edge Regrowth and Tame Pomade
Balm:To make a balm you will want to let it set in the fridge for a few hours (minimum 4 hours – best overnight). In order for it to remain a balm you might have to restore it in the fridge after use, however, depending on how warm/cold you house is it can retain a slightly soft “balmy” consistency outside of the fridge after you have let it set.
Edge Regrowth and Tame Balm
DO NOT CARRY THIS PRODUCT IN YOUR BAG, IN YOUR CAR, POCKET ETC BECAUSE IT WILL MELT AND CAN SPILL OUT THE CONTAINER!
NOTE: I am neither a doctor, a dermatologist or a medical professional. This recipe is for informational purposes only and should not be used as a medical remedy to hair loss, skin disorders or be used as a replacement for anything provided to you by a professional!
How to use:
All you need to do is glide your finger over the product (lightly) and then rub the product on your fingertips to warm it up. Lightly and gently apply it to your edges with your fingertips and then either brush back your edges or tie down a scarf.
I would really love to hear if you try this or make your own edge regrowth and tame product!