I have been busy trying to record videos back to back because I will be out of the country in 2 weeks (on holidayaaayyyy) so please forgive my delays.
Today I am going to be sharing a new Skin DIY! And yes, the title of the post gives it away, it will be a face mask that helps to detoxify the skin.
DIY Detox Mask
Benefits
Brightens the skin (NOT LIGHTENS but brightens).
Leaves you with a youthful glowy finish.
Helps reduce redness.
Soothes the skin.
Helps to remove toxins in the skin.
Helps to remove dead skin cells.
Closes the pores.
Leaves your face smooth and soft.
Ingredients/Tools used
0.8oz Amla Powder
1.4oz Water (I use plain bottled water)
0.5oz Rose Water
0.4oz Natural/Raw Honey
Squeeze of Fresh Lemon Juice
3 Capsules Vitamin E Oil (roughly 0.15oz)
(Optional) Essential Oil
Clean and disinfected Bowl
Clean and disinfected spoon
Gloves (optional to keep things sanitized)
Mixing
I add both the water and rose water a little at a time to the amla powder while continuously stirring. I then add the honey, lemon juice and Vitamin E Oil (Essential Oil if using).
Ingredient/Ratio Alternatives
Should you not have access to rose water, you can just replace it with plain water.
Natural/Raw Honey can be replaced with Agave Nectar or even Molasses.
Application
I like to apply the mask onto makeup free skin that is slightly damp. I use my fingers to apply the mask AVOIDING THE EYE & EYEBROW AREA! Let the mask dry for 15 – 25 minutes, splash lukewarm water on my face and slowly wipe away the mask using a damp face cloth. I follow up with my toner & moisturizer. NOTE: as the mask dries it will start to tighten the skin, this is normal.
If you use this mask please let me know what you think!
I have two recipes to share today. Both of these mixes are for the lips.
I have been using a DIY Lip Scrub and Lip Salve over the last two months and have noticed a difference in how my lips feels and looks which is why I wanted to share 🙂
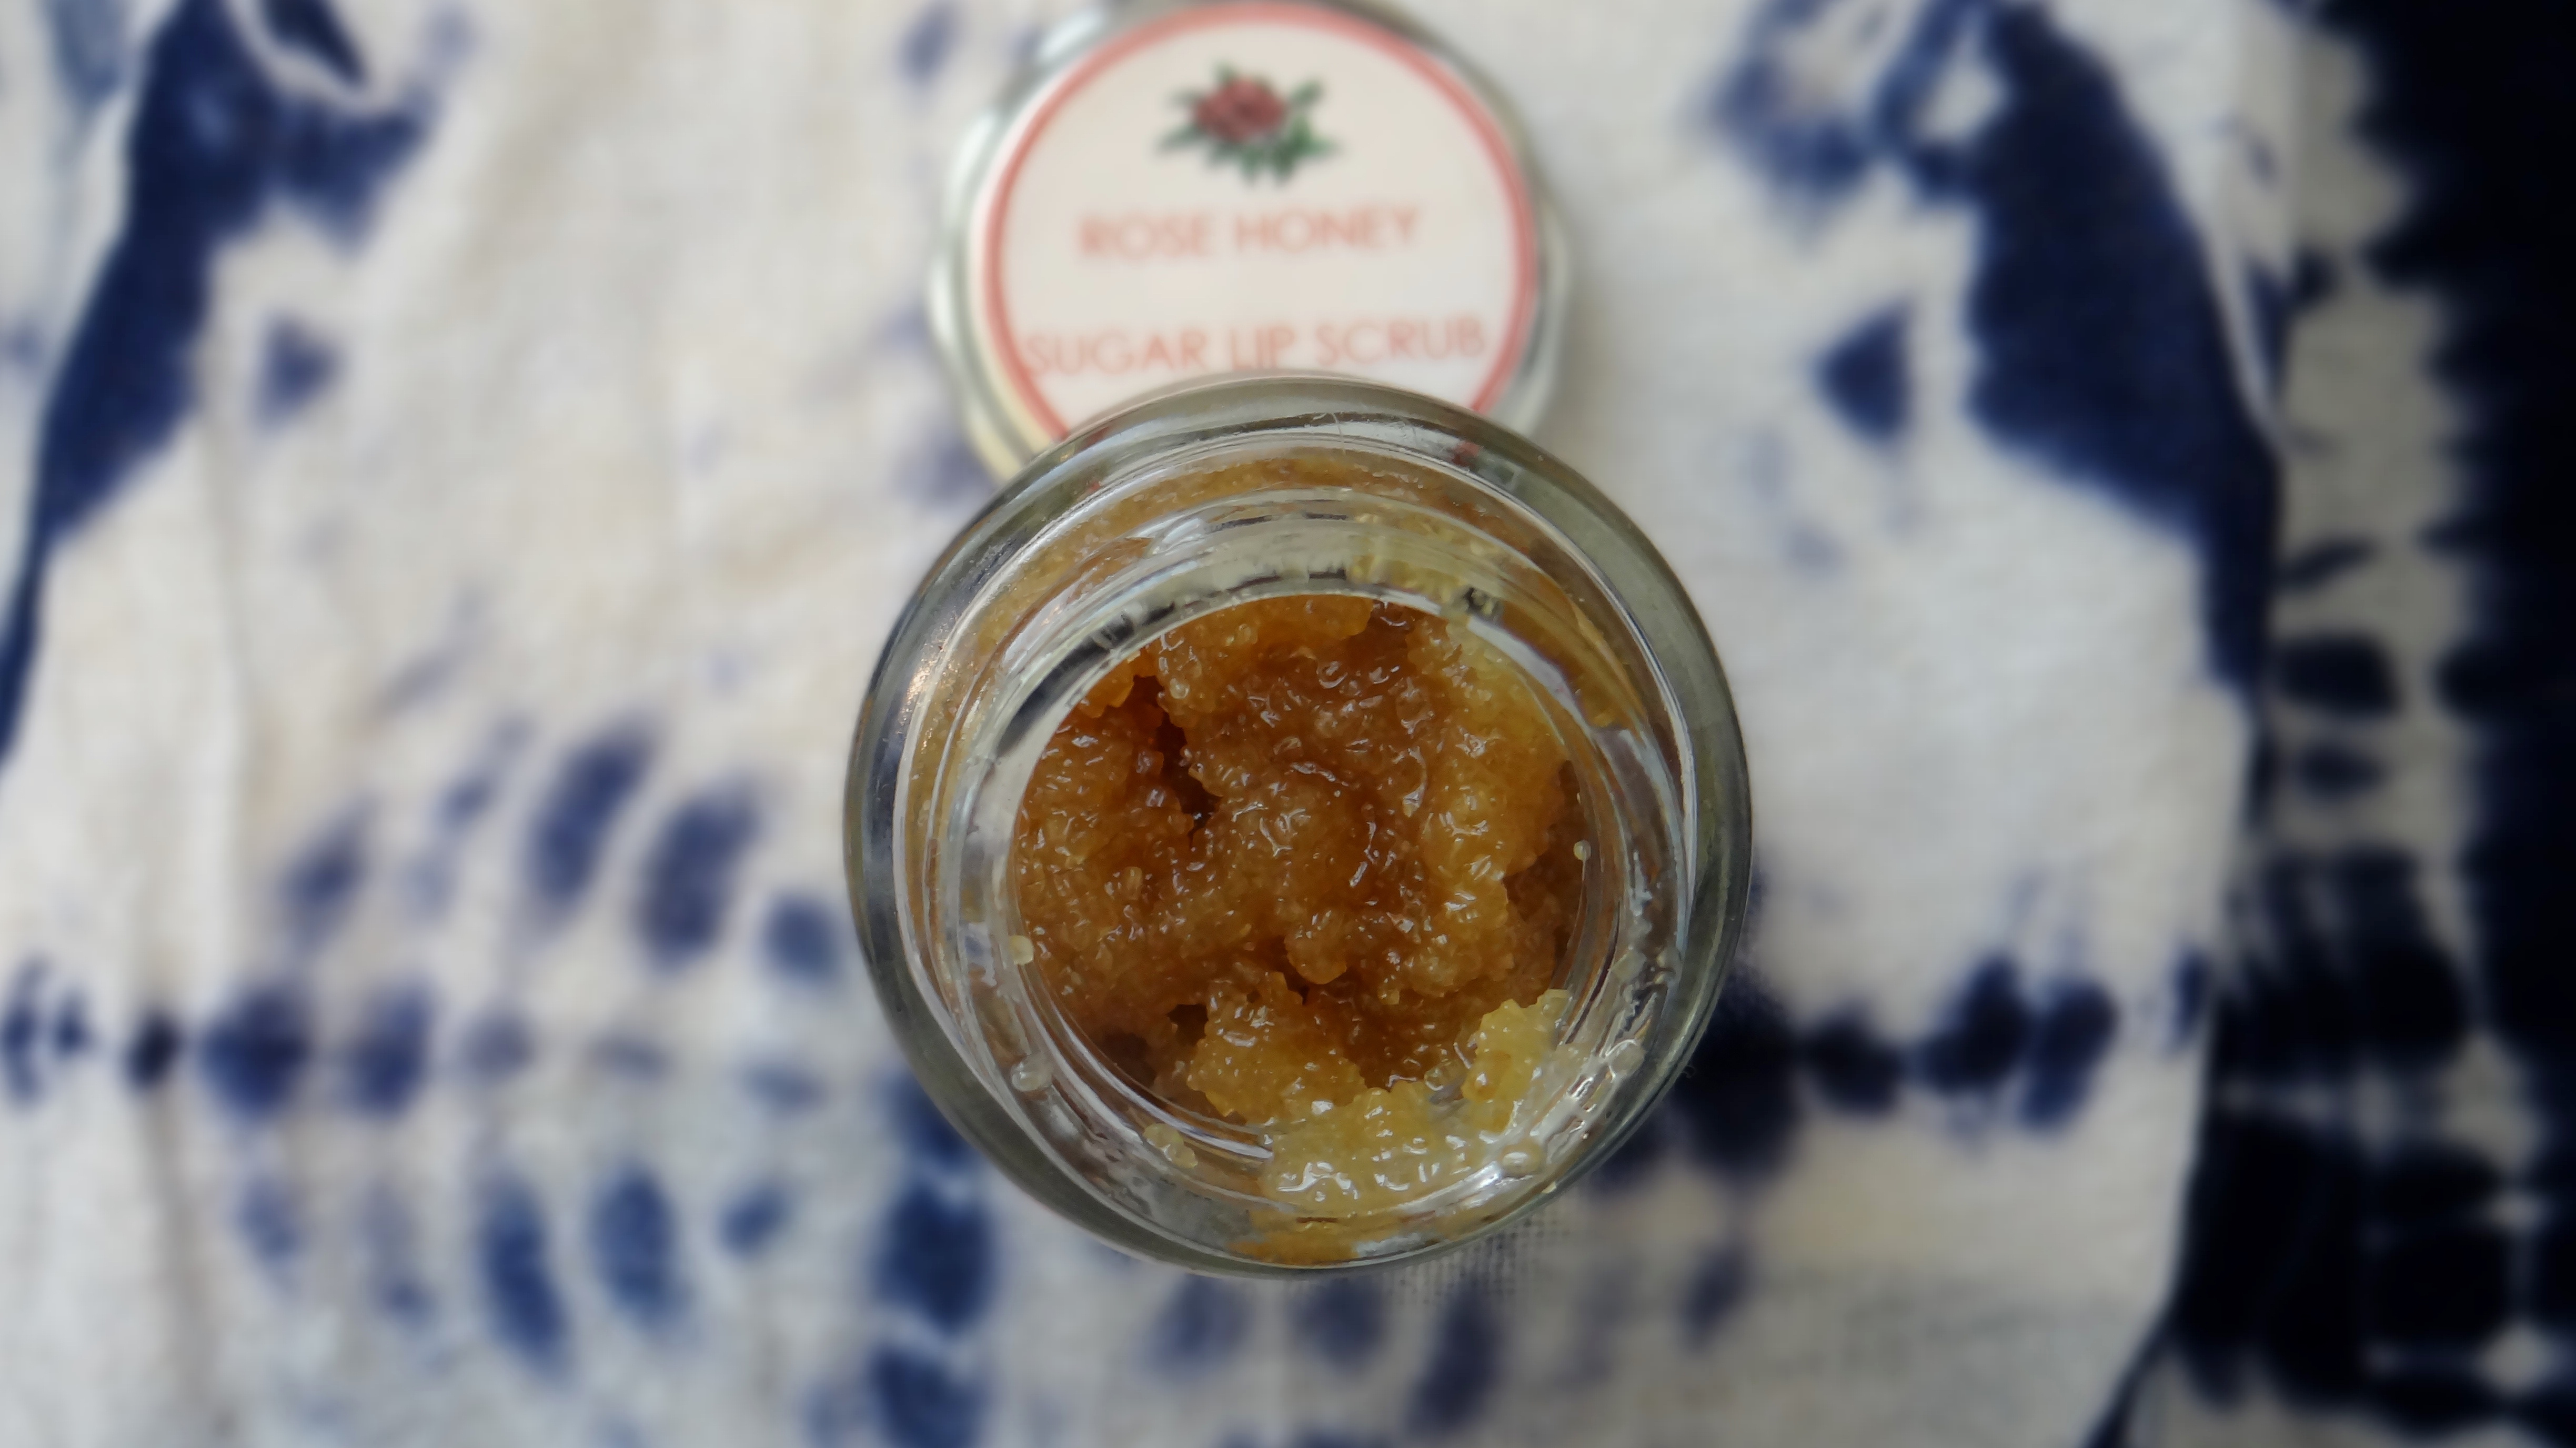
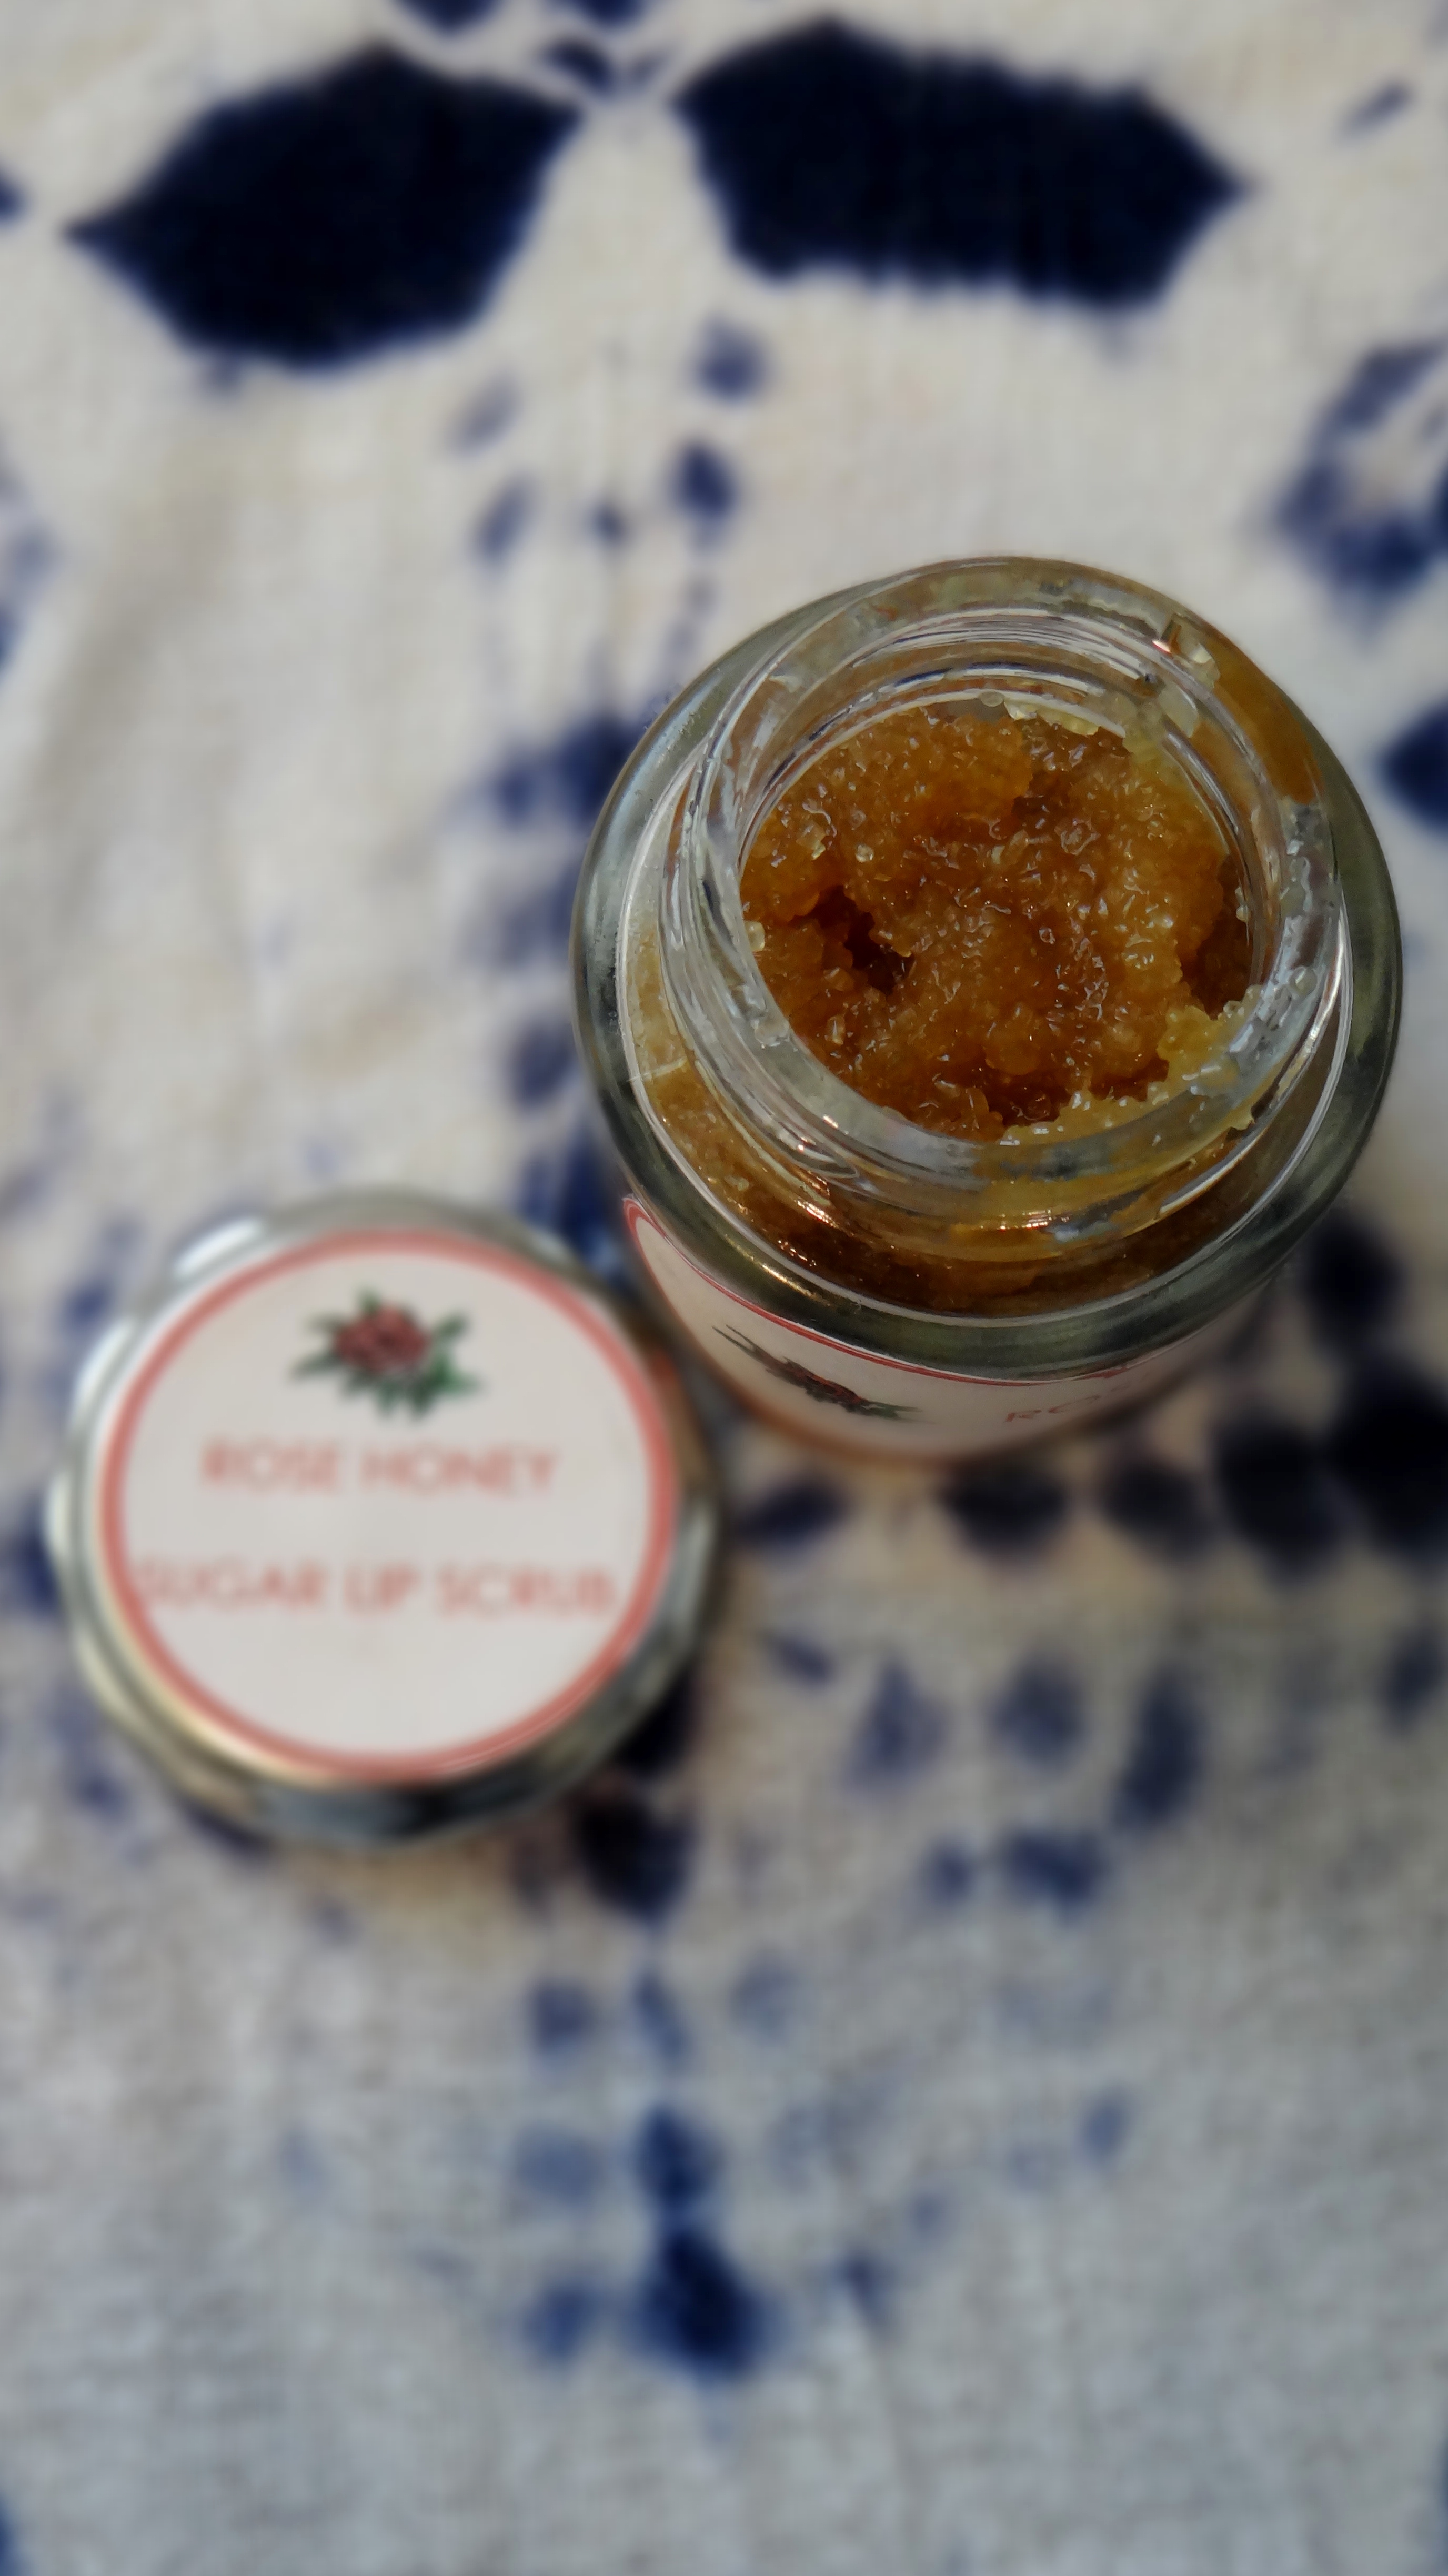
DIY Rose Honey Lip Scrub
DIY Rose Honey Lip Scrub
This baby is fabulous! I use the sugar scrub 1 – 2 times a week maximum to help exfoliate my sensitive chappy lips. Do not scrub more than twice a week otherwise you run the risk of ending up with a raw, fragile and over exfoliated pout!
Ingredients:
0.5oz Natural Honey
0.1oz Rose Infused Almond Oil (you can use any carrier oil)
1oz. Raw Brown Sugar (you could use white sugar)
Peppermint Essential Oil (you can use any Essential Oil)
Mix Instructions:
I first mix the Raw Honey and Rose Infused Oil together and then add about half the Sugar. After mixing in the first half I add the remaining Sugar. The Essential Oil is added at then end and then everything is transferred to my container.
DIY Rose Honey Lip Scrub
When/How I Apply the Scrub:
As I mentioned I apply the scrub once or twice a week after I have washed my face and removed my makeup (including anything on my lips). I make sure my lips are a little damp with water and then in a circular motion I lightly rub the scrub over my lips. I like to leave it on for about 1 minute and then splash it off with water.
Why I use these ingredients:
Brown sugar – helps to gently remove dead skin from the lips leaving you with a soft supple pout without being too harsh on the skin. (I prefer using brown sugar over white sugar but there is no harm in using white sugar.) Raw Honey – a light humectant that helps to draw moisture in the air to the lips, making it a super moisturizing ingredient. It has light anti bacterial and antiseptic properties so it helps to heal cracked lips. Rose Infused Grapeseed Oil – the oil will help trap in all that luscious moisture from the honey, it is light and therefore will not clog up the skin. The infusion of rose adds to the scent of the mix. Peppermint Essential Oil – this is an optional ingredient but I LOVE it. It helps to stimulate blood circulation giving you a tingling sensation, makes the lips plush and it also helps to keep the scrub from going off too quickly due to it’s anti fungal properties (it is not a preservative but helps to extend the shelf life of a product a little).
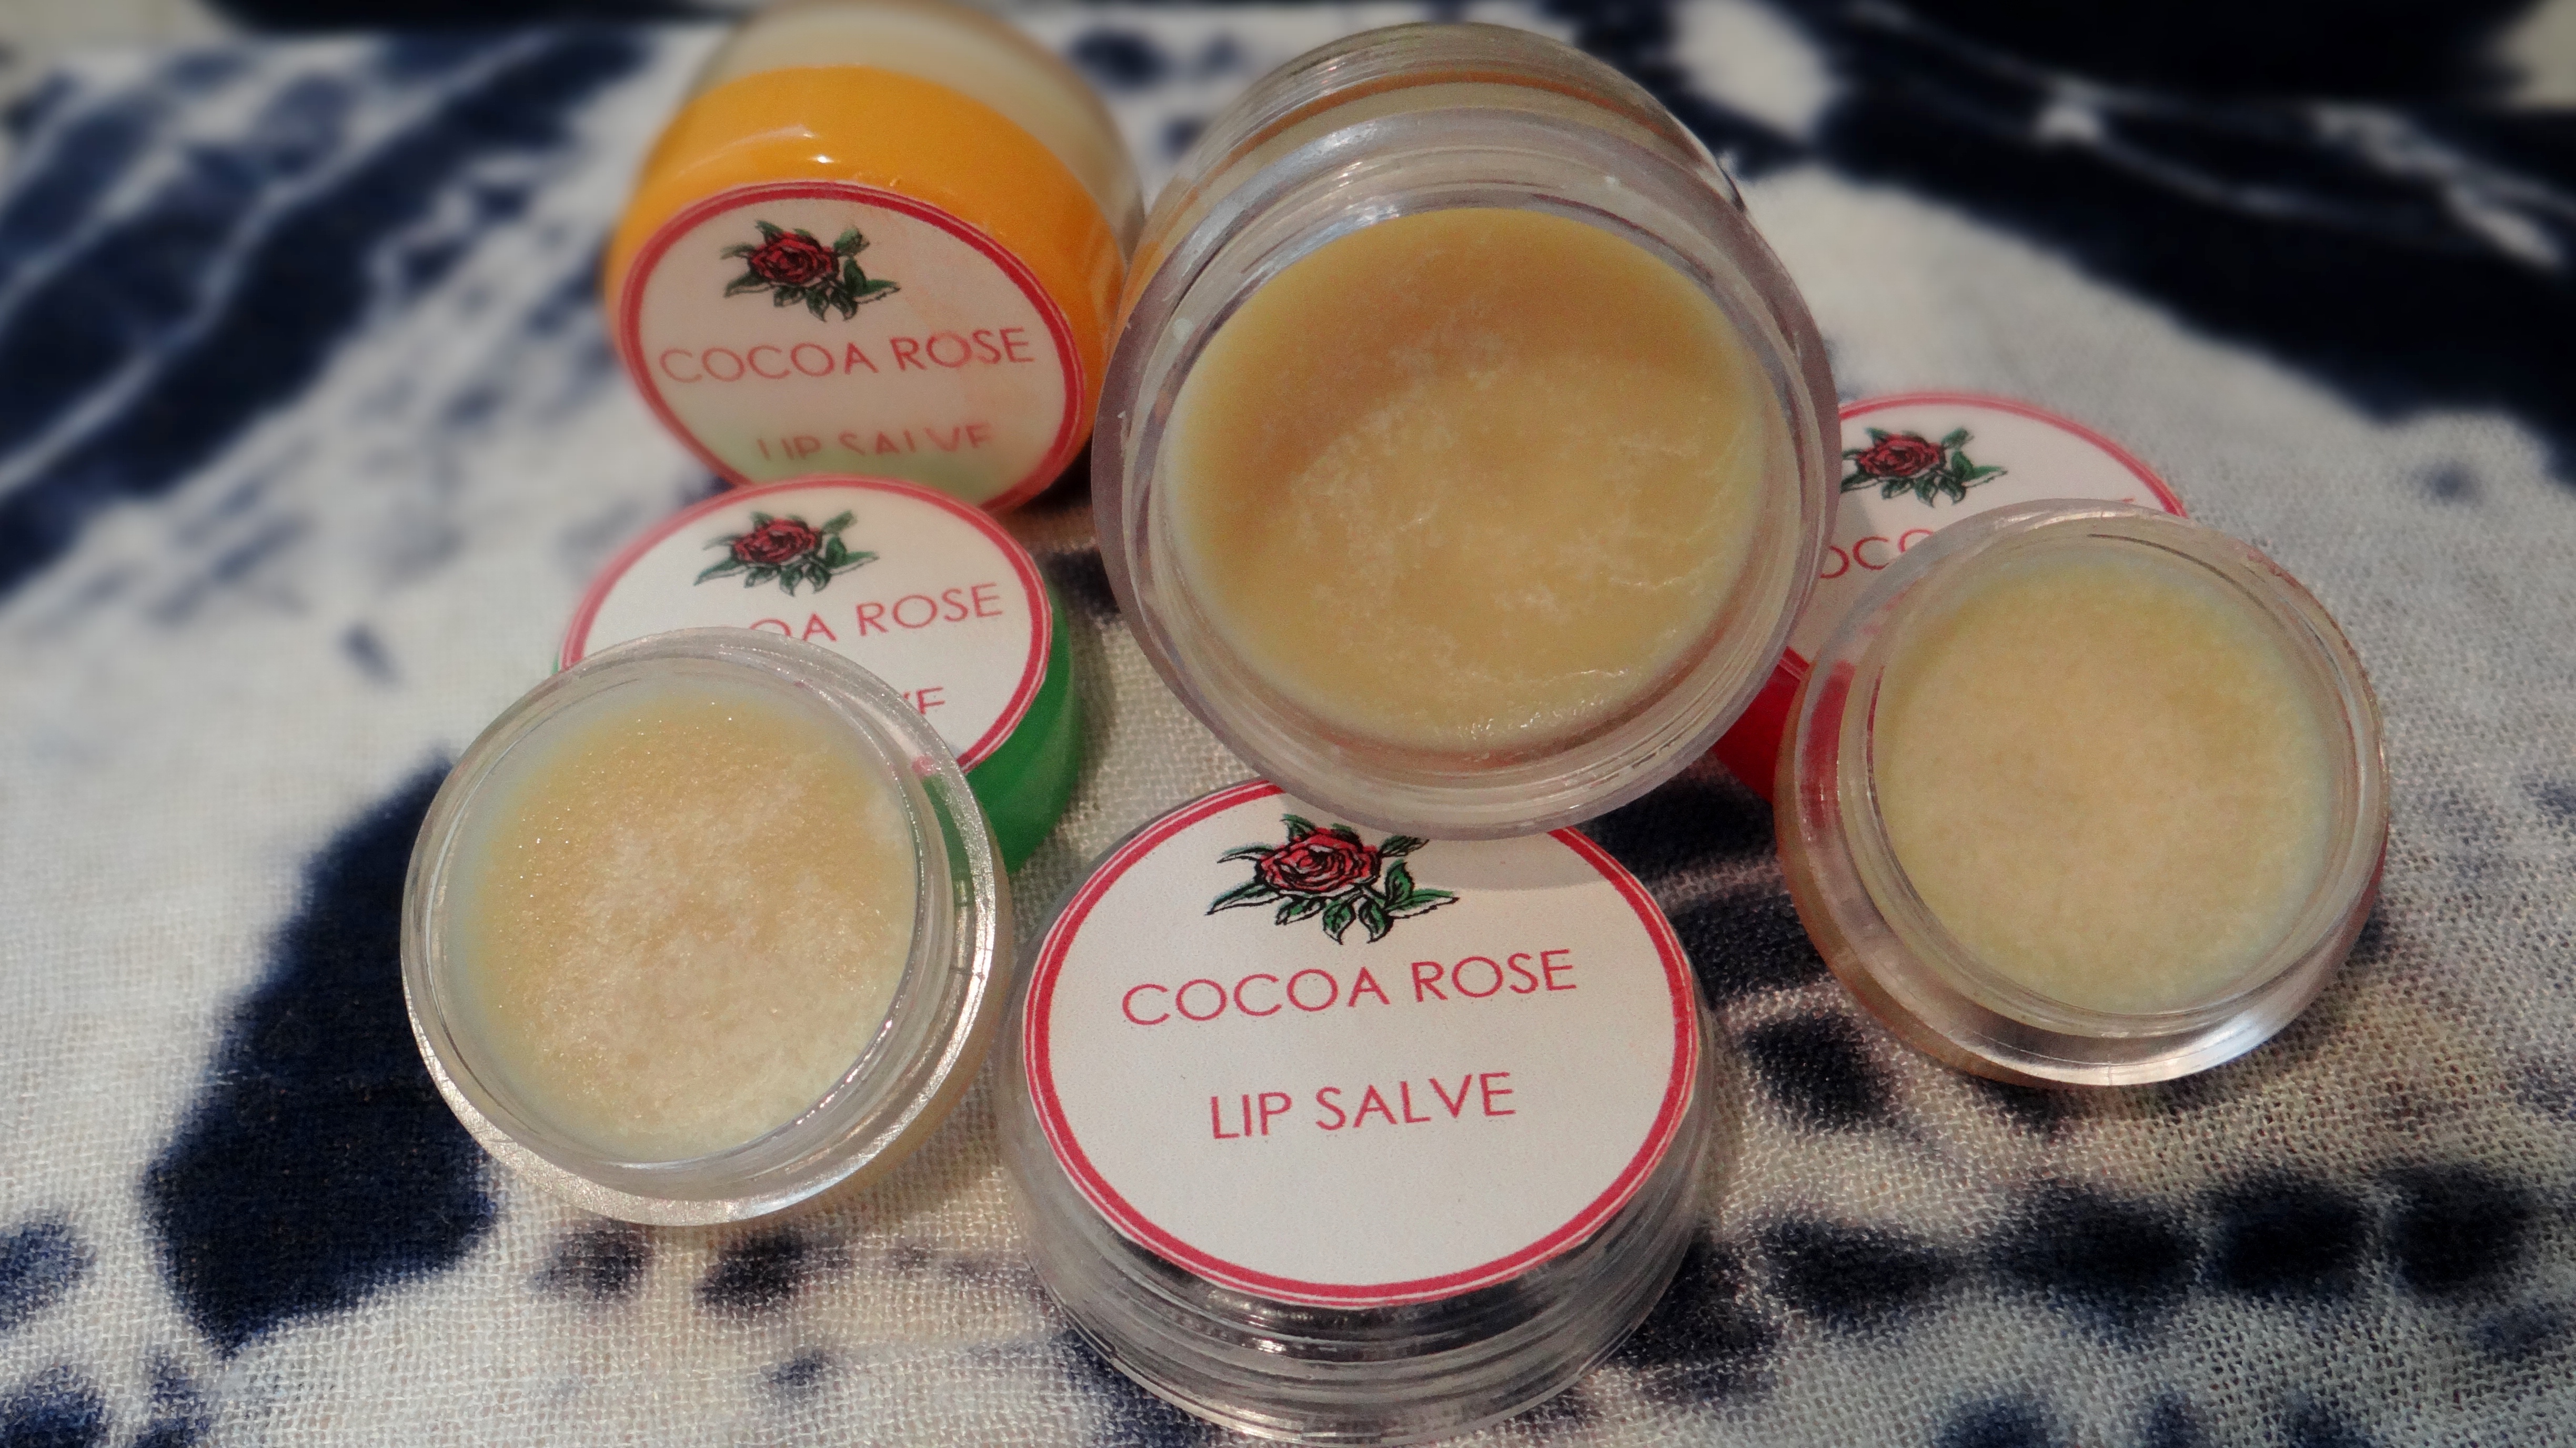
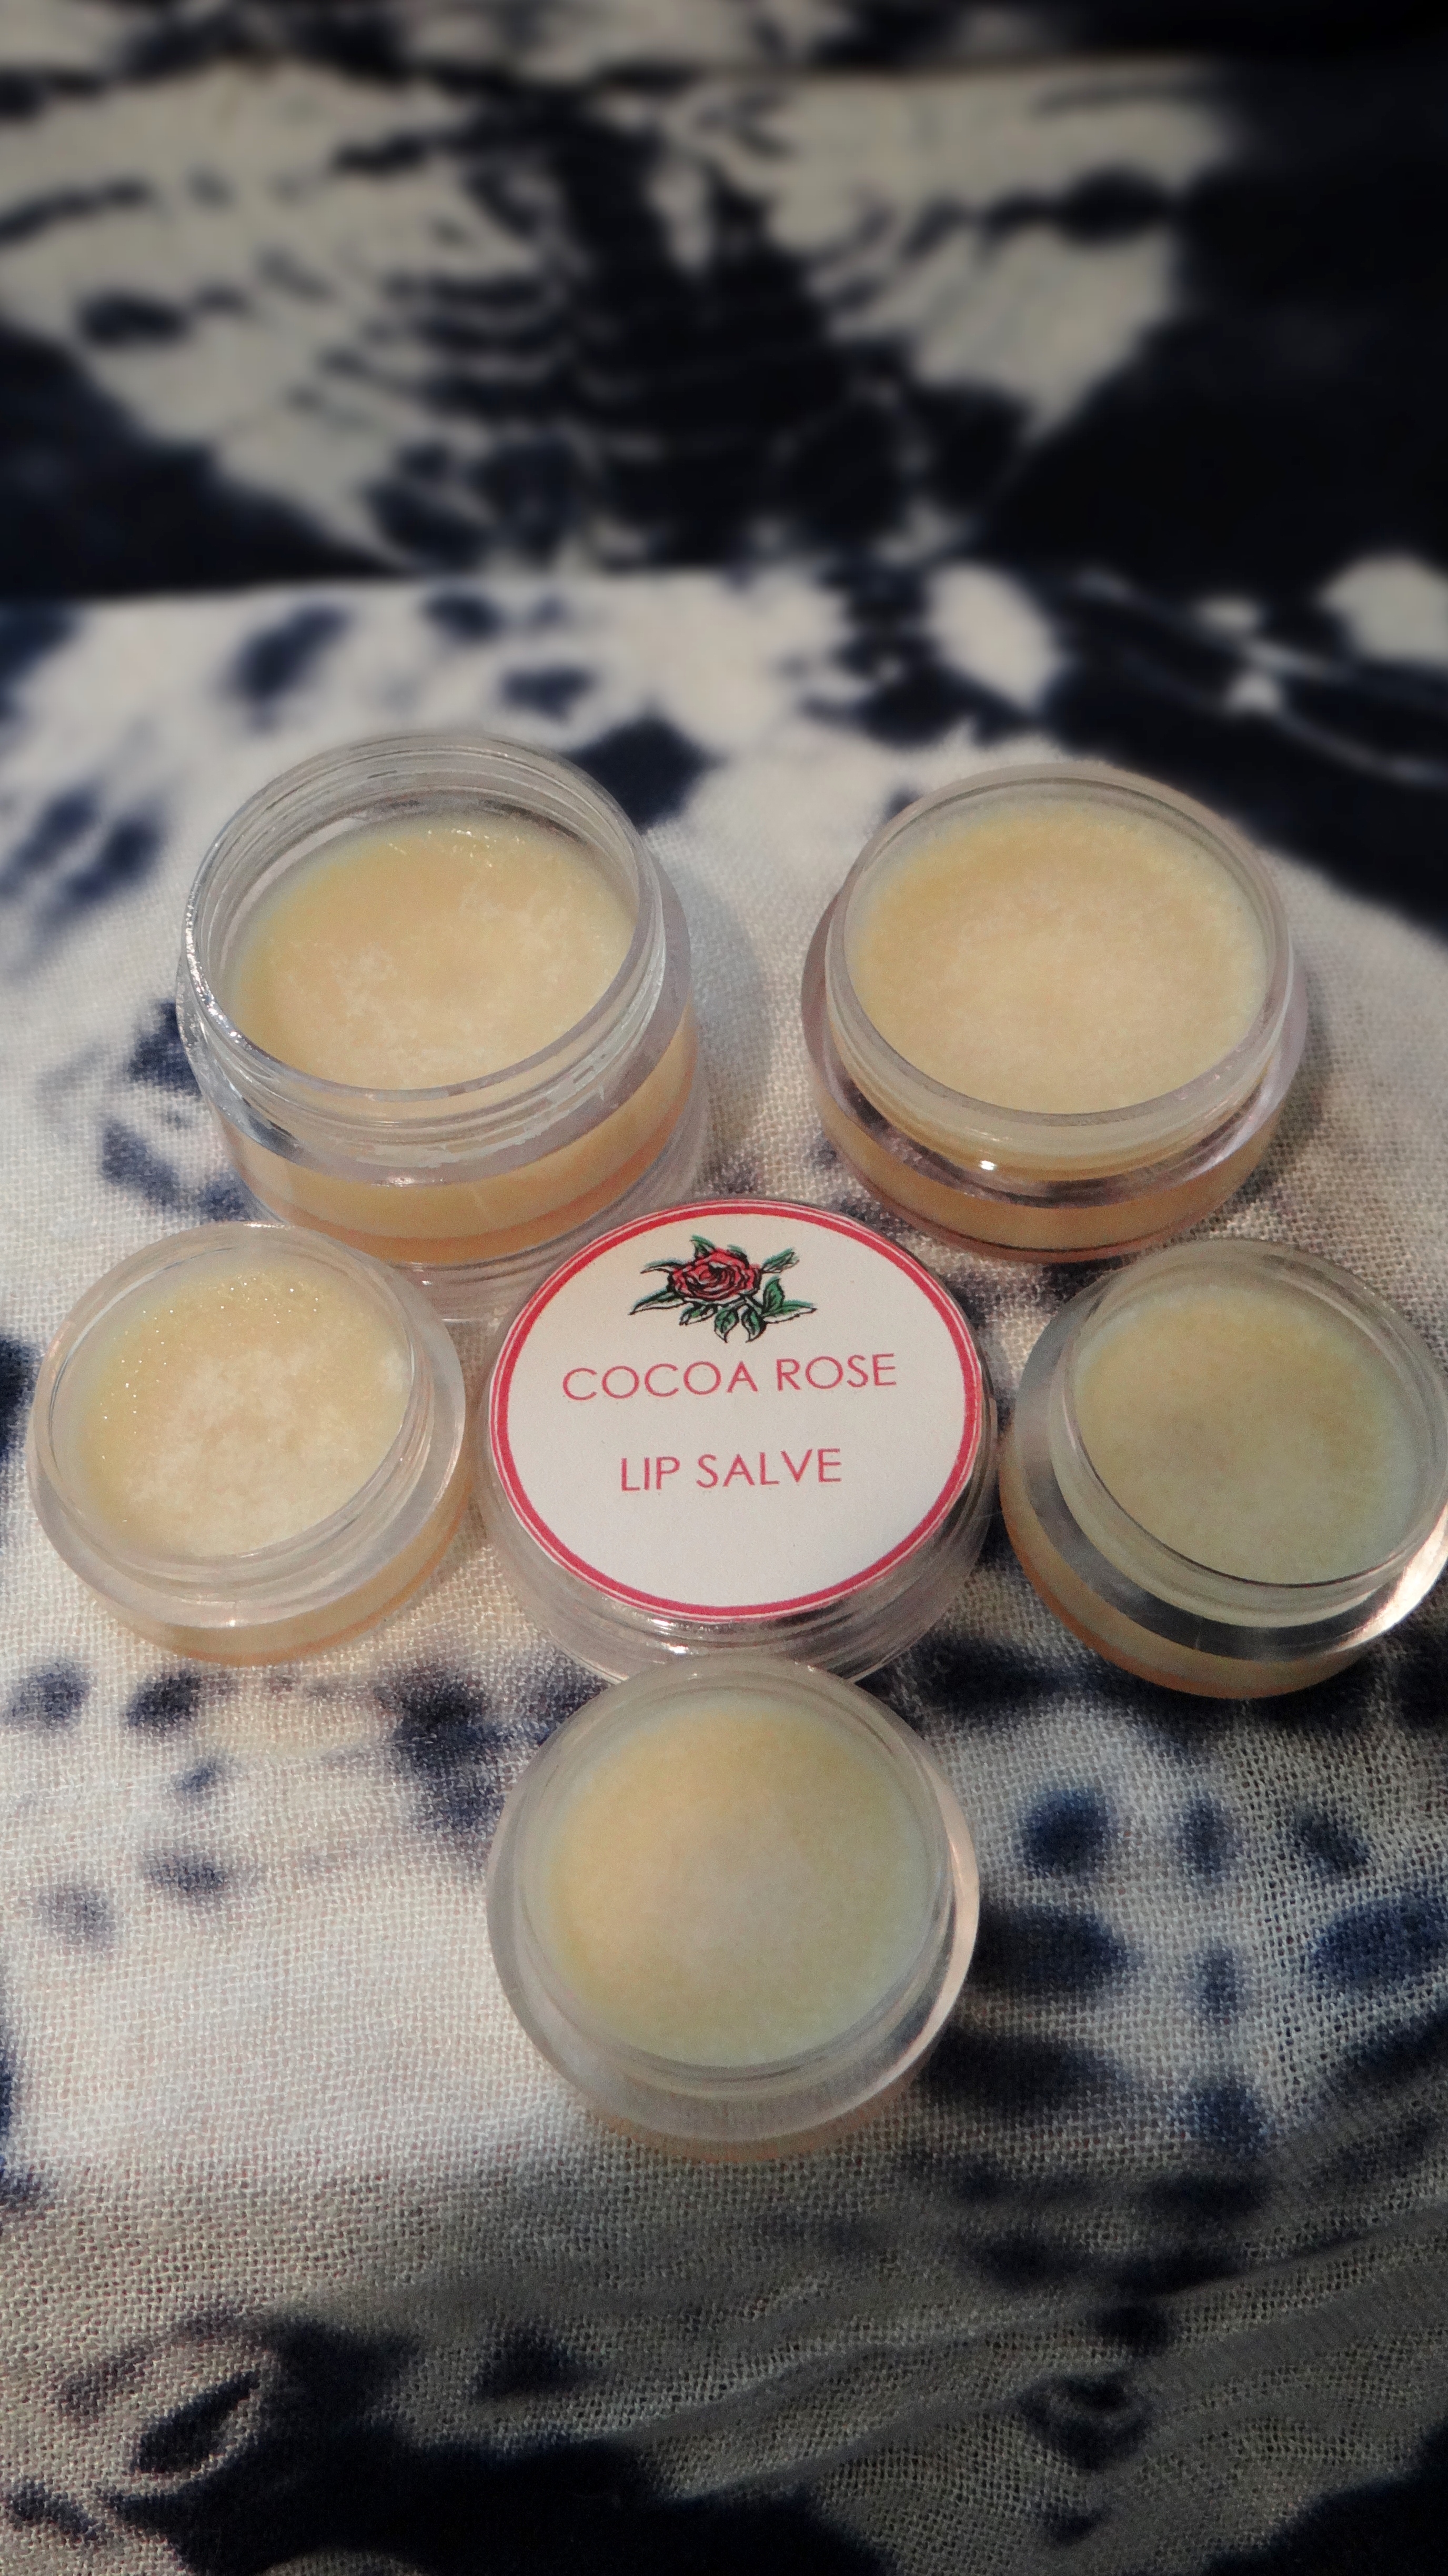
DIY Cocoa Rose Lip Salve
DIY Cocoa Rose Lip Salve
Ingredients:
0.8oz unrefined Cocoa Butter (double broil for less than 5 minutes)
0.3oz Virgin Coconut Oil
0.2oz. Rose Infused Grapeseed Oil
0.1oz Castor Oill
2 Vitamin E Oil Capsules = roughly 0.15oz (do not cut your fingers if you use capsules)
2 drops natural Rose fragrance oil – alcohol free (optional)
1 drop Peppermint Essential Oil (Optional – use any EO)
Mixing Instructions:
I first melt down the Cocoa butter in a double broiler for no more than 5 minutes and then add the Virgin Coconut oil to the melted butter (off the heat). The warmth from the Cocoa Butter will melt down the Coconut Oil. I add both the Rose Infused Grapeseed Oil and Castor oil to the mix followed by the contents of two Vitamin E Oil Capsules. The final step is to add the Alcohol Free Rose Fragrance Oil (optional) and the Essential Oil (optional). I then pour the mix into my containers and then let them set in the fridge for no less than 4 hours (usually overnight).
DIY Cocoa Rose Lip Salve
When/How I Apply the Scrub:
I have become obsessed with this lip salve so I do not only apply it at night but during the day too! Anytime really…but I do make a point of putting it on before bed. I also ensure that after I have scrubbed my lips I apply a sufficient amount of the salve. I make enough of this to keep a container on my bedside table, in my bathroom, my dresser and in my office.
Why I use the ingredients:
Cocoa Butter – an excellent butter that has moisturizing and soothing properties. It gives the salve hold yet still allows it to melt immediately upon contact with the skin providing a light sheen and glisten. Virgin Coconut Oil – is easily absorbed into the skin, has moisturizing properties and leaves the skin feeling soft. Castor Oil – is a humectant as well as being a sealing oil so it attracts moisture in the air to the lips and helps to heal damaged, dry and chapped lips. Rose Infused Grapeseed Oil – is a light oil that helps to seal in the moisturizing and nourishing benefits from the salve and provides a light sheen. I like to use alcohol free fragrance oil, because if provides a luscious scent to the salve and is not damaging or drying. Peppermint Essential Oil – (optional) helps to stimulate blood circulation giving you a tingling sensation, makes the lips plush and it also helps to keep the salve from going off too quickly due to it’s anti fungal properties (it is not a preservative but helps to extend the shelf life of a product a little). Vitamin E Oil – is super moisturizing for the lips, helps generate new skin growth and contains nourishing properties that helps to keep the lips supple and soft.
NOTE: Make sure that your fingers are dry before taking the products out of the container (before application) in order to keep them from growing bacteria. Since the Lip Salve does not contain beeswax it might become a little soft during the summer months therefor make sure not to keep them in your bag or pocket because it can melt and spill. Use the scrub no more than twice and week to ensure you don’t over exfoliate. You can apply the lip salve anytime you want, so if you make a few batches you can keep some handy in random places e.g. bedside table, dresser, bathroom cabinet, office desk etc.
I would love to hear if you try these mixes. If you have a favorite DIY Scrub or Lip salve/balm let me know, I like to experiment (as you know)!
I want to share my DIY Edge Regrowth & “Tame” Pomade/Balm. I put the tame in quotation marks just because I am not the biggest fan of people thinking they NEED/HAVE to have their edges “laid”. Personally I do not mind a little frizz but will admit there are times when I want a more “polished” look. If I want my edges “laid” I want to do so with a product that I know is not harming my delicate, fragile and super sensitive edges. So apart from using Flax Seed Gel (if I happen to have it on hand) then this is my “go to”.
One of the the other reasons why I love this product is because it is a 2 in 1 mix. The most important aspect is that the ingredients used in the mix helps to grow healthy edges, takes care of your edges, is all natural and at the same time can help flyaways/edges (while not being damaging or containing chemicals & alcohols). It does not have a super hard hold but will definitely help with flyaways.
Edge control and tame pomade/balm
I will point out that you will only need a little dab of this at a time since a little goes a LOOOONNG way, so you won’t have to remix again for a while. Those with fine hair (e.g. yours truly) will literally only need to glide their fingertip over the product and it will suffice. P.S you can actually use a tiny amount of this on the ends of your hair too to help keep your twists from unraveling & to seal in moisture on your ends too! (So I guess it is a 3 in one product!)
If you are wondering why is it a pomade/balm, basically you can select how you want the mix to set and depending on which of the two options you go for, you end up with either a pomade or a balm! Personally I prefer using it as a pomade because it is easier to get out of the container, quickly melts upon contact with your skin and you don’t have to store it in the fridge. It will not go off if it’s not in the fridge because I do not mix liquids (e.g. water, aloe vera juice etc) with the oils and butters. The shelf life should be 6 months to 1 year but it will really depend on the shelf life of the oils and butters you use. I have been using my mix for 2 months now and it is still going strong even though it is not stored in the fridge.
Ingredients I use:(I use a 3oz container)
0.9oz. Unrefined Shea Butter
0.5oz. Unrefined Mango Butter (you can use any other semi-soft butter)
0.7oz. Virgin Coconut Oil
0.4oz. Coffee Bean infused Almond Oil (can be replaced with any carrier oil)
4 Vitamin E Capsules (roughly 0.2oz.)
0.15oz. Castor Oil
4 drop Citronella Essential Oil (Optional – you can use any Essential Oil of choice, Peppermint is a good choice to simulate growth).
Ingredient details
Shea Butter – acts as an excellent sealant to help “trap in” moisture and moisturizing products applied to hair. Shea butter is highly moisturizing for the hair on its own as well and has the same affects for the scalp. It provides nourishment to dry or damaged hair from the roots to the very tips; repairing and protecting against weather damage, dryness and brittleness. Due to its moisturizing properties it gives hair a natural shine and has smoothing effect. (“lays” the hair and helps with growth)
Mango Butter – contains high levels of antioxidants and beneficial vitamins A, C, and E. It is a highly moisturizing butter which is able to restore flexibility, effectively treat dry and itchy scalps and therefore is said to aid the growth of hair. Because of its high content of fatty acids it is believed that it might actually be more moisturizing that Cocoa and even Shea butter!(“lays” your hair and helps with growth).
Virgin Coconut Oil – provides shine and strength to the hair, has conditioning properties and even helps promote a healthy scalp which can result in healthy hair growth. It does not make the hair feel greasy and since it is penetrates into the hair shaft, the oil strengthens from within. Aids in sealing in moisture and works well to stop frizz as well. (“lays” your hair and helps with growth).
Coffee Bean Infused Almond Oil – reduces hair shedding and said to reduce excessive hair loss because of the antioxidants present in caffeine. Increases hair growth since caffeine promotes blood circulation in the scalp which promotes growth and is known to darken the hair and slowdown the early onset of grey hairs with frequent and consistent use*. (helps with growth).
Vitamin E Oil – commonly used oil to help extend homemade products shelf life (however only for a little bit.) This oil rejuvenates and offers protection to the scalp because of its nourishing properties which can lead to hair growth. (helps with growth).
Castor Oil (Jamaican Black Castor Oil) – considered as a humectant that also happens to hold anti-fungal properties. It helps thicken and grow the hair while working as an excellent sealant. Due to its thick and sticky nature a little goes a long way (which is why I use so little of it). (helps with growth).
Mixing Instructions:
Melt down the butters in a double broiler (no more than 5 minutes required) then take it off the heat.
Add the Virgin Coconut Oil to the melted butter (the warmth from the butters will melt the oil).
Add the remaning ingredients: coffee infused almond oil, Vitamin E oil, castor oil & essential oil.
Mix everything really well and pour into your container
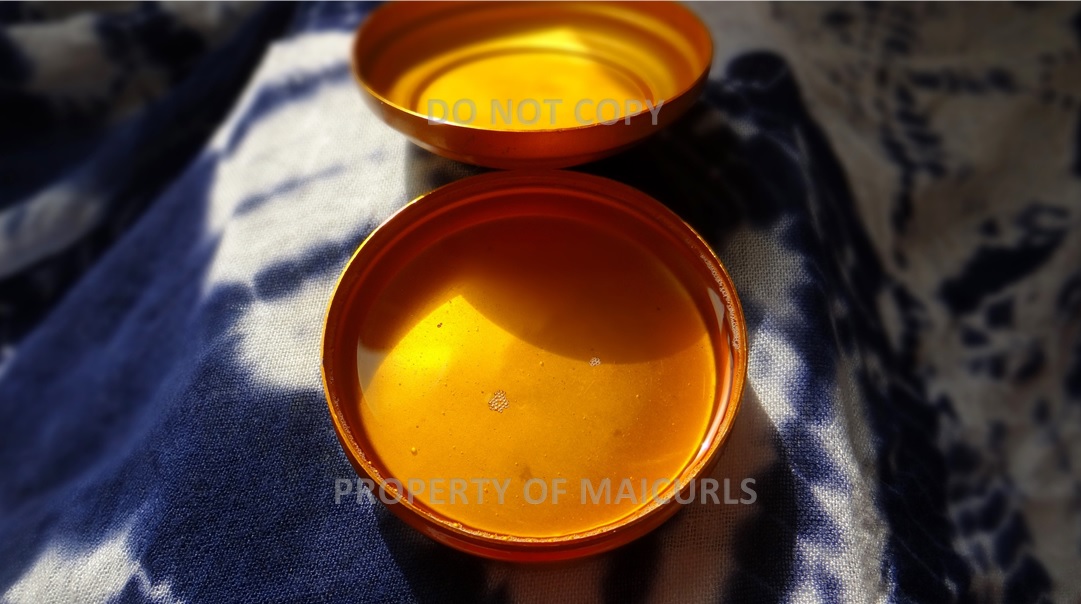
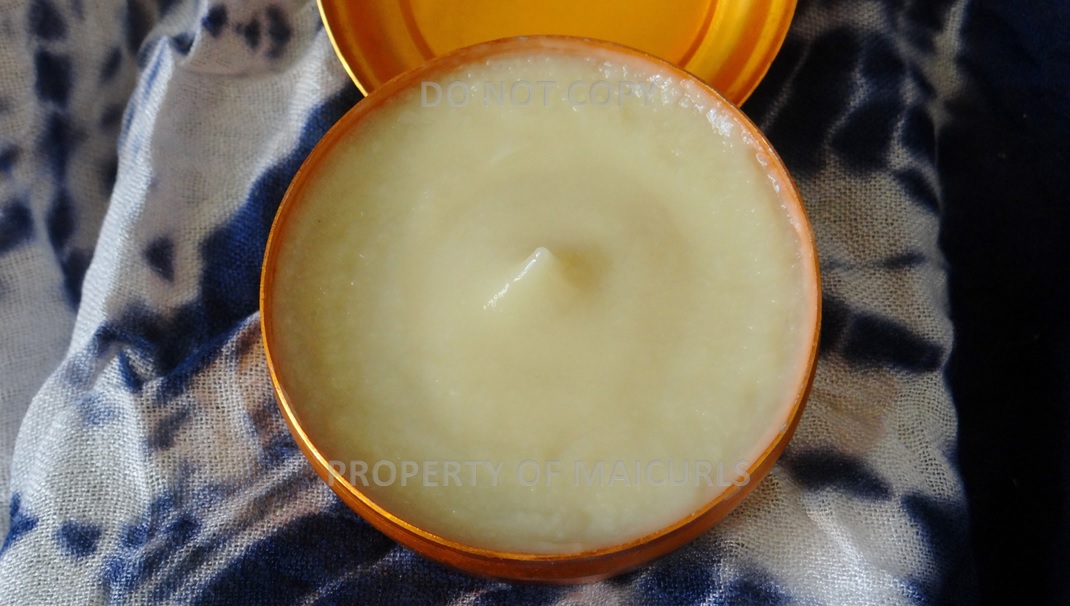
Letting it set/results:
Edge Regrowth and Tame mix before it sets
Pomade:To make it a pomade just let the mix set at room temperature overnight. Depending on how warm/cold your house is, the mix can become a little more runny or slightly thicker but it will not become extremely firm or liquid.
Edge Regrowth and Tame Pomade
Balm:To make a balm you will want to let it set in the fridge for a few hours (minimum 4 hours – best overnight). In order for it to remain a balm you might have to restore it in the fridge after use, however, depending on how warm/cold you house is it can retain a slightly soft “balmy” consistency outside of the fridge after you have let it set.
Edge Regrowth and Tame Balm
DO NOT CARRY THIS PRODUCT IN YOUR BAG, IN YOUR CAR, POCKET ETC BECAUSE IT WILL MELT AND CAN SPILL OUT THE CONTAINER!
NOTE: I am neither a doctor, a dermatologist or a medical professional. This recipe is for informational purposes only and should not be used as a medical remedy to hair loss, skin disorders or be used as a replacement for anything provided to you by a professional!
How to use:
All you need to do is glide your finger over the product (lightly) and then rub the product on your fingertips to warm it up. Lightly and gently apply it to your edges with your fingertips and then either brush back your edges or tie down a scarf.
I would really love to hear if you try this or make your own edge regrowth and tame product!