Here is my second styling tutorial using the Avocurl Line – Conditioning Butter.
As I mentioned in my first tutorial using their Daily Moisturizer, I was contacted by the founder Jasmine, to be a Brand Ambassador. For this demonstration, I used their conditioning butter to do a Wash & Go.
It has been a while since I’ve had the opportunity to feature a beautiful natural so I am very excited to share a new “Natural In Business”with you today!
Ms. Toshia, an extremely stunning natural business woman, is the proud owner of Butter Me Up and at such an young age (25) she has been able to achieve one part of her ultimate dreams by starting her very own business which, she endearingly refers to as her “baby”. Aside from the business aspect, Toshia has many other goals, one of them is becoming a successful performer & entertainer thanks to her singing and writing creativity, so keep an eye out for her Maicurlies and remember you read about her here when she hits the big screen! 😉
Butter Me Up came to fruition because of a number of reasons: dissatisfaction with Toshia’s previous job, her enthusiasm to create and craft things and a desire to cater to and inform consumers about “processed, synthetic ingredients & organic ingredients”.
As Maicurlies, I believe it is safe to say that you know I am crazy about natural products and Toshia’s deliciously scrumptious looking goodies are no exception (no you can not eat them)!
I am delighted to share more about the business concept of Butter Me Up and what motivated Toshia to create her company. You can read all about her story on my Feature Page herePlease do not forget to check out: ButterMeUpGoods.com & browse through the store (she has a lot on the “shelf”) and I promise they look so good you will want to eat them!
This is a two part recipe where I will first make an infused butter (this recipe) and from that I will make a whipped butter (my next recipe).
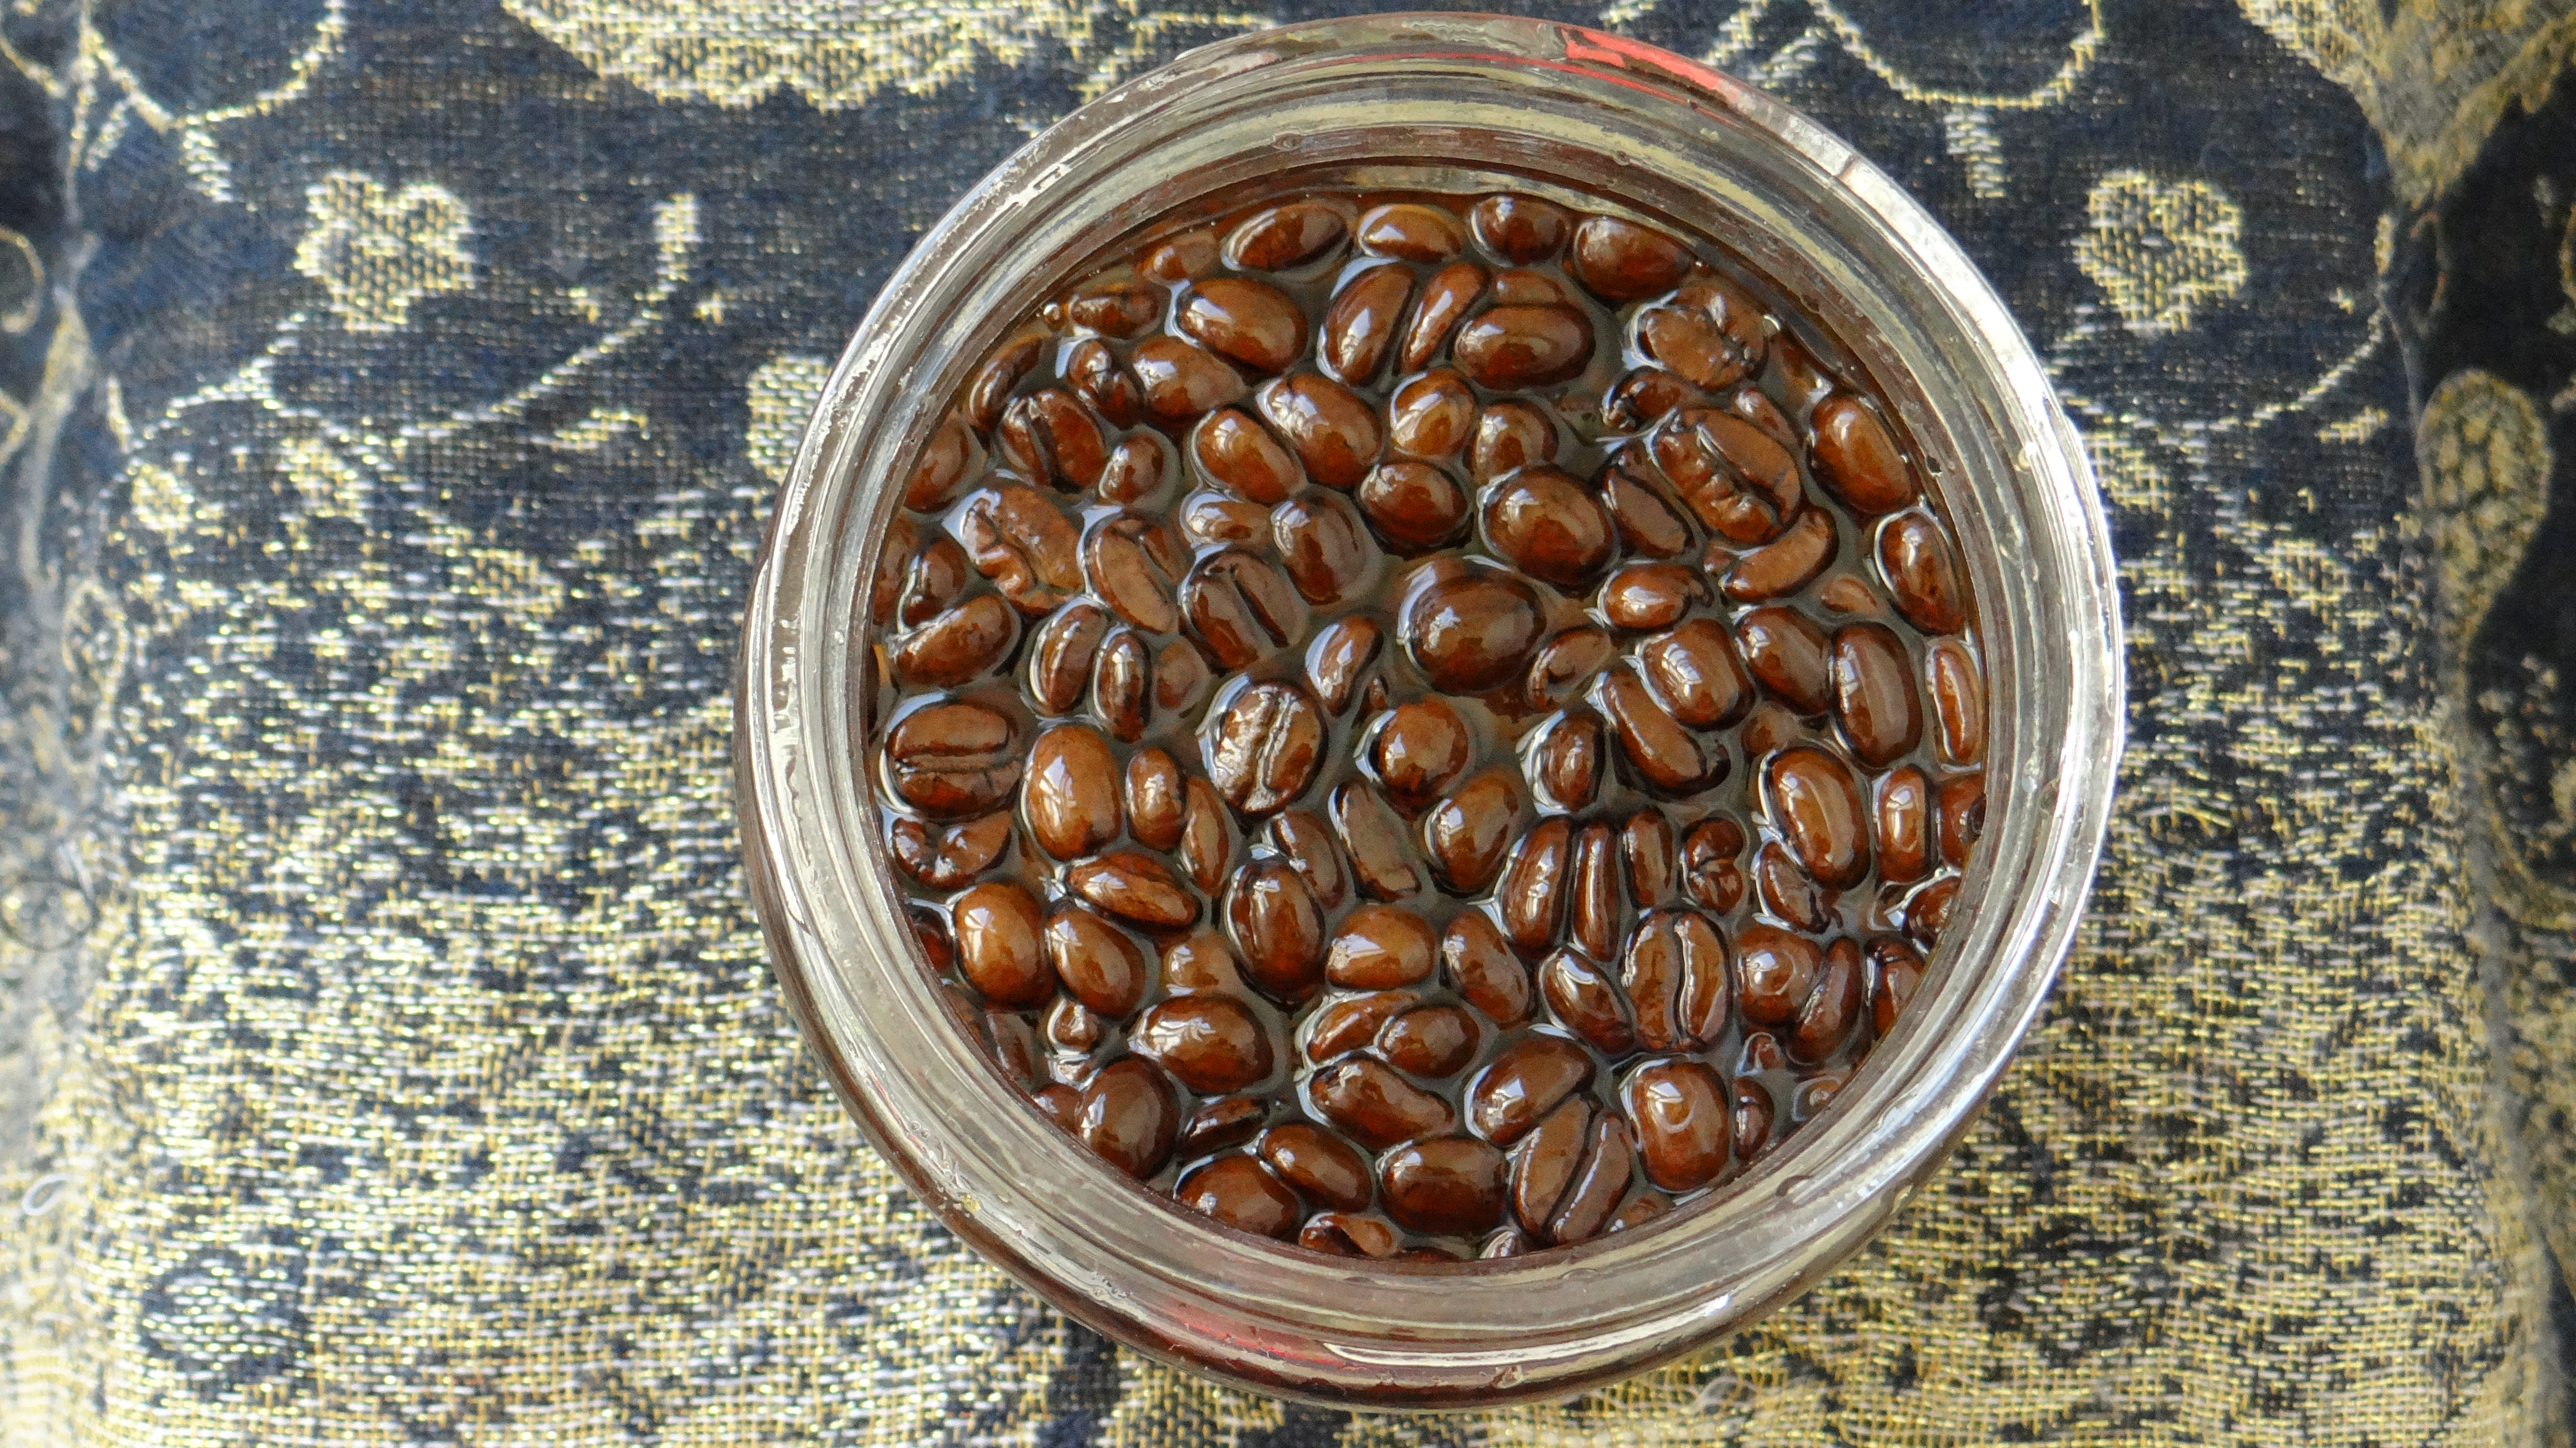
To make this LOVELY infusion all you need is raw butter and coffee beans because yes, as the title says I will be showing you how I make my DIY Coffee Bean Infused Butter.
DIY Coffee Bean Infused Butter
The choice of butter you use it completely up to you, you can use just one butter or a combination of butters but the important thing is to use coffee beans. Please DO NOT use instant coffee, that won’t cut it! Filter coffee will just be a nightmare to try and separate afterwards so please stick to coffee beans.
Why make this butter?
The idea behind this came about because I purchased some raw coffee bean butter from Sheabutter Cottage. (Let me tell you that stuff is the ish but more about that when I make my favorite whipped butter in about 2 weeks). So after purchasing the raw Coffee Butter I figured I could try and make the next best option which is to infuse coffee beans since I can’t make the raw version. I also figured that if some of you don’t have raw Coffee Butter at home but want to experiment this would be the next best option since you can use any butter you happen to have at home to make the recipe.
Tools/Equipment used:
6 oz Unrefined Cocoa Butter
3 oz Unrefined Shea Butter
2 oz Roasted Coffee Beans
Pot
Heatproof bowl
Sieve
Spatula
Gloves
Airtight Container
Method:
I first melt the Cocoa Butter by double broiling and then I add the Shea Butter & Coffee Beans. I do not let everything completely melt down while on the stove, I prefer letting everything melt naturally from the warmth of the already melted butter. I stir like mad to make sure everything has melted and also to get infusion started. I transfer the mix into an airtight container but do not cover it until the butters are no longer warm. It is important to make sure that the container is not covered until the butters have cooled down otherwise this will greate condensation and the water will create bacteria!
Infusion:
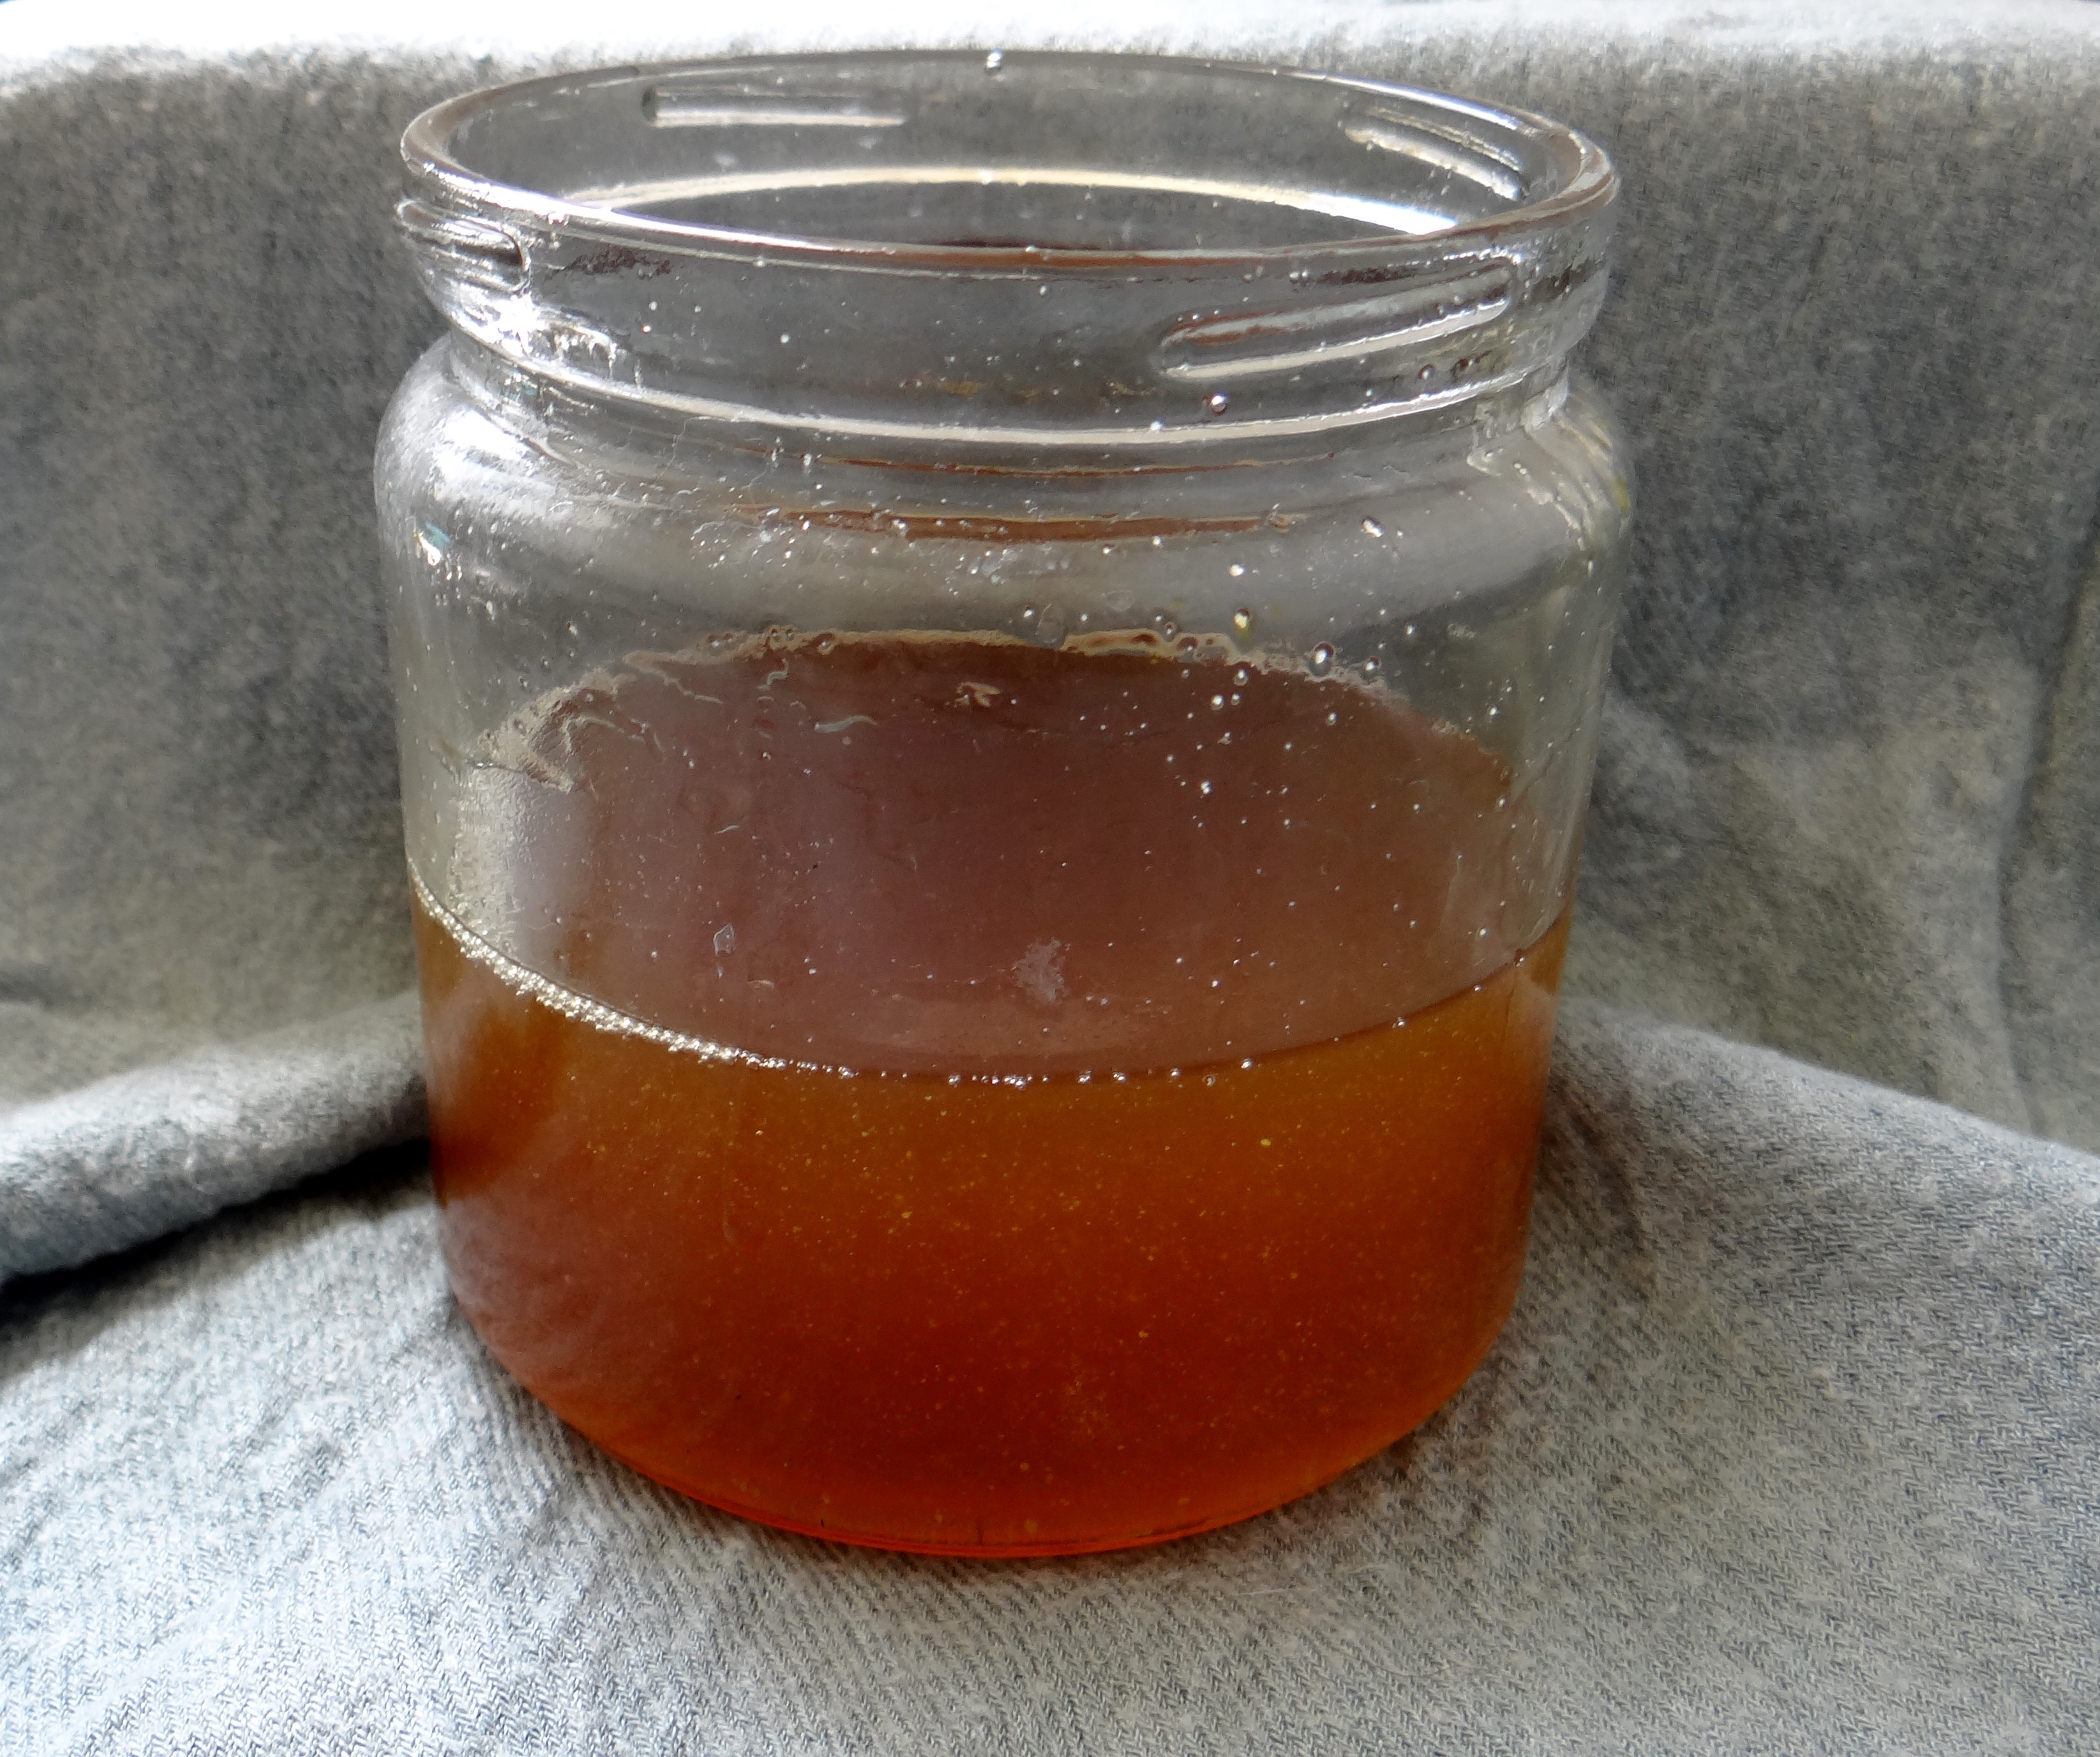
While the mix infuses I make sure to stir the butters everyday while it is still liquid (depending on your house temperature it can remain liquid for about 1 day to a few days, mine stays liquid on average for at least 5 days.) You want to leave the coffee beans in the butter for a minimum of 2 weeks, remember the longer they are left the stronger the infusion of coffee. Once the butter sets you will most likely see little white specks of butter, this does not affect its quality, it happens due to the temperature change while the butter sets and will dissolve really quickly.
Separating the Coffee Beans and Butter:
After a few weeks (in this example 3 weeks) you want to lightly, very lightly warm up the butters. I literally will double broil for no more than 3 minutes in order to get some of the butter to melt but I like to keep the majority firm. With the help of the melted butter the rest will continue to melt and the coffee beans will separate. All you have to do then is to sieve out the coffee beans and voila, you have coffee bean infused butter!
From here you can either add other butters or just add some carrier oils in order to take the recipe a step further to make a whipped body and hair butter (I shall demonstrate this next week).
Benefits of Coffee Bean Infused Butter:
In my particular example I used both Unrefined Cocoa and Shea butter along with the Coffee Beans.
Cocoa Butter: Cocoa butter is an extremely popular natural ingredient that is used to help increase the hairs manageability and moisture. The butter is known to help reduce hair loss and breakage. Due to its highly moisturizing properties it can alleviate scalp itching and irritation which in turn can eliminate dandruff. Since it is a fat, it can be used to replenish lost oils due to chemical processes such as perms and hair dyes. It is known to effectively strengthen hair, tame frizzy and flyaway hair. Cocoa butter is a popular butter known for its deep hydrating and moisturizing properties for the skin due to its high fatty acid content. It is said that the butter can help reduce stretch marks, the appearance of cellulite and marks. Cocoa butter is packed with antioxidants which means that it can help fight off free radicals and skin irritations such as eczema and dermatitis.
Coffee Beans: The caffeine in the beans is said to help blood circulation which in turn helps stimulates hair growth and the generation of skin cells. It is known to help reduce hair shedding and excessive hair loss because of the antioxidants present in caffeine. Coffee beans are said to improve the appearance of cellulite as well as fine lines and wrinkles. Apart from that its anti-inflammatory properties is said to reduces redness in the skin and inflammation.
Shea Butter: Shea butter acts as an excellent sealant. It therefor can help “trap in” moisture and moisturizing products applied to hair. Shea butter is highly moisturizing for the hair on its own as well and has the same affects for the scalp. Shea Butter provides nourishment to dry or damaged hair from the roots to the very tips; repairing and protecting against weather damage, dryness and brittleness. Due to its moisturizing properties it gives hair a natural shine and smoothing effect. Some people use whip Shea butter as a leave-in for hair (you can other moisturizing ingredients to it.) It is highly moisturizing properties improves the skin’s softness, suppleness as well as soothes burns. Shea butter can also be used as a mild “sun protectant”, soothes, moisturizes and is an effective anti-aging & anti-wrinkling butter.
I of course have a “How To” Video on my channel:
Alternative options:
As I mentioned you can replace the butters I used with any of your choice. My suggestions are to try and use soft butters during the winter/colder months and/or a combination of soft and hard butters in the summer and/or colder months. Here are some alternative butters you can use: Avocado Butter,Coffee Bean Butter, Cupuaçu Butter, Mango Butter, Murumuru Butter.