Hello Maicurlies,
It has been a while (a little over a month) since I last shared a DIY and over the last few weeks I have been asked “when will you share a DIY again”, you request and I shall deliver 😉

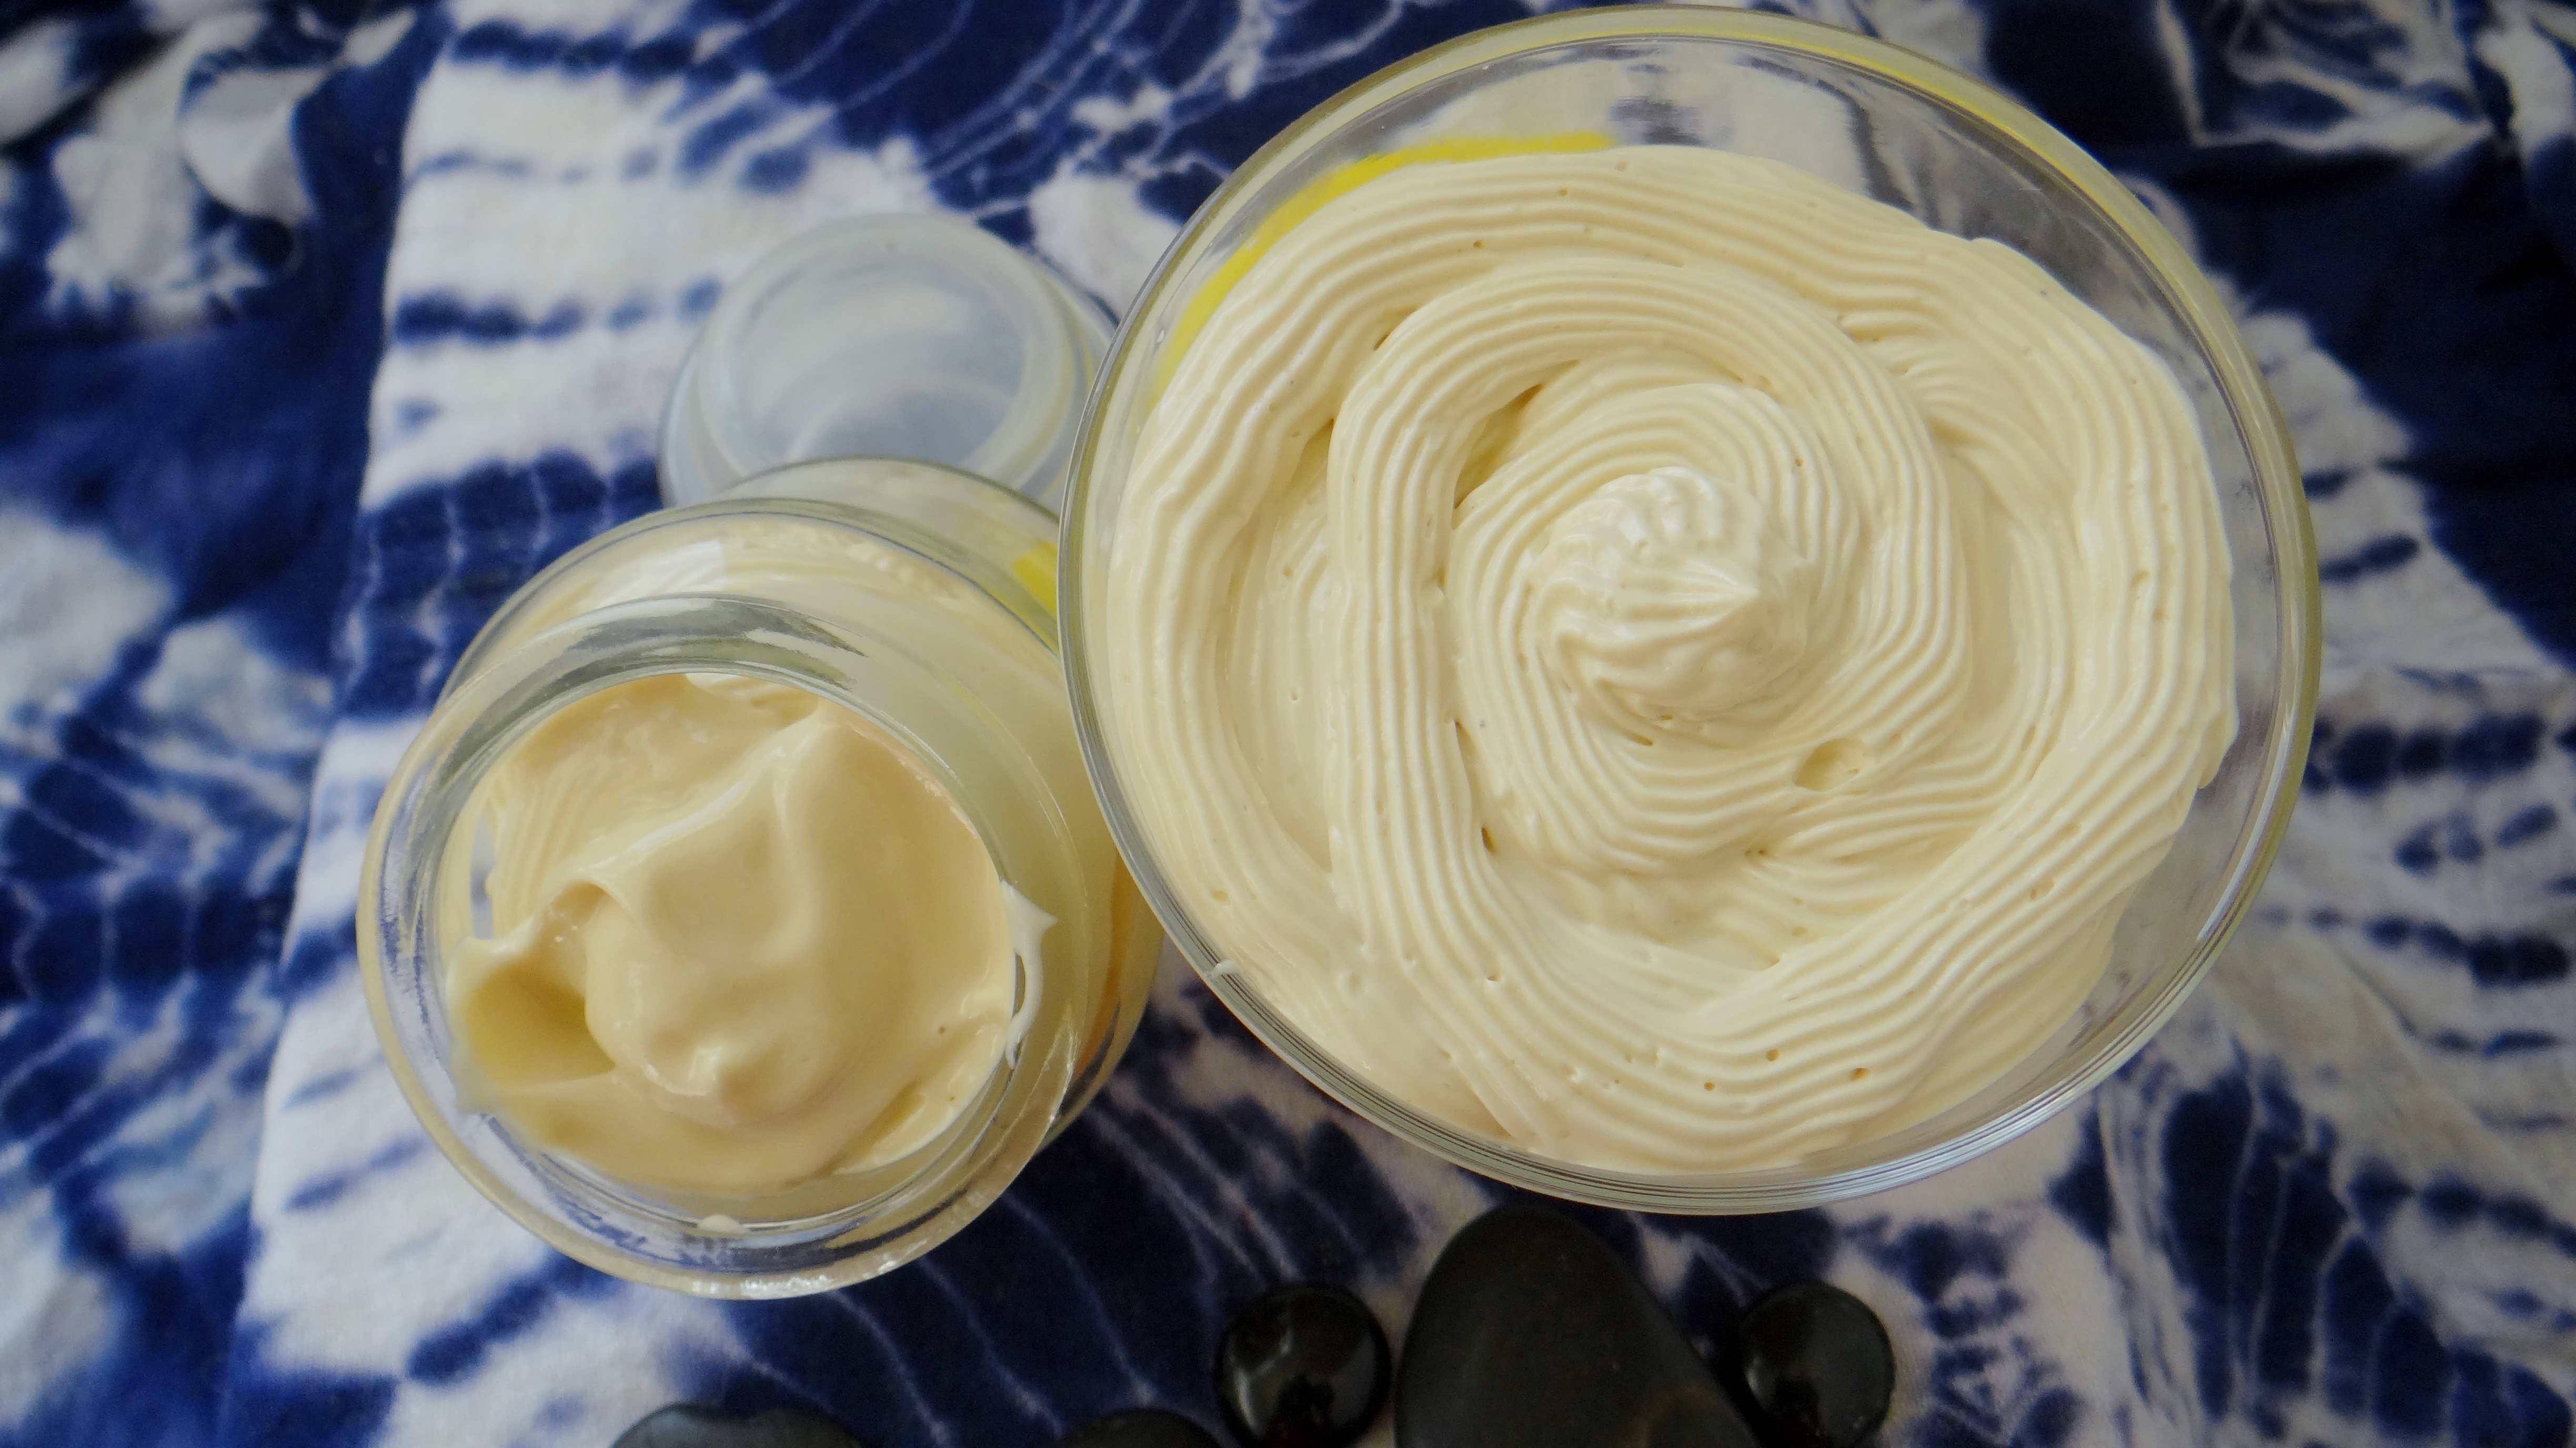
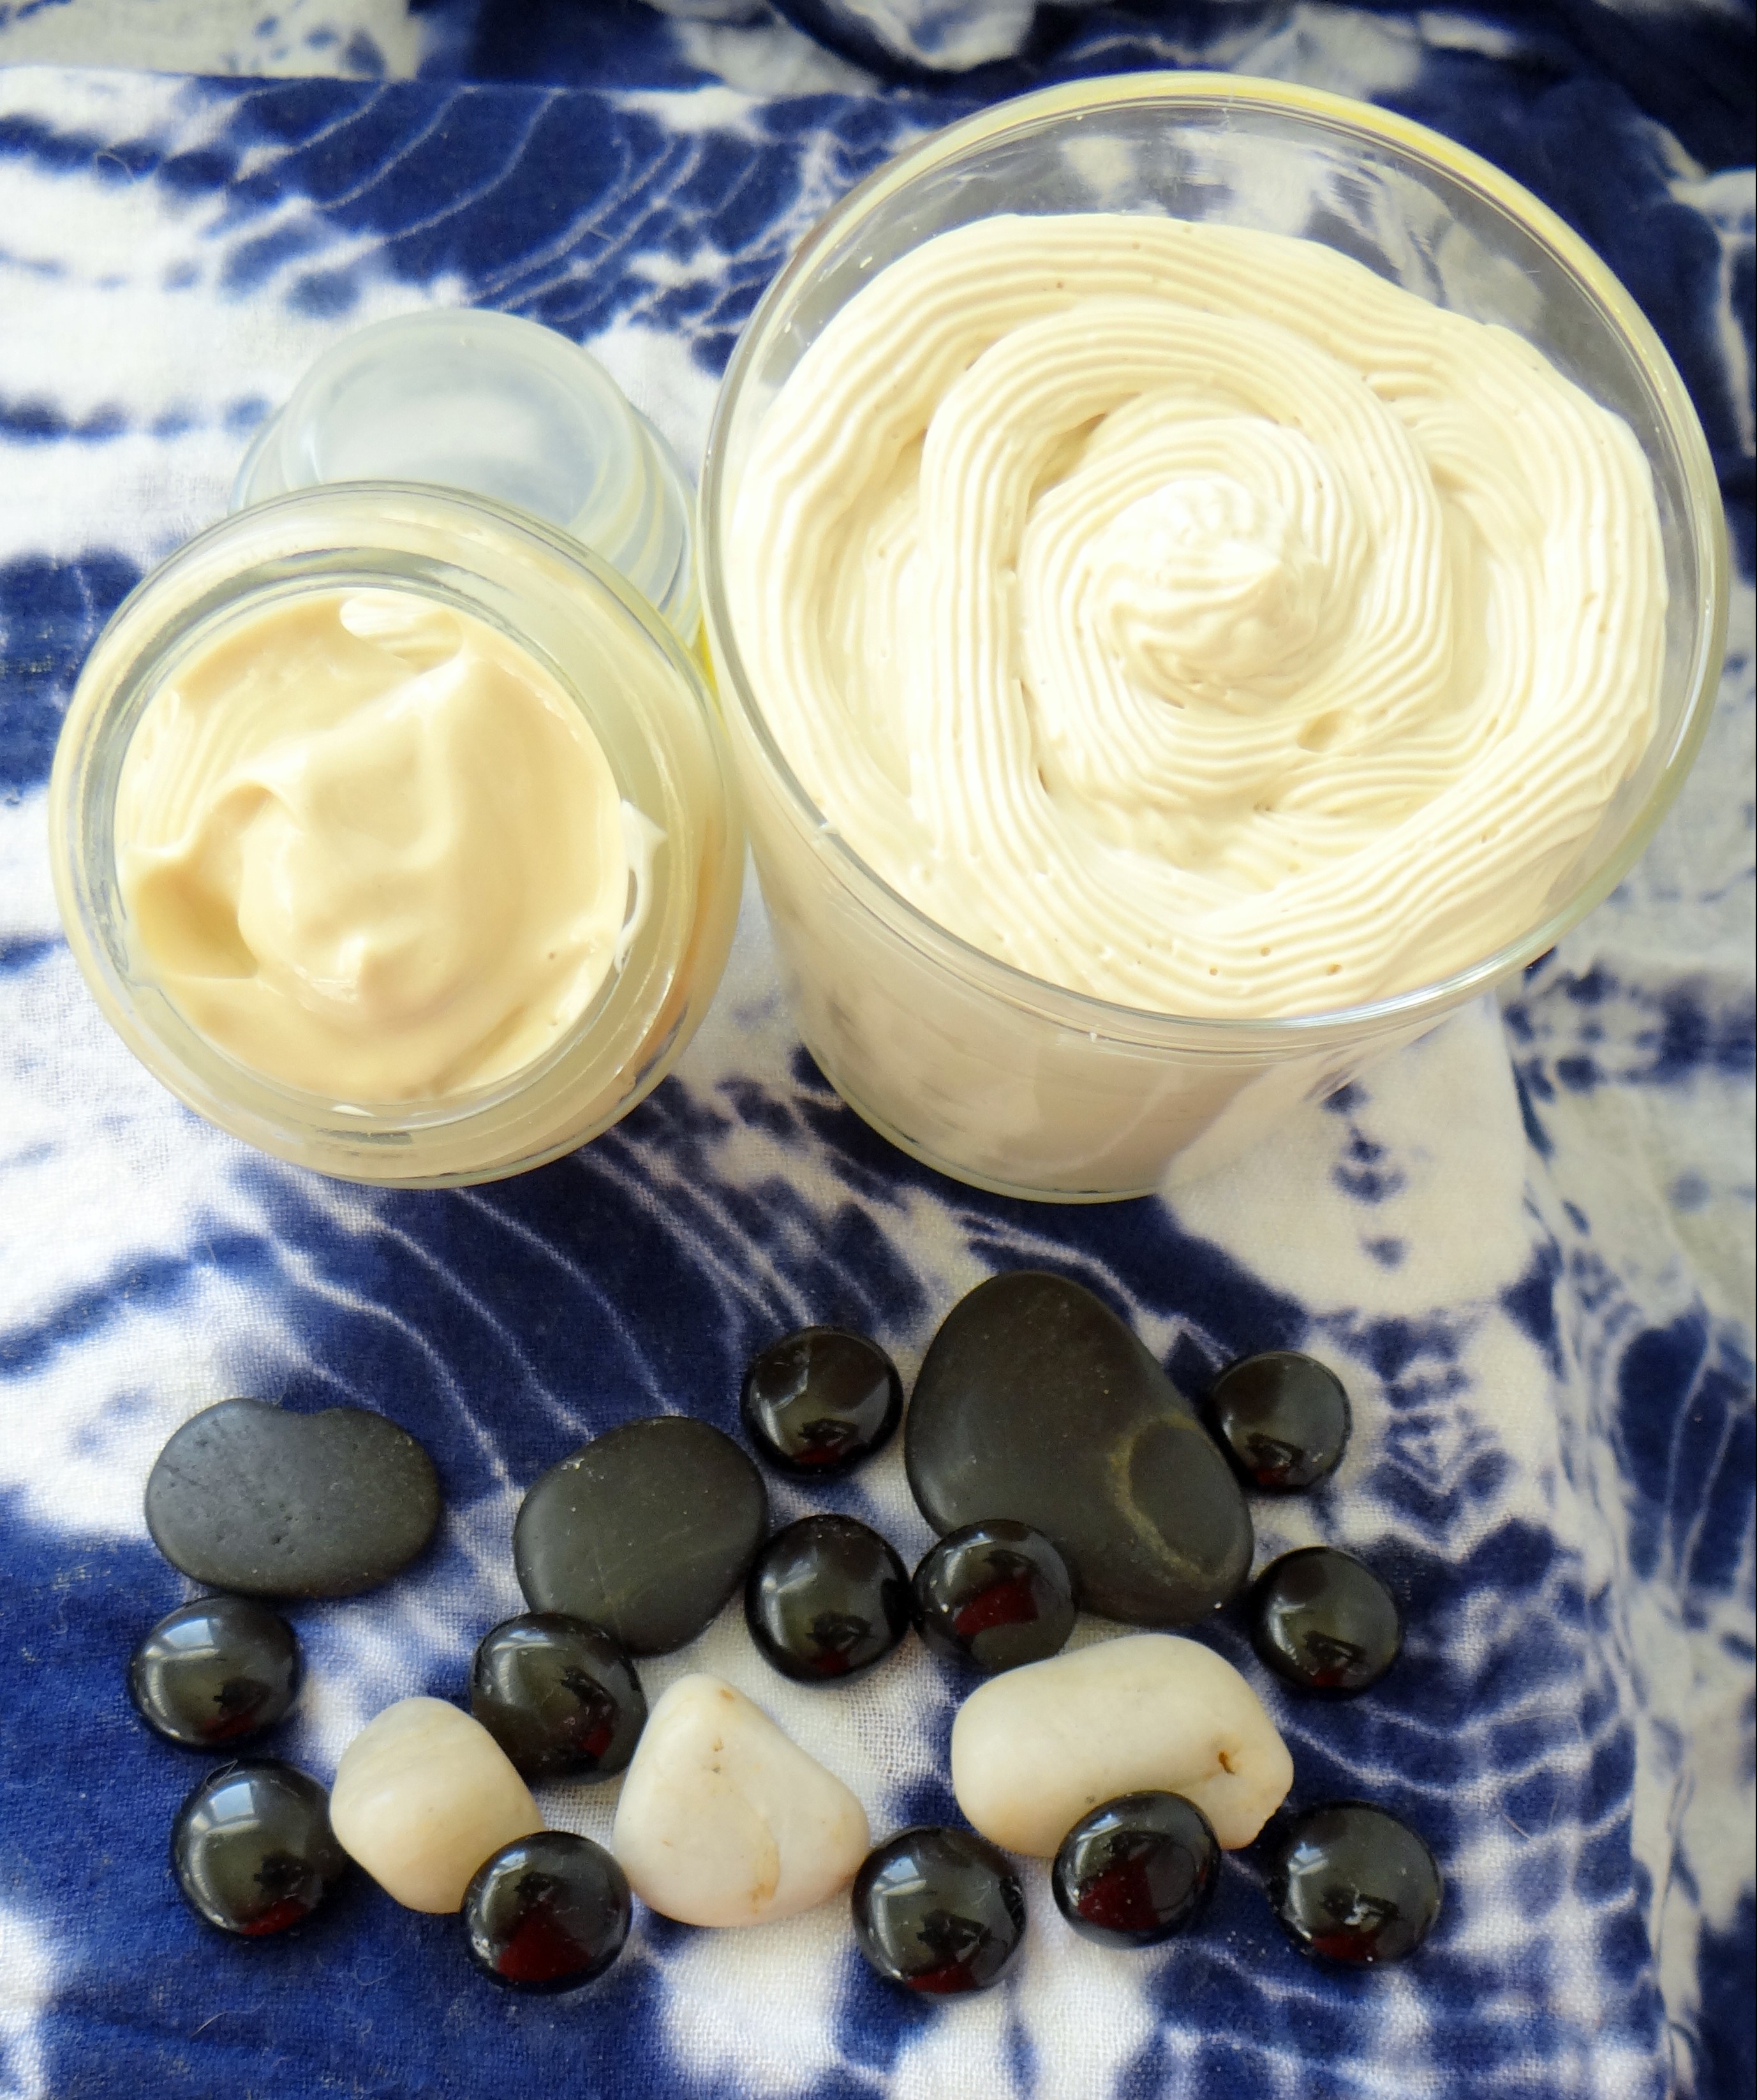
DIY Conditioning Bar With Cleansing Properties
My “DIY Conditioning Bar with Cleansing Properties” is a mix that my hair LOVES! As the name indicates it helps to condition my hair while leaving my curls feeling clean (thanks to cleansing properties) but it does not result in dry or stripped clean hair thanks to the conditioning elements!
Ingredients/Tools:

- 1.1 oz Amla
- 1.5 oz Shikakai
- 0.7 oz Water
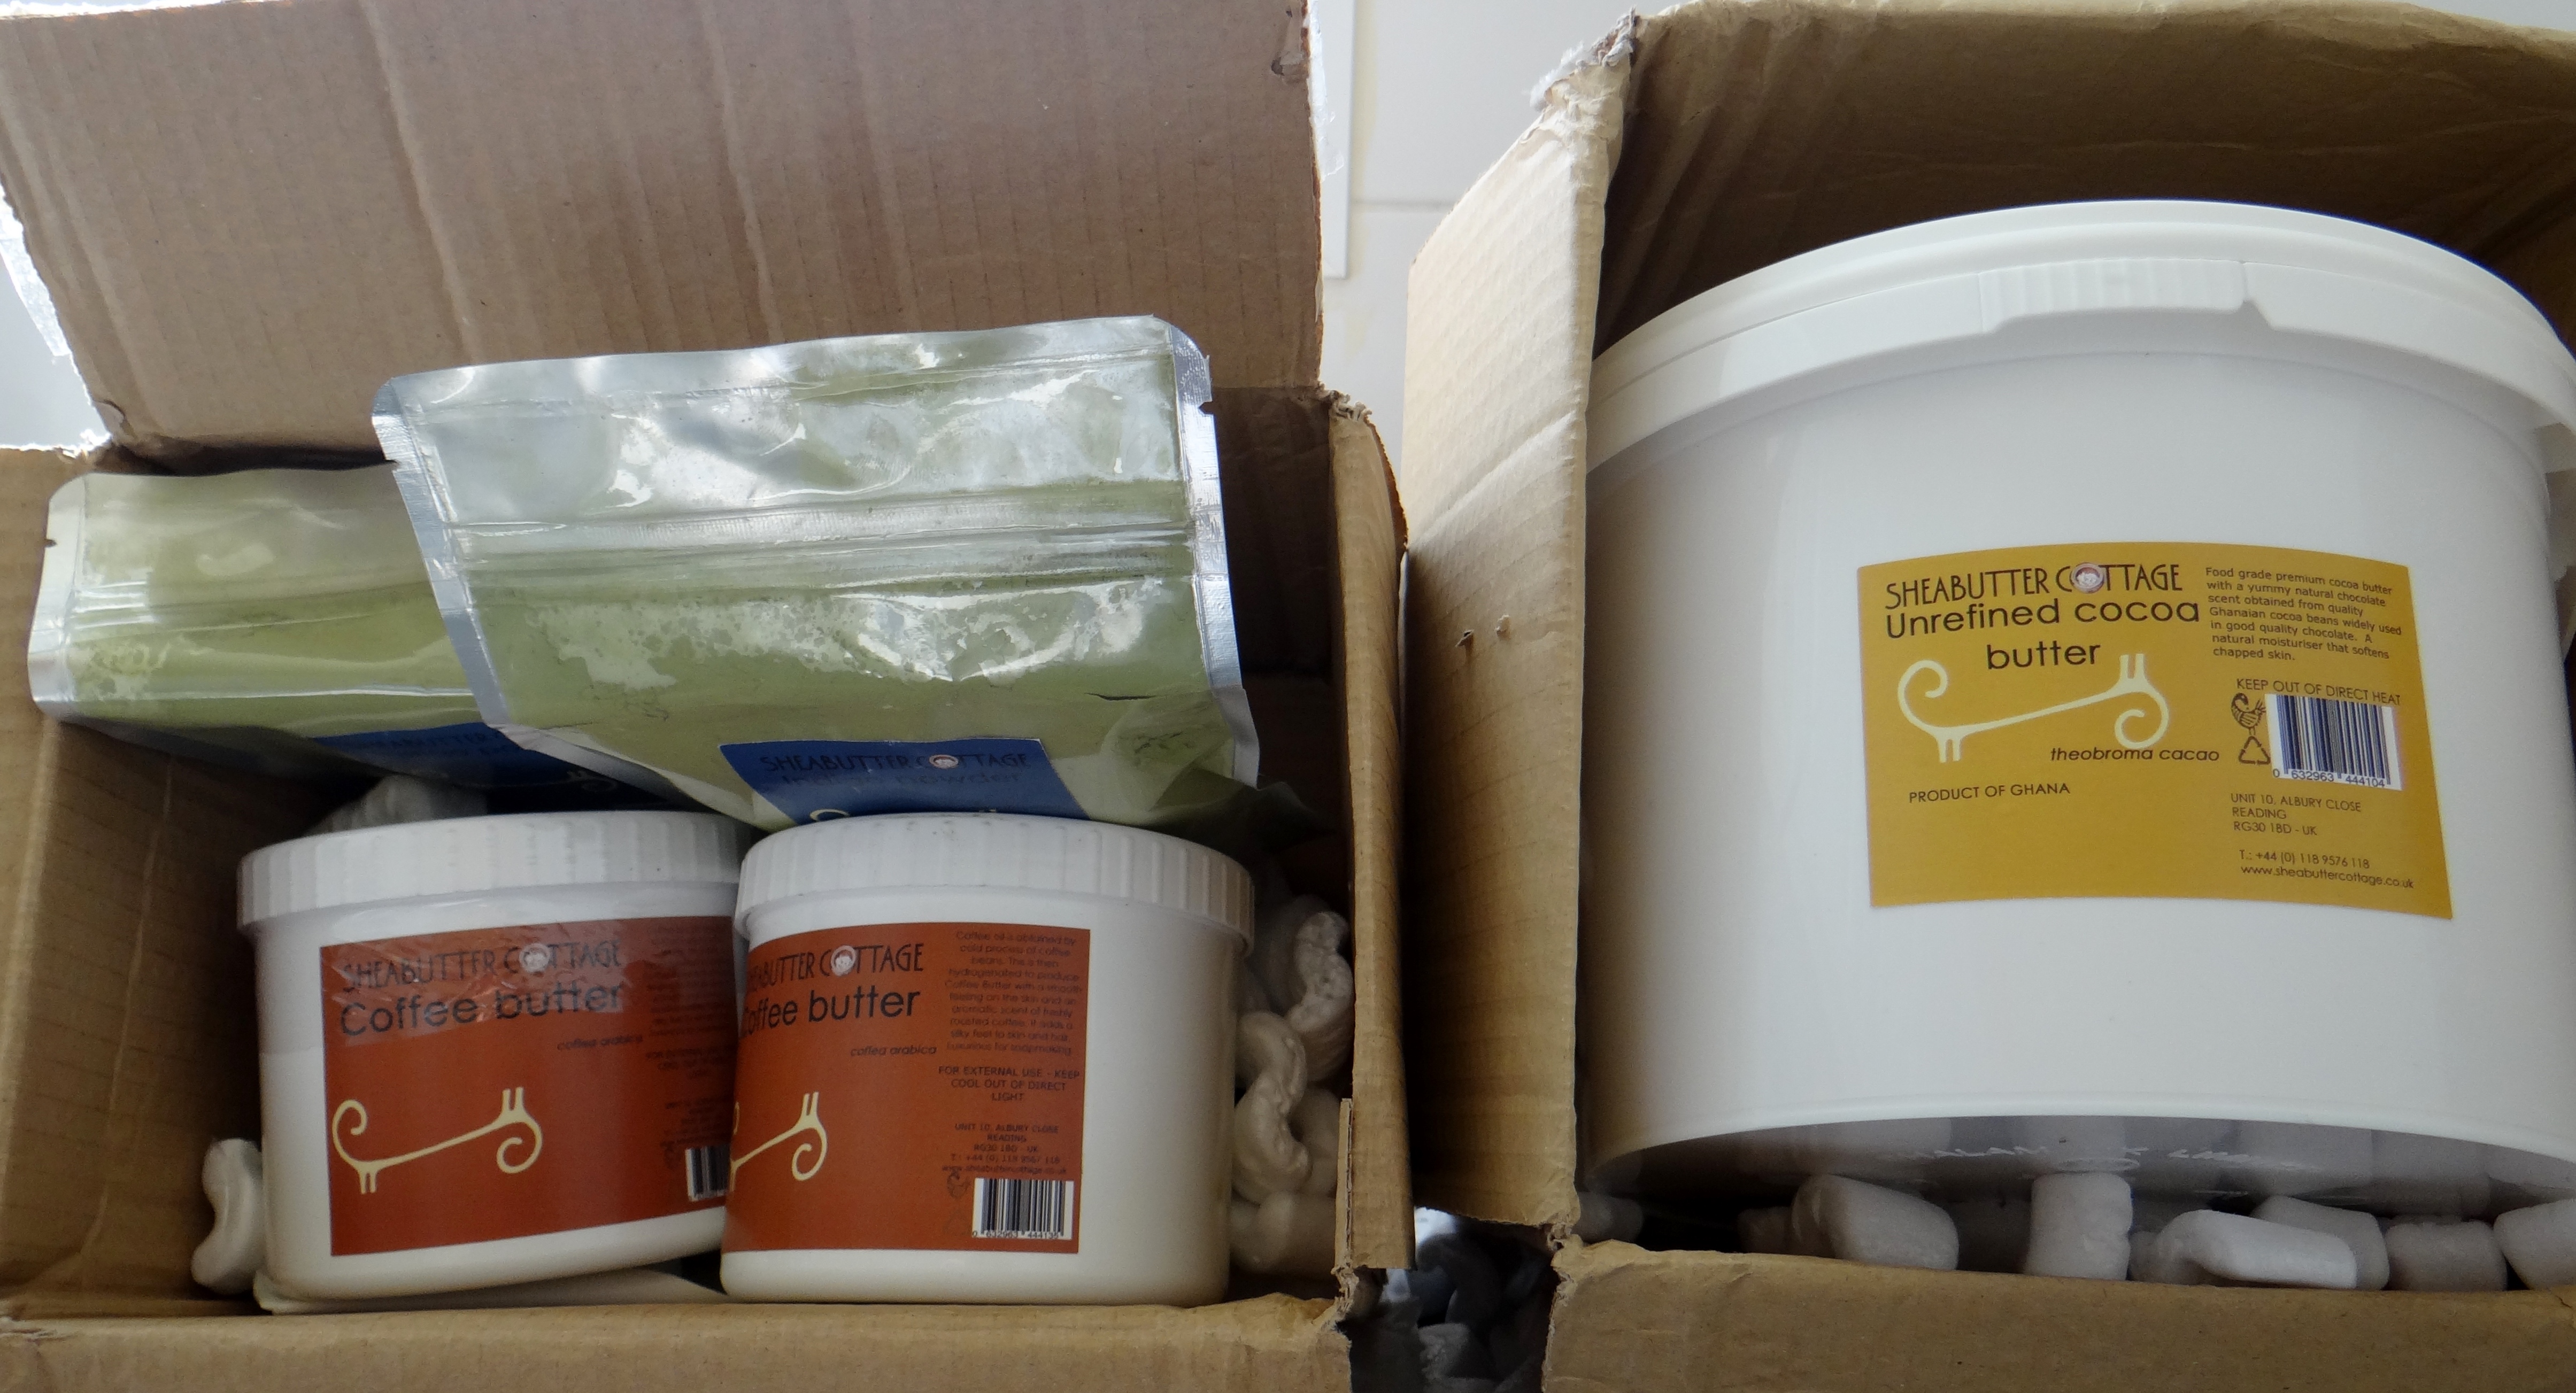
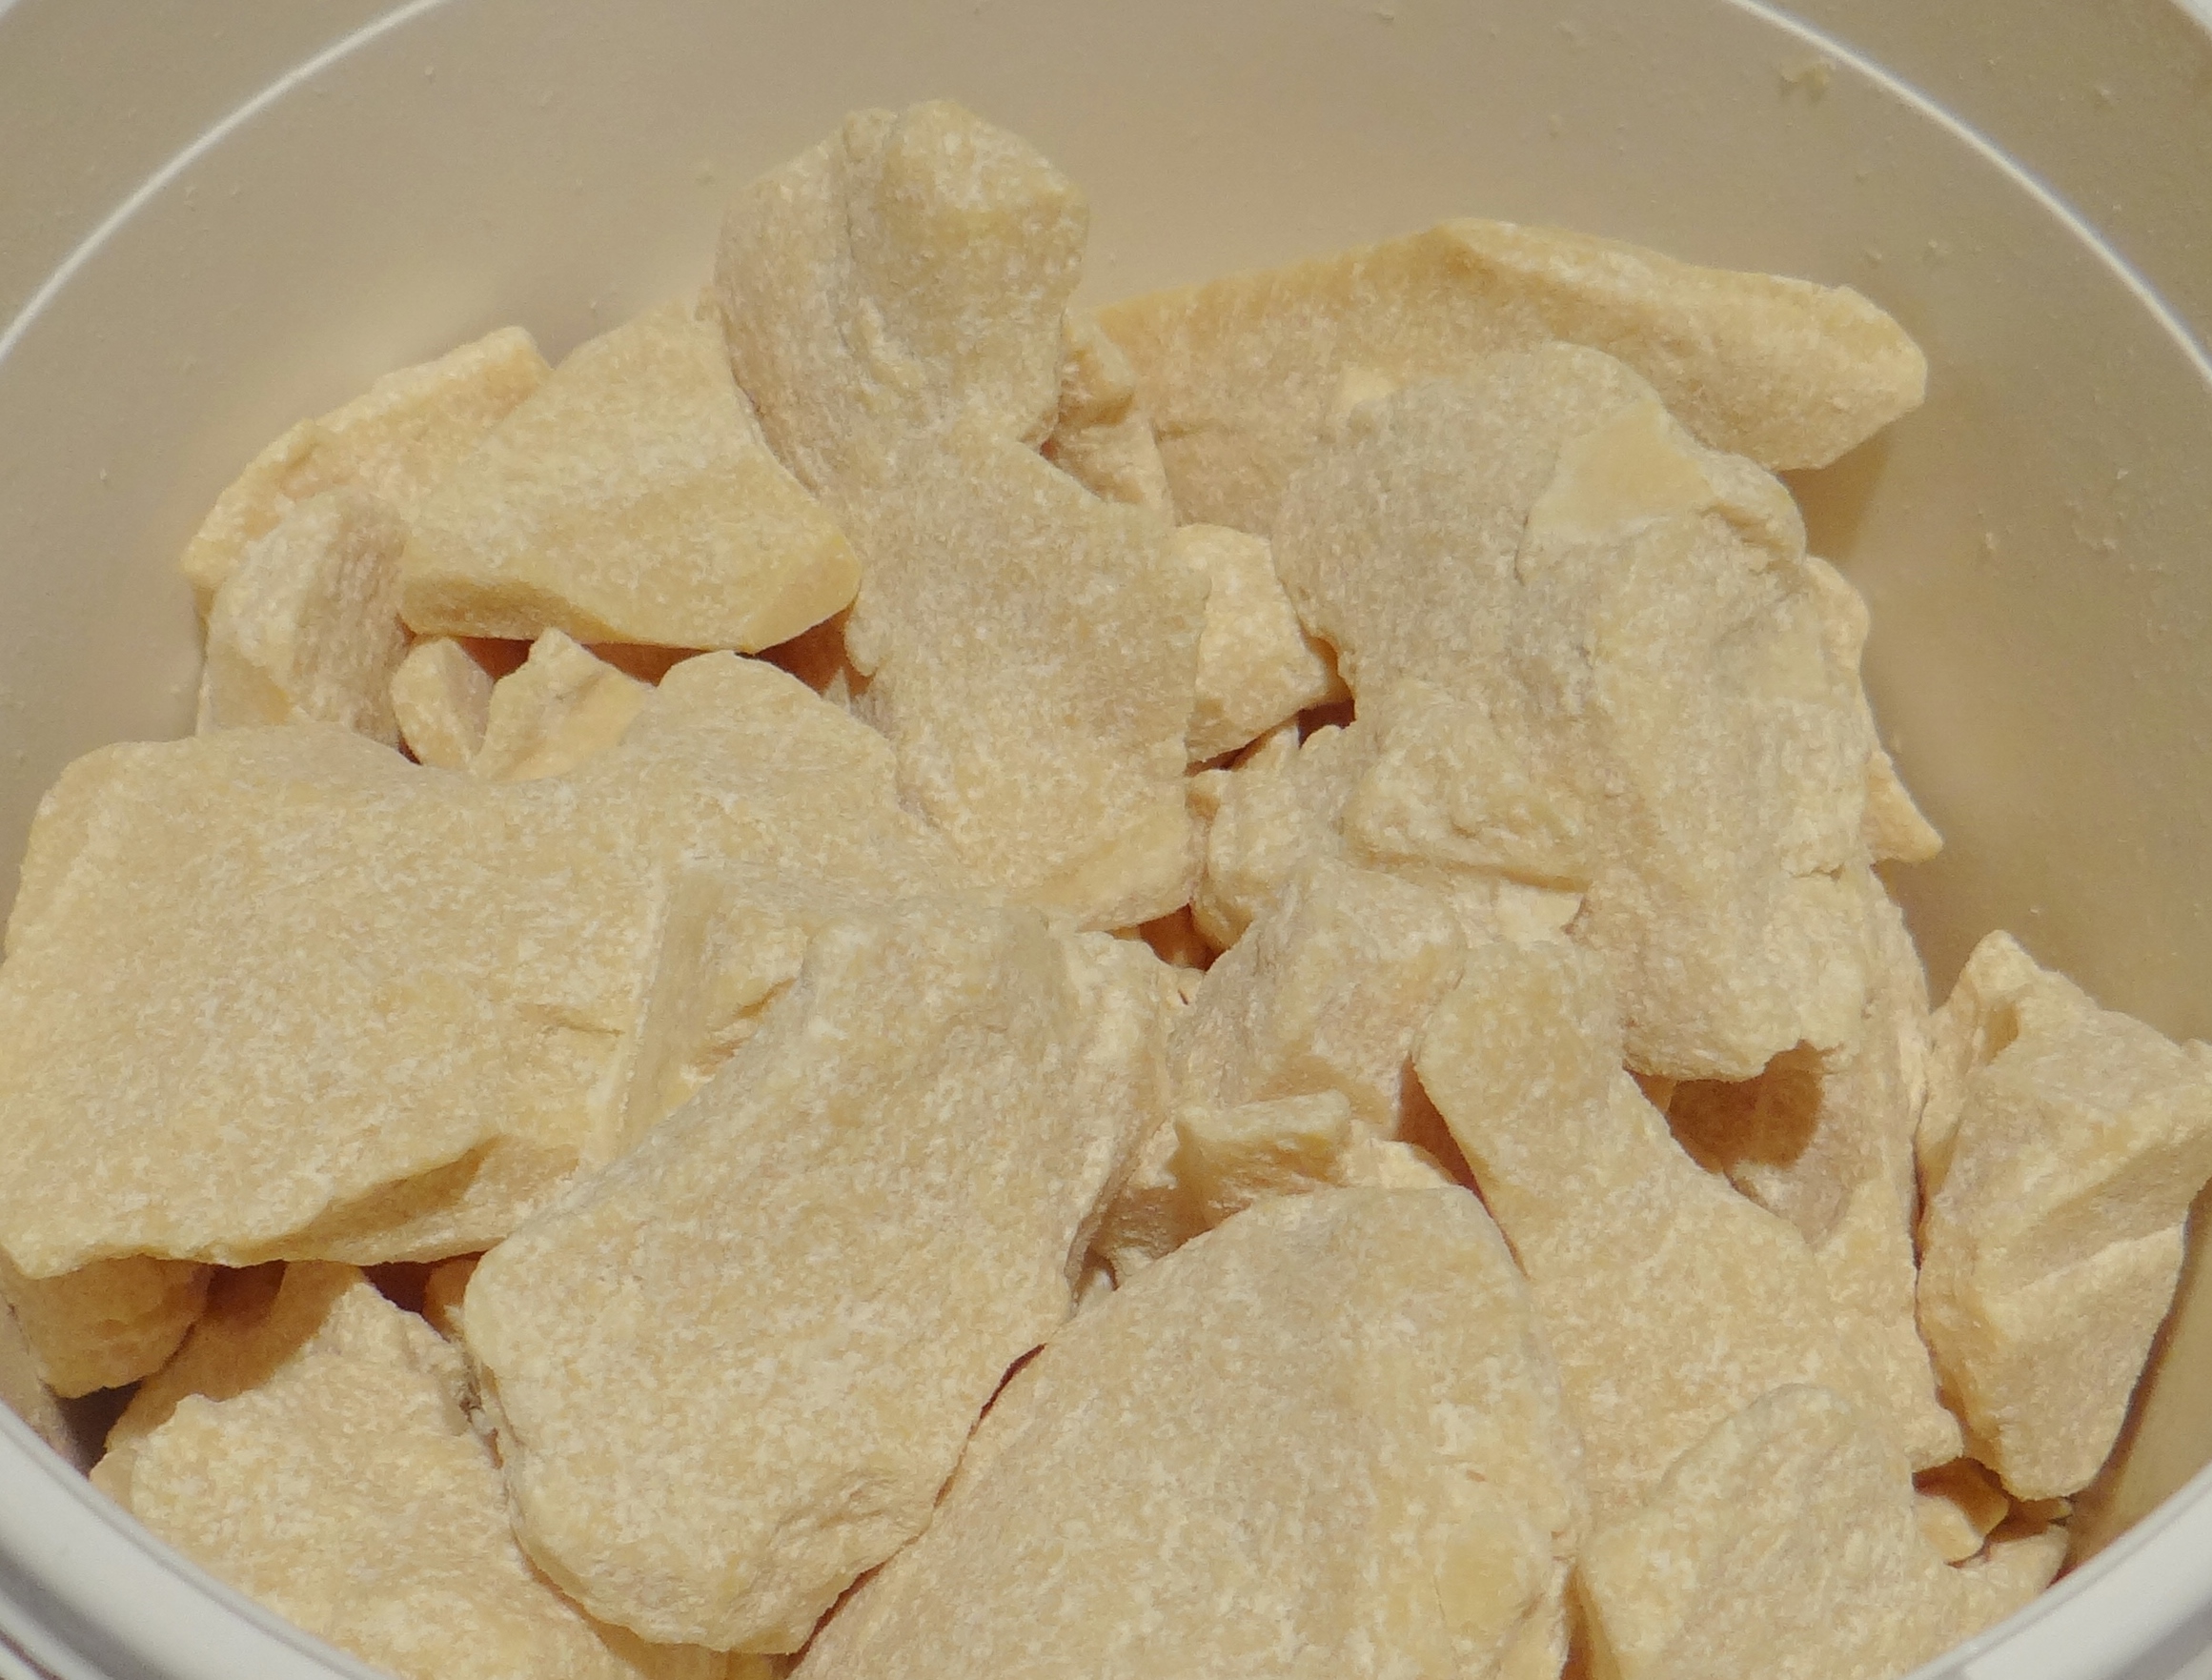
- 3 oz Unrefined Cocoa Butter (I got mine from SheaButter Cottage)
- 0.7 oz Virgin Coconut Oil
- 3 Capsules Vitamin E Oil (roughly 0.15 oz)
- 2 drops Peppermint Essential Oil (optional) – use any Essential Oil you like*
- 0.2 oz Glycerin (optional)**
- Pot & Bowl for double broiler
- Spoon
- Container
- Silicon Moulds & Cling Film (if you choose to make blocks)
Note: *If you are pregnant please do not use any Essential oil. Essential Oil needs to be sufficiently diluted & certain oils have more “strength”. ** If you hair does not like Glycerin skip this ingredient (see Alternative Suggestions for other options).
Mixing Method:
I first combine the dry ingredients (powders) together and mix them well. I then add the water and stir before adding the butter and remaining ingredients. When I add the butter and oils etc it is done step-by-step (do not pour everything in one go since you want to make sure you are not adding more than you want and to make sure everything is mixed well).
Storage/Setting:

If you are going to use this right after making the mix, then skip this step and move onto “Adding Your Mixing Liquid” (below). If you are making blocks, pour into silicon molds which will be covered with cling film in order for them to set (Once set, I store mine in a sandwich bag for future use).
Adding Your Mixing Liquid:


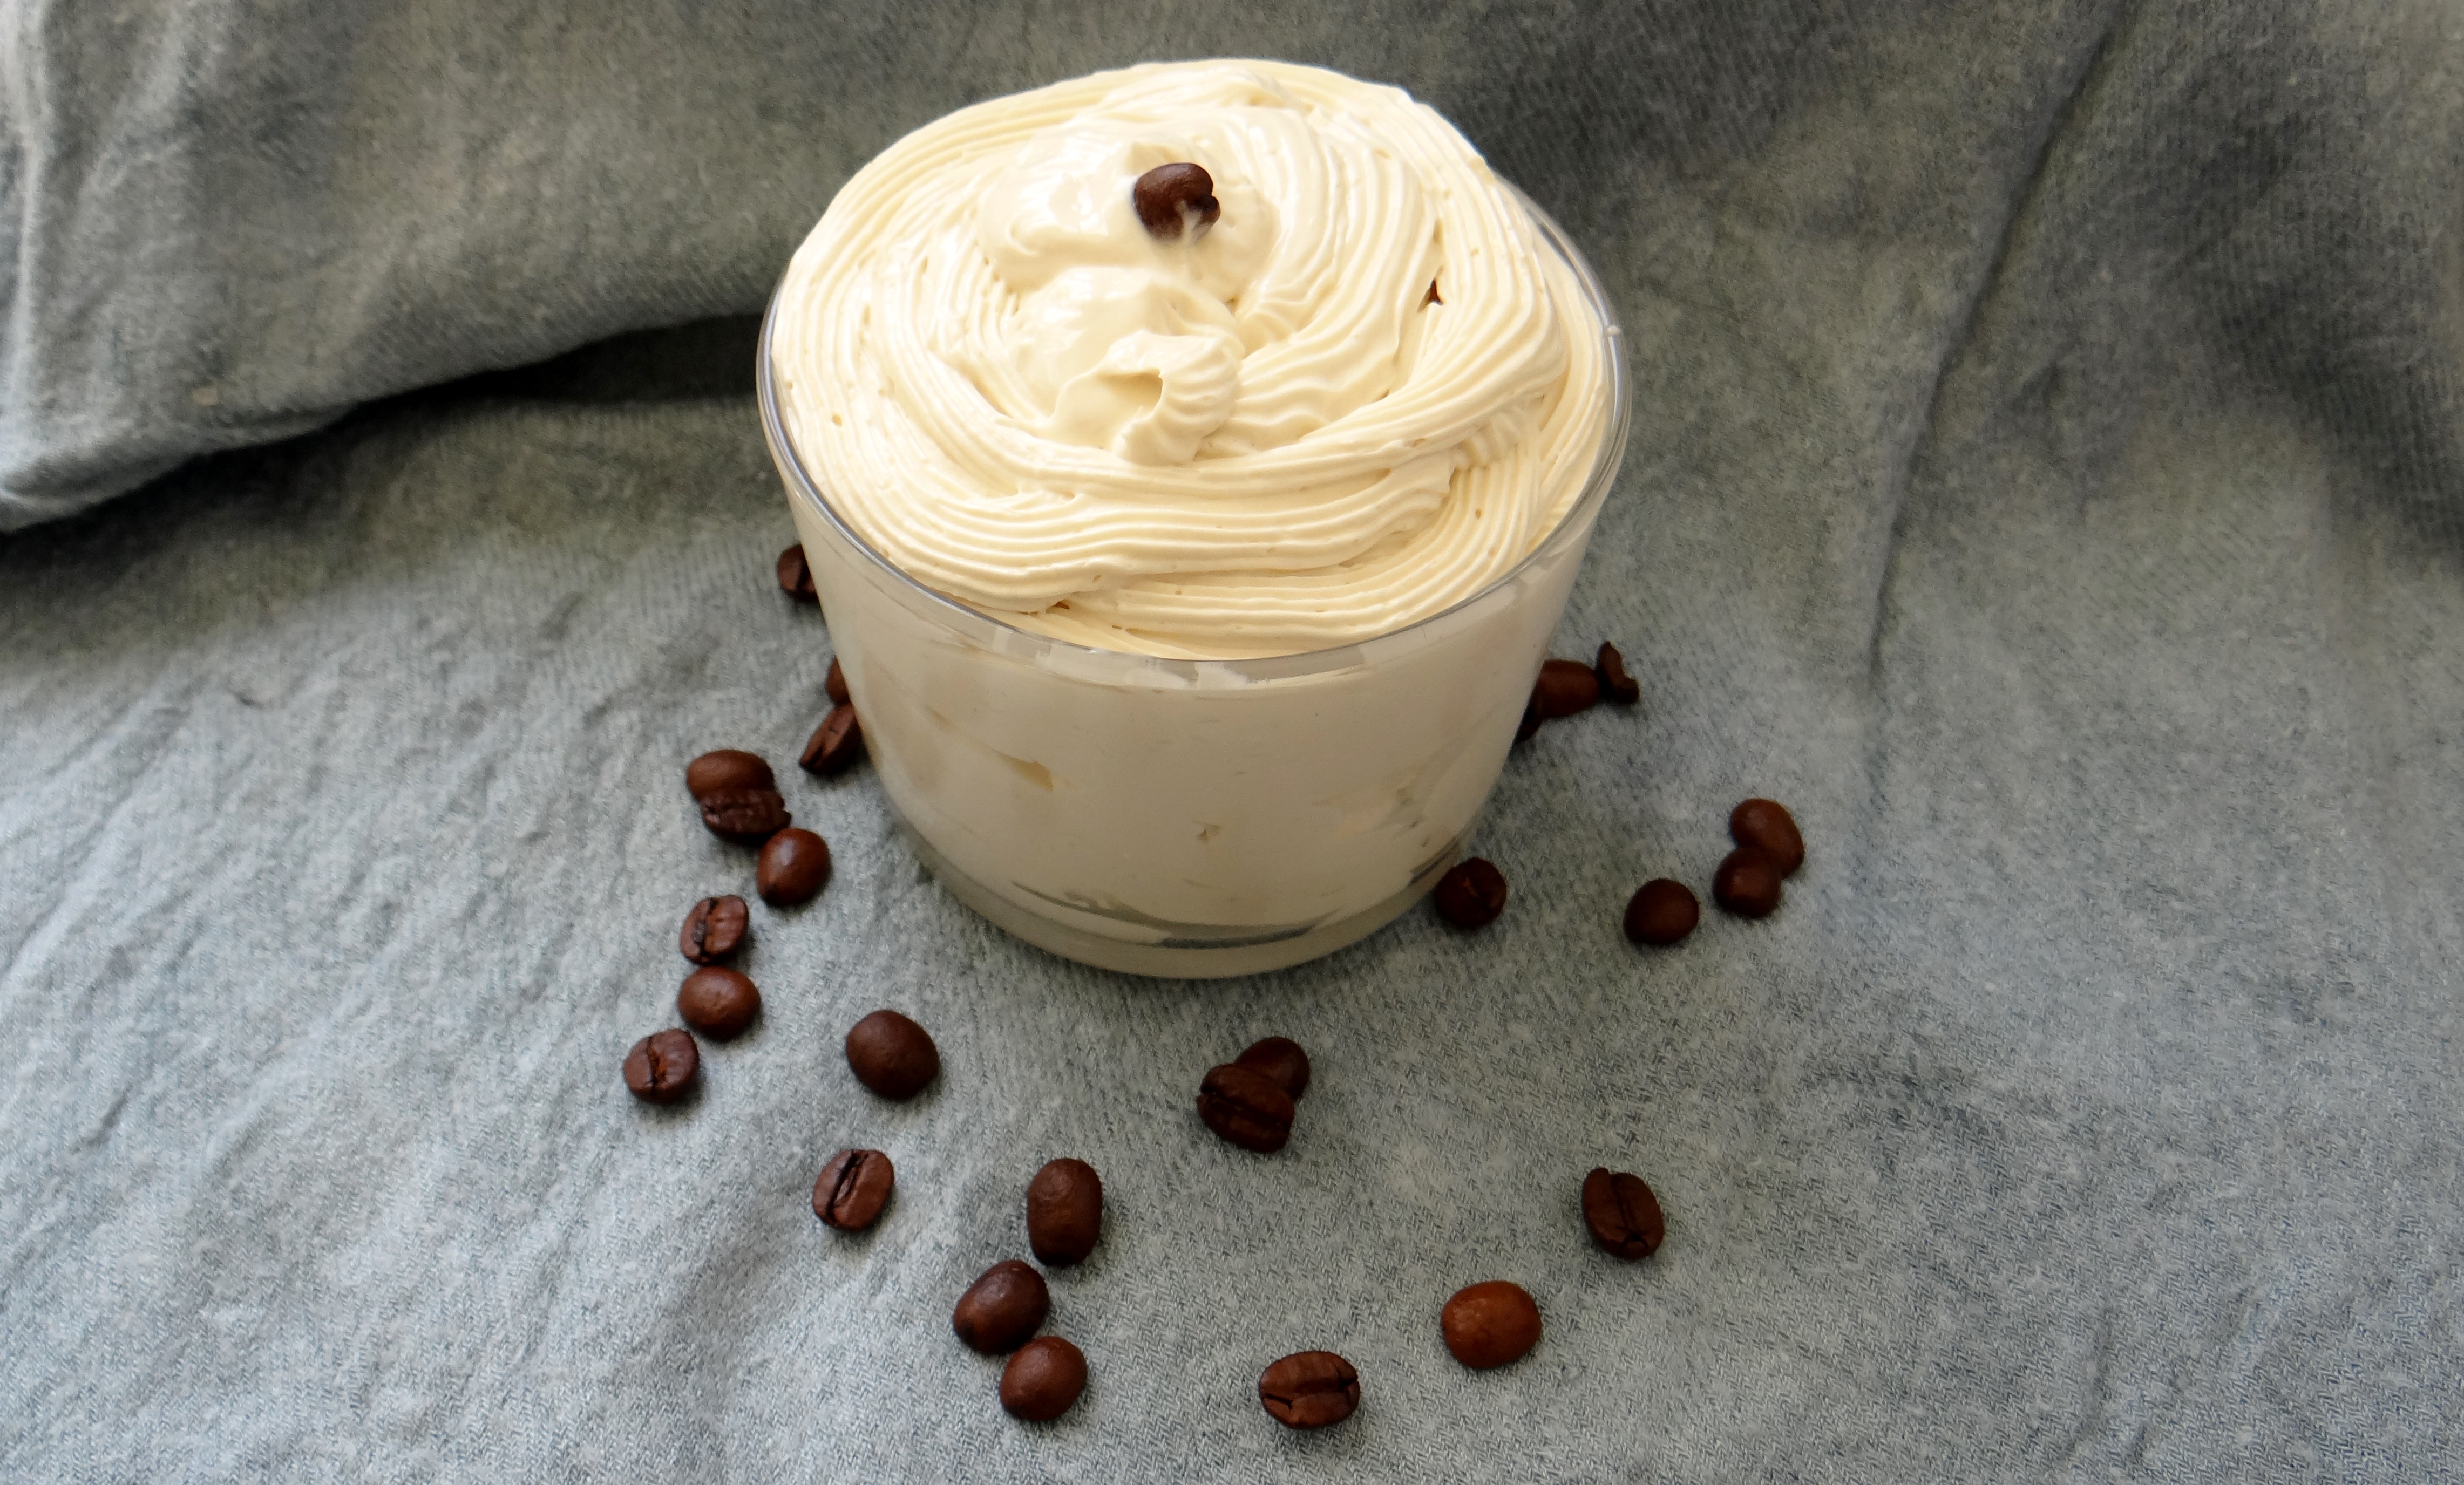
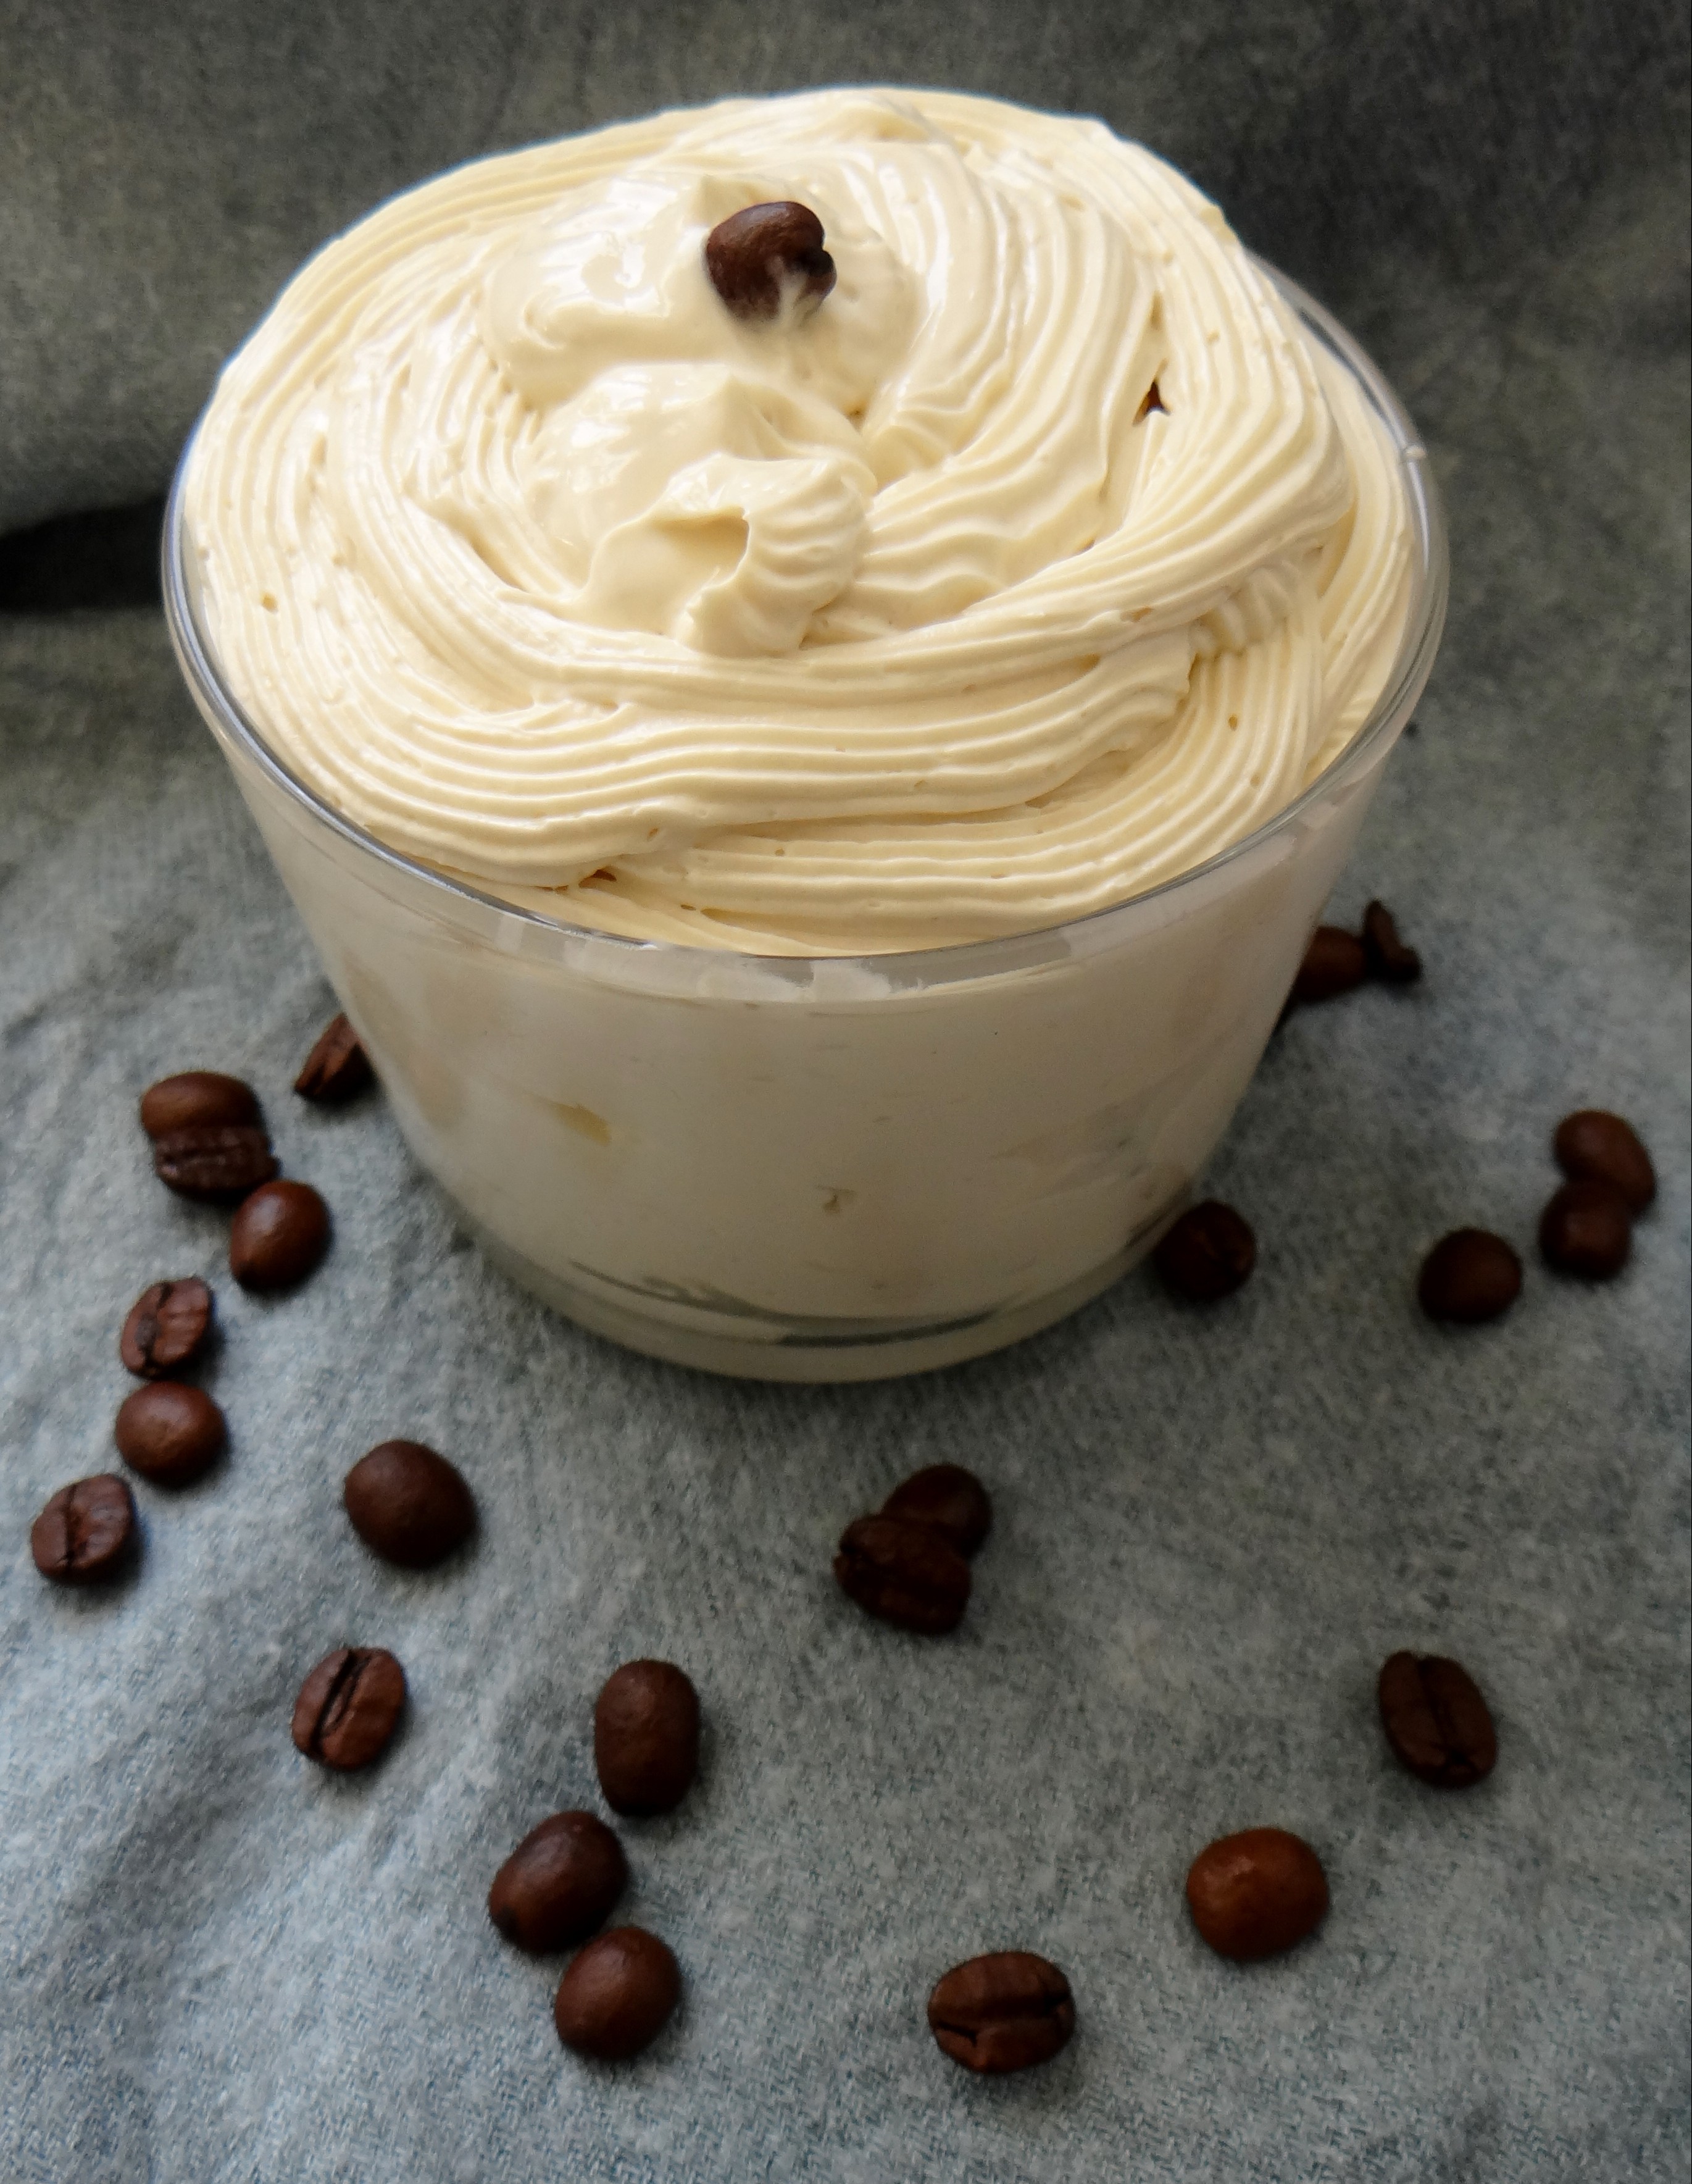
Depending on your preference you can basically add any liquid of choice (e.g. Flax Seed Water, Tea, Water, Coconut Milk, Coconut Cream). First gently double broil the blocks (do not completely melt them down) you just want them to melt a little since you will be adding warm mixing liquid which will completely melt down the bars. My mixing liquid of choice is Flax Seed Water. I literally let the seeds (2 oz) just reach a gentle rolling boil in plain water (8.8 oz) for no more than 5 minutes on low heat. I immediately sieve the seeds (which I store for reuse) and pour the Flax Seed Water to my semi melted blocks and stir stir stir.
Application:

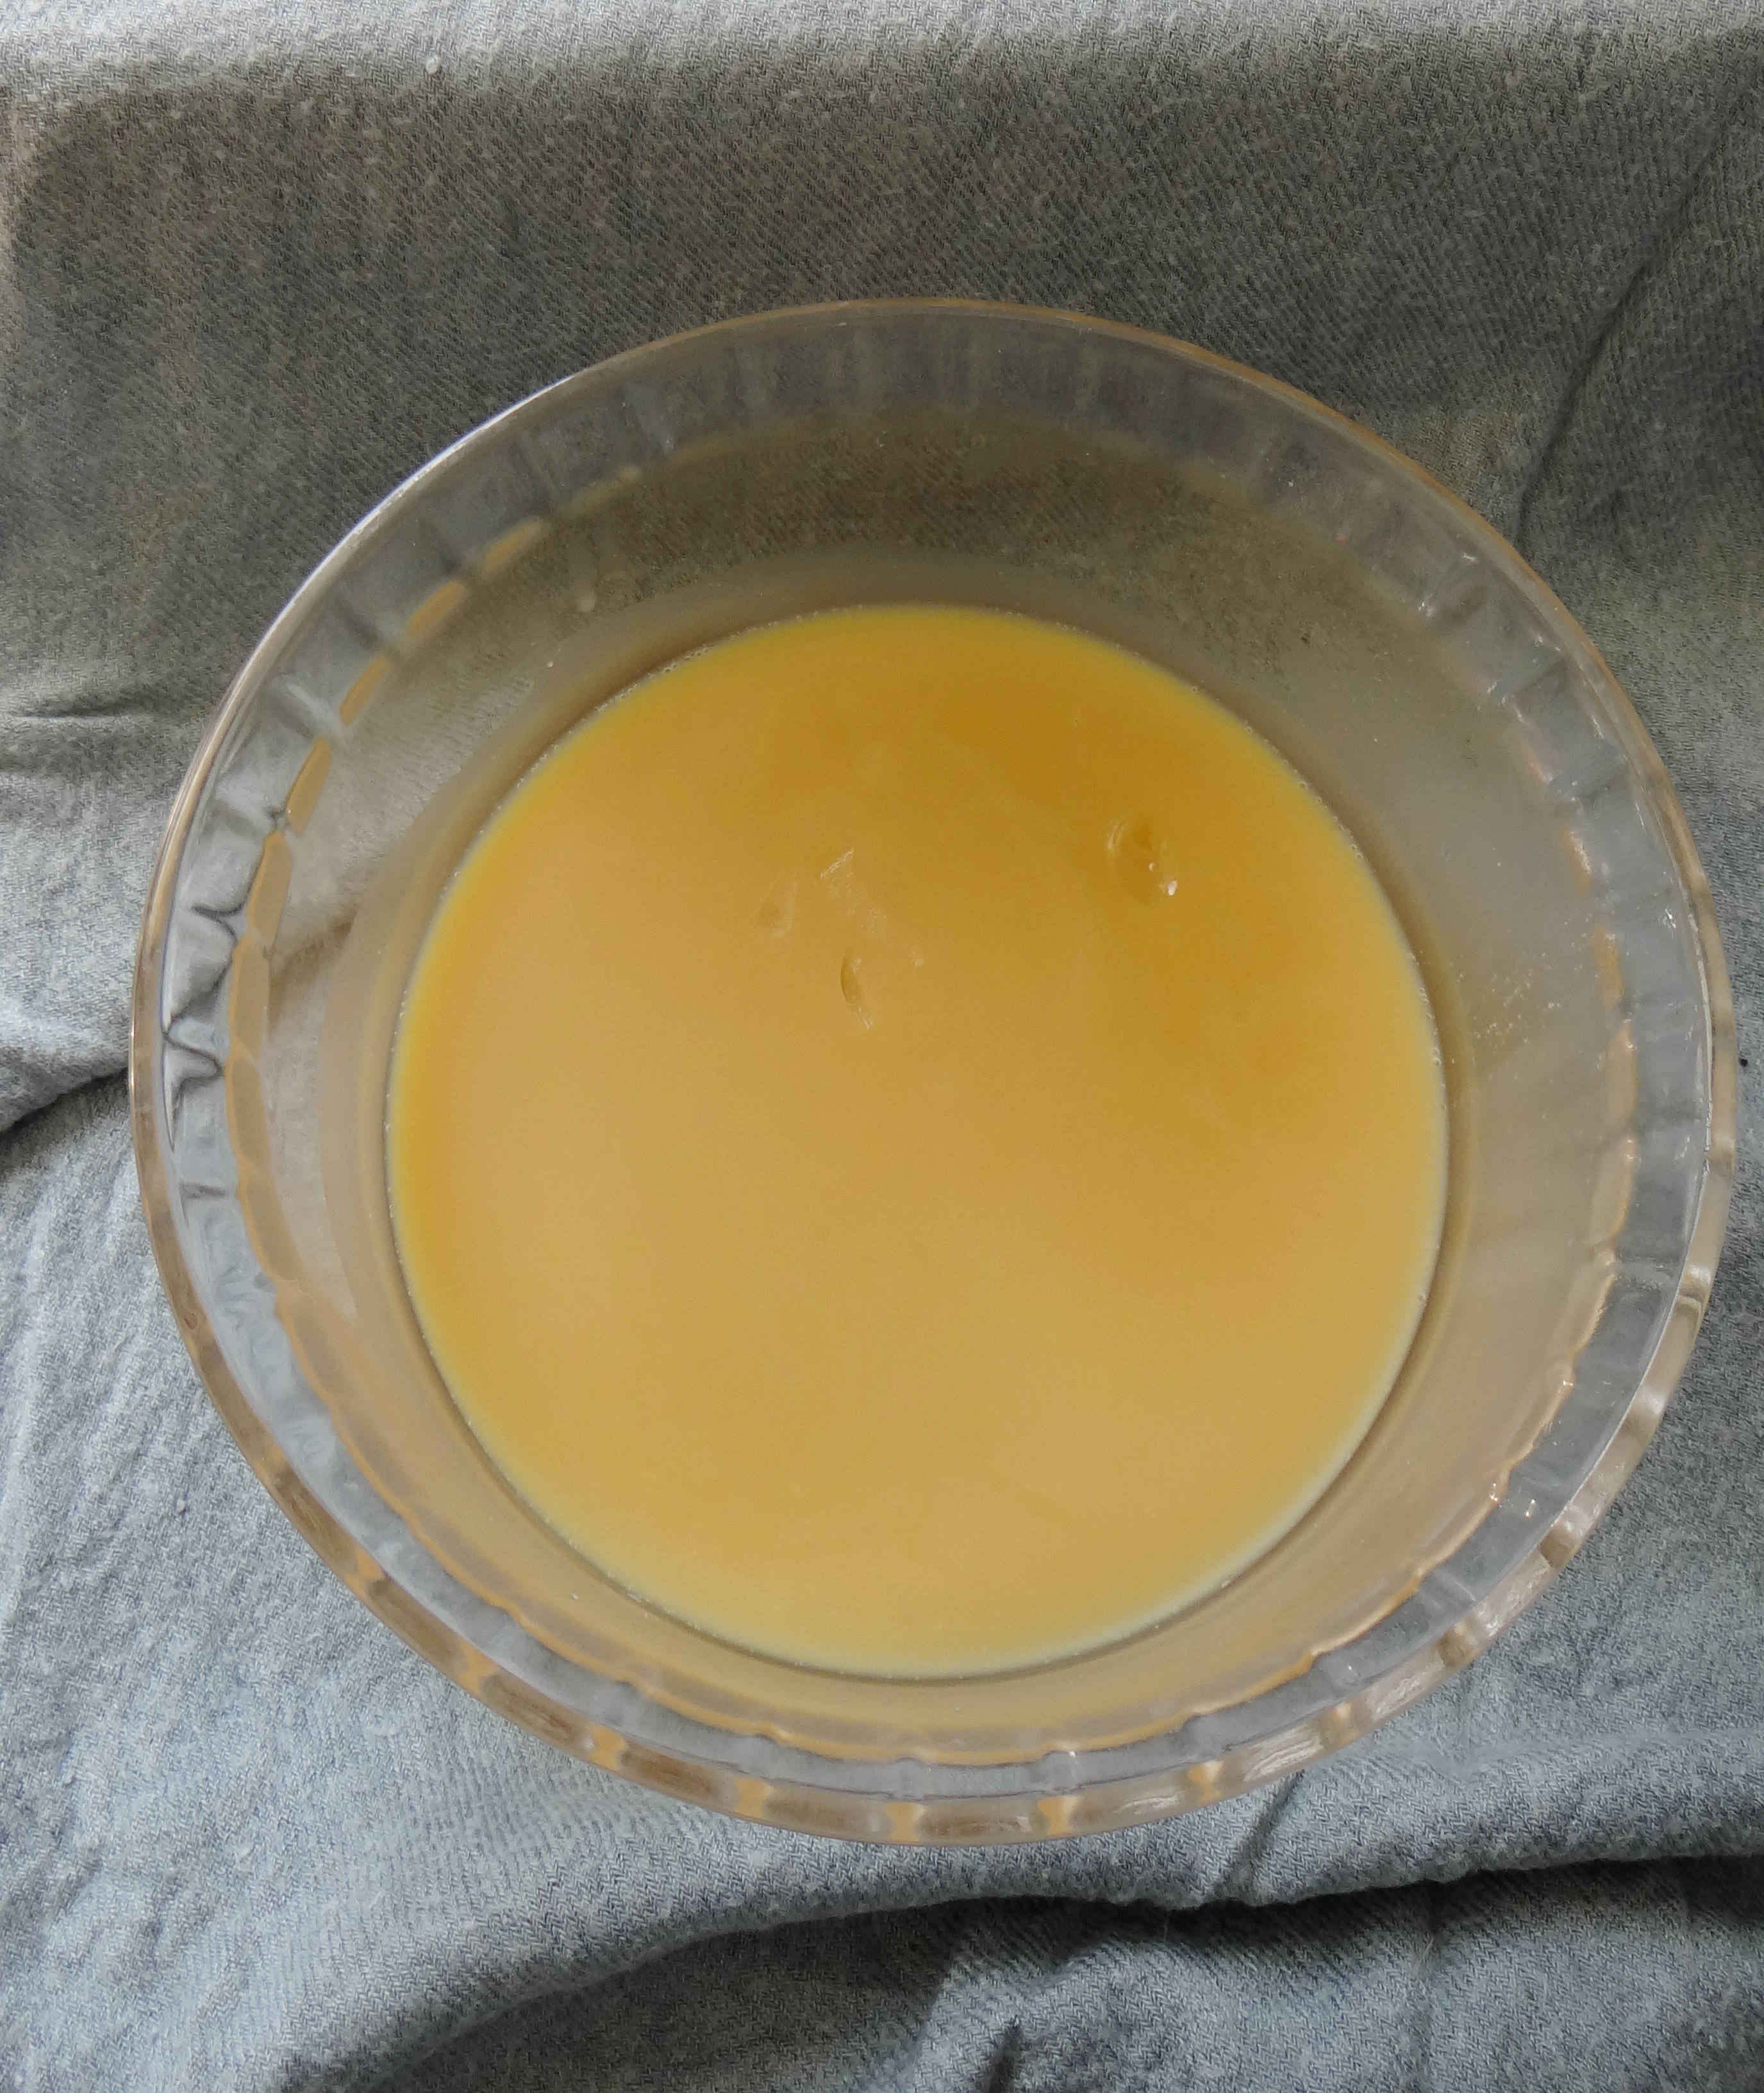
Melted Conditioning Bars
Once the Flax Seed Water has been added it turns into this lovely consistency and I highly recommend applying on lightly damp hair (best on detangled hair to avoid tangles and to allow for easy application). I cover my hair with a shower cap and scarf for a minimum of 20 – 30 minutes and then rinse it out with a dab of conditioner (the conditioner is optional but I prefer using it to make sure I don’t have any “bits” in my hair).
Ingredient Benefits:
- Amla – holds conditioning properties, provides shine, strengthens the hair, helps slow down early on set greying/darkens the hair (subtly), helps keep a clean & healthy Scalp.
- Shikakai – helps to cleanse the hair & scalp.
- Water – best moisturizing ingredient.
- Unrefined Cocoa Butter – helps moisturize the hair, reduces hair loss, reduces breakage & alleviates scalp itching and irritations.
- Virgin Coconut Oil – provides shine and strength, penetrates into the hair shaft to strengthen from within, soothes an irritated scalp & helps elimate frizz.
- Vitamin E Oil – helps extend homemade products shelf life, rejuvenates and offers protection for the scalp & hair.
- Peppermint Essential Oil – helps to stimulate blood flow to the scalp which results in hair growth, soothes an irritated scalp, cleanses the scalp & also helps extend the shelf life of homemade products.
- Glycerin – a humectant that attracts water in the air (humidity) to the area applied.
Alternative Ingredients:
- Unrefined Cocoa Butter – can be replaced with any other butter of choice e.g. Shea Butter, Mango Butter or a combination.
- Virgin Coconut Oil – can be replaced with any carrier oil of choice.
- Glycerin – can be replaced with Honey or Agave Nectar (if you hair likes Humectants).
- Shikakai – can be replaced with Aritha (soap nut) which has even more cleansing abilities.
- Water – can be used together with Rose Water e.g 0.35 oz Water & 0.35 oz Rose Water.
- Peppermint Essential Oil – you can replace this with any oil of choice or omit it completely.
When To Use:
There is no “time frame” for this, you can use it whenever you like. I do suggest that if your hair is in need of a little TLC and you want to switch between deep conditioning you can use this in place of a Deep Conditioner from time to time.
I would love to hear what you think! If you use this recipe or change a few things please let me know, I would love to hear from you!
Thanks
Maicurls