So today I have a styling tutorial of my Milkmaid Twists.
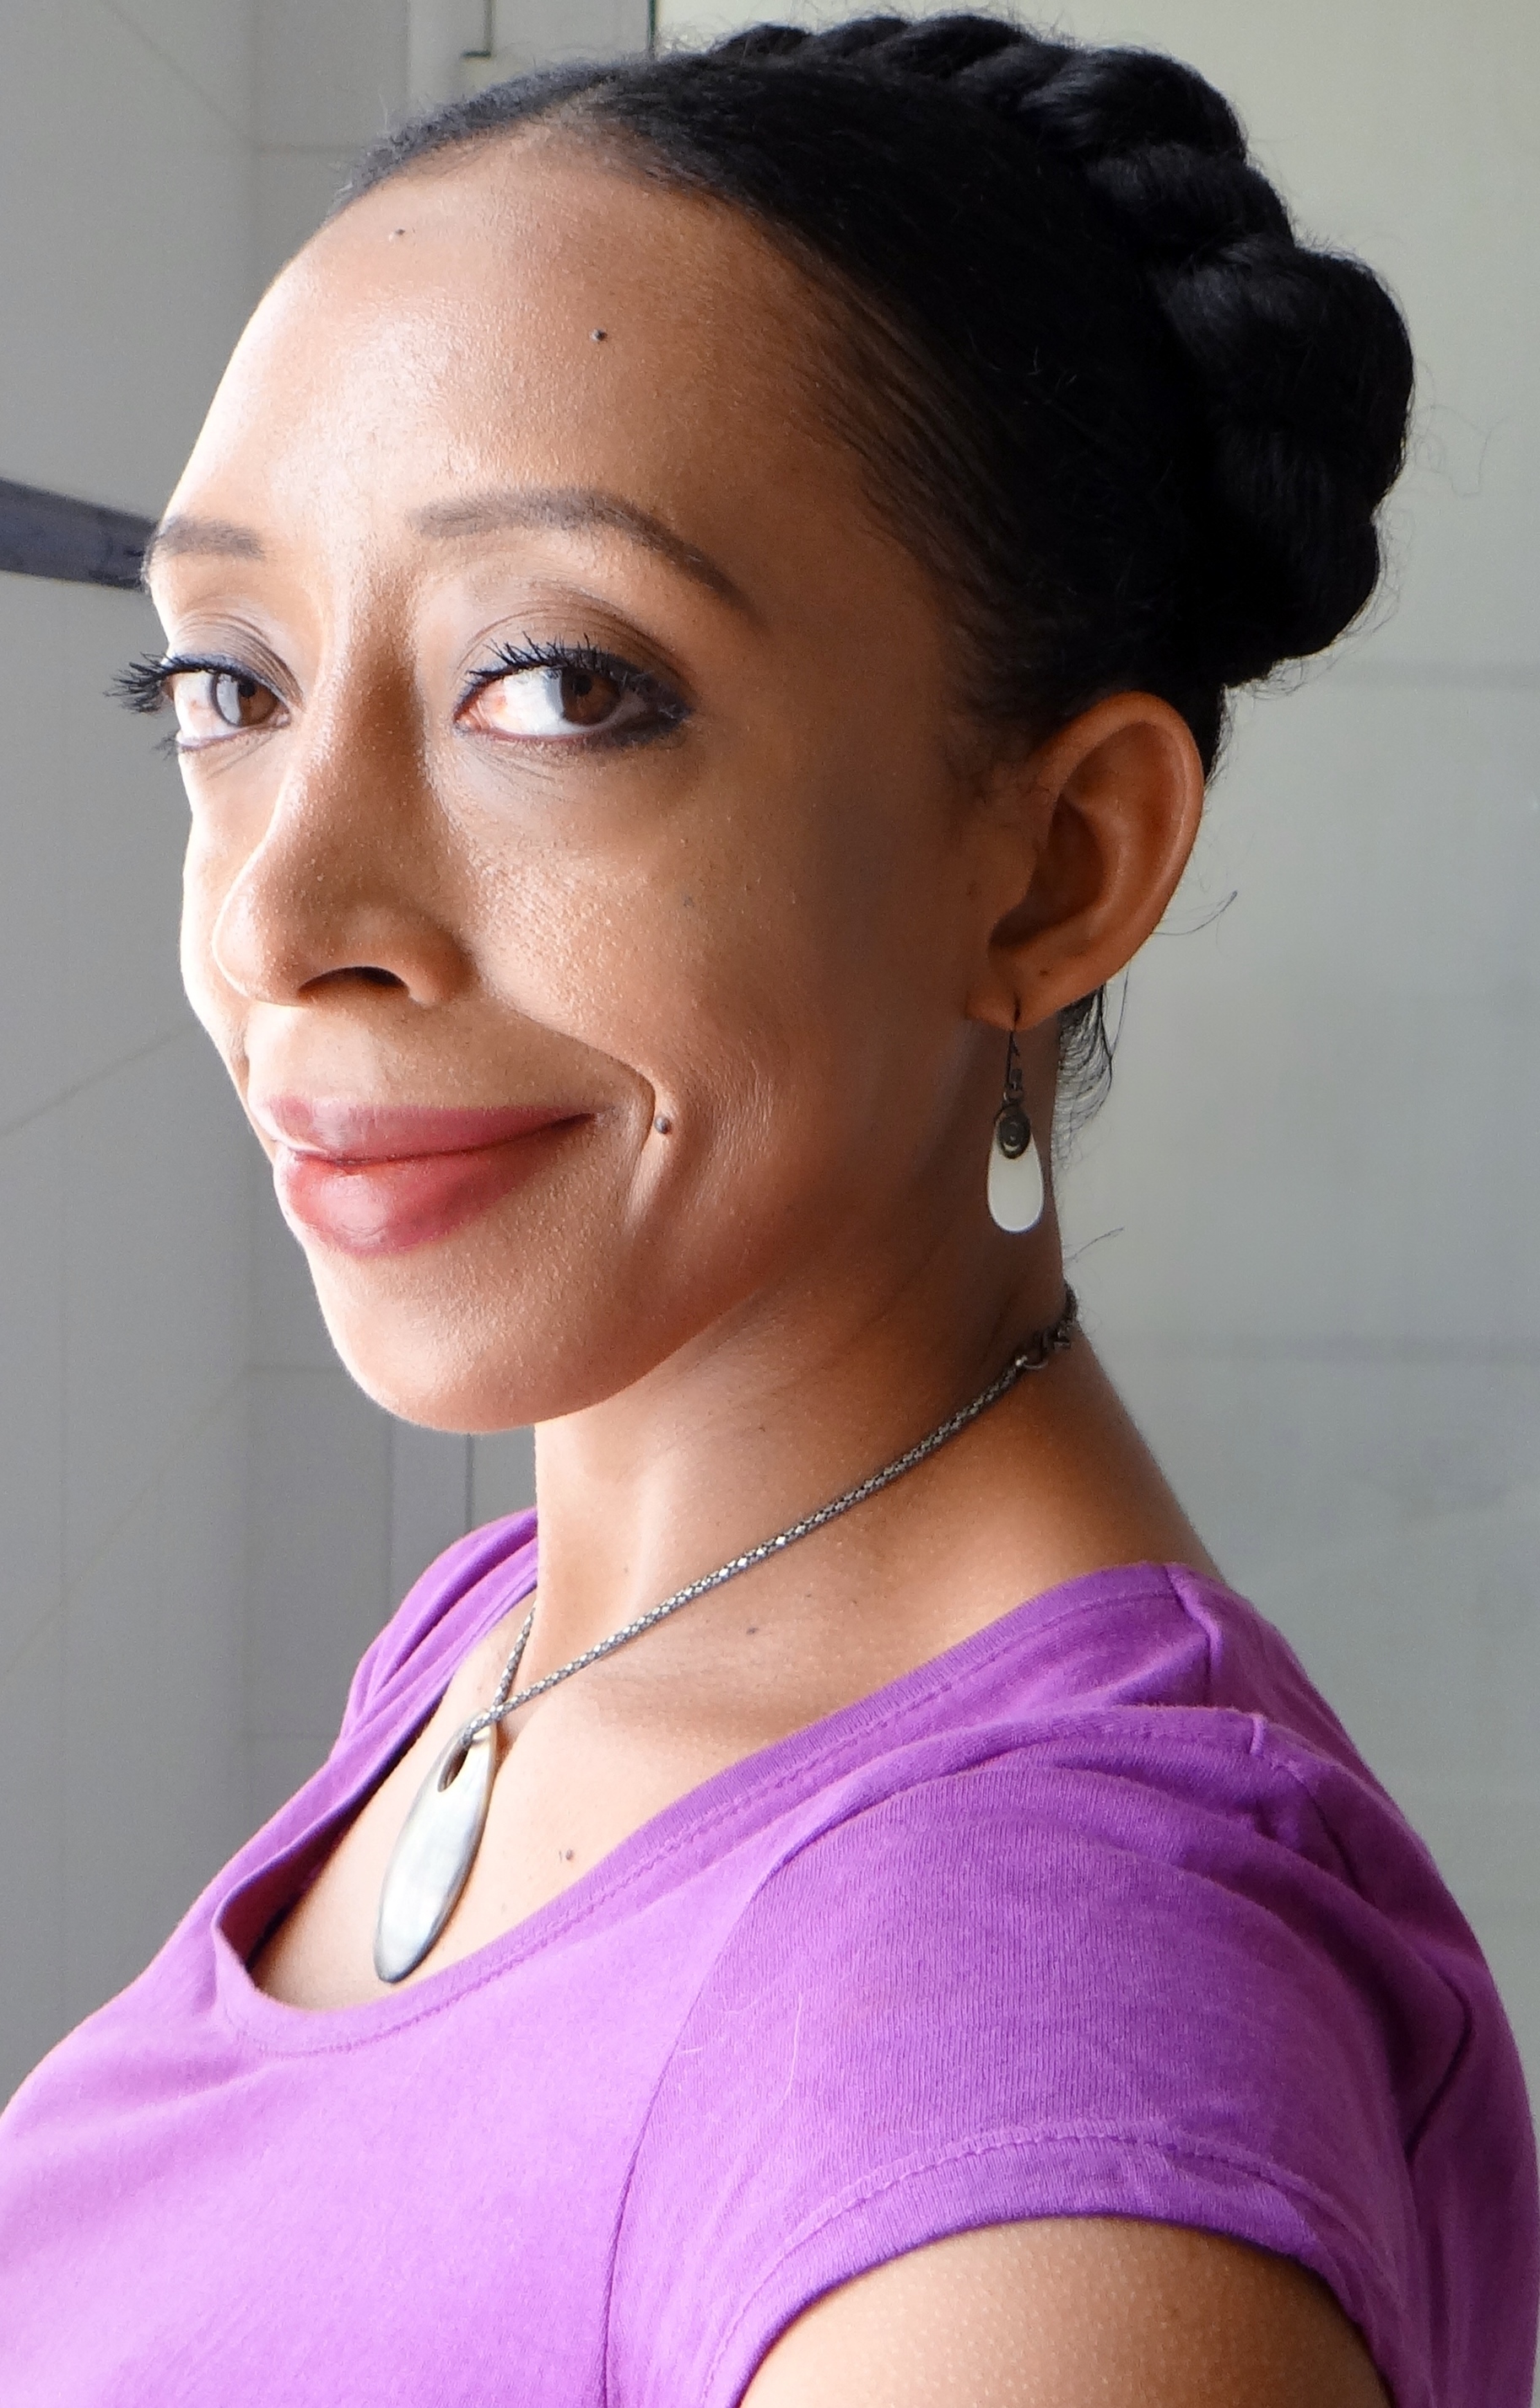
Milkmaid Twists
Now I will point out that I am not all that crazy about how this particular style looks on me (I love the style on others) the main reason why I don’t like it on myself that much is because my forehead and ears become quite obvious because all my hair is pulled back and away from my face LOL. I do like the fact that it is a protective/ low manipulation style since your hair is tucked away and can be left alone for days even.
The style of course is a breeze to do and doesn’t require too many products either. Please note: I actually recorded this video working on old, frizzy hair (that had seen better days) but even with the frizz and mess the final look still ends up looking polished and neat. The video was recorded a few months back but since I was not that big of a fan I put it away without editing it, until I was kindly requested to share the video so I did 🙂
Tools/Products used:
2 ouchless Hair Bubbles
2 Bobby Pins
Dye Brush (the pointy part to make a middle parting)
The first step is to split my hair in the middle in order to make two side ponytails (please note again apart from the frizz I also don’t make neat partings – I have issues). After parting, I use some FSG to help smooth out my hair and “tame” the frizz a little. I also follow up with a little of my Hair Pomade on my edges to help provide a little extra shine and thanks to the ingredients in the pomade it also helps protect and aid in the health of my edges. I use the soft bristle brush to bring my hair together and distribute the products applied. The soft bristle brush along with the gel and pomade really helps to give that “smooth” look. I pull my hair together into two side ponytails and then two strand twist each side. I then cross each twist over the top and bobby pin them on the opposite side (under the base of the twist) and tuck away the ends under the base of each twist and that is it.
Milkmaid Twists
Milkmaid Twists
Milkmaid Twists
Additional:
I tend to add a wide ribbon to help accessorize the look, I like to think it makes the style look a little more “fancy” while at the same time helps me feel that I have caused some distraction away from my forehead and ears (yes I am not a fan of them!)
Milkmaid Twists with Ribbon
Milkmaid Twists with Ribbon
Milkmaid Twists with Ribbon
Milkmaid Twists with Ribbon
Whenever I do this style I actually just take down the bobby pins, cover my hair with a scarf for the night and the next morning I touch up my edges if there is need to and then re-pin them down so I get to protect my hair for a few days.
I have a video of course:
Would love to hear if you do Milkmaid Twists, if your method is different or if you have any suggestions for me.
The DIY freak is back and this shall be my last whipped butter as part of this “series” for now.
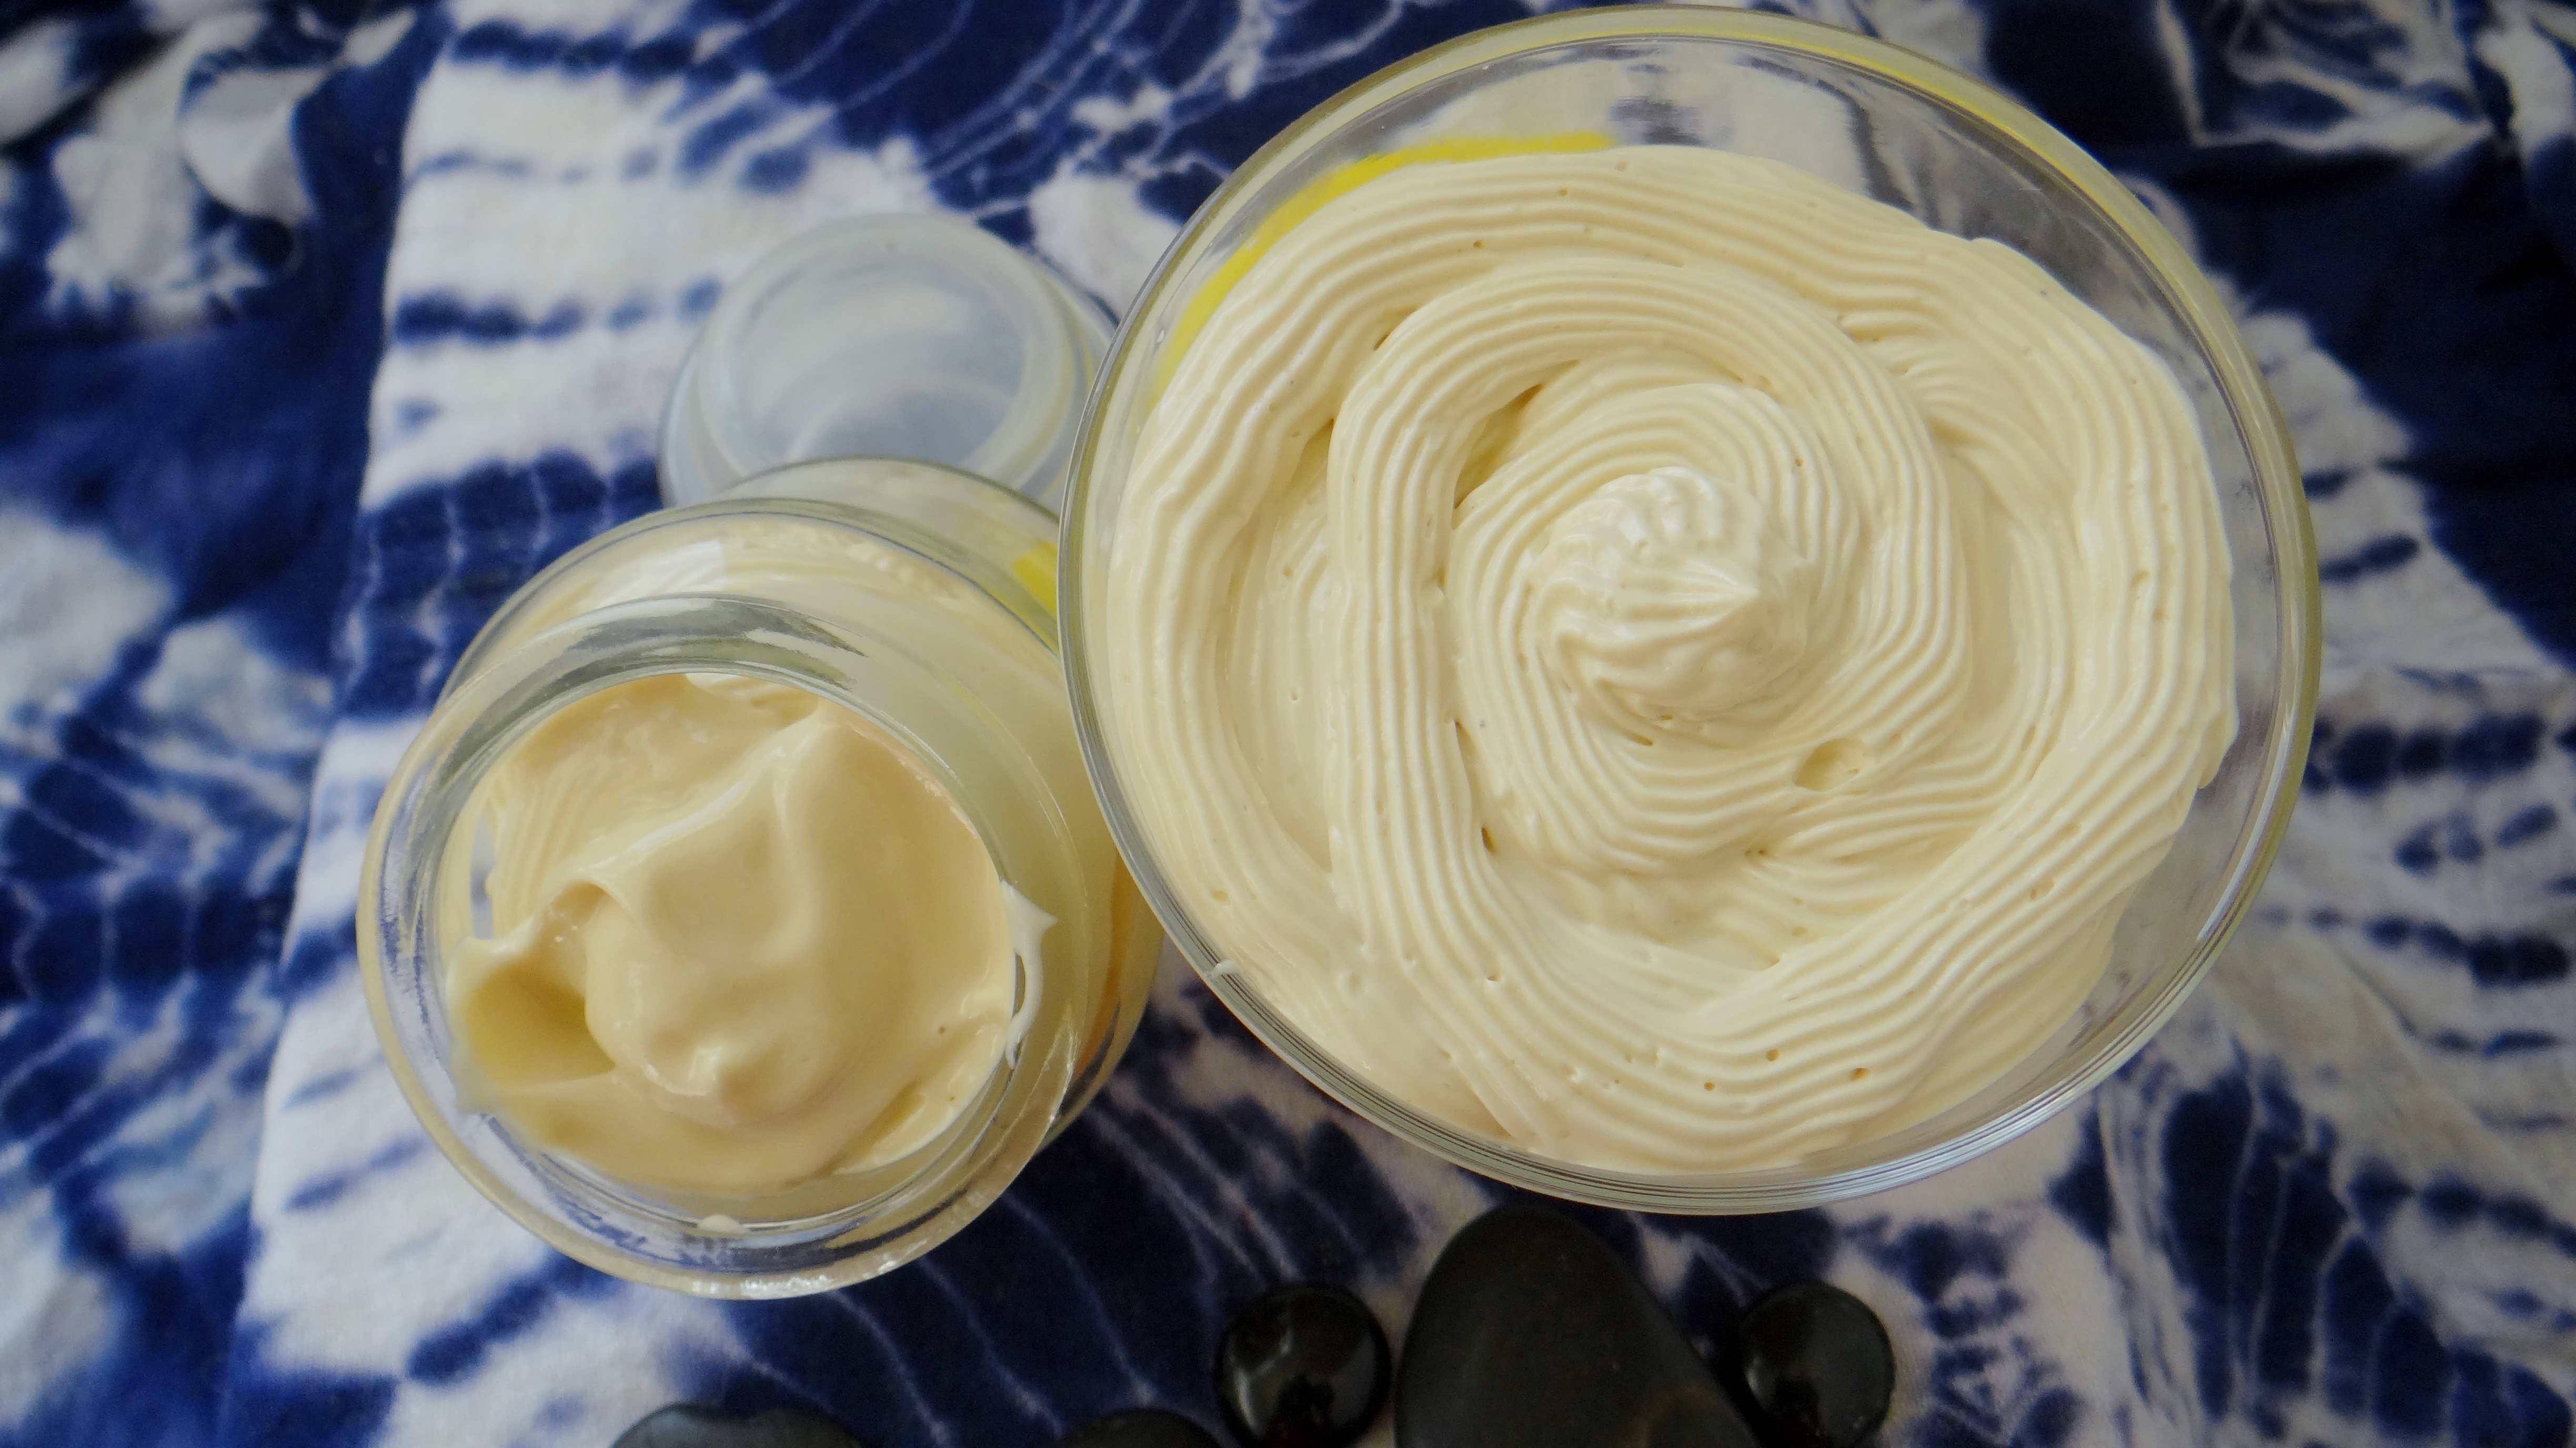
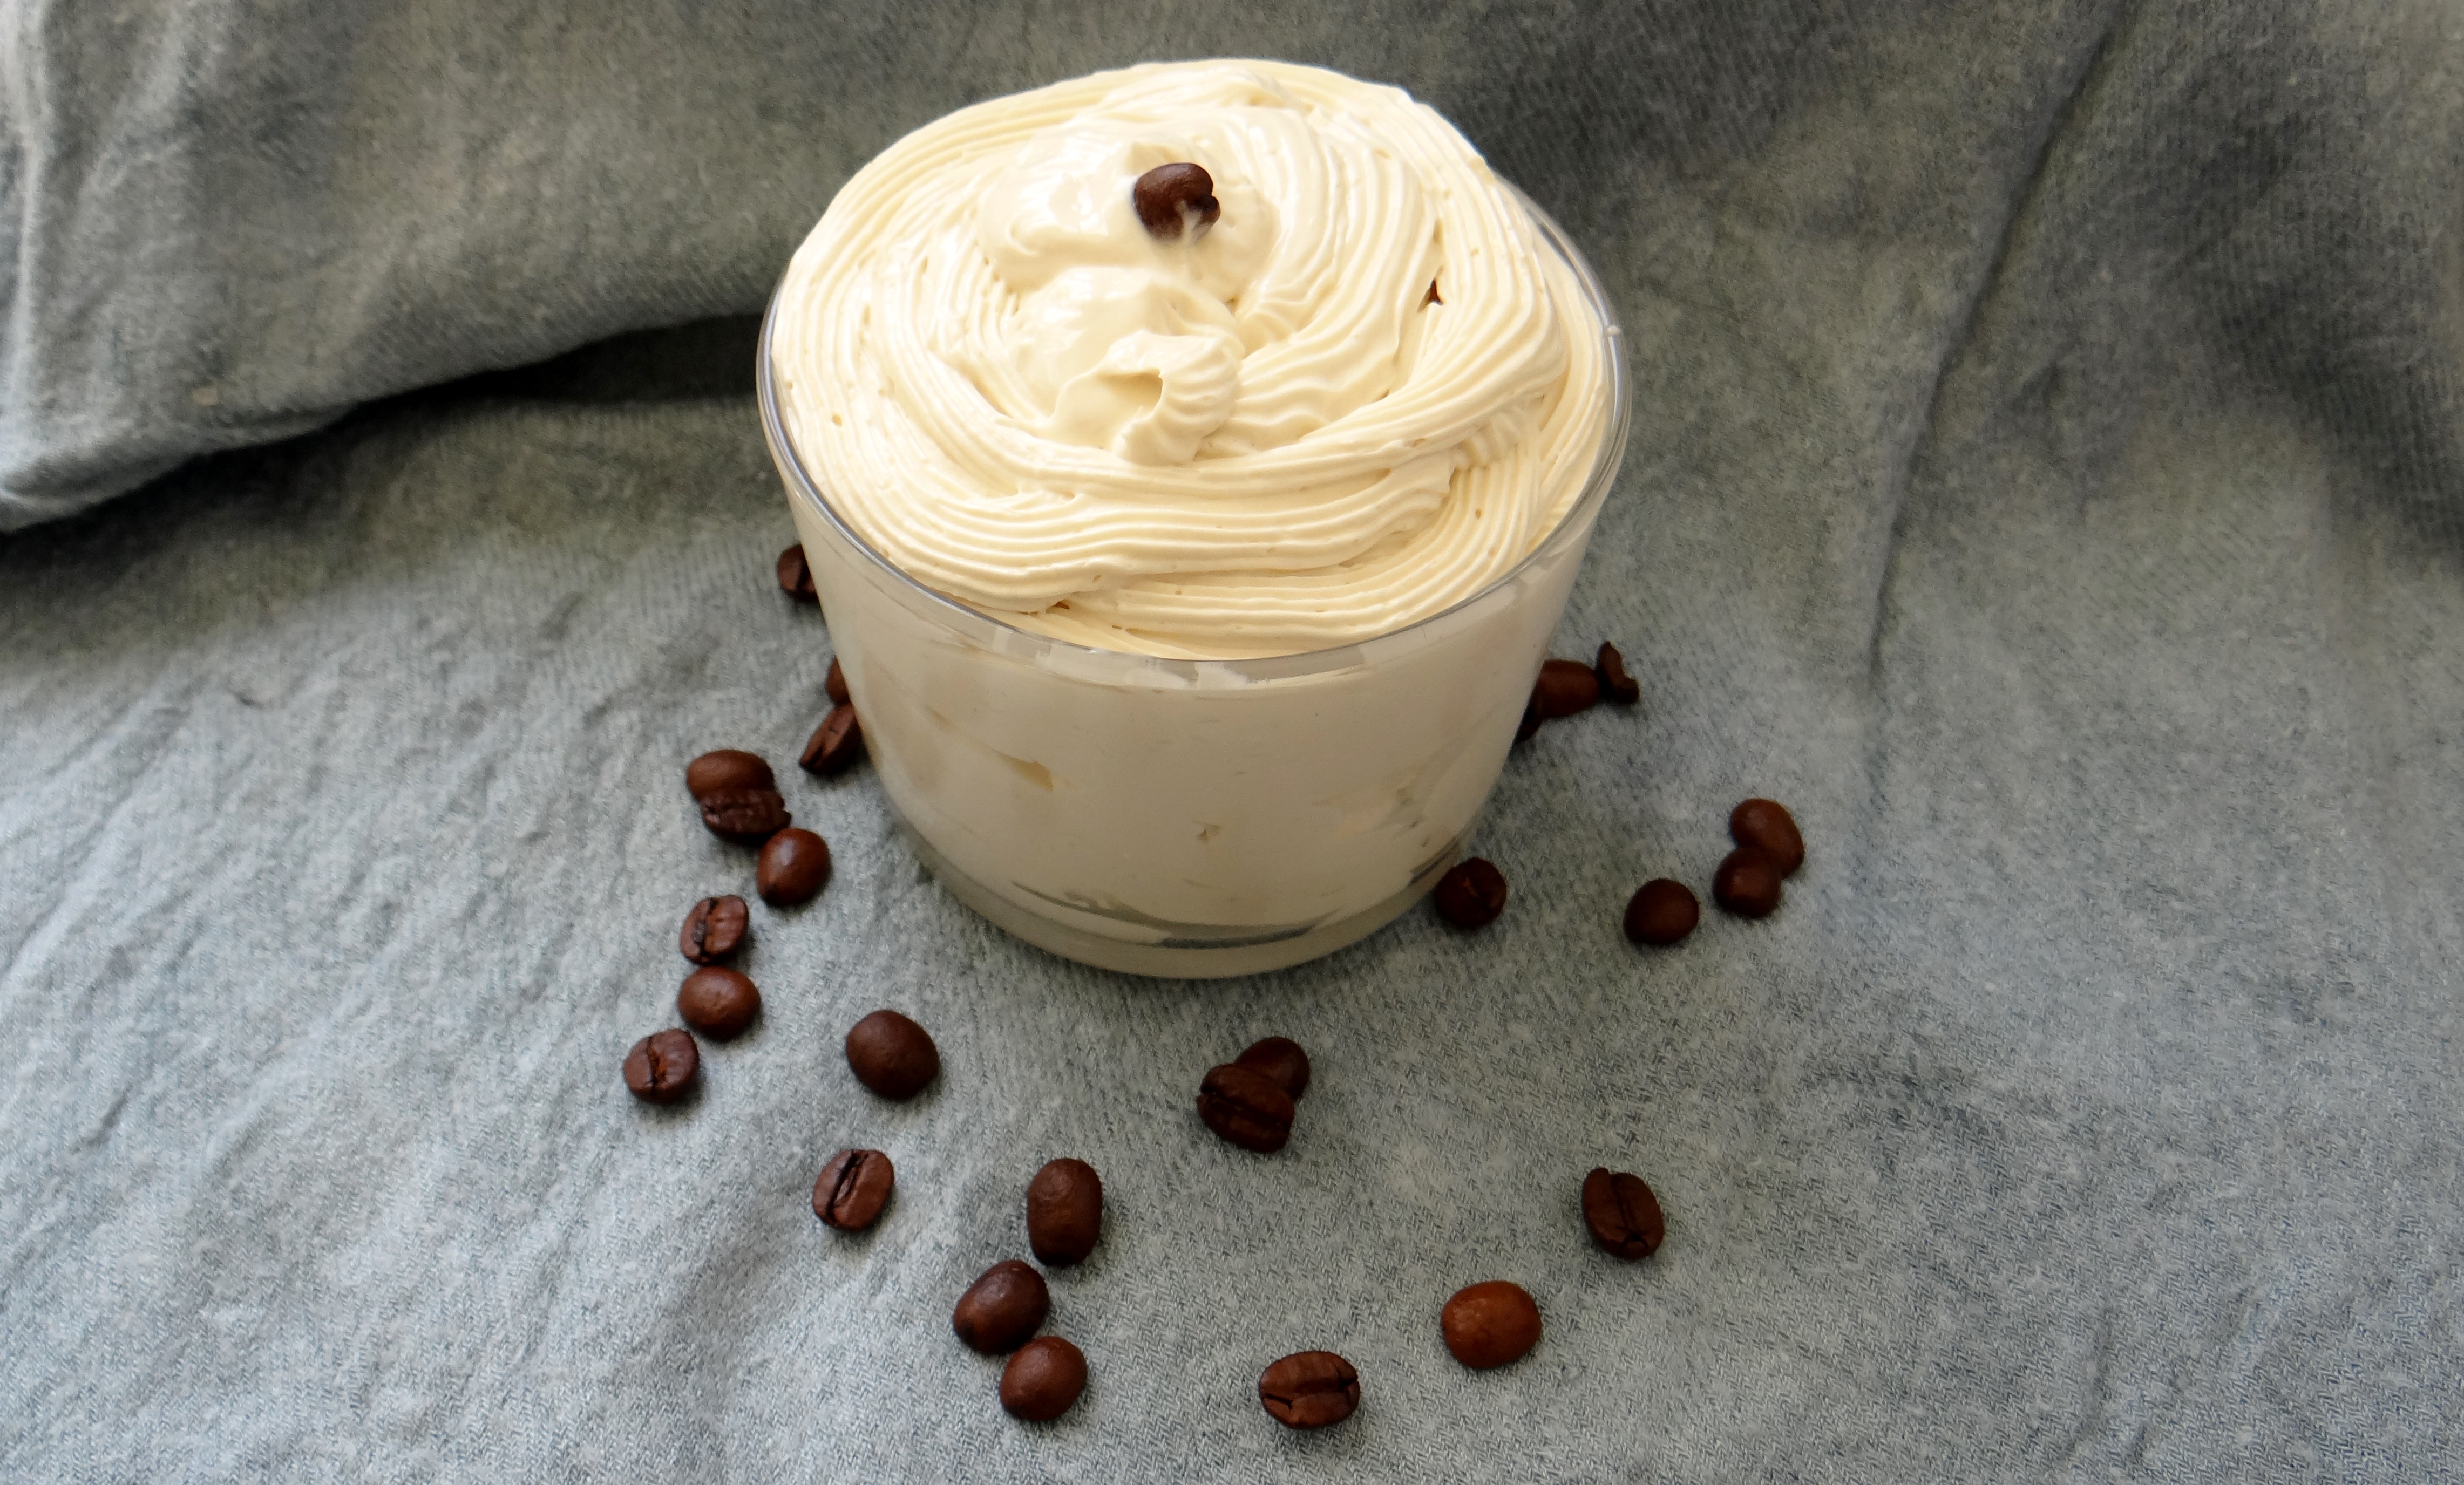
Whipped Double Coffee Butter
Fret not (I can hear you screaming whaaaat), I shall have 2 more tutorials that will be released within the next 2 months that will be strength based thanks to an inspiration from a YouTube viewer (thank you)! I am just taking a break to actually have time to use up the whips I already have.
Anyways back to this whipped butter, I can honestly say that this Double Coffee Butter is my favorite (I have probably said this a few times but I truly love this) 😀
From all the mixes/recipes/concoctions I have made, this one has the highest concentration of coffee… coffee is my friend is my love. My curls seem to thrive on products that include coffee/caffeine so why would I not use use different types of coffee butter along with some coffee infused oil right?
I can go on and on about the benefits of coffee for the hair and skin and I of course already have, you can read all about it here where I introduce my DIY Coffee Bean Infused Butter and here my DIY Coffee Bean Infused Almond Oil
Piping Bag (optional) – a sandwich bag can do the trick or a spoon/spatula to transfer the whip to your container)
Note: I want to remind you that I live in the desert so normally during the summer I prefer my mix to be a little more firm therefore I use more butter than oil. If you live in colder climates and especially during autumn & winter I suggest that you add more oil that I do (see below).
Ratio Alternatives/Ingredient Alternatives:
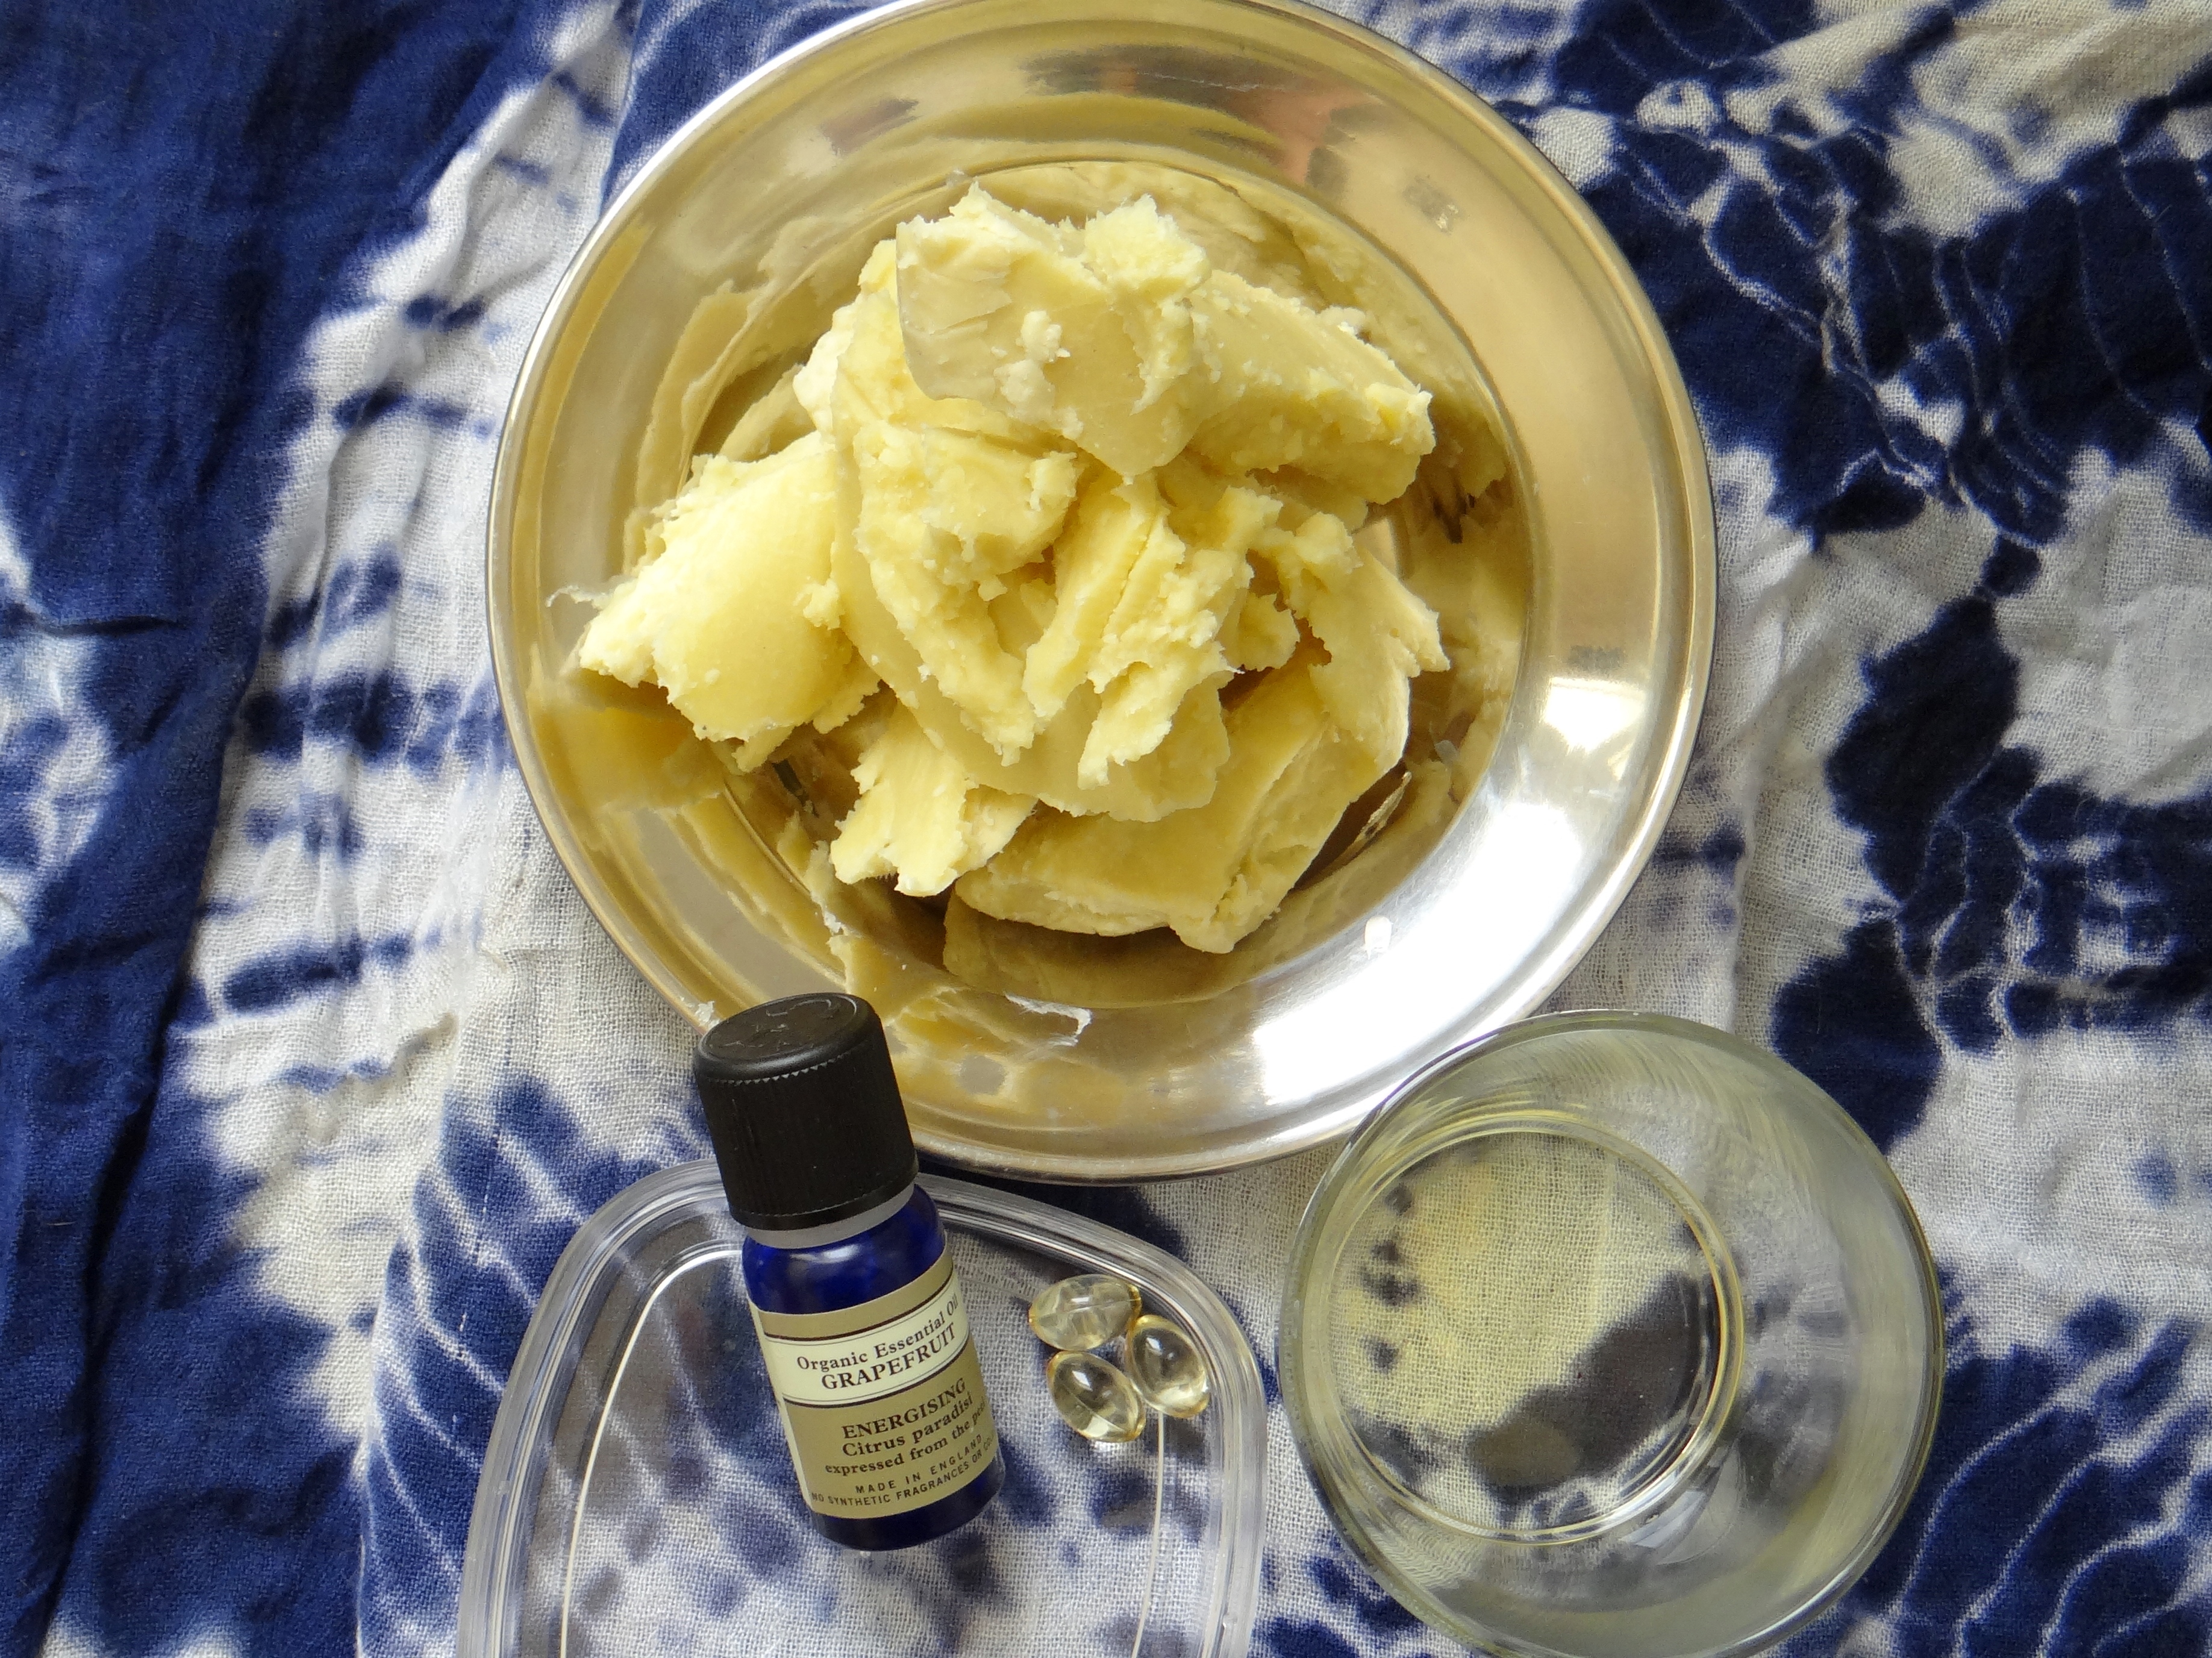
In my opinion the infused coffee bean and the coffee butter are what makes this a double coffee butter however, should you not have any infused coffee bean butter (recipe) you can replace it with either Shea Butter or a Shea & Cocoa Butter combination (40% Cocoa 60% Shea butter). For a less firm whip particularly in autumn/winter I would suggest using 2 oz – 3 oz carrier oils. Technically you can use any carrier oil you prefer, they do not have to be coffee bean or vanilla bean infused oils however again, to make this a coffee focused butter I would suggest using more coffee bean infused oil (recipe) such as 70% coffee oil 30% vanilla bean oil. Other oil alternatives could be: Extra Virgin Coconut Oil, Pure Almond Oil, Grapeseed Oil, Avocado Oil, Extra Virgin Olive Oil etc. Glycerin is an optional ingredient that does not need to be added especially if your hair does not like it. It can either be omitted or even replaced with raw honey.
Method:
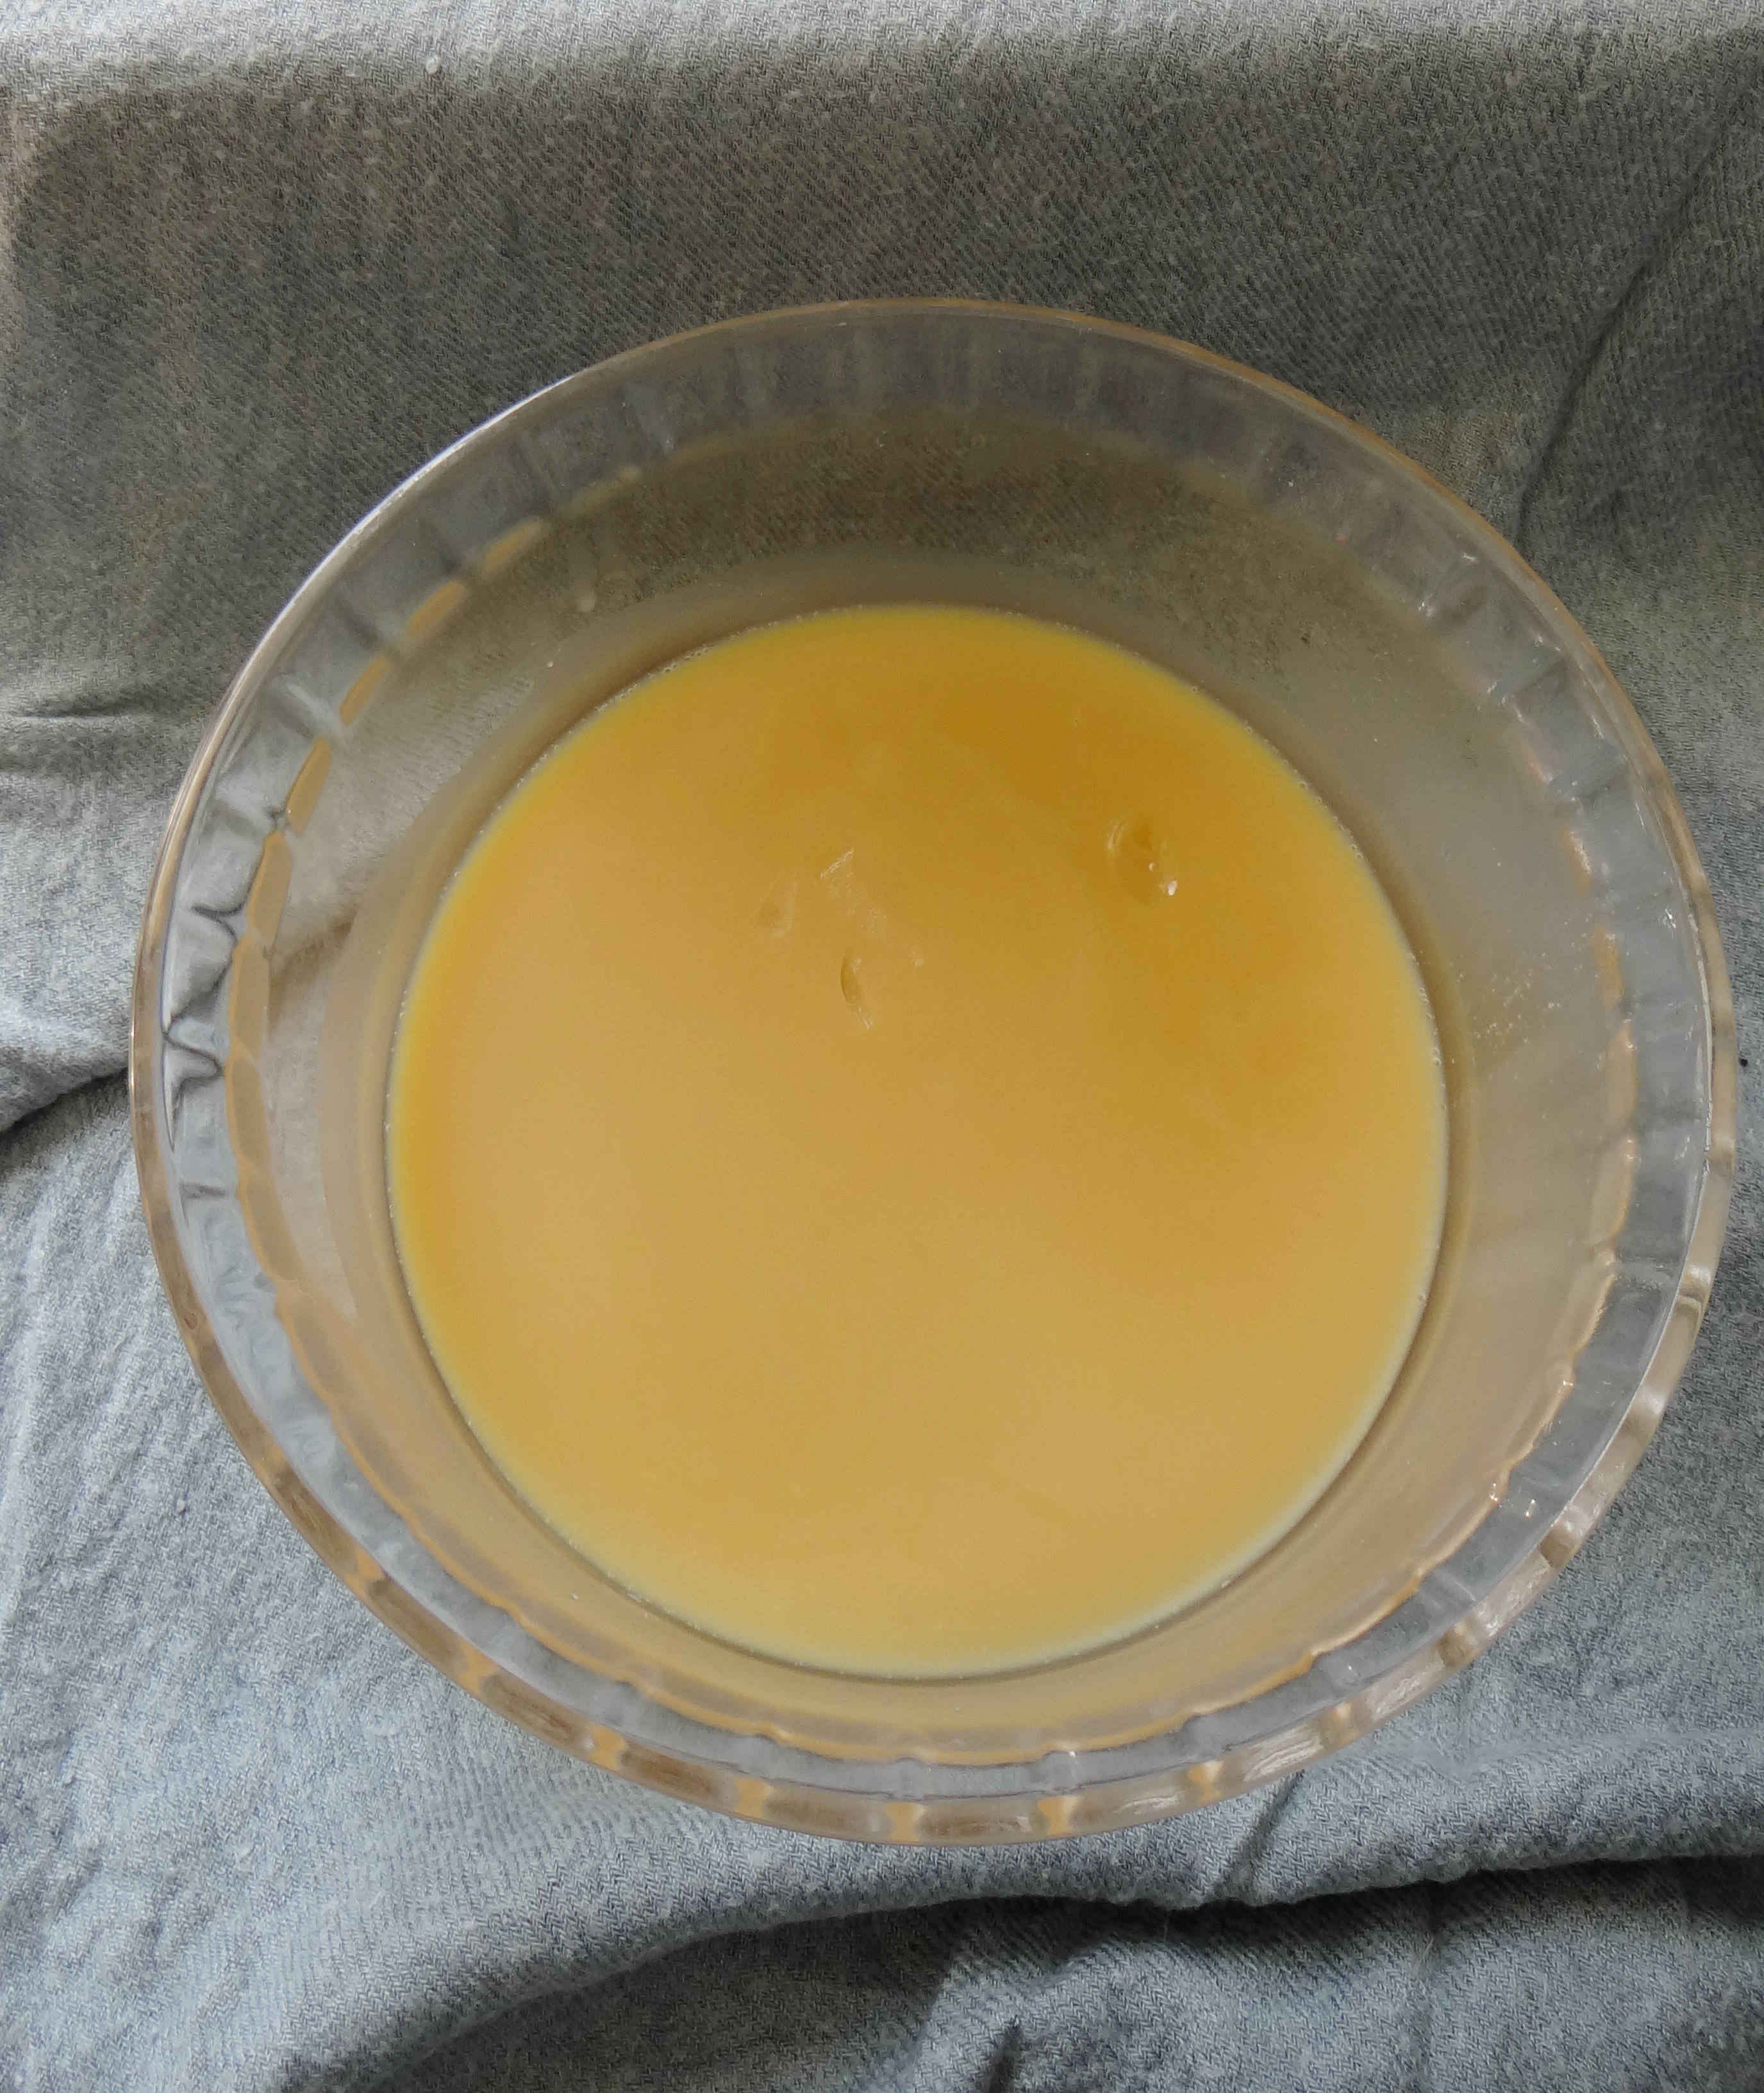
Butters and Oils mixed together after 10 minutes in the freezer
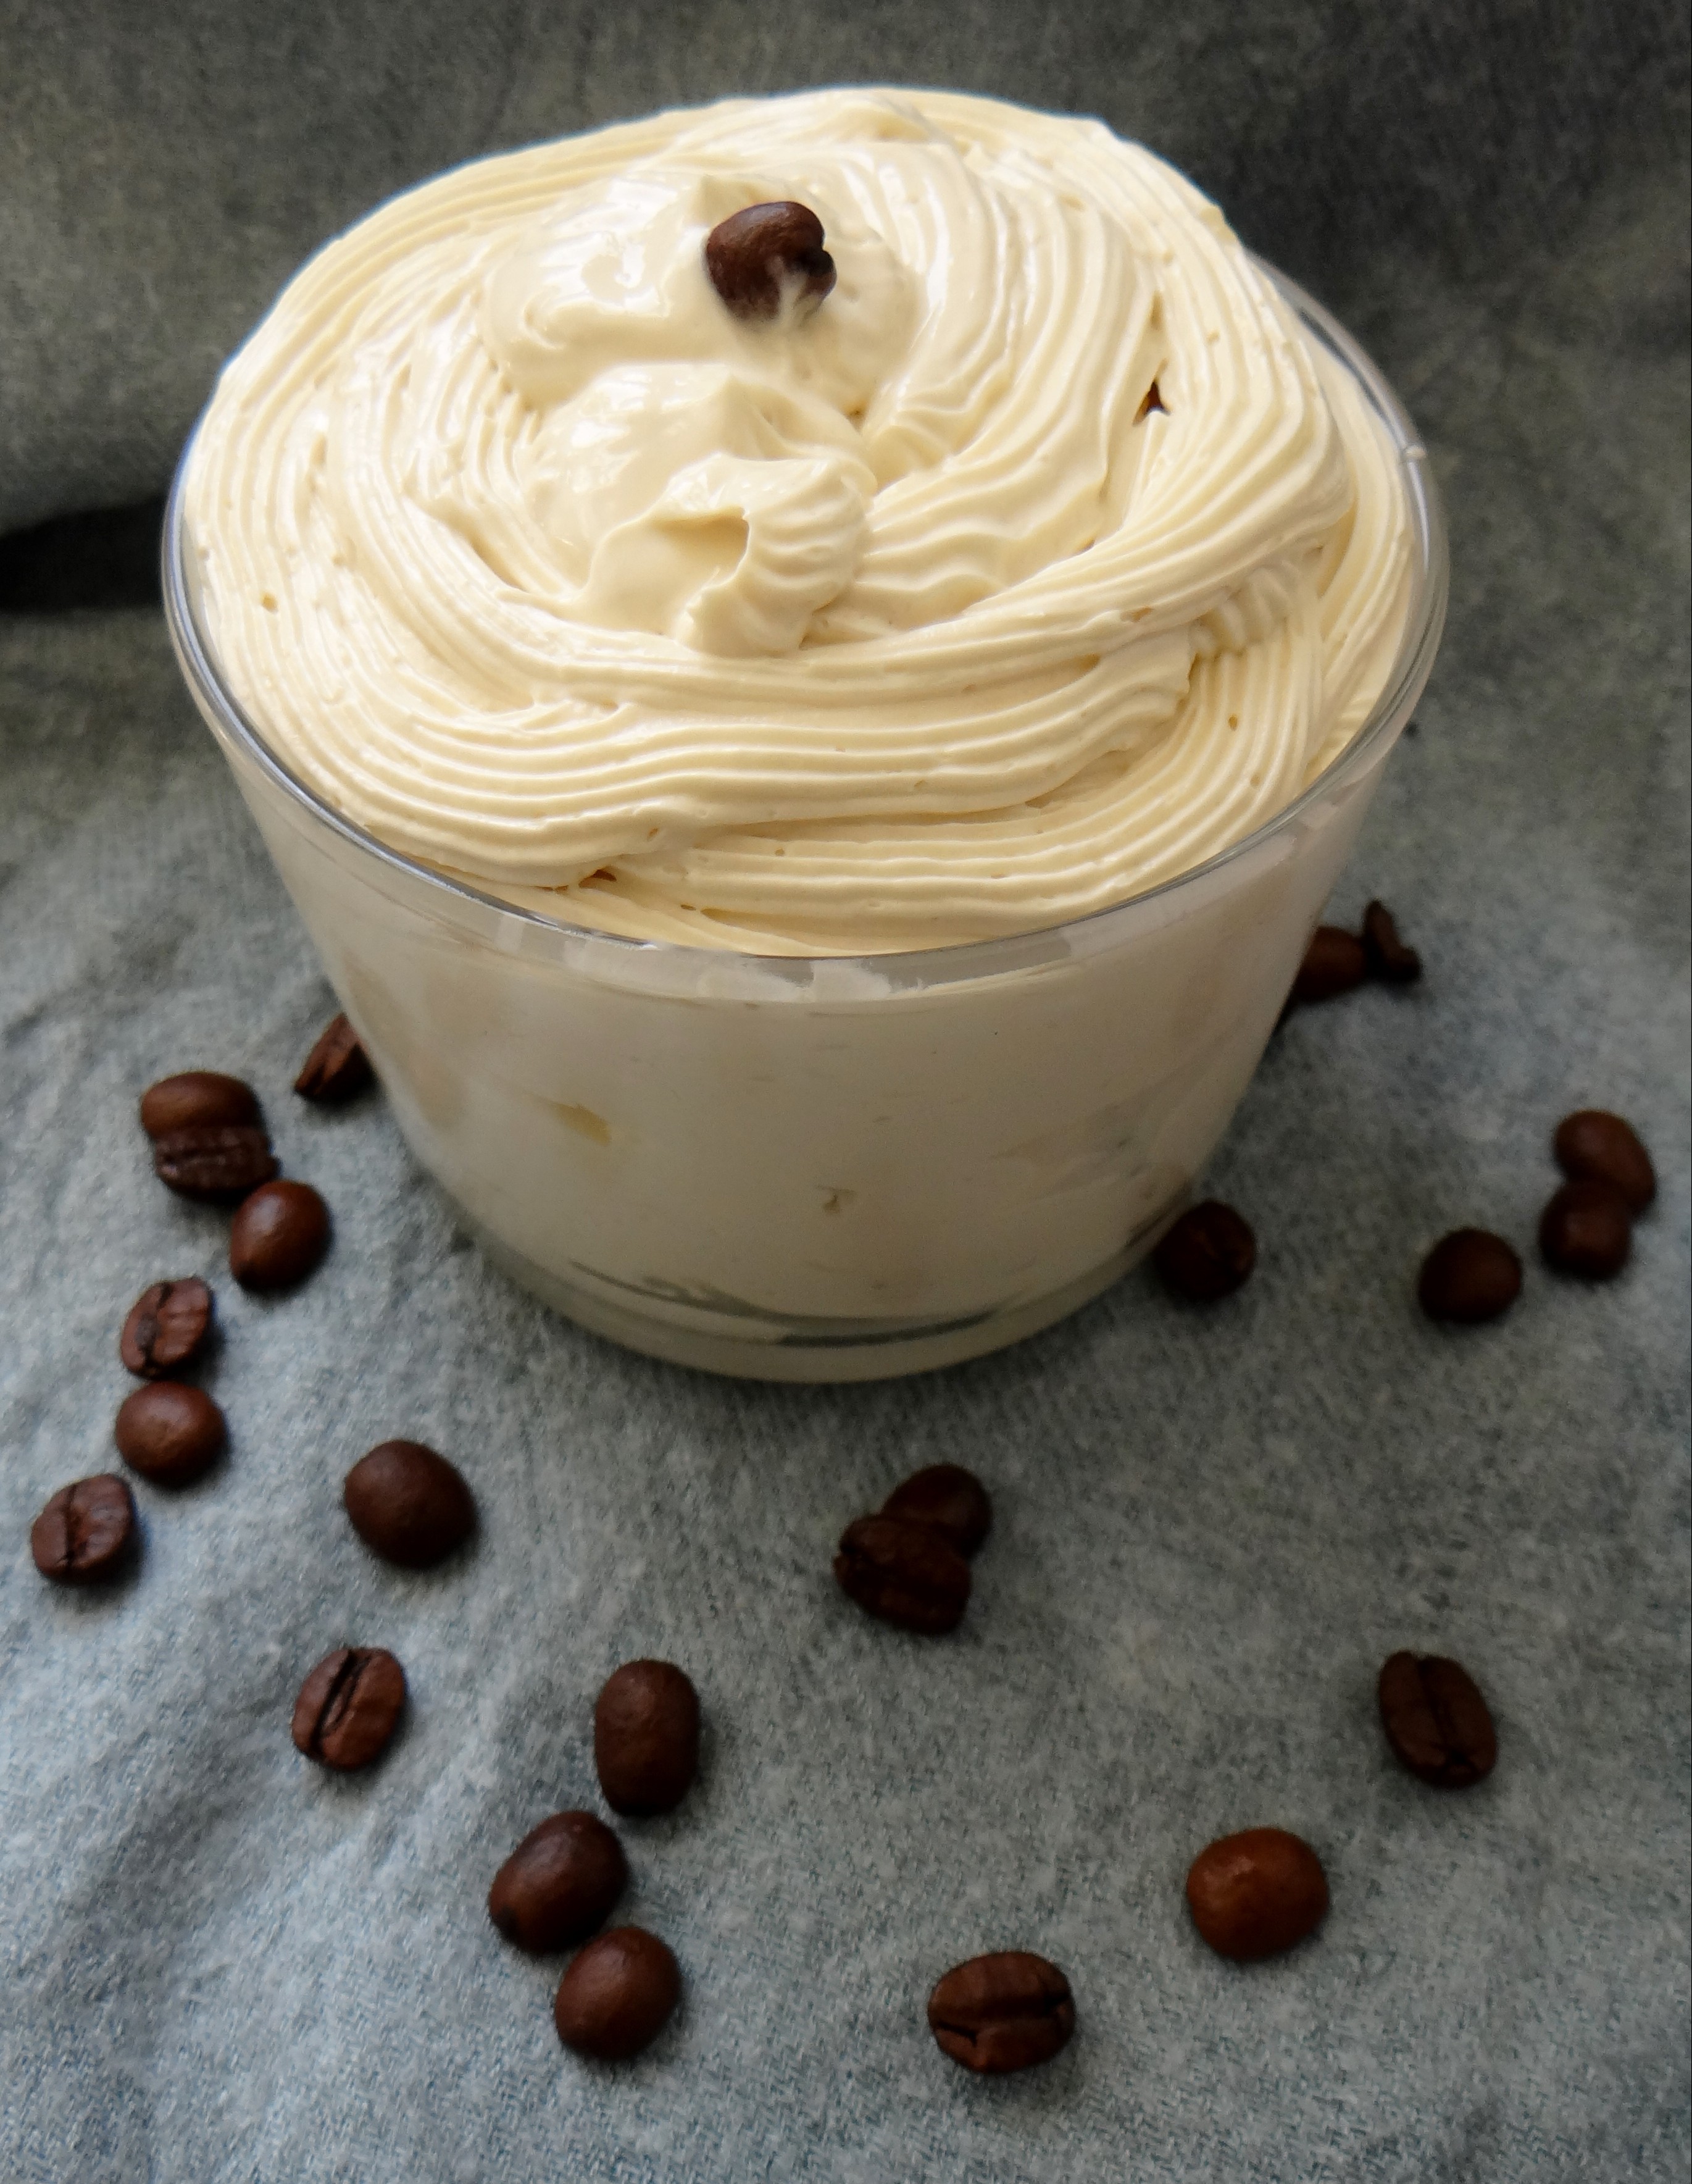
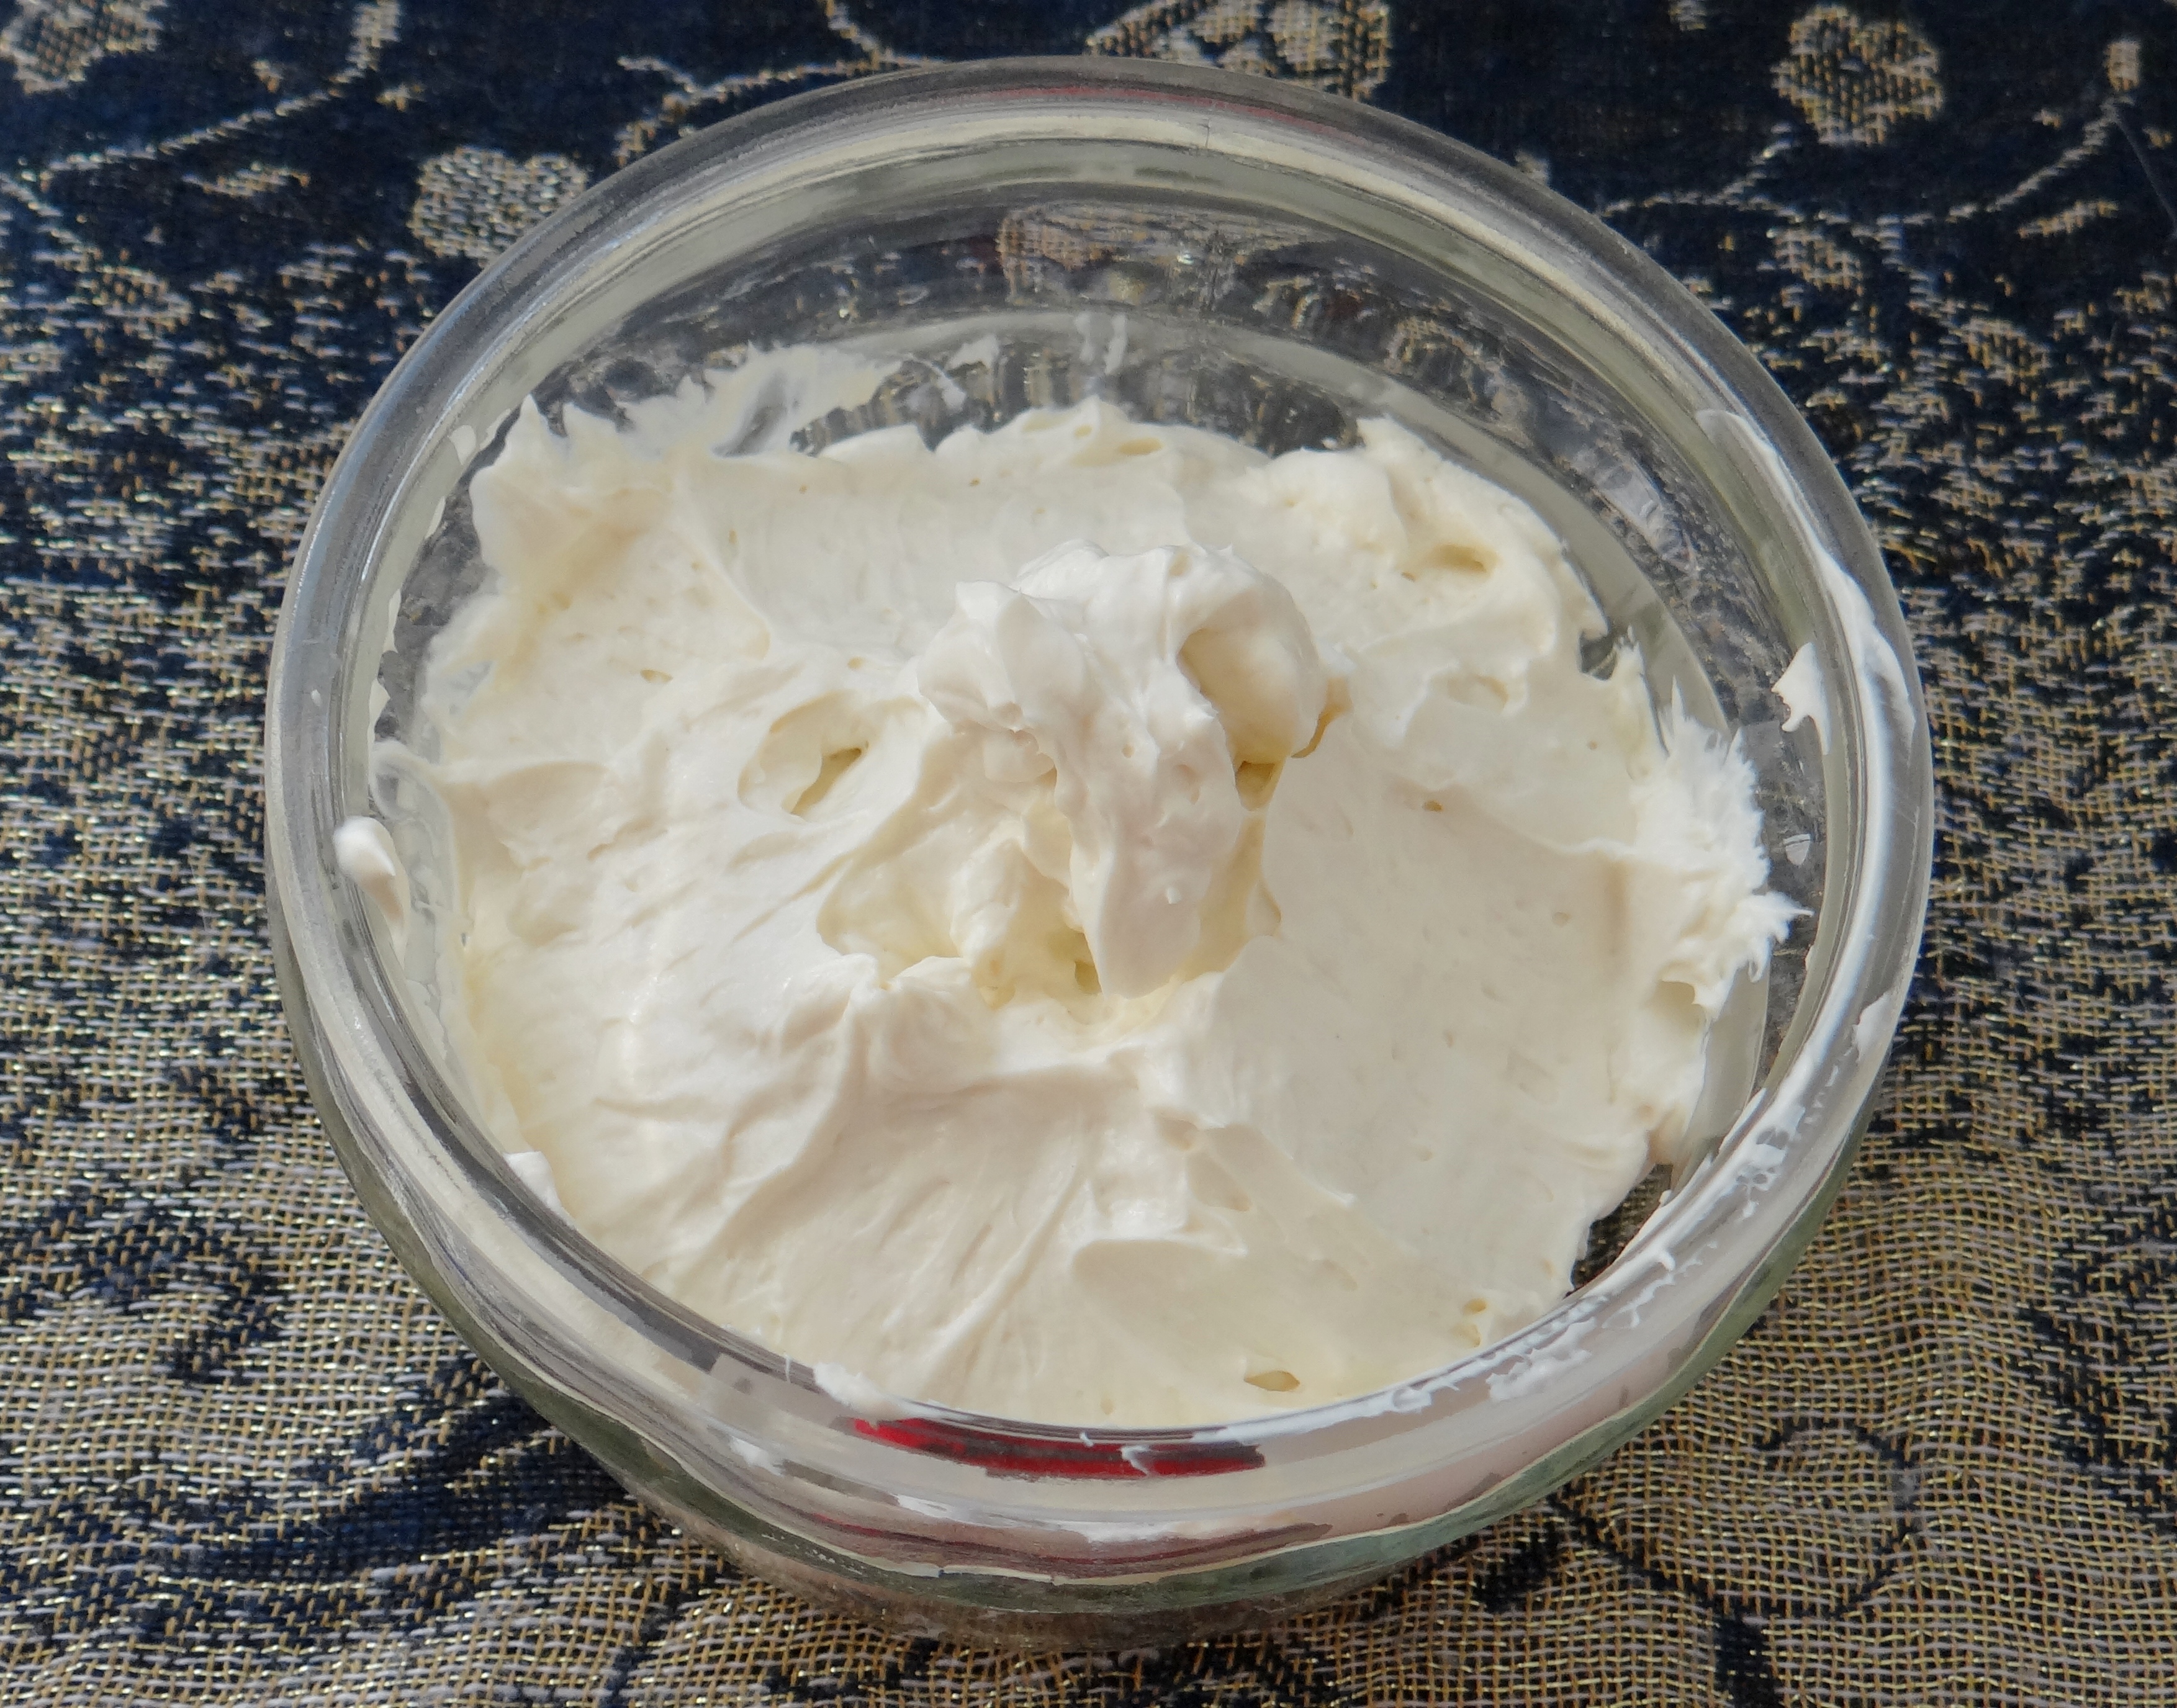
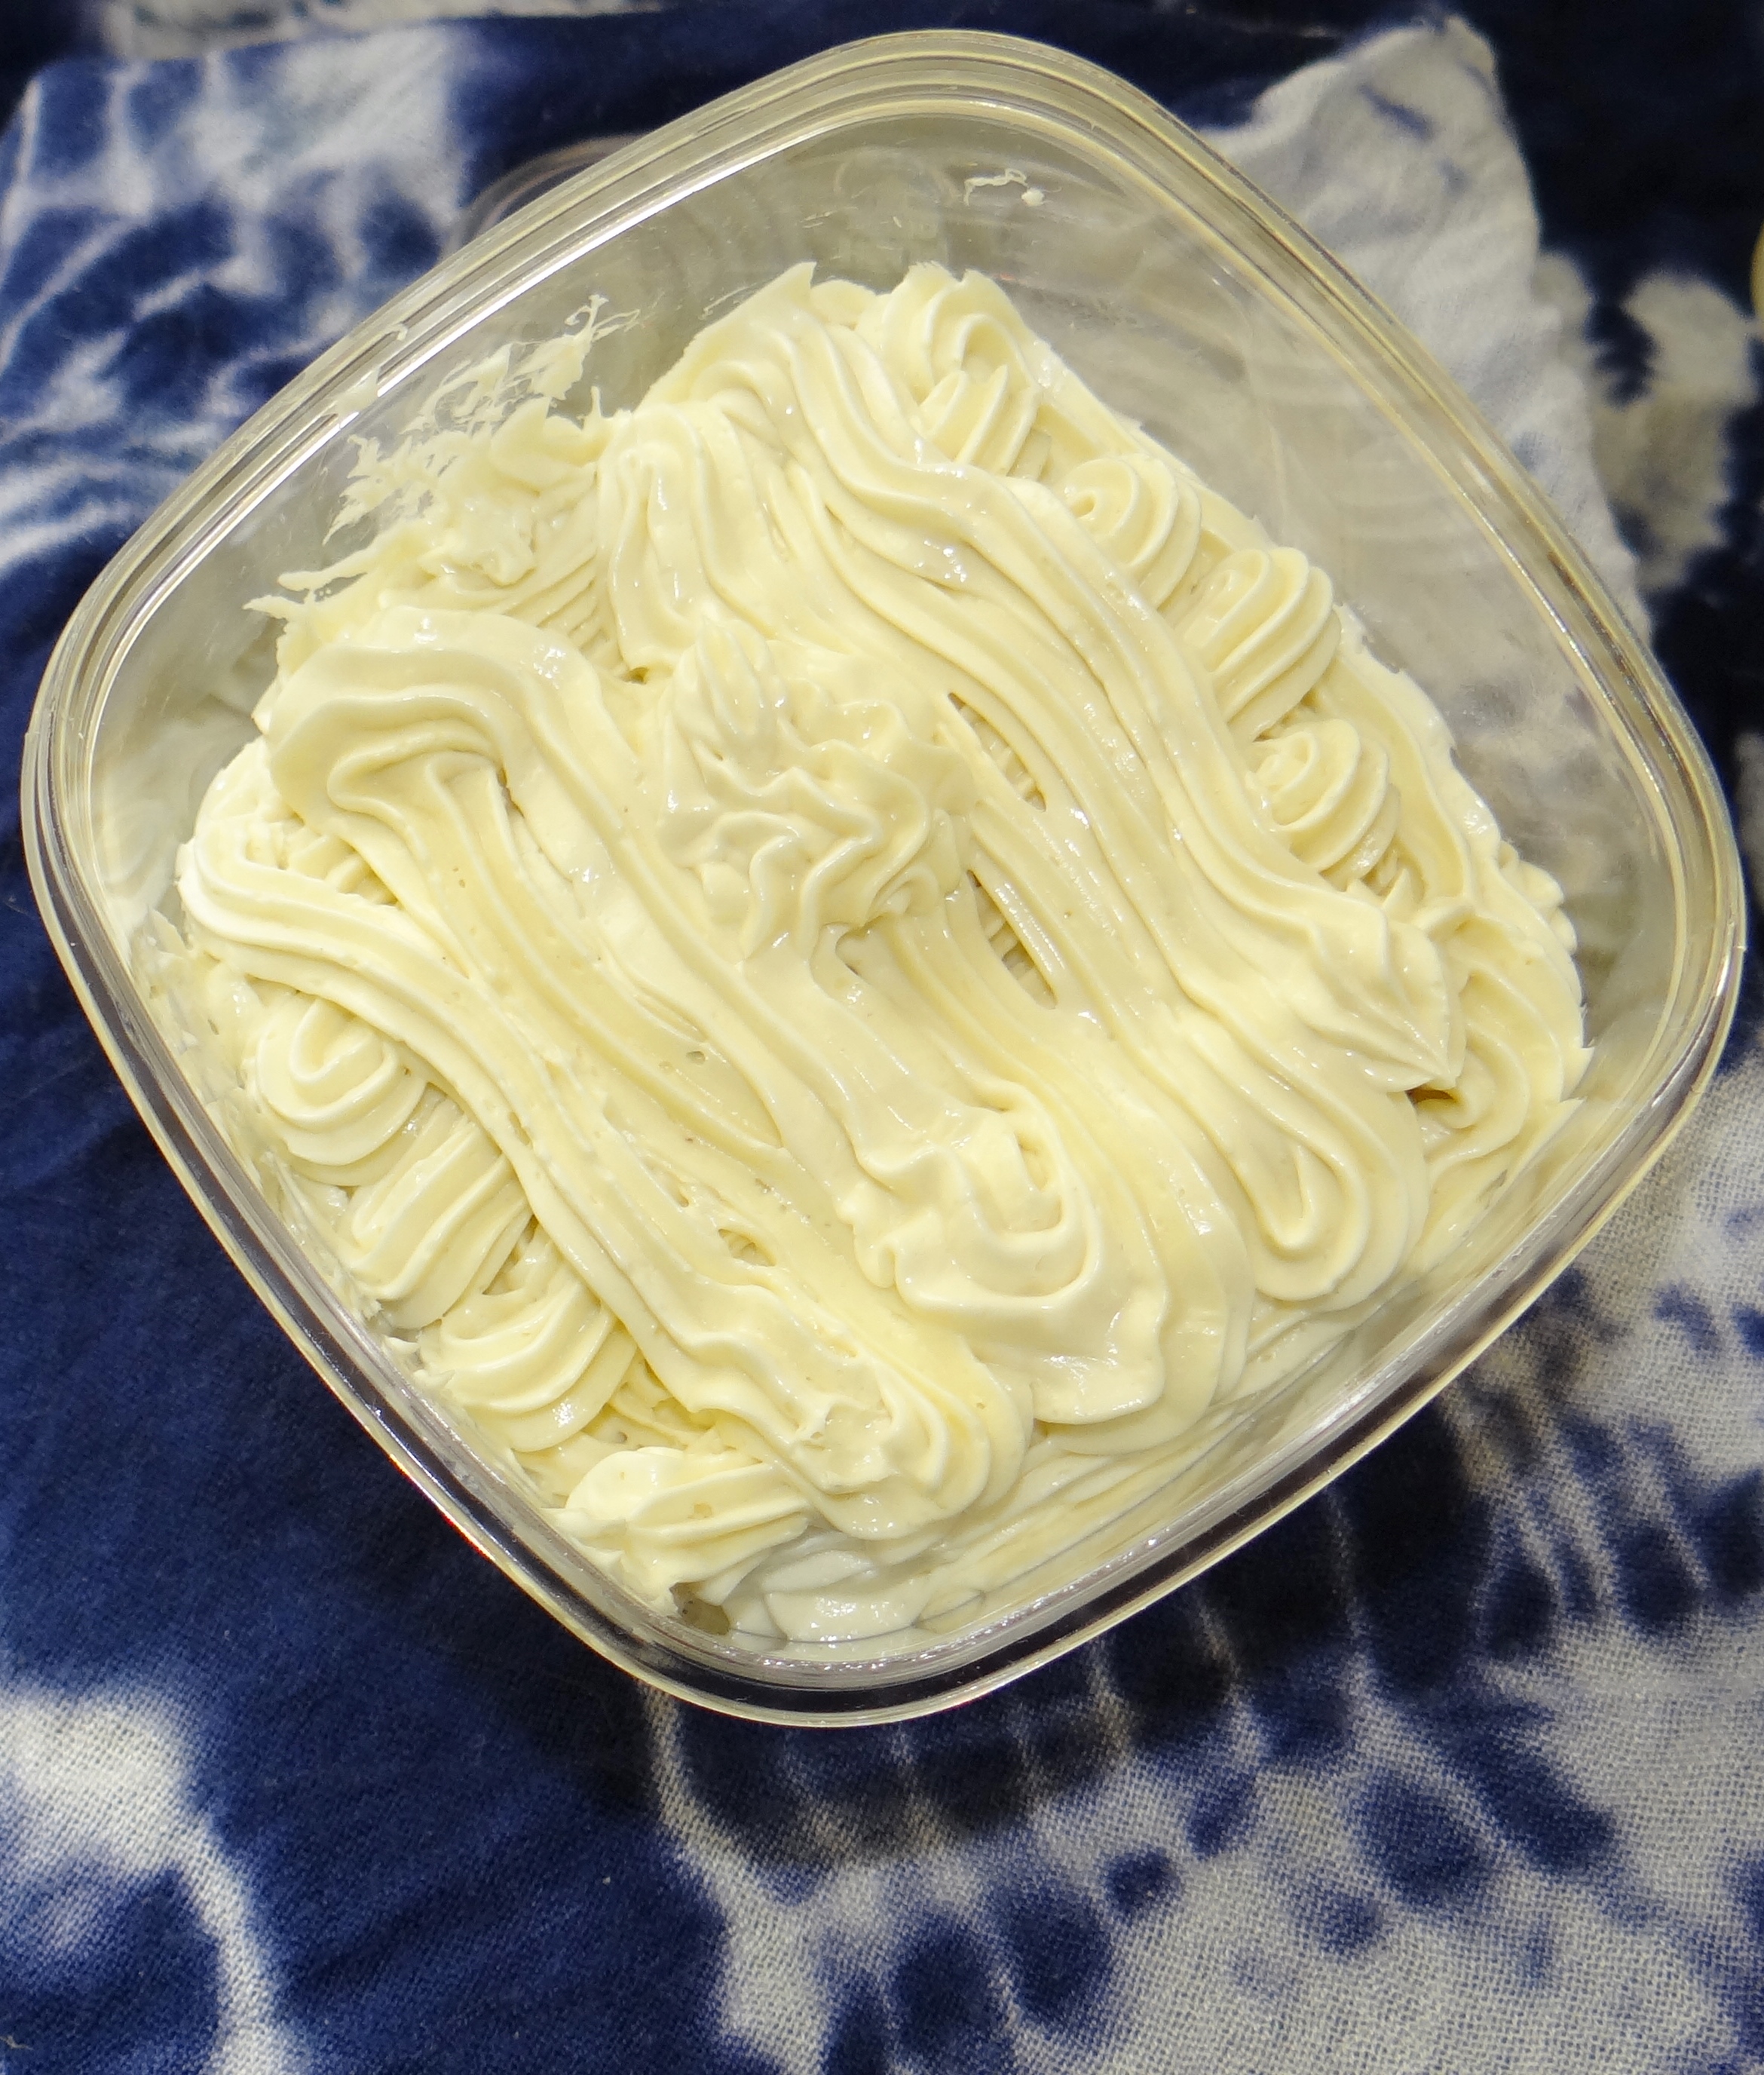
Whipped till fluffy!
Once the coffee bean infused butter has been double broiled I add the coffee butter. The warmth from the melted butter will help melt down the coffee butter without the need of additional broiling. I then add 0.8 oz of the Coffee Bean Infused Almond Oil and 0.5 oz Vanilla Bean Infused Almond Oil and stir.
I then place it in my freezer for 10 – 15 minutes till it begins to thicken. Once this happens, I scrape the mix together and then begin to whisk. I whisk for a good 3 – 5 minutes and then add the remaining 0.3 oz of Coffee Bean Infused Almond Oil, 0.15 oz Glycerin (optional) and 3 capsules Vitamin E Oil. I continue to whisk for at least 3 – 5 minutes.
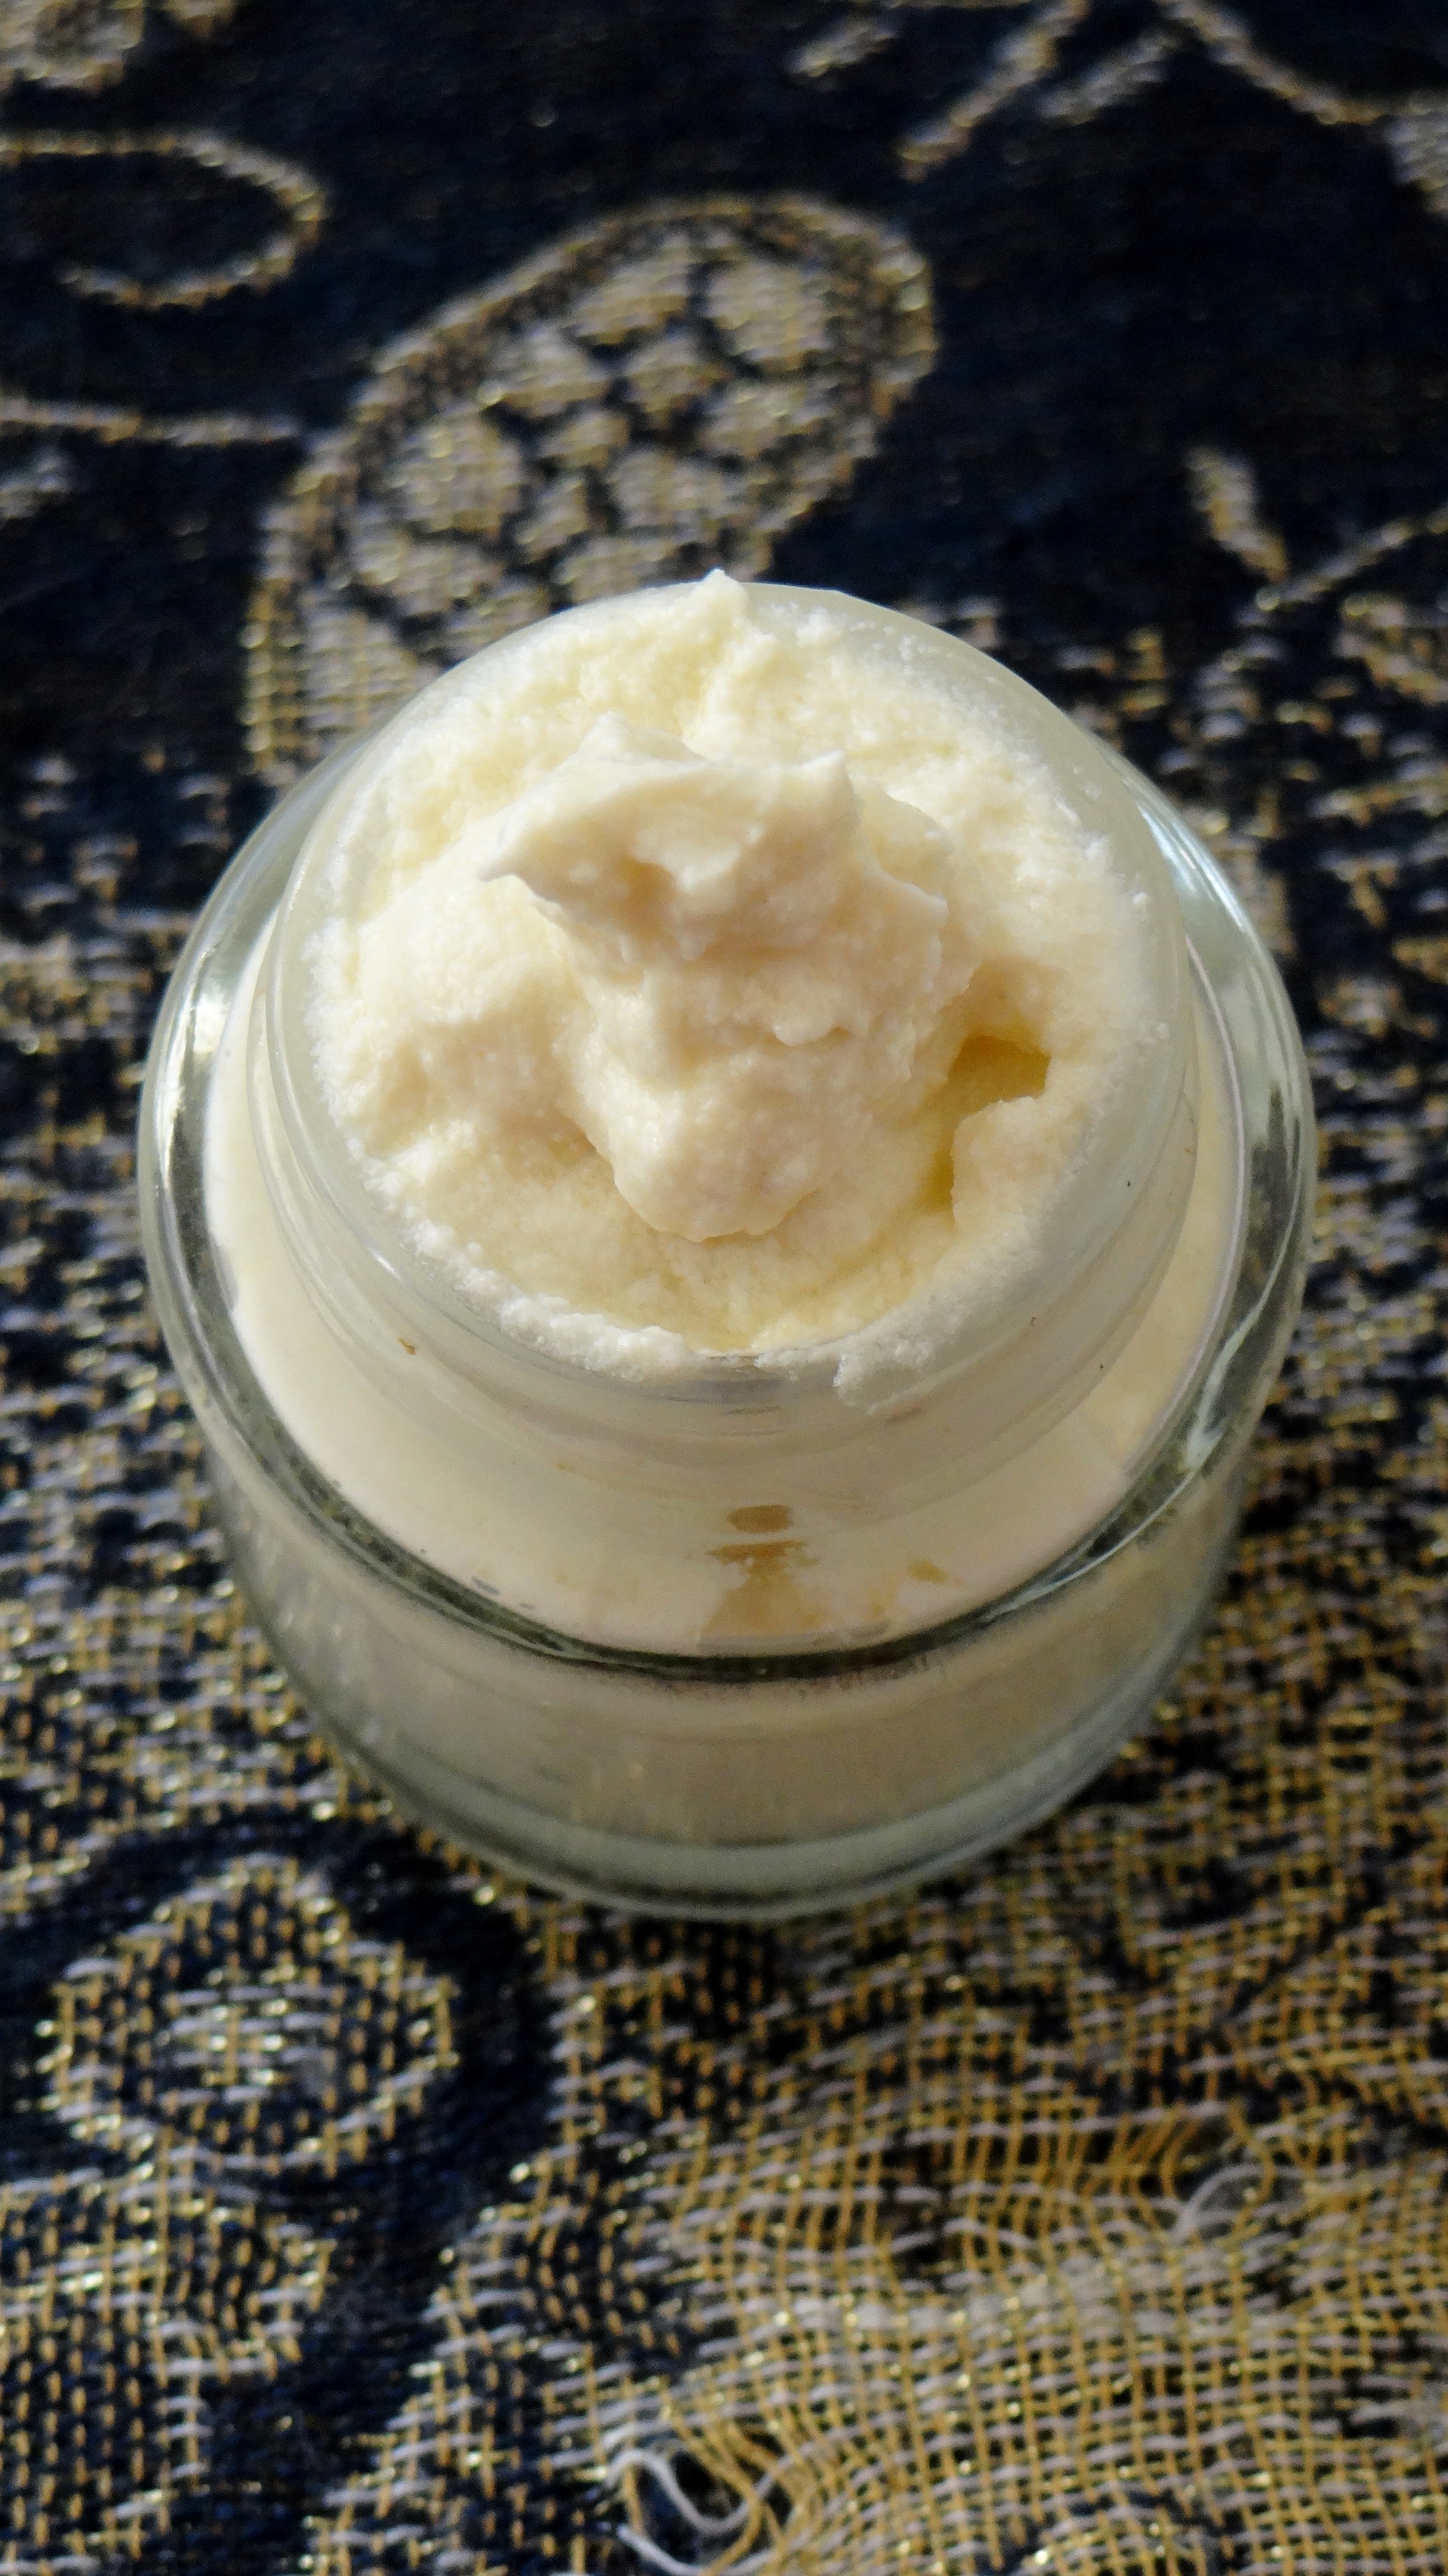
Depending on the consistency you prefer you can stop here and transfer it to an airtight container but I prefer mine to have a fluffy texture so I place it in my fridge, this time for 10 minutes till it becomes a little hard on the top. I then take it out and whisk for the last 5 – 7 minutes and I am happy with the texture. Using a spatula I scoop the whip into a piping bag (because I like being “extra”) and transfer to my container. (The piping bag really isn’t necessary but it makes the butter look extra pretty and is a nice touch if you are giving it away as a gift).
Uses:
It is not just the inclusion of coffee and coffee butter that makes this an excellent choice for your hair and skin care but also the inclusion of cocoa butter, Shea butter, almond oil, vitamin E oil and glycerin (read about the benefits of these ingredients for the Hair and Skin). I like to use this butter on damp/slightly damp hair after I have moisturized to help seal in moisture for styles likes twists, twist outs, braid outs, Bantu knots, Straw Sets, Perm rod sets, Pin curls, Flexi rod sets… basically everything! Whenever I use Flax Seed Gel(FSG) which is full of nourishing benefits and is all natural, I actually like to seal in the FSG too by applying the butter as my last product. If however you are using a store bought commercial gel, you might find it more beneficial to apply the whip before you apply your gel. When it comes to the skin, I like to apply this after a shower to slightly damp skin to help seal in the moisture. It makes my skin super soft, smooth and lush looking and also helps with faint marks!
I of course had to record my tutorial as well:
I would love to hear from you if you try this delicious whipped butter!
So today I wanted to do a quick post on my first attempt with one of my newest hair tools – Super Large Perm rods!
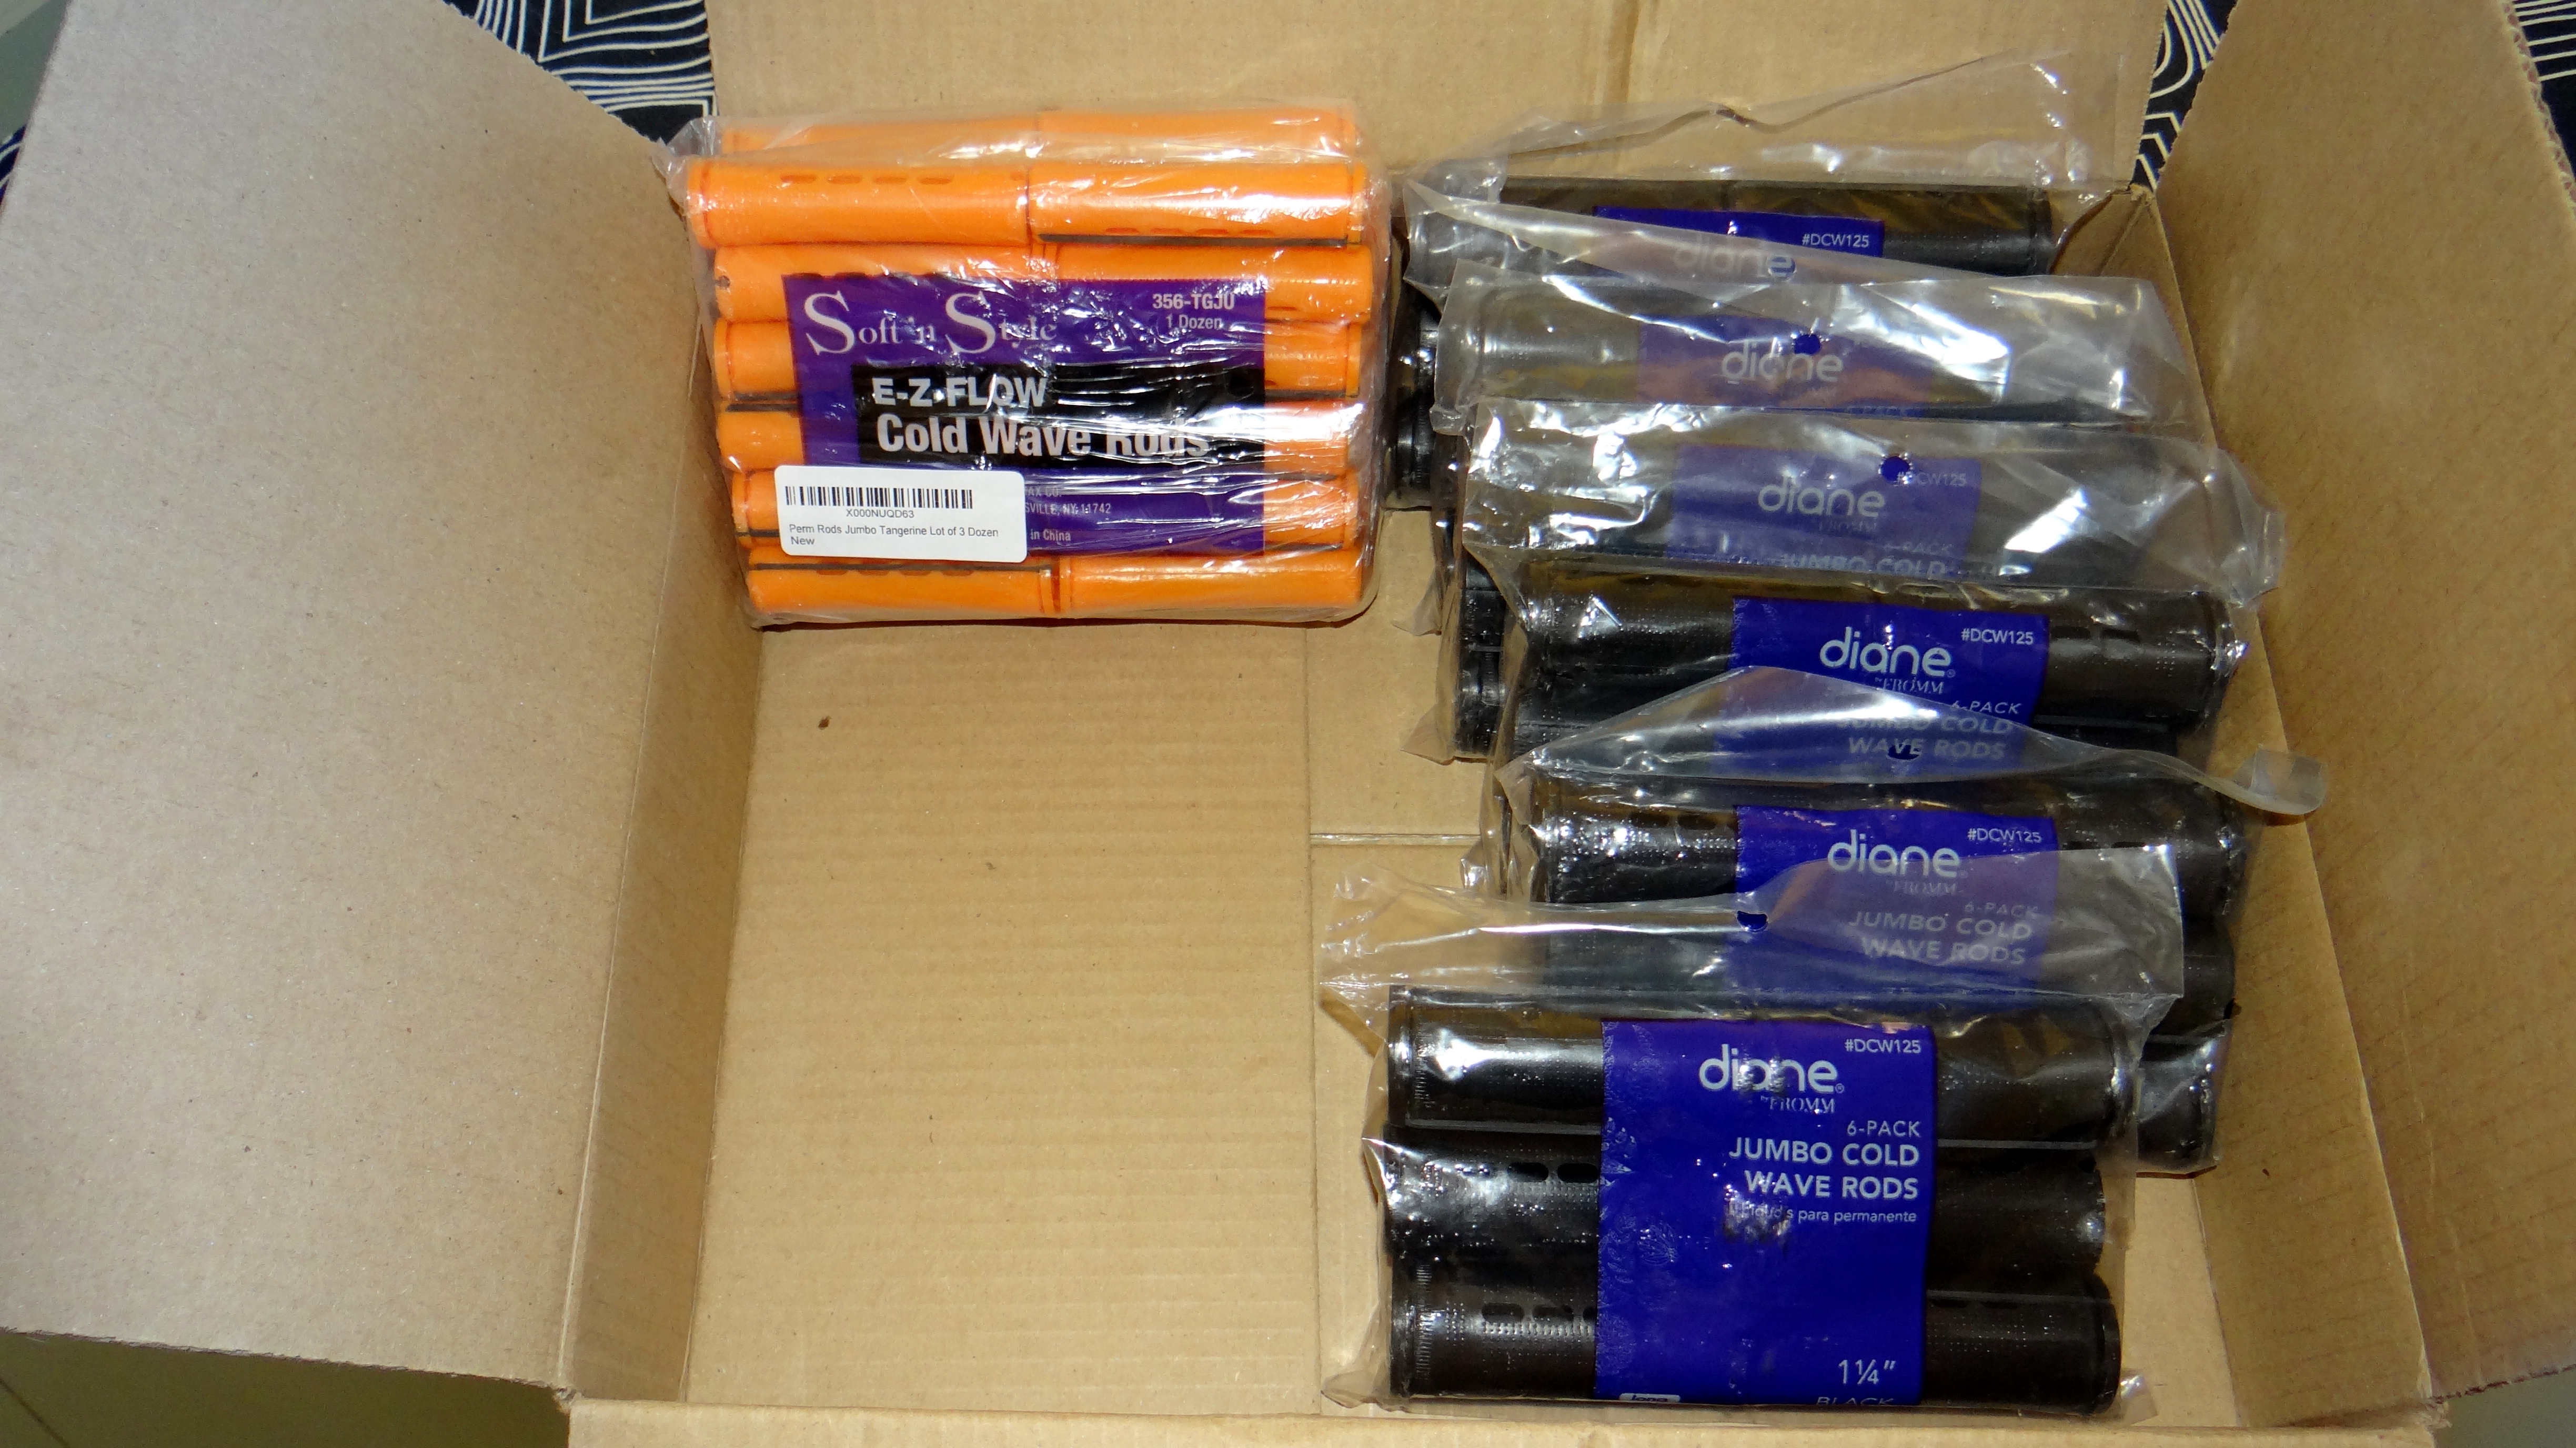
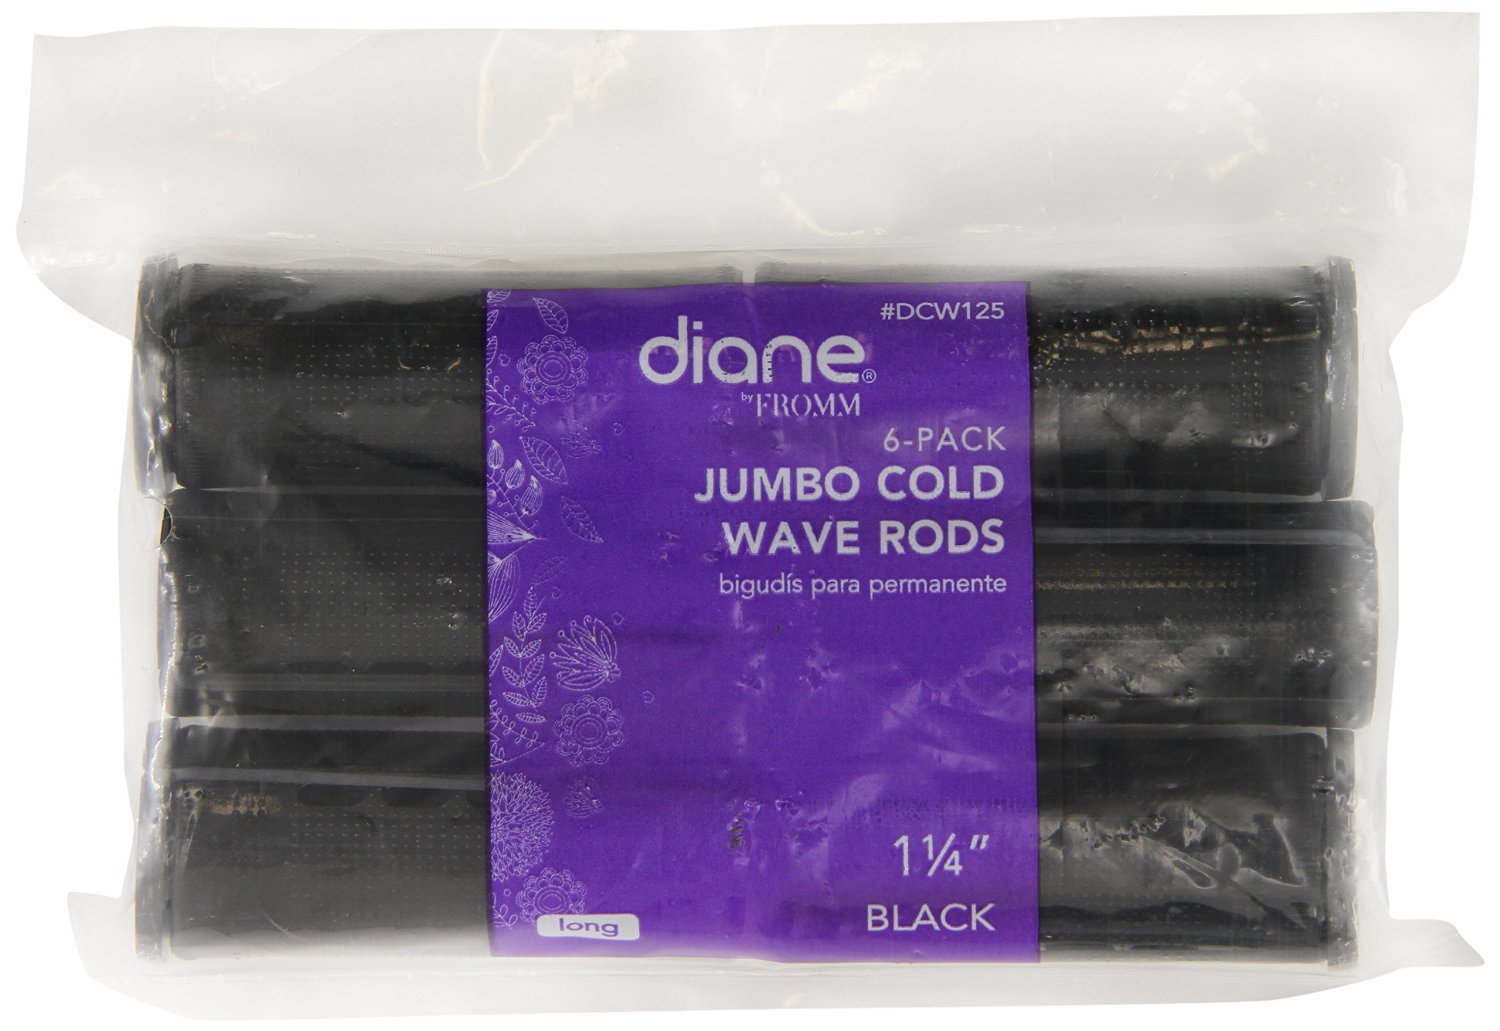
I actually purchased two different perm rods sizes from Amazon (I will provide links to both the sets at the end of this post) but for this particular style I used the black Jumbo Perm Rods.
I bought:
36 x Diane Cold Wave Head Band ( 1-1/4 inch diameters) – Each pack contained 6 perm rods so I got 6 packs.
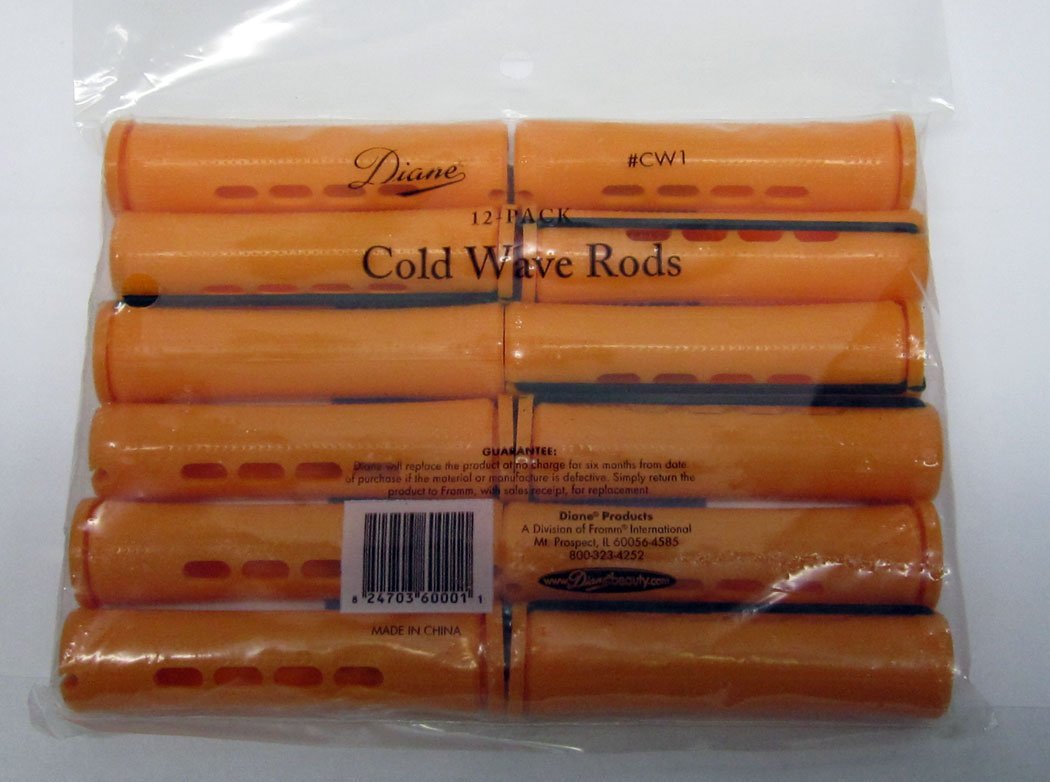
36 x Perm Rods Jumbo Tangerine (3/4 inch diameter) – Each pack contained 12 perm rods so I went for the option of 3 packs (it worked out cheaper that way)
I will say that the rods arrived as promised actually even earlier than anticipated! Payment and delivery went smoothly and like I said the perm rods turned up as anticipated so I do recommend buying from these sellers (based on my own experience). Please note: I was not asked or paid to mention the rods, the buyer experience or the point of purchase and I bought the rods with my own money.
My Process:
I was working with super stretched hair (heat free) which started of as a twist out, then was stretched when I used a hair donought to make a bun and finally I had two flattwists. I used a little of my DIY Spray Leave-In Conditionerto very very lightly mist my hair (it was barely damp) just so my hair would take on the curl shape of the rods and I also use a tiny bit of gel right before twirling my hair around the rods.Using a hair net and satin scarf I let my hair set overnight (sleeping wasn’t as bad as I’d imagine it would be). The next morning using a littleDIY Coffee Bean Infused Almond Oil on my fingers I took my hair down and separated the curls and that was it.
Heat Free Stretched Hair
Jumbo Perm Rods Installed
Rods taken down to reveal soft curls
Jumbo Perm Rod Curls Separated
Jumbo Perm Rod Curls Separated
Jumbo Perm Rod Curls Separated
I really do love the results!
I need to practice a little on how I roll my hair because since the rods are so large it took a little getting use to (you know I am styling challenged lol). I will try different ways of rolling my hair to see if I get different curl results but for a first attempt I was happy. 😀
These are photos from day 3 of the same perm rod curls. Of course I was even happier with the results on day 3 because my hair was fluffier and bigger! Give me volume…give it to me!!!! 😀
Day 3 Jumbo Perm Rod Curls
Day 3 Jumbo Perm Rod Curls
Day 3 Jumbo Perm Rod Curls
Have you tried Jumbo perm rods? Do you have a particular rolling method? I would love to hear from you!
In my last video I demonstrated how I make my Coffee Bean Infused Butter and today I am using that butter to make a whipped butter for the hair and skin.
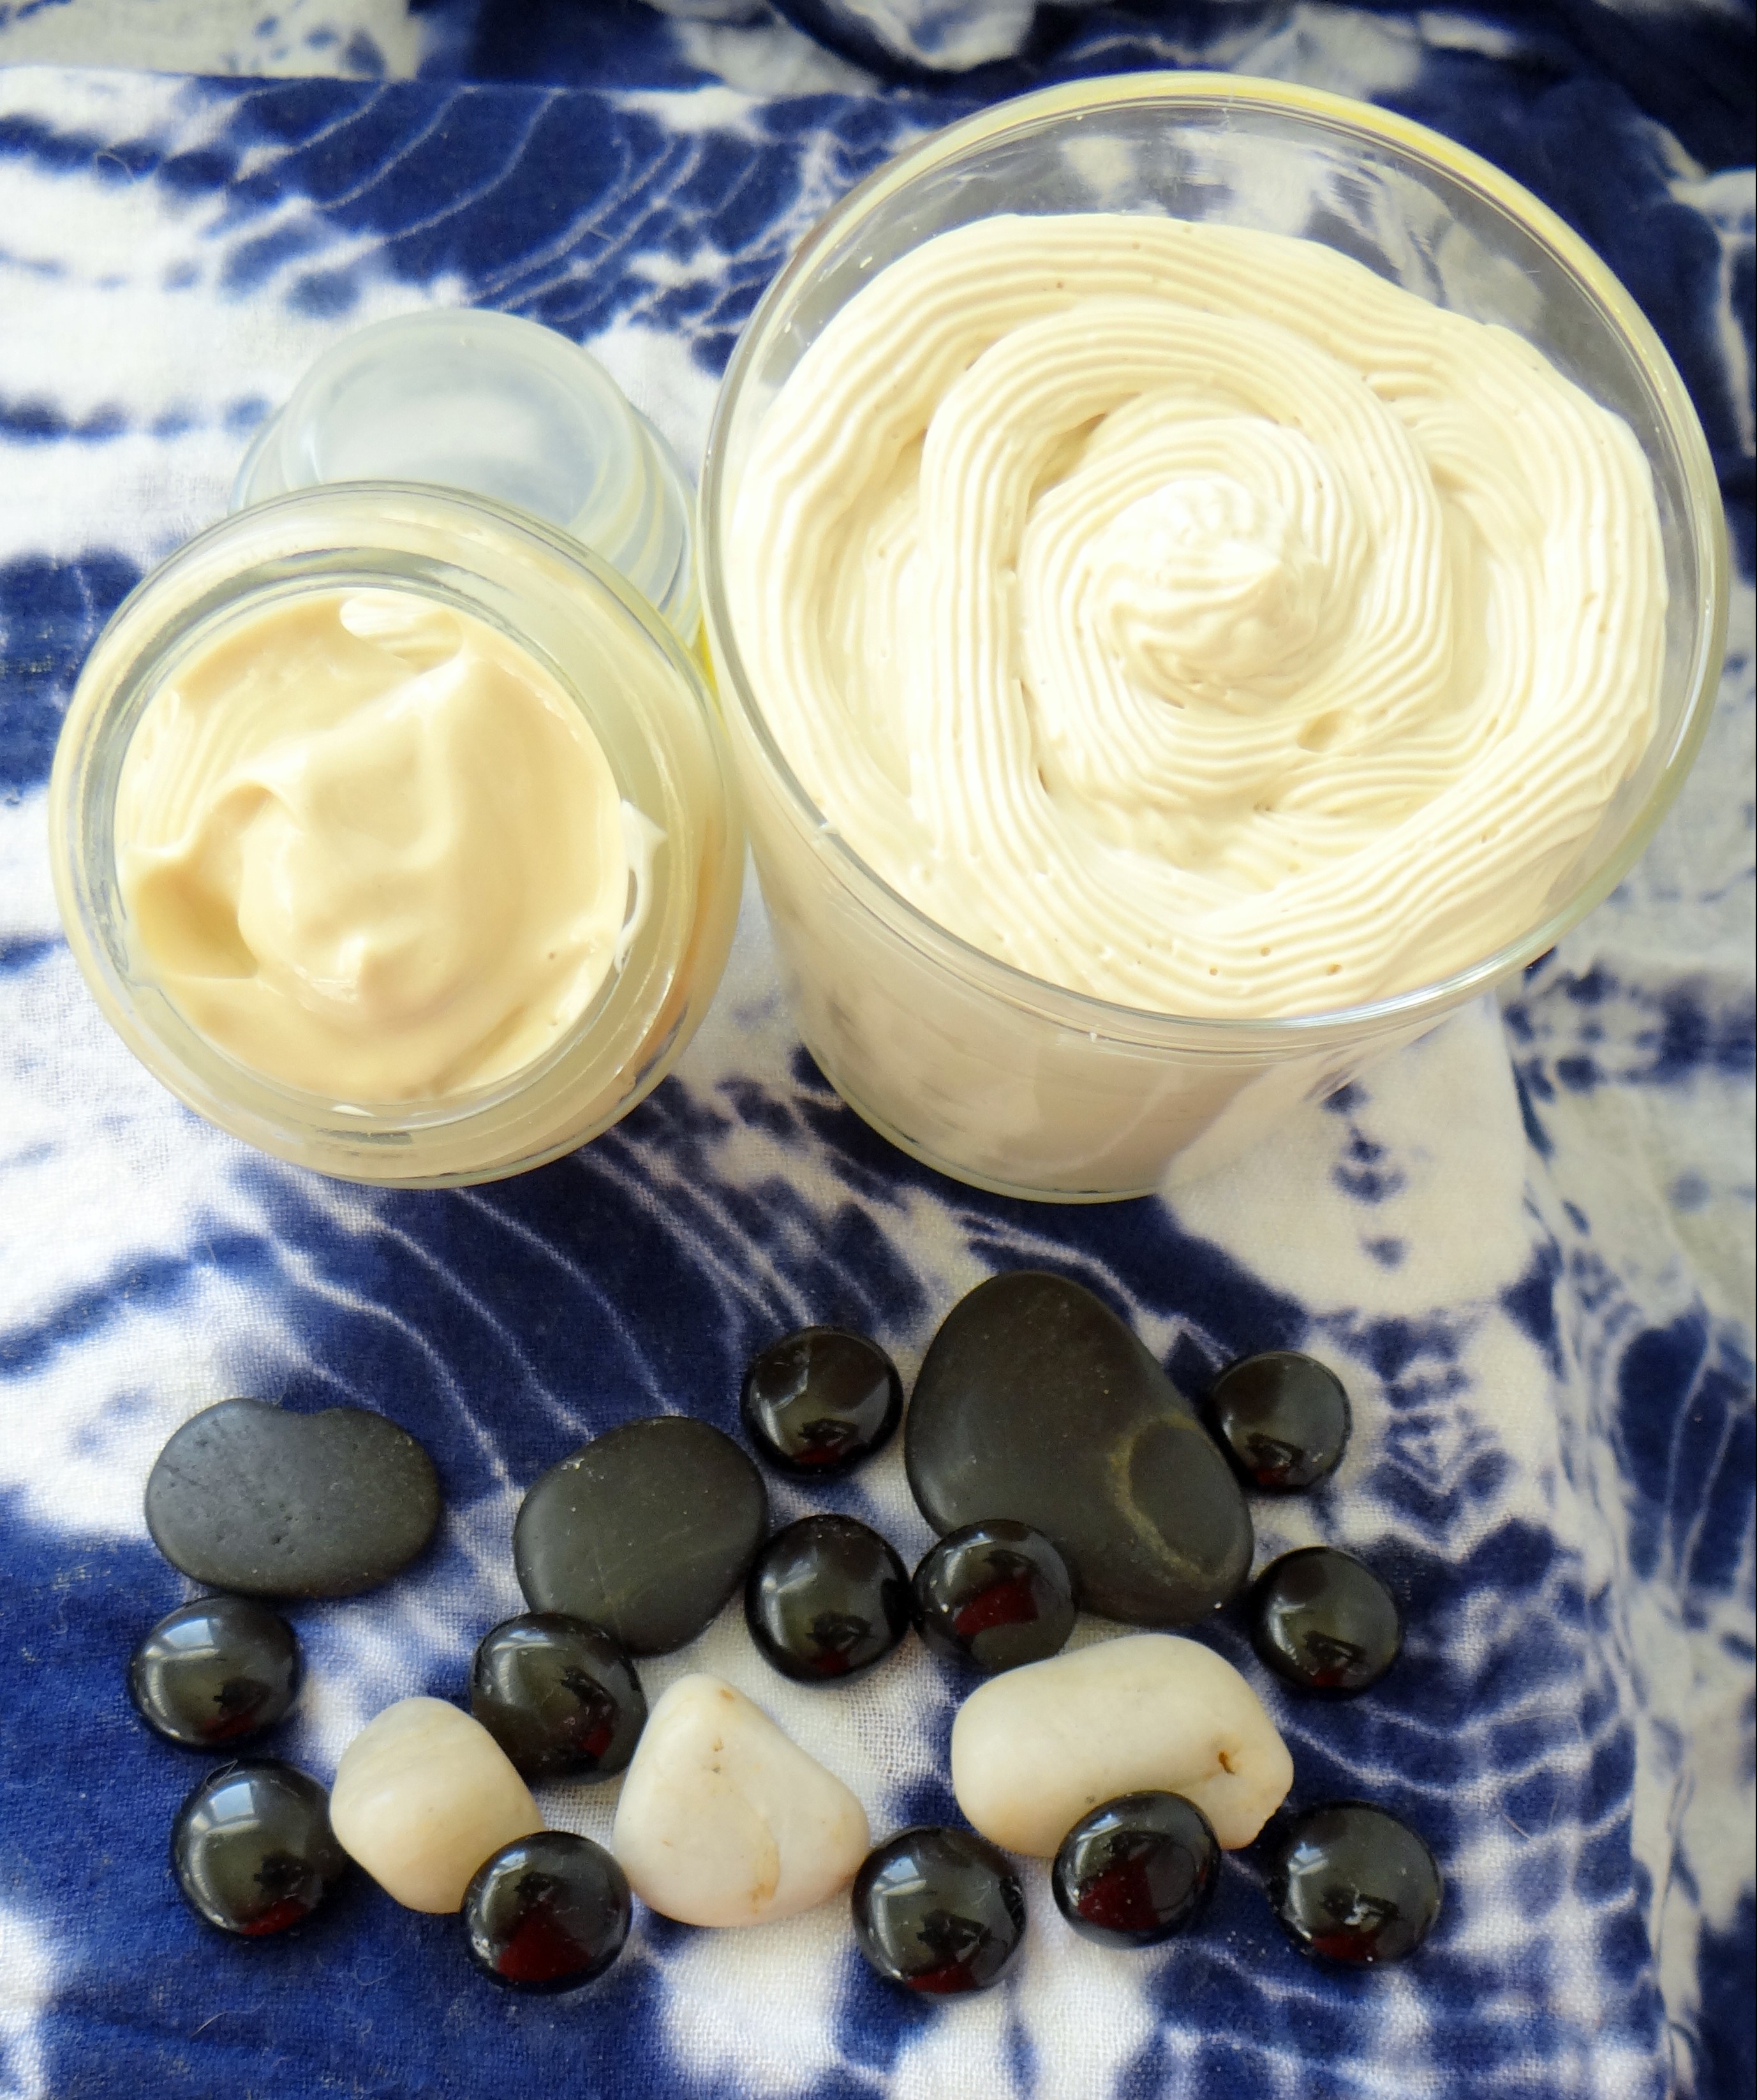
DIY Whipped Coffee Bean Infused Hair & Body Butter
In case you missed the post on on how I make my DIY Coffee Bean Infused Butter please click heresince that is the base of this recipe.
I have previously swooned about my love for all things coffee when it comes to my hair and skin (and yes it is a guilty drink pleasure too) and so this whipped butter is no exception.
Benefits of Coffee for the Hair and Skin.
Hair:
Reduces hair shedding and said to reduce excessive hair loss because of the antioxidants present in caffeine.
Increases hair growth since caffeine promotes blood circulation in the scalp which promotes growth.
Known to darken the hair and slowdown the early onset of grey hairs (with frequent and consistent use)*
Adds sine and dimension to the hair due to the darkening effect of the oil
*Should you have bleached/blond or dyed hair you do not want to darken, I suggest trying this with caution. The darkening is nothing drastic or overly evident however there is a potential that you will notice your hair getting a little darker so please keep that in mind.
Skin:
The caffeine helps reduce puffy and dark circles under the eye.
Tightens the skin giving you a youthful fresh glow.
Its anti-inflammatory properties is said to reduces redness in the skin and inflammation.
Known to reduce the appearance of cellulite.
Known to help reduce the appearance of fine lines and wrinkles on the face.
Fights free radicals thanks to the antioxidants contained in caffeine.
Apart from the benefits of coffee, the recipe is really simple to throw together and quick to make plus it smells great too! I have written (several times) about the benefits of each individual ingredient used in this particular recipe because I tend to integrate ingredients I know my hair likes over and over. So for a breakdown of each individual ingredient please read these links Hairand Skinbenefits.
Piping bag to transfer the whip to the container (not necessary)
Note: You can use any carrier oil you wish, I just like to reinforce the coffee with a little coffee infused oil. Glycerin is an optional ingredient that can be used (it is a humectant and not everyone’s hair plays well with it). You can also replace the glycerin with raw honey if your hair prefers that.
I live in really warm weather practically 365 days a year therefore I prefer my butter mix to be more butter focused however, if you want a less firm mix (particularly in winter) then you can add more oil e.g. I suggest using a total of 2 oz for 6 oz of butter. Keep in mind the more oil you use the more runny it will be particularly in the warm summer months
Method:
Melted Butter with carrier oils after 15 minutes in the freezer
I add the carrier oils to the melted infused butter, stir everything together and then place it in my freezer for 15 minutes. After 15 minutes I mix everything together with a spatula, the butter will be harder on the top and softer underneath. I whisk for a good 3 – 5 minutes and then I add the Vitamin E Oil and Glycerin (Essential Oil if you choose to add it) and then place it in my fridge for 5 minutes.
This helps to thicken the whip a little and will help make it fluffier since I re-whip again. After 5 minutes in the fridge I whip for at least 5 minutes and that is it. I like using my spatula to get the whip out of the bowl and then a piping bag to transfer it because I like being “extra” but that is not necessary.
I as always have a video on my channel:
I hope you enjoy the recipe & video, please let me know what you think!
This is a two part recipe where I will first make an infused butter (this recipe) and from that I will make a whipped butter (my next recipe).
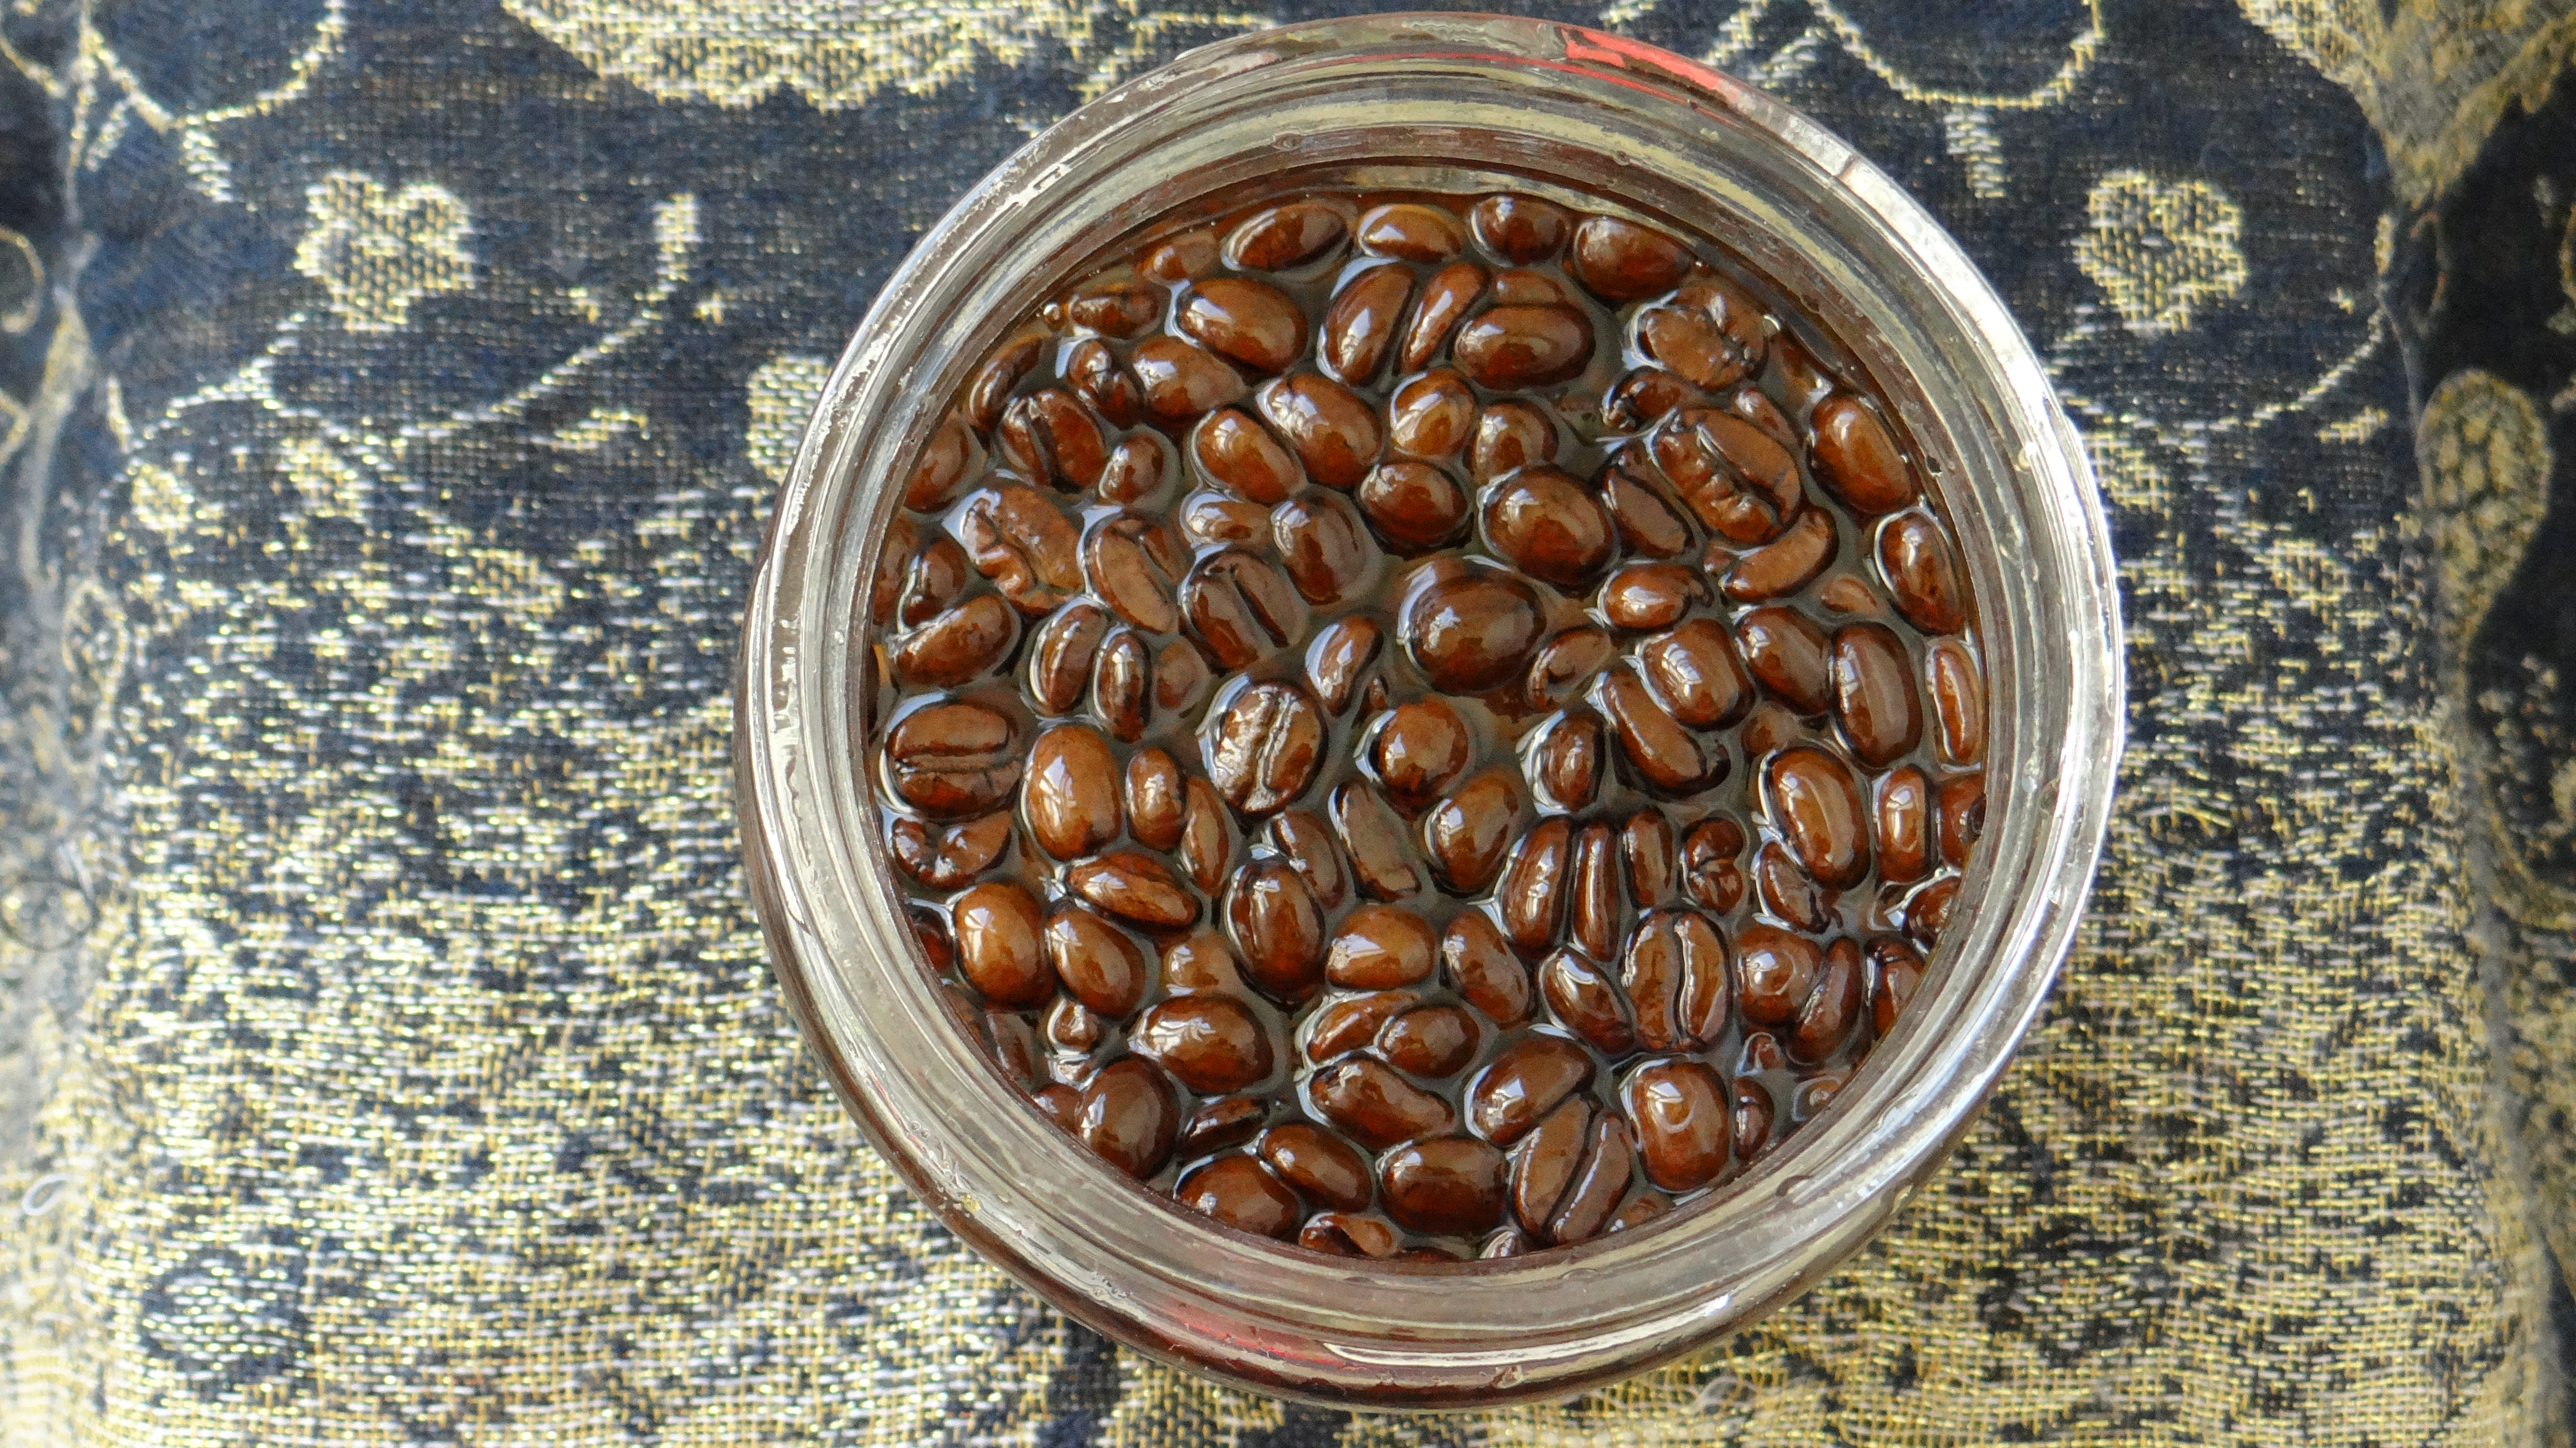
To make this LOVELY infusion all you need is raw butter and coffee beans because yes, as the title says I will be showing you how I make my DIY Coffee Bean Infused Butter.
DIY Coffee Bean Infused Butter
The choice of butter you use it completely up to you, you can use just one butter or a combination of butters but the important thing is to use coffee beans. Please DO NOT use instant coffee, that won’t cut it! Filter coffee will just be a nightmare to try and separate afterwards so please stick to coffee beans.
Why make this butter?
The idea behind this came about because I purchased some raw coffee bean butter from Sheabutter Cottage. (Let me tell you that stuff is the ish but more about that when I make my favorite whipped butter in about 2 weeks). So after purchasing the raw Coffee Butter I figured I could try and make the next best option which is to infuse coffee beans since I can’t make the raw version. I also figured that if some of you don’t have raw Coffee Butter at home but want to experiment this would be the next best option since you can use any butter you happen to have at home to make the recipe.
Tools/Equipment used:
6 oz Unrefined Cocoa Butter
3 oz Unrefined Shea Butter
2 oz Roasted Coffee Beans
Pot
Heatproof bowl
Sieve
Spatula
Gloves
Airtight Container
Method:
I first melt the Cocoa Butter by double broiling and then I add the Shea Butter & Coffee Beans. I do not let everything completely melt down while on the stove, I prefer letting everything melt naturally from the warmth of the already melted butter. I stir like mad to make sure everything has melted and also to get infusion started. I transfer the mix into an airtight container but do not cover it until the butters are no longer warm. It is important to make sure that the container is not covered until the butters have cooled down otherwise this will greate condensation and the water will create bacteria!
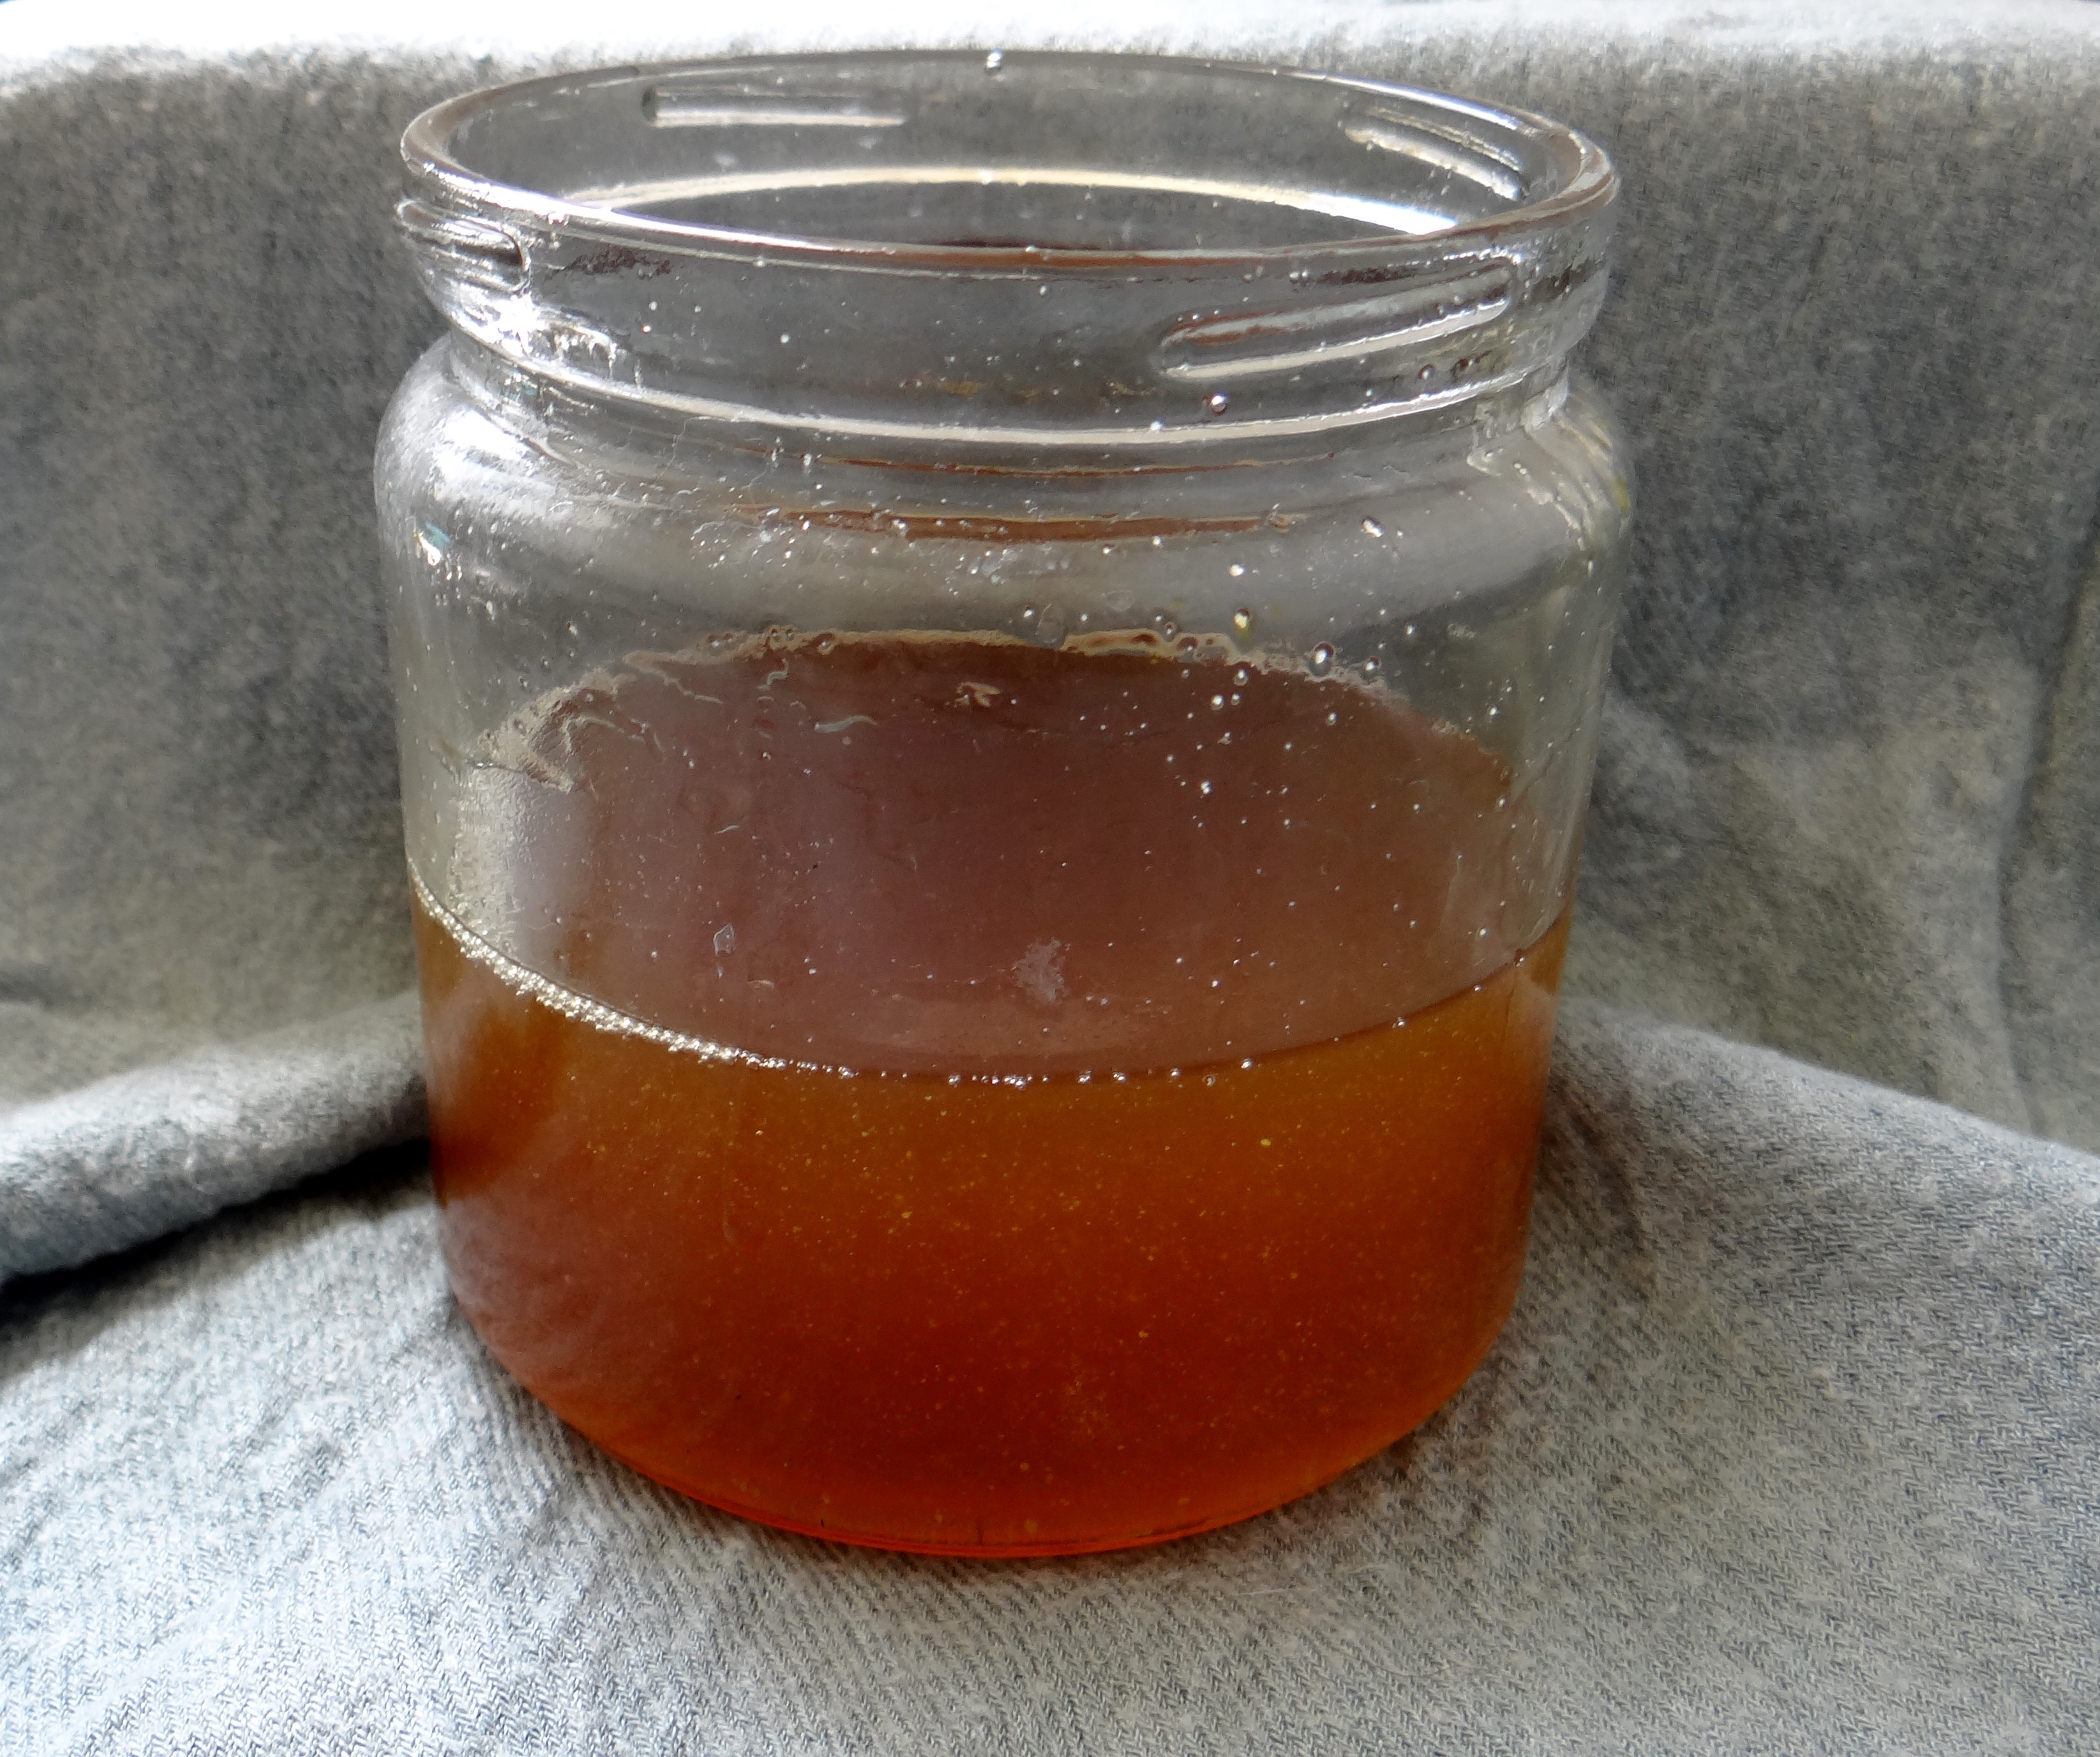
Infusion:
While the mix infuses I make sure to stir the butters everyday while it is still liquid (depending on your house temperature it can remain liquid for about 1 day to a few days, mine stays liquid on average for at least 5 days.) You want to leave the coffee beans in the butter for a minimum of 2 weeks, remember the longer they are left the stronger the infusion of coffee. Once the butter sets you will most likely see little white specks of butter, this does not affect its quality, it happens due to the temperature change while the butter sets and will dissolve really quickly.
Separating the Coffee Beans and Butter:
After a few weeks (in this example 3 weeks) you want to lightly, very lightly warm up the butters. I literally will double broil for no more than 3 minutes in order to get some of the butter to melt but I like to keep the majority firm. With the help of the melted butter the rest will continue to melt and the coffee beans will separate. All you have to do then is to sieve out the coffee beans and voila, you have coffee bean infused butter!
From here you can either add other butters or just add some carrier oils in order to take the recipe a step further to make a whipped body and hair butter (I shall demonstrate this next week).
Benefits of Coffee Bean Infused Butter:
In my particular example I used both Unrefined Cocoa and Shea butter along with the Coffee Beans.
Cocoa Butter: Cocoa butter is an extremely popular natural ingredient that is used to help increase the hairs manageability and moisture. The butter is known to help reduce hair loss and breakage. Due to its highly moisturizing properties it can alleviate scalp itching and irritation which in turn can eliminate dandruff. Since it is a fat, it can be used to replenish lost oils due to chemical processes such as perms and hair dyes. It is known to effectively strengthen hair, tame frizzy and flyaway hair. Cocoa butter is a popular butter known for its deep hydrating and moisturizing properties for the skin due to its high fatty acid content. It is said that the butter can help reduce stretch marks, the appearance of cellulite and marks. Cocoa butter is packed with antioxidants which means that it can help fight off free radicals and skin irritations such as eczema and dermatitis.
Coffee Beans: The caffeine in the beans is said to help blood circulation which in turn helps stimulates hair growth and the generation of skin cells. It is known to help reduce hair shedding and excessive hair loss because of the antioxidants present in caffeine. Coffee beans are said to improve the appearance of cellulite as well as fine lines and wrinkles. Apart from that its anti-inflammatory properties is said to reduces redness in the skin and inflammation.
Shea Butter: Shea butter acts as an excellent sealant. It therefor can help “trap in” moisture and moisturizing products applied to hair. Shea butter is highly moisturizing for the hair on its own as well and has the same affects for the scalp. Shea Butter provides nourishment to dry or damaged hair from the roots to the very tips; repairing and protecting against weather damage, dryness and brittleness. Due to its moisturizing properties it gives hair a natural shine and smoothing effect. Some people use whip Shea butter as a leave-in for hair (you can other moisturizing ingredients to it.) It is highly moisturizing properties improves the skin’s softness, suppleness as well as soothes burns. Shea butter can also be used as a mild “sun protectant”, soothes, moisturizes and is an effective anti-aging & anti-wrinkling butter.
I of course have a “How To” Video on my channel:
Alternative options:
As I mentioned you can replace the butters I used with any of your choice. My suggestions are to try and use soft butters during the winter/colder months and/or a combination of soft and hard butters in the summer and/or colder months. Here are some alternative butters you can use: Avocado Butter,Coffee Bean Butter, Cupuaçu Butter, Mango Butter, Murumuru Butter.
Here we go, another whipped butter recipe however, this one is a little different to the others.
DIY Protein Whipped Deep Conditioner Butter
I sort of came up with the mix because I decided to try and make my own whipped butter Deep Conditioner (DC). After a few experiments I came up with a combination that I loved and more importantly that my hair loved so I had to share.
In this recipe I use a combination of protein, a little bit of moisturizing ingredients (just a tiny bit) and butter, so the end result is a protein packed whipped DC butter! This butter DC works similarly to a regular Protein DC except that the addition of the whipped butter really makes my hair feel wonderful after rinsing it out. My curls pop, my hair shines and I do not get that stiff crunchy feeling you can sometimes get from regular protein DC’s. It also helps with shedding, breakage and strength. I will admit that I do not apply this as often as I do my regular Fortifying Protein Deep Conditioner because I love my butters and I am not a fan of washing it away (I am greedy like that)!
Having said that, if your hair is protein sensitive then you might want to thread carefully (if at all). All hair requires a little protein, yes even though with protein sensitive hair, but you will want to modify the ingredients I use and also spread out when you apply the product so your hair doesn’t end up being overloaded with protein. (Alternative suggestions are below).
Ingredients/Tools Used:
2 oz Whipped Butter (I used my DIY Whipped Shea Butter but you can use any whipped butter of choice).
2 oz Deep Conditioner (I prefer using a Moisturizing DC since I add protein in this recipe).
0.6 oz Lightly warmed up Rose Water – (can be replaced it with plain water).
0.1 oz Gelatin (protein).
1 Egg Yolk – protein (use the egg whites for breakfast or a face mask).
Spatula
Gloves
Bowl (for mixing)
Whisk
Container
Mixing:
I first re-whip my whipped Shea Butter just to make everything super fluffy. I then add in the DC and whisk again. I lightly warm up the Rose Water or plain water if you are not using Rose Water (it should just be warm not boiling). I sprinkle the Gelatin over the water and then stir to let it dissolve (set aside). I then add 1 egg yolk to the mix (I skip the egg whites because I always end up with bits of cooked egg in my hair if I add egg whites). Once the gelatin has dissolved I add the gelatin/rose water to the butter whip for the last time and then transfer to my bowl.
DIY Protein Whipped Deep Conditioner Butter
Application:
I apply the mix onto freshly washed (damp/wet) hair, cover with clingfilm, a shower cap and usually a scarf to keep my head nice and warm. The warmth helps to open the cuticles and allows the nourishing benefits to really seep into the hair. After 30 – 45 minutes I rinse out the DC with cold water. If you use warm water you run the risk of cooking the egg yolk in your hair and if you used the whole egg then the risk is even higher thanks to the egg white (cooked egg in your hair is difficult to get out)! I then reluctantly apply a moisturizing DC. I say reluctantly because my hair always feels awesome but doing a moisturizing DC helps to restore the balance of moisture/protein.
Storage:
It is not recommended to keep this DC for later use due to the combination of the butter, liquid and egg yolk. If you have any extra then I would suggest storing it in your freezer (if you must I would just splatter all the DC onto your hair). If you have made the mix ahead of time do not keep it for any longer than a few days in your fridge (it MUST be kept in your fridge if you have to make it ahead of time) trust me, any longer and you will regret opening the container! If it has been stored in the fridge or freezer the butter will become hard so you will need to take it out at least 30 minutes to 1 hour before you plan to apply it.
Ingredient Modifications/Alternatives:
If you have protein sensitive I would be cautious about how you use this mix (if you opt to do so) and how often you use it. Too much protein can cause protein overload for anyone but those with protein sensitive hair are more susceptible to it. I recommend you
Make sure you use a moisturizing DC instead of a Protein DC.
Use either the egg yolk or the gelatin powder (not both).
Add more moisturizing ingredients e.g. glycerin/honey/aloe Vera juice.
Leave the DC on for no more than 30 minutes and only apply it a couple of times a year.
Follow up with a Moisturizing DC for no less than 1 hour.
I hope you enjoy the tutorial and the mix, would love to get some feedback if any of you try it!
So, the article might be ever so slightly bias (seeing as I am obsessed with Do It Yourself mixes) but I did want to share my passion for DIY’s and perhaps encourage someone else to give it a whirl. I have come across a few people that have stated reasons why they “dislike” DIY’s (I am trying not to give the side-eye while thinking someone could actually dislike them LOL) so to counter-claim I wrote about: “7 Reasons to start making DIY Hair Care Products & How“.
Today I have the second recipe for my Whipped Butter “series”.
DIY Whipped Moisturizing Conditioning Butter
This Whipped Moisturizing Conditioning Butter is quite simply wonderful for the hair! The recipe is quick to make and literally can be done with 2 ingredients (I use an extra ingredient to make it super moisturizing but this is optional).
Why is this a Moisturizing Conditioning Whipped Butter?
I have been asked if whipped butter (on its own) is moisturizing for the hair and in my opinion it isn’t really “moisturizing” because I find that in order for a product to be truly moisturizing it should have proper moisturizing ingredients – basically it should have water included in some way. Water, at least for my hair, is the beginning and end of moisture. Regular whipped butter (on its own) doesn’t usually include water (especially if it is homemade) unless you have also added preservatives to keep it from going rancid and growing bacteria. I find regular whipped butter to be excellent at sealing, providing shine, making the hair soft, but not necessarily a moisturizing product in itself. For example, I would not abandon using leave-in conditioner in place of regular whipped butter.
So the combination of the moisturizing leave-in with the whipped butter makes this a moisturizing conditioning butter! To make sure you are using a moisturizing leave-in look at the back of your product to see if water is listed within the top three ingredients (if it is the very first ingredient even better).
Products/Tools:
DIY Whipped Moisturizing Conditioning Butter
1 oz Whipped Shea Butter (you can use any whipped butter, I used my DIY Whipped Butter)
0.7 oz Moisturizing Leave-In Conditioner (you might need to experiment with different leave-ins)
0.2 oz Glycerin (Optional for additional moisture)
Whisk
Bowl
Gloves
Airtight container
When & how do I like to use this mix?:
I consider this an ‘all in one’ product. It has moisturizing properties, the ability to seal in moisture and at the same time also helps to give a little definition. I normally apply the butter mid-week on hair that was already properly moisturized and sealed after it was washed. I use it to help restyle my hair, giving back curl definition on styles like a twist-out, braid-out, Bantu knot-out, pin curls etc. I usually lightly spritz my hair with water and then follow up with the mix and move onto setting my hair. If my hair is feeling uber dry I will use my DIY Spray Leave-In Conditioner or my DIY Moisturizing and Curl Activating Spray. I do not follow up with an oil since the whipped butter already contains oil.
Storage/Shelf life:
I make small batches of this since I do not use preservatives. The combo of the leave-in and butter can result in bacteria/mould growth if it is left for weeks and weeks before being used up or properly stored. I have kept my mix for 4 weeks without any issues (by week 4 I had used everything up) but I strongly recommend making small batches especially when you are first trying out the recipe because not all leave-ins will mix well with your chosen whipped butter. You can store it in your fridge to help extend its shelf life for a little longer, just keep in mind the cold temperatures in the fridge will make the mix a little hard so take it out at least 30 minutes before you want to use it.
I have a video demo of how I make my Whipped Moisturizing Conditioning Butter:
Ingredient benefits:
Shea Butter:Shea butter acts as an excellent sealant and is known to help “trap in” moisture and moisturizing products applied to hair. Shea butter is actually considered to have some moisturizing properties and is therefore wonderful for the scalp as well as the hair. Shea Butter provides nourishment to dry or damaged hair from the roots to tips and is said to help repair and protect against weather damage, dryness and brittleness. It also has a smoothing effect that helps provide shine to the hair.
Water Based Leave-In:Water based leave-ins are a vital part of proving our naturally dry hair with moisture and should be part of our moisturizing routine. Leave-ins help to continue to condition the hair over the days they are left on and therefore help to prolong moisture in the hair while at the same time keeping the hair soft and supple. Leave-ins help to refresh styles, revitalizes our curls and help to smooth the hair cuticle, leaving us with shiny hair.
Glycerin:Vegetable Glycerin is a humectant that attracts water in the air (humidity) and directs it to the area applied (the hair.) Due to its oily nature it can also be used as a sealant however should be used sparingly and should be diluted since it is thick and sticky. Vegetable Glycerin is better served when used in moderately humid climate, if used where there is a lack of humidity in the air it can do the opposite, extract moisture from the hair to the air. At the same time too much humidity in the air can cause frizz. (Not all naturals like to use glycerin so this is a head to head preference).
I would love to hear what you think about this mix, especially if you try it out!
So as always I am here with a super simple styling tutorial (yes in true form). I always mention that I like to keep it simple and these two styles are exactly that!
Asymmetrical and Heart Shaped Updo
I like to do pin-up updos whenever I can’t be bothered with my hair, when I want to give my hair a break or when my hair is “old” and in need of a wash/co-wash but I have yet to get around to it (as in this case).
I don’t like adding too much to my hair if I am going to wash it the next day and I also don’t want to spend too much time trying to restyle when I will wash it the next day. So instead, I pin my hair up and away. These two styles can be done in 5 minutes or less, allowing me to quickly get ready for work/head out without any hassle.
I love doing the “Asymmetrical Updo” when I am running late for work.
Asymmetrical Updo
Asymmetrical Updo
Asymmetrical Updo
Asymmetrical Updo
This “Heart Shaped Updo” is another quick and pretty style.
Heart Shaped Updo
Heart Shaped Updo
Heart Shaped Updo
Heart Shaped Updo
They are both really simple but in a chic way so you still look “put together” without any effort!
It has been a while, buuut I hope this will make up for the delay. I decided to do another “series” similar to how I did my previous Oil infusion series. This time it will be about whipped butter! I absolutely love whipped butter and was asked if I have any other recipes I could share, apart from myDIY Cocoa, Shea, Mango Butter. You know I do and I am happy to share. 🙂
All the butter recipes to come have all been used and loved by yours truly. So none of them have just been picked at random from the Internet. I used the mixes on both my hair and skin, did some trial and error and will be sharing the ones I love the most.
Ok without further ado to start off the series I will be sharing my whipped Shea Butter:
Ingredients/Tools
Main:
5.5 oz. Unrefined Shea Butter (I got mine from SheaButter Cottage – an awesome shop with a wonderful owner!)
Gloves (to avoid contamination, you should also sterilize all your equipment)
Spatula
Electric Whisk
*You can use any carrier oil of choice it does not have to be the two I use.
Additional Information:
Note: I live in the dessert and it is ALWAYS hot so I tend to prefer my Shea Butter whip a little on the firm side which is why I use more Shea Butter compared to Carrier Oil. If you live in moderate/cold weather you will probably want to use more Oil e.g. 2 – 3 oz. This will allow your butter to be light and soft. However, please keep in mind, the Oil is what makes the butter soft, and if your house is warm, there is a slight possibility that you butter might become too soft (if you increase the Oil amount). The opposite applies if you follow my recipe and you live in cooler climates or have a cold house. The whip might become too firm for you, so it really is a trail and error thing until you find the optimum ratio balance.
I use Essential Oil and vitamin E Oil for the nourishing benefits (read about them here) as well as the fact that they help extend the shelf life of the whip. The shelf life of your mix will depend on the experiry dates of your Raw Shea Butter and Carrier oil. E.g. if your Shea has a 1 year lifespan as well as your Oil then your butter should be good for at least 1 year (as long as you do not add water, dirt or contaminate the mix. If one of your ingredients has a shorter lifespan than the other, you will want to keep an eye out just to make sure it doesn’t start to look/smell funny.
Process:
I first lightly melt down the Shea Butter in a double broiler. To double broil, I put a pot with water on the stove and bring it to a light boil and then place a heatproof bowl with the Shea over the pot. You do not need a lot of water, just enough to create steam under the heatproof bowl. I double broil on low heat for no more than 7 minutes. I do not completly melt it down while on the stove because the warmth from the melted butter will melt the rest.
I then add the Carrier Oils to the melted butter, stir and place it in my freezer for 10 – 15 minutes.
After it has become thick (you want it to be thick not firm) I scrape the Butter to the middle of the bowl with a spatula and then begin to whip. I use a whisk to whip the butter on a low setting at first and then move onto a higher setting later. Always scarping the sides to make sure all the butter is whipped.
After a few minutes of whisking I add the Essential Oil and Vitamin E Oil to the whip and continue till I get the consistency I am happy with.
I then transfer the butter into an airtight container. I am of course “extra” and use a piping bag to transfer the butter but a spoon/spatula will do and that is it!