AJANI Handmade is a Kenyan run online store that sells two core products: a natural water- based, shea-butter based whipped moisturizer for hair and skin as well as an oil blend designed for sensitive, itchy and flaky scalp and hair care.
The director of AJANI Handmade, a stunning naturalista herself Ms. Sharon Njavik has such a passion and drive for this new company that I can only see it developing, growing and thriving in the months and years to come. I think the aspect that most caught my attention is the fact that AJANI Handmade is much more than just selling beauty/care products. They focus on self love, confidence, wellbeing and supporting black women.
“AJANI Handmade is a social enterprise that is grounded in perpetuating messages of beauty, worth and capacity to black women and girls. We produce and retail natural, health- conscious products that complement these messages. In an effort to take our work beyond the internet, we have collaborated with another social enterprise based in Nairobi, Kenya, AM Cafe- http://www.amcafe.org/whose work exists to strengthen intellectual and emotional capacities to dream of a better future…over a cup of coffee and sweet pastries.
We joint efforts to host a 2 of a 3 part informal dialogue series where we bring together women from diverse socio-economic backgrounds to discuss and analyse “how self- image affects our interactions in social and economic spaces.” More about this series can be found under the “Dialogue series” section on our blog- http://www.ajanihandmade.com/blog/“
While at the moment AJANI Handmade has focused on producing and selling two core products they do plan on expanding their products as well as reaching out further in the market by making them available Internationally. Apart from their products, AJANI Handmade also seeks to be a source of information, teaching and learning therefore if any of you are interested to contribute your knowledge and experience please do reach out to them on www.ajanihandmade.com/blog!
I am excited to share the story and business concept of AJANI Handmade which you can read on my Feature Page here. Please do not forget to check out: www.ajanihandmade.com it is a beautiful site with really great products!
Today I want to share a DIY Hair Mask (Masque) with you. I actually started using this as a alternative to a Clay Mask (Masque) since I can’t seem to get the Clay here locally so I will probably buy some at some point to try experiment with and write about.
But for now this is my baby!
DIY Ayurvedic Hair Mask (Amla Shikakai Rose)
I LOVE using this mix on my hair for several reasons:
Its strengthening property
Conditioning ability
The sheen provided by the mask
Light cleansing property
Detoxifying ability (due to its cleansing property)
Darkening ability (I like my hair in a brown/red tone thanks to henna and amla)
Curl popping power (my curls come back to life after this mask)
Now what is in this wonder mask I hear you asking right? Well the recipe is simple and as always is built around ingredients I use regularly on my hair. You should be able to find most of these in your grocery store (perhaps the “ethnic” section), your local Indian store or if all else fails you can find them all Online. Butters-n-Bars is a good place to check, as is Sheabutter Cottage and if you find a good reliable source Amazon is another alternative. I am able to find all the ingredients used locally.
(NOTE: I was not paid, compensated or requested to mention any company names these are just suggestions of places where you can purchase some of the ingredients. I bought my products locally and paid for them with my own money).
Ingredients:
3.5 oz Amla powder (I use the Hesh Brand)
0.5 oz Shikakai (I use the Hesh Brand)
0.2 oz Amla Infused Coconut Oil (can be replaced with regular coconut oil or any other carrier oil)
0.1 oz Glycerine (Optional)
2.5 oz Rose Water
5.5 oz Plain Water (I use bottled Water)
Additional Ingredients/Replacements
Honey/Agave Nectar – In place of the Glycerine
Essential Oils (EO’s) – you can use any Essential Oil you like. I am currently always in the mood of Rose water so I am not adding any EO’s to mine.
Cassia – in place of the Amla you can replace it with Cassia which will not darken your hair. It has conditioning properties just like Amla as well as strengthening abilities.
Other Ayurvedic Herbs – you can actually replace the Shikakai with any other herb such as Aritha, Brahmi, Neem just to mention a few.
Mixing Instructions:
I first combine the Ayurvedic Herbs together in a bowl and mix. Stir it carefully because they powders are really light and will fly around everywhere. Next I add the Oil, Glycerine and Rose water and stir again. The final step is adding the water. I like to add the water a little at a time and mix. You might want to add more/less water depending on how thick/thin you want the mask, I like mine to be a little thicker than pancake batter.
Application
1. I first dampen my hair with a spray bottle, I like my hair to be damp but not sopping wet. 2. I apply the mask liberally all over my hair starting at the ends and make my way to my roots. (Do not comb or manipulate your hair once it is applied because otherwise you are asking for breakage!) 3. I wrap my hair around my head and cover with a shower cap and usually some material too to keep my head warm and leave it on for 30 – 60 minutes. 4. I rinse out the mask and *co-wash my hair.
* For some the Amla might be a little acidic and therefore can leave your hair feeling a little rough and therefore a simple co-wash might not sufficient. If that is the case do a moisturising Deep Condition afterwards.
Application process
1. I first spritz my hair with water
2. Liberally apply the mask
3. I wrap my hair down and then will cover with cling-film and then material
4. I rinse out the mask, co-wash and then style (I really don’t like my hair wet…so mousey!)
4. I rinse out the mask, co-wash and then style (I really don’t like my hair wet…so mousey!)
5. After my hair airdries I get them popping curls! (Wash and Go)
5. After my hair airdries I get them popping curls! (Wash and Go)
Storage
I make a lot of this mask and use it all up because I like to coat my hair with it and my hair is a little long. You might need more/less depending on your hair length/density however if you have any leftovers you can cover and store it in the freezer just make sure to put a date on it to remember when it was made.
I would love to hear what you think if you try this mask/masque. I would also love to hear about your Clay Hair Masks so I can have a recipe list to follow when I try it 😀
So a few weeks ago I very excitedly and perhaps a little prematurely wrote a post about how I won a Giveaway from the Natural Hair Academy. I say a little prematurely because I was sadly informed that I would not be able to get the Giveaway due to issues with shipping. (Pass the tissues please!)
On the day when Kim wanted to send me the package she found out that shipping the goods would pretty much cost an arm, a leg and then some! Now, I still officially won however like I said due to shipping costs I was unable to receive the goodies.
Was I a little disappointed? Yes, but I do understand where Kim is coming from. When she explained how much it would cost (I will keep the number to myself) I was pretty shocked, although I know shipping can be a pain in the you-know-what. The astronomical shipping price is because of all the goodies in the package and the weight of it. The more it weighs the more it will cost and there is usually a weight limit per package meaning you might need to ship things in several packages = even more costs. The NHA is also a pretty small and new, like I said I understand their situation.
Kim did offer me an alternative in place of the Giveaway which was really nice of her (thank you Kim!). She sent me the monetary value of the Giveaway as a “gift card”. Like I said I completely understand why she could not send me the package especially comparing how much Kim said the Giveaway was valued at in contrast to the shipping, let me tell you shipping was about 3 – 6 times more which is crazy!
Anywho, I just wanted to update you all because I made quite a big deal about winning, wanting to do an un-boxing post and video as well as a review of some of the products in package. I didn’t want you all to think I received the package and didn’t bother sharing 🙂
Right Maicurlies, back to editing my next video! I hope you have a lovely day!
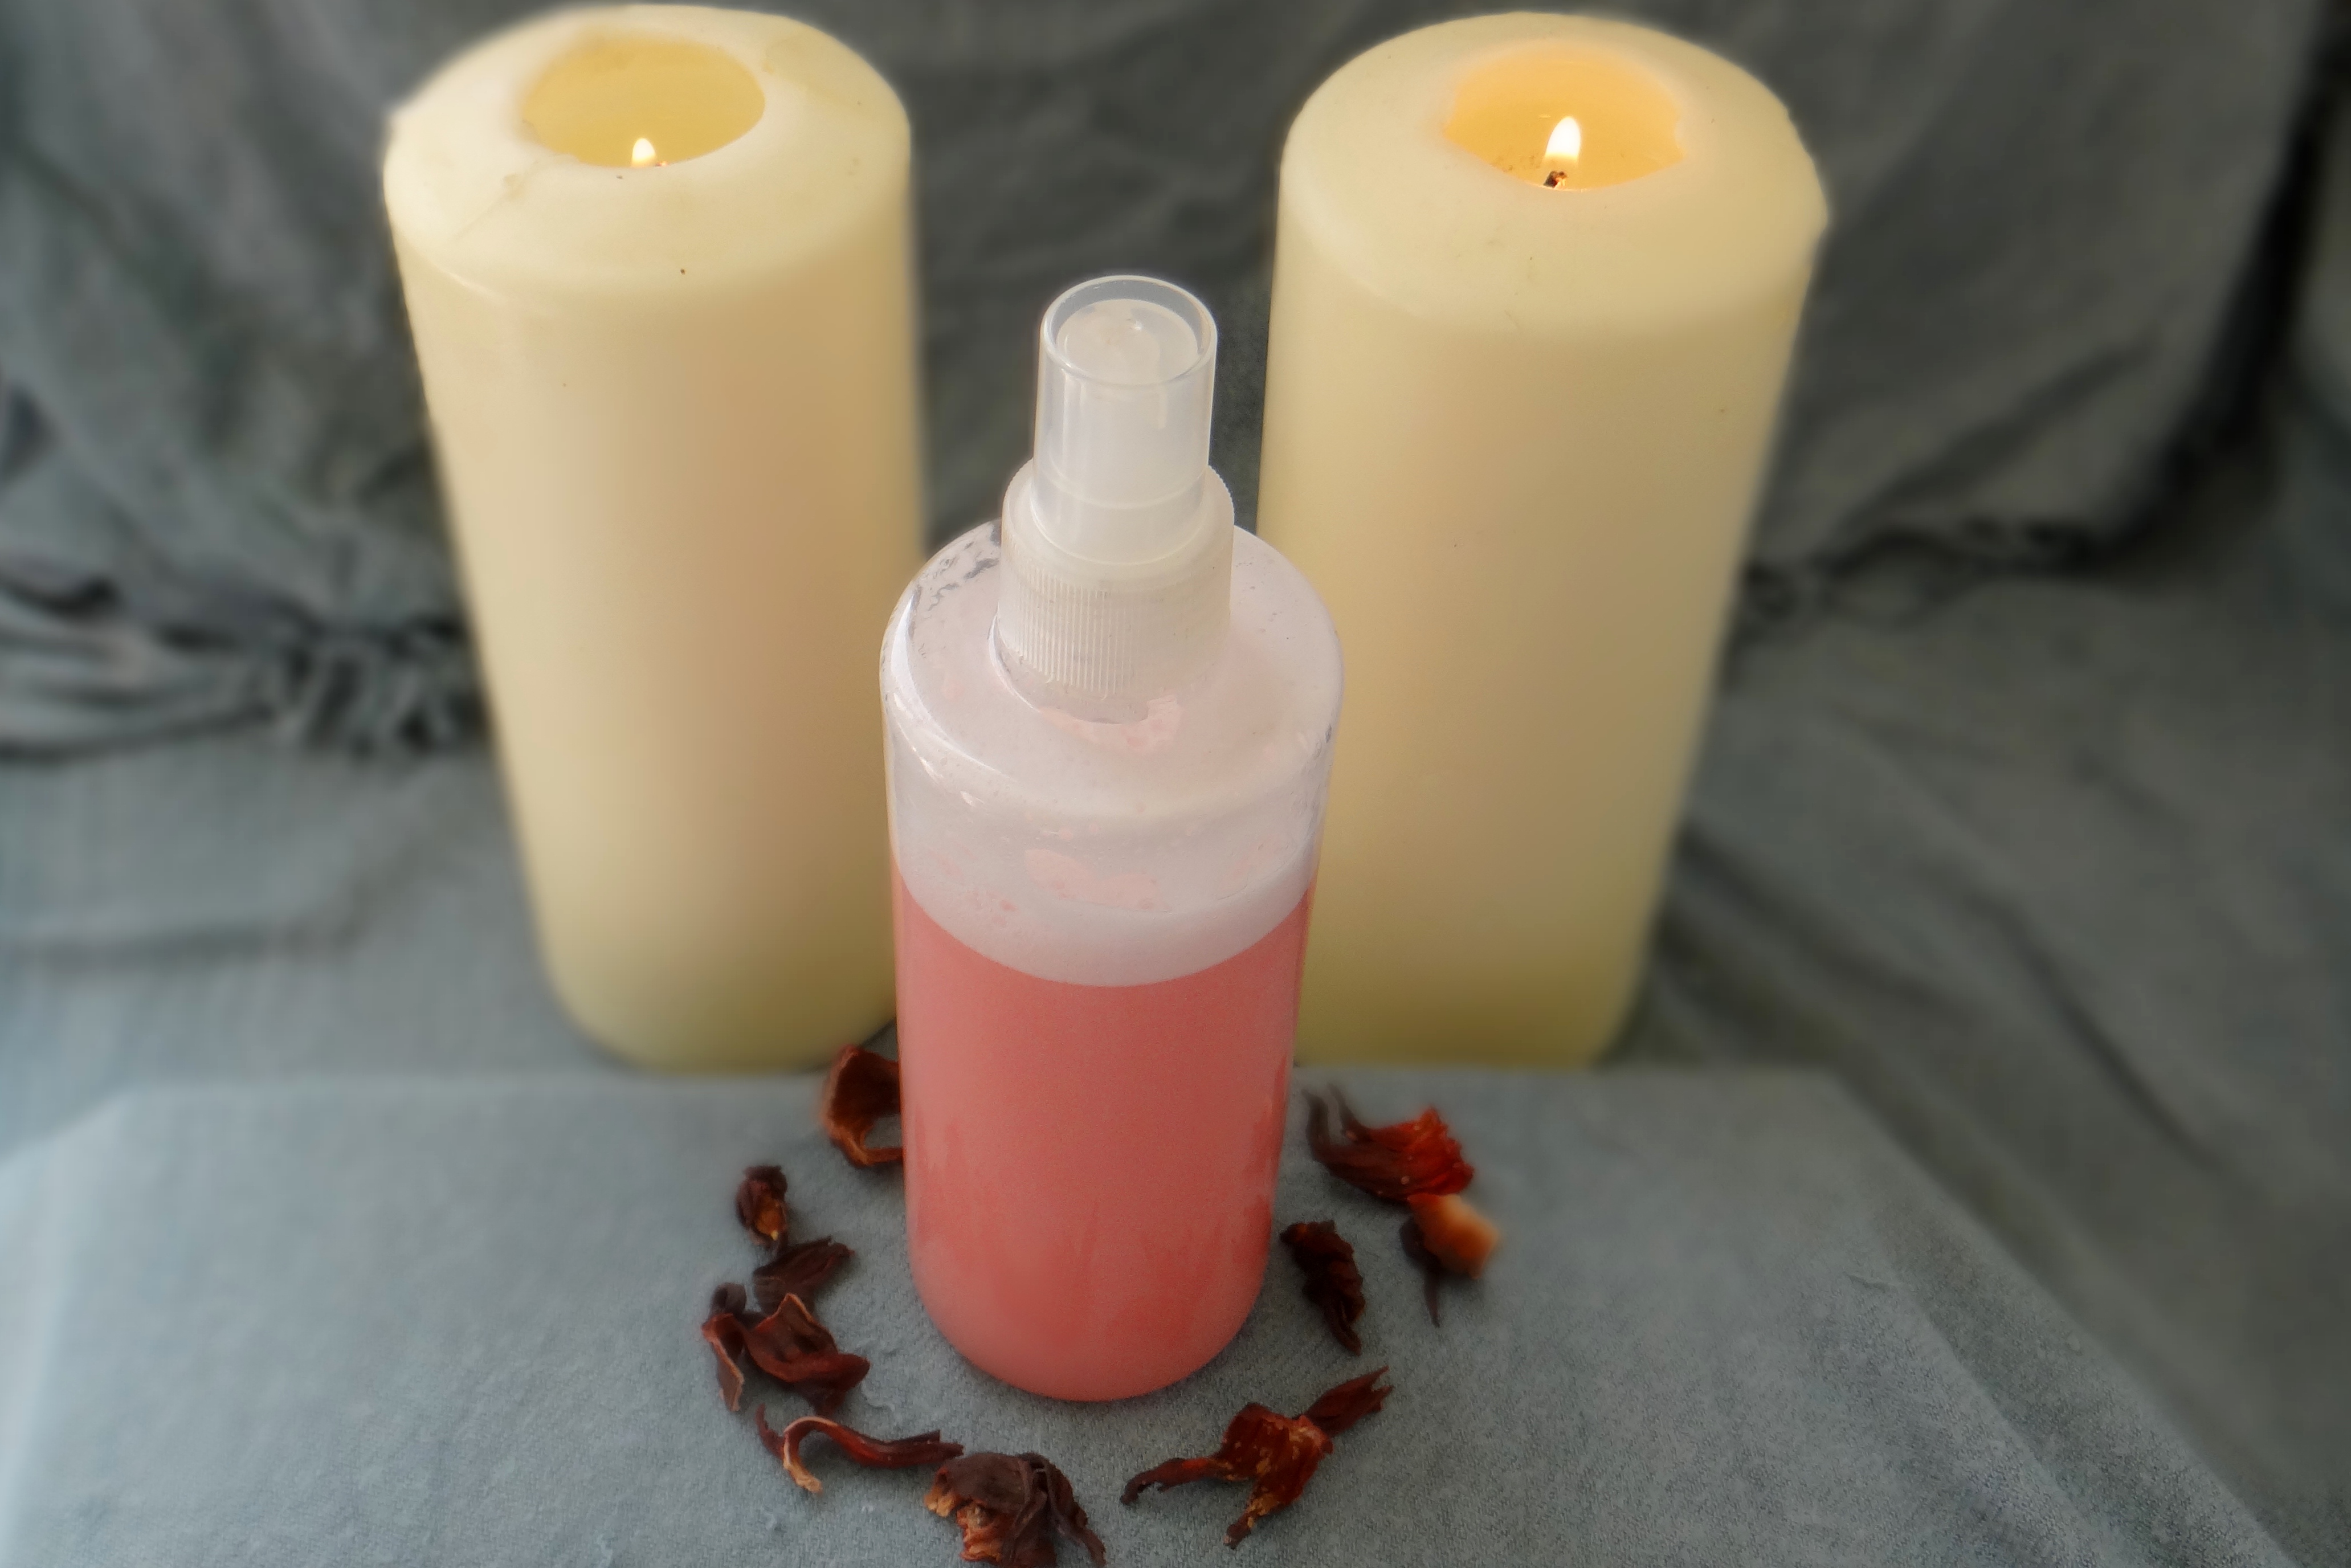
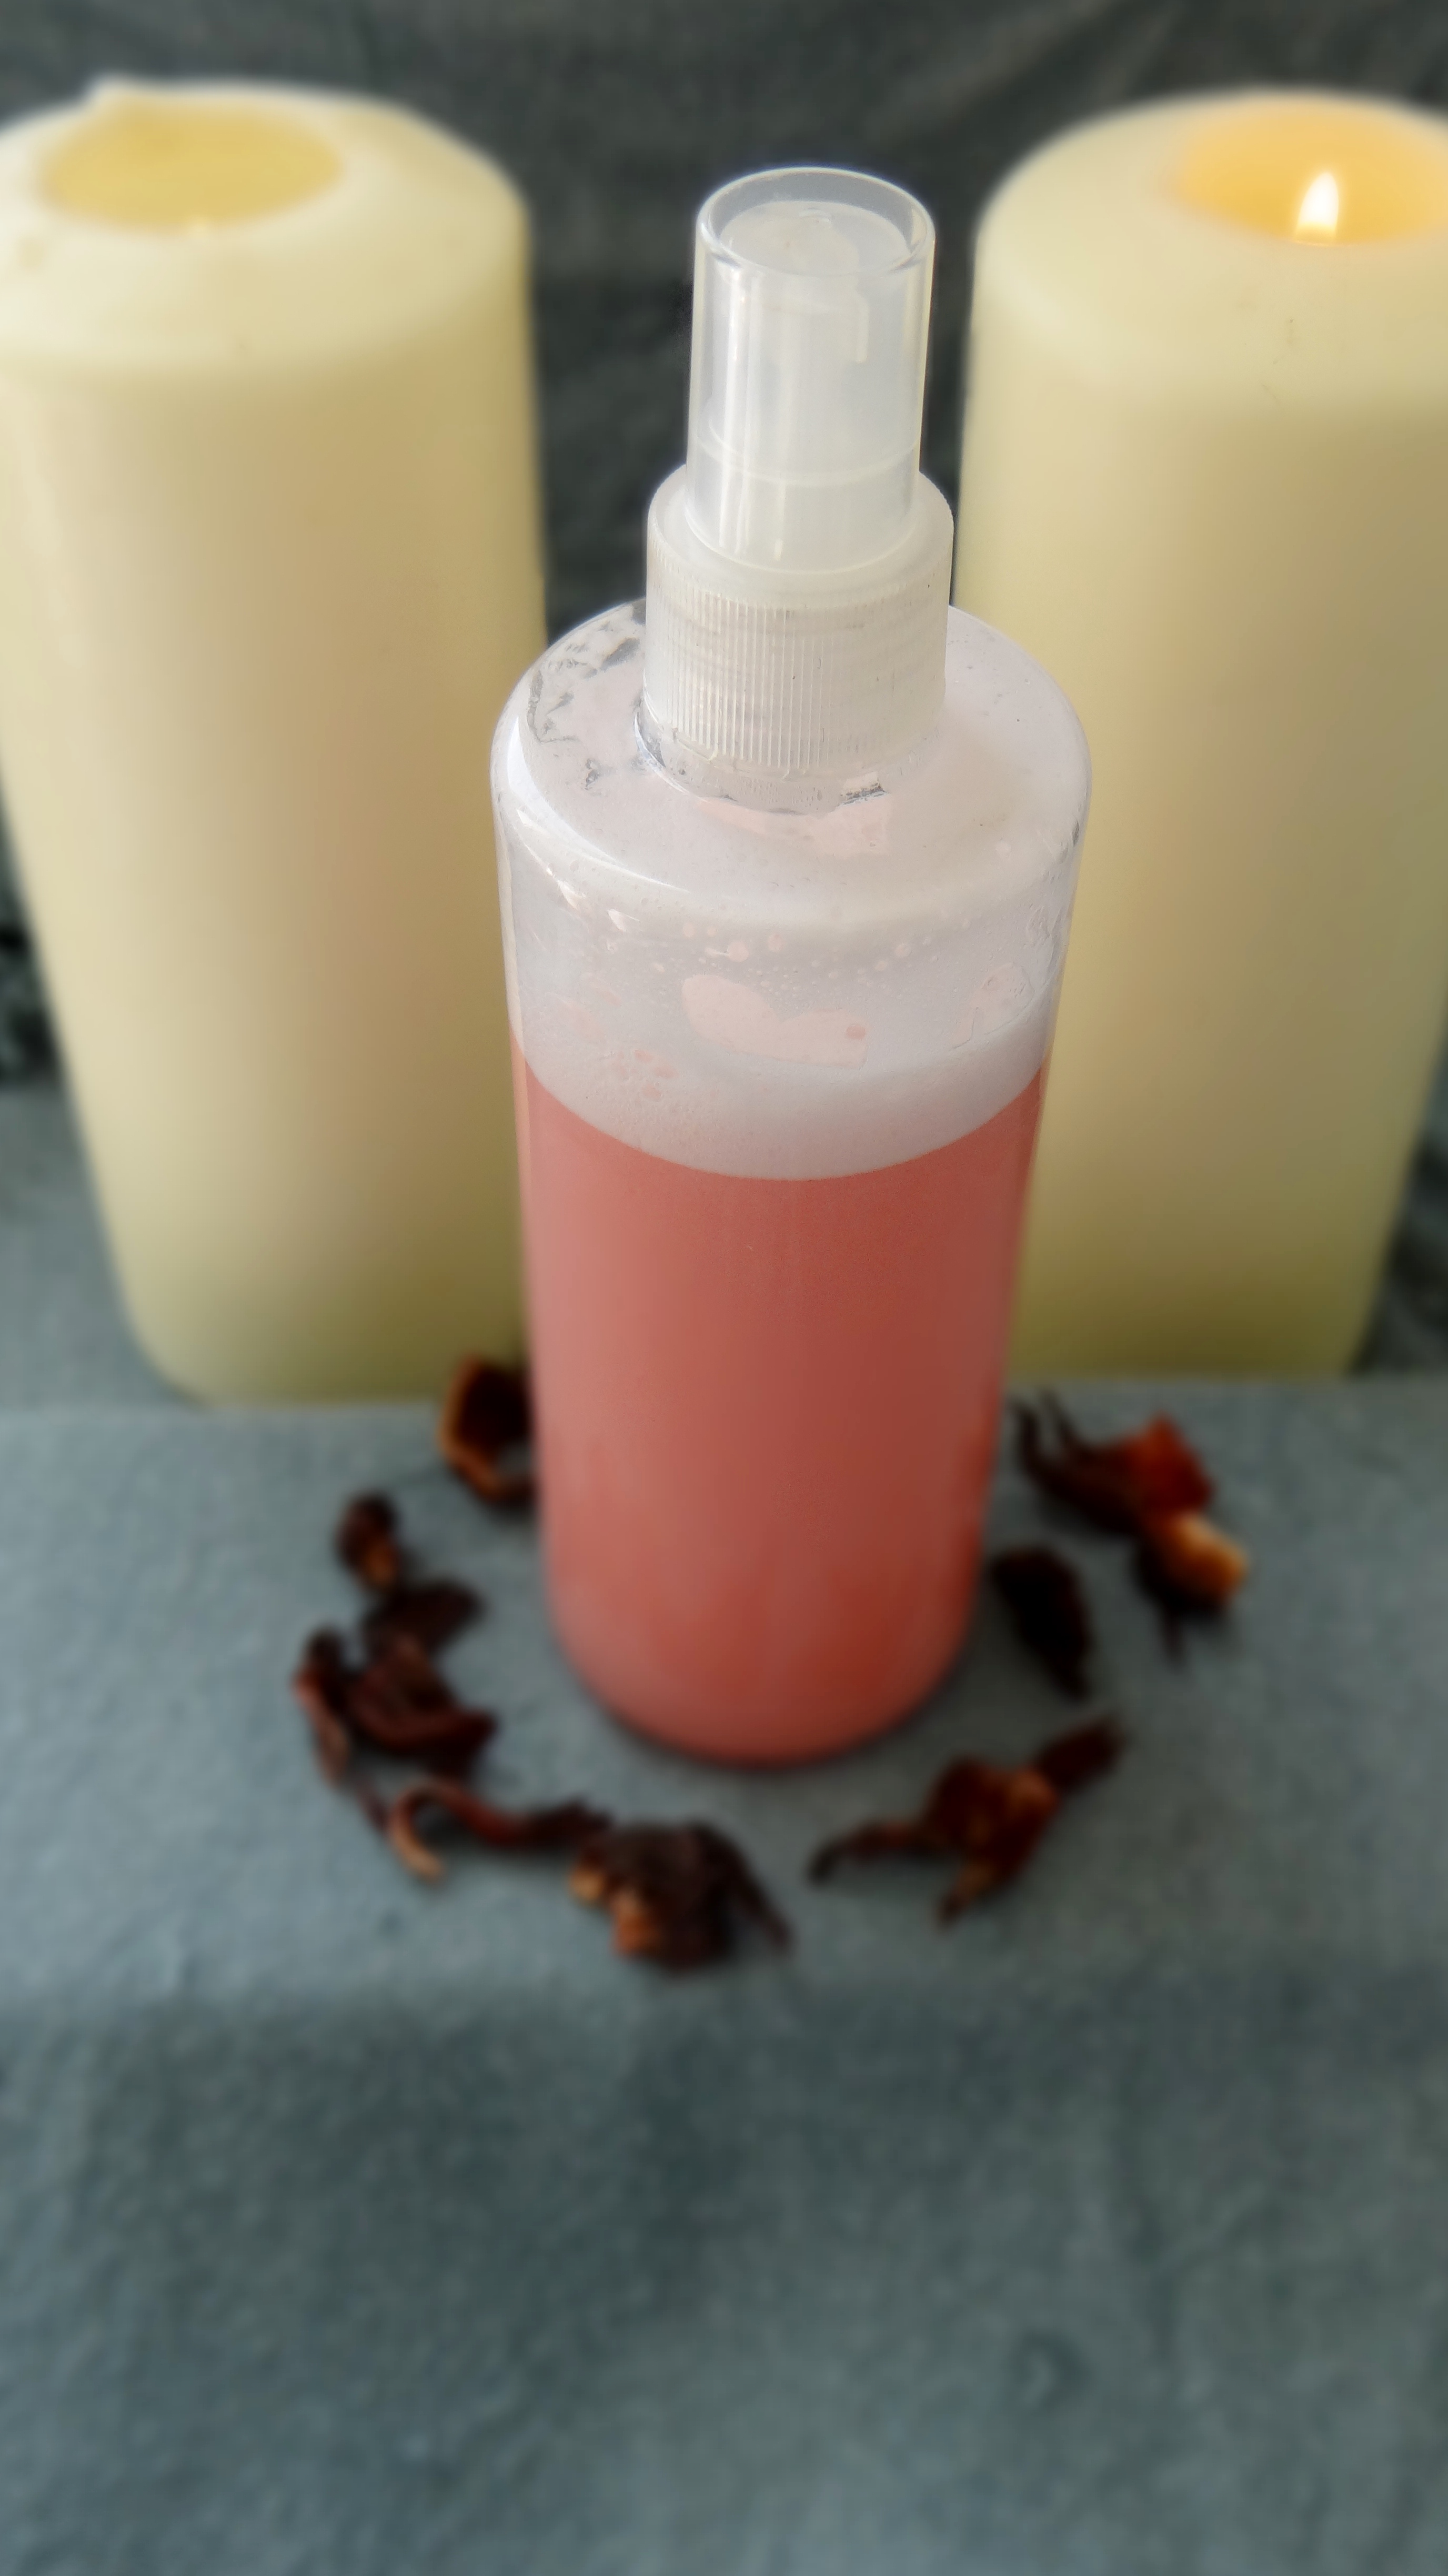
I am back with another DIY Update! This time it is my Spray Leave-In Conditioner.
This goodness is a modified version of my previous Spray Leave-In Conditioner which you can read about here. Similar to my updated Creamy Leave-In Conditioner I changed the recipe a little due to the fact that I no longer use the conditioner I use to use and the old mix was no longer as effective in moisturizing my hair as it use to be.
This recipe is quite simple, does not include too many steps and like I mentioned is a slight modification from the old one.
Ingredients
6 oz plain water (I use bottled water)
Hibiscus petals (optional) I use about 10 – 12 petals
0.8 oz leave-in conditioner (use any leave-in your hair likes)
2 oz Rose Water
0.1 oz Almond Oil (use any carrier oil your hair likes)
0.1 oz Glycerine (optional)
3 capsules vitamin E oil = roughly 0.15 oz
(Additional ingredients I sometimes use)
I sometimes add 0.8 oz fresh Aloe Vera Juice (from my garden) I didn’t this time.
Essential Oil (any oil of choice) – I like the rose scent so I skip the essential oil.
Mixing Instructions
I first add the hibiscus petals to the water and let it sit while I add the other ingredients. In the mean time I pour the leave-in conditioner, rose water, almond oil, glycerine and vitamin E oil in my container. I then pour the hibiscus water through a sieve to catch the petals and then whisk. I pour the mix into a spray bottle and shake it before every use.
Substitute Ingredients
Honey or agave nectar – instead of the glycerine (or skip this all together)
Any carrier oil of choice – instead of the almond oil
Arrowroot – can be added to the mix to give a little extra slip
Side Note:
This mix might be a little too light for those with coarser or thicker hair due to the fact that the ingredients I use are quite light weight. In case you do have thicker or coarser hair than I, you can either increase the amount of leave-in used, add a heavier carrier oil such as castor oil and/or double the amount of oil used in the mix.
When I use it/How I store it:
I like to use this mix when I want to lightly re-moisturize my hair or when I want to dampen my hair without getting it soaking wet before styling/restyling. The Leave-In is left out with the rest of my products (without needing to store it in the fridge). I have never had an issue with the mix going off or going rancid before I use it up, however, you can store it in the fridge just in case.
Do you use a spray leave-in? Do you make your own or use a store bought one? I would love to hear from you.
(Side Note: I have been having issues with my WordPress…trying to figure out how to fix it but hopefully you will see this new post without any issues!)
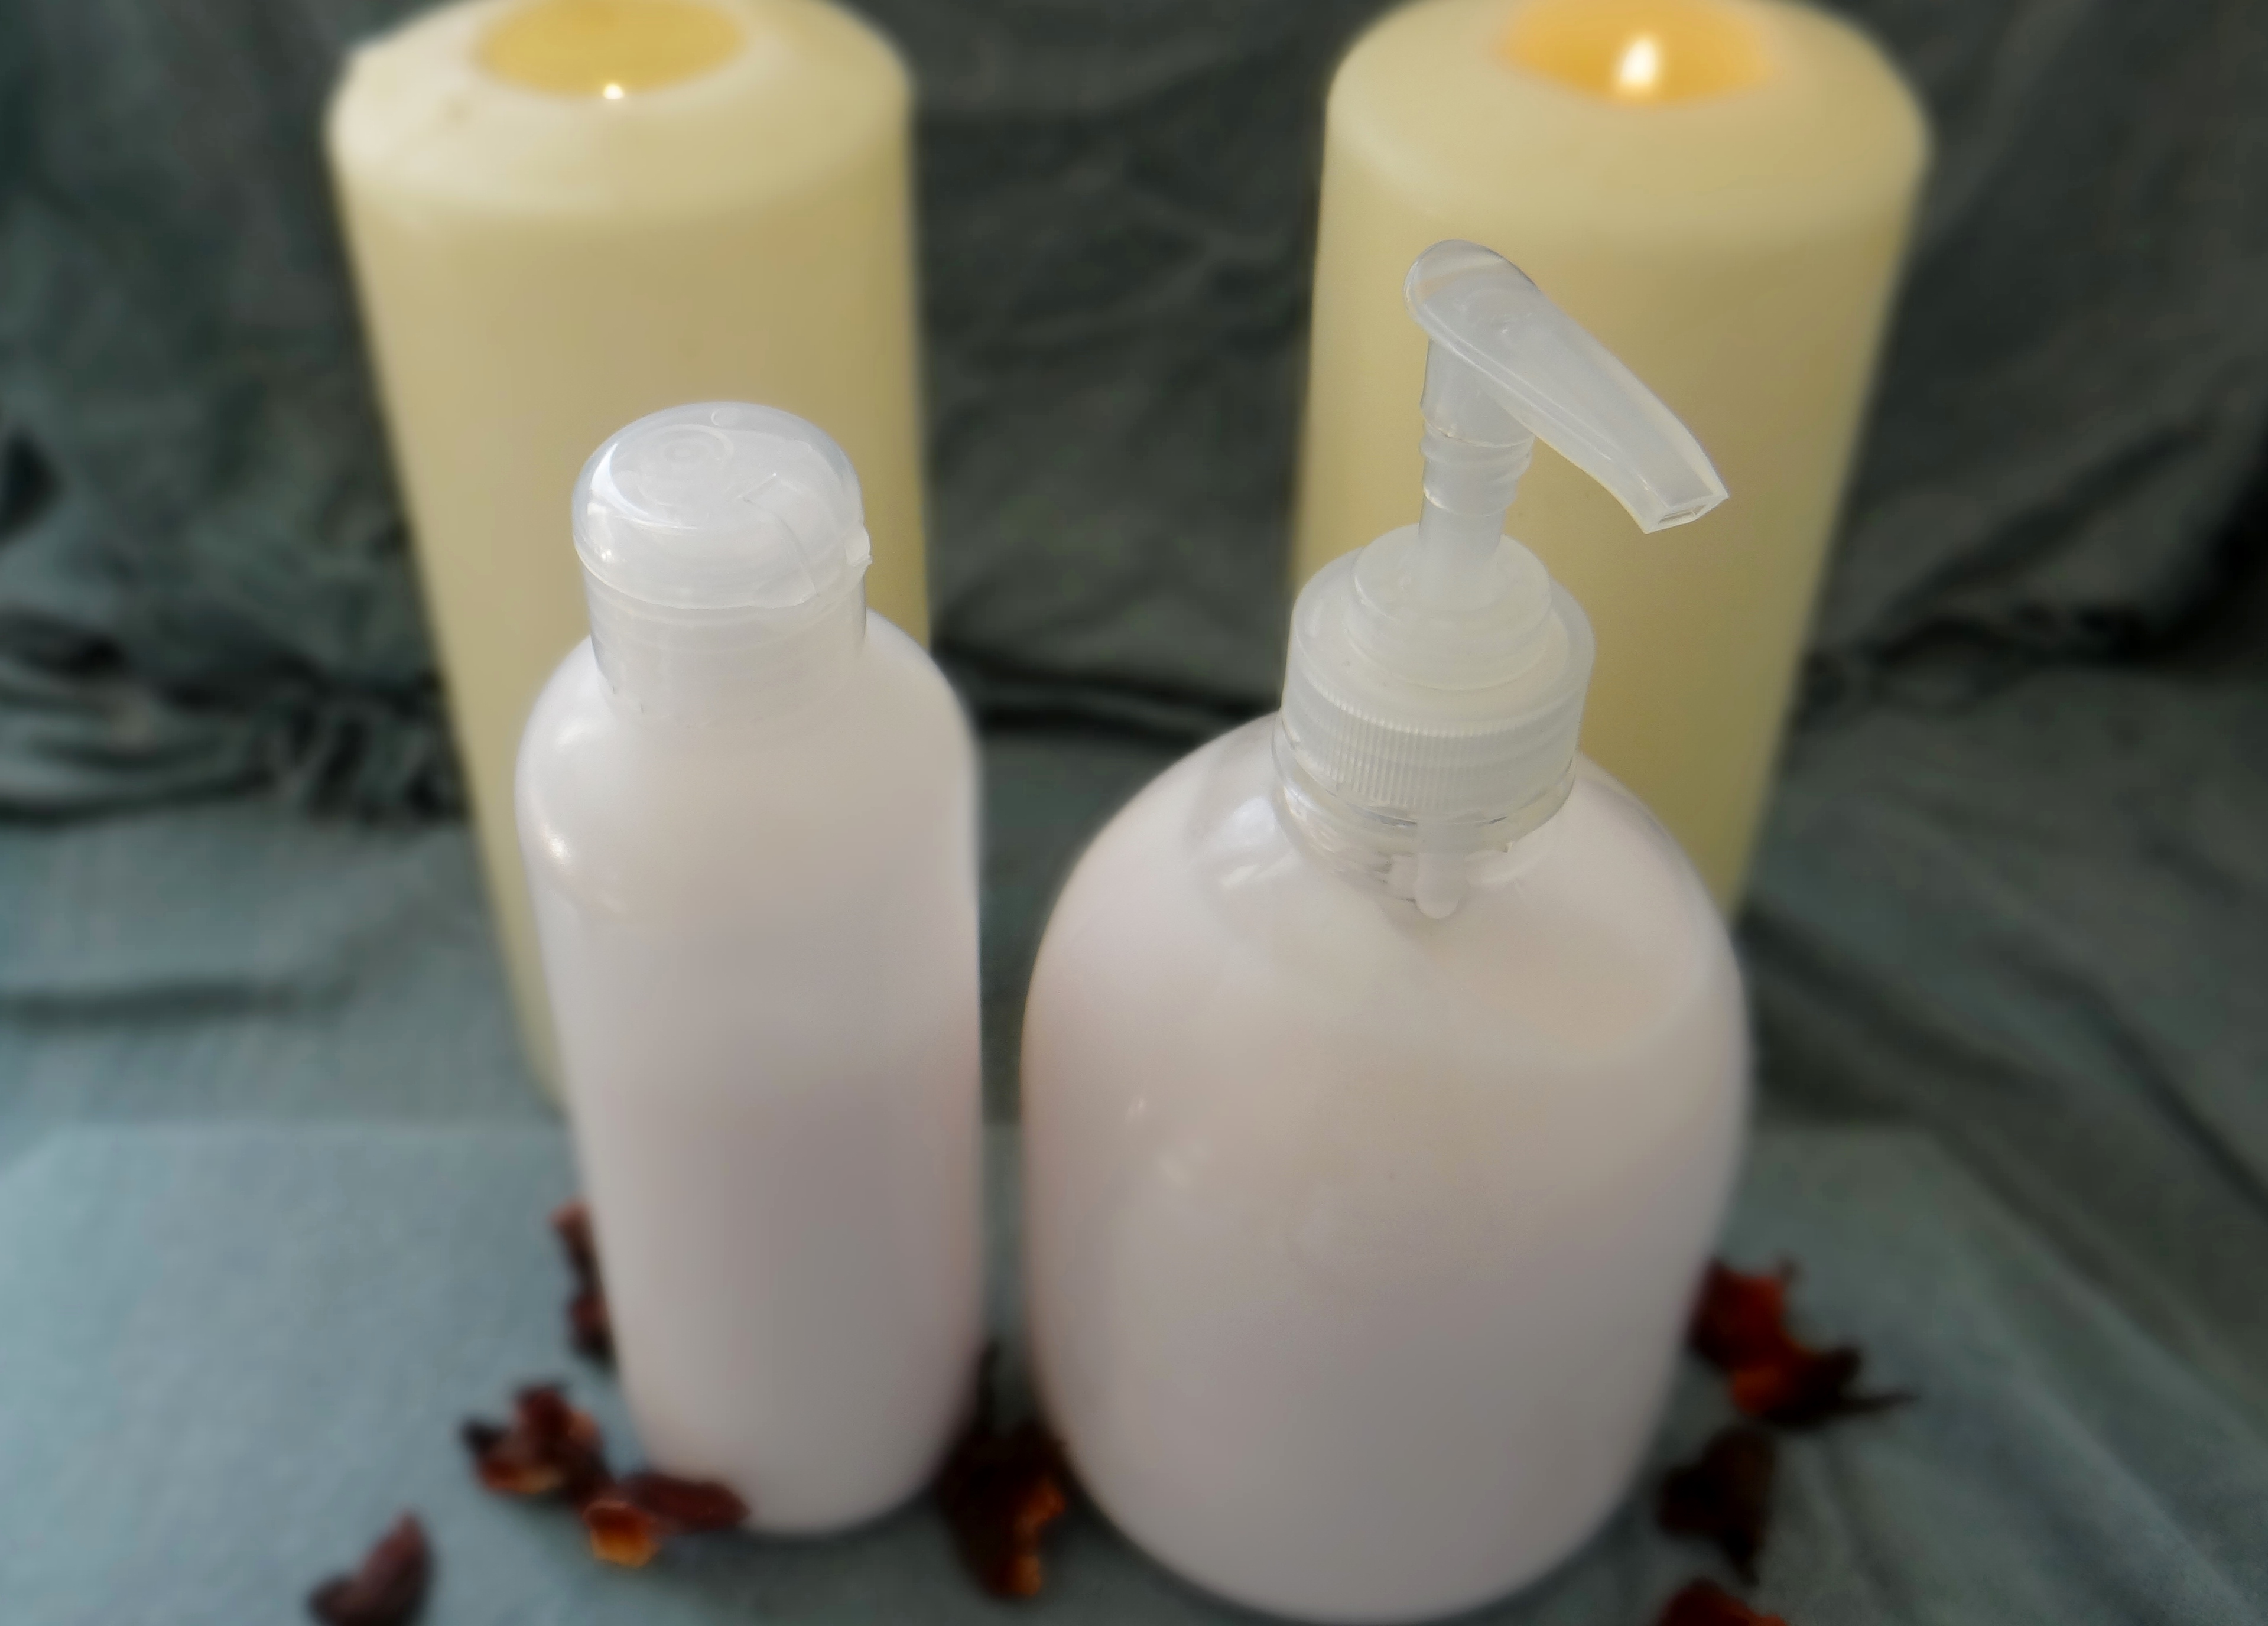
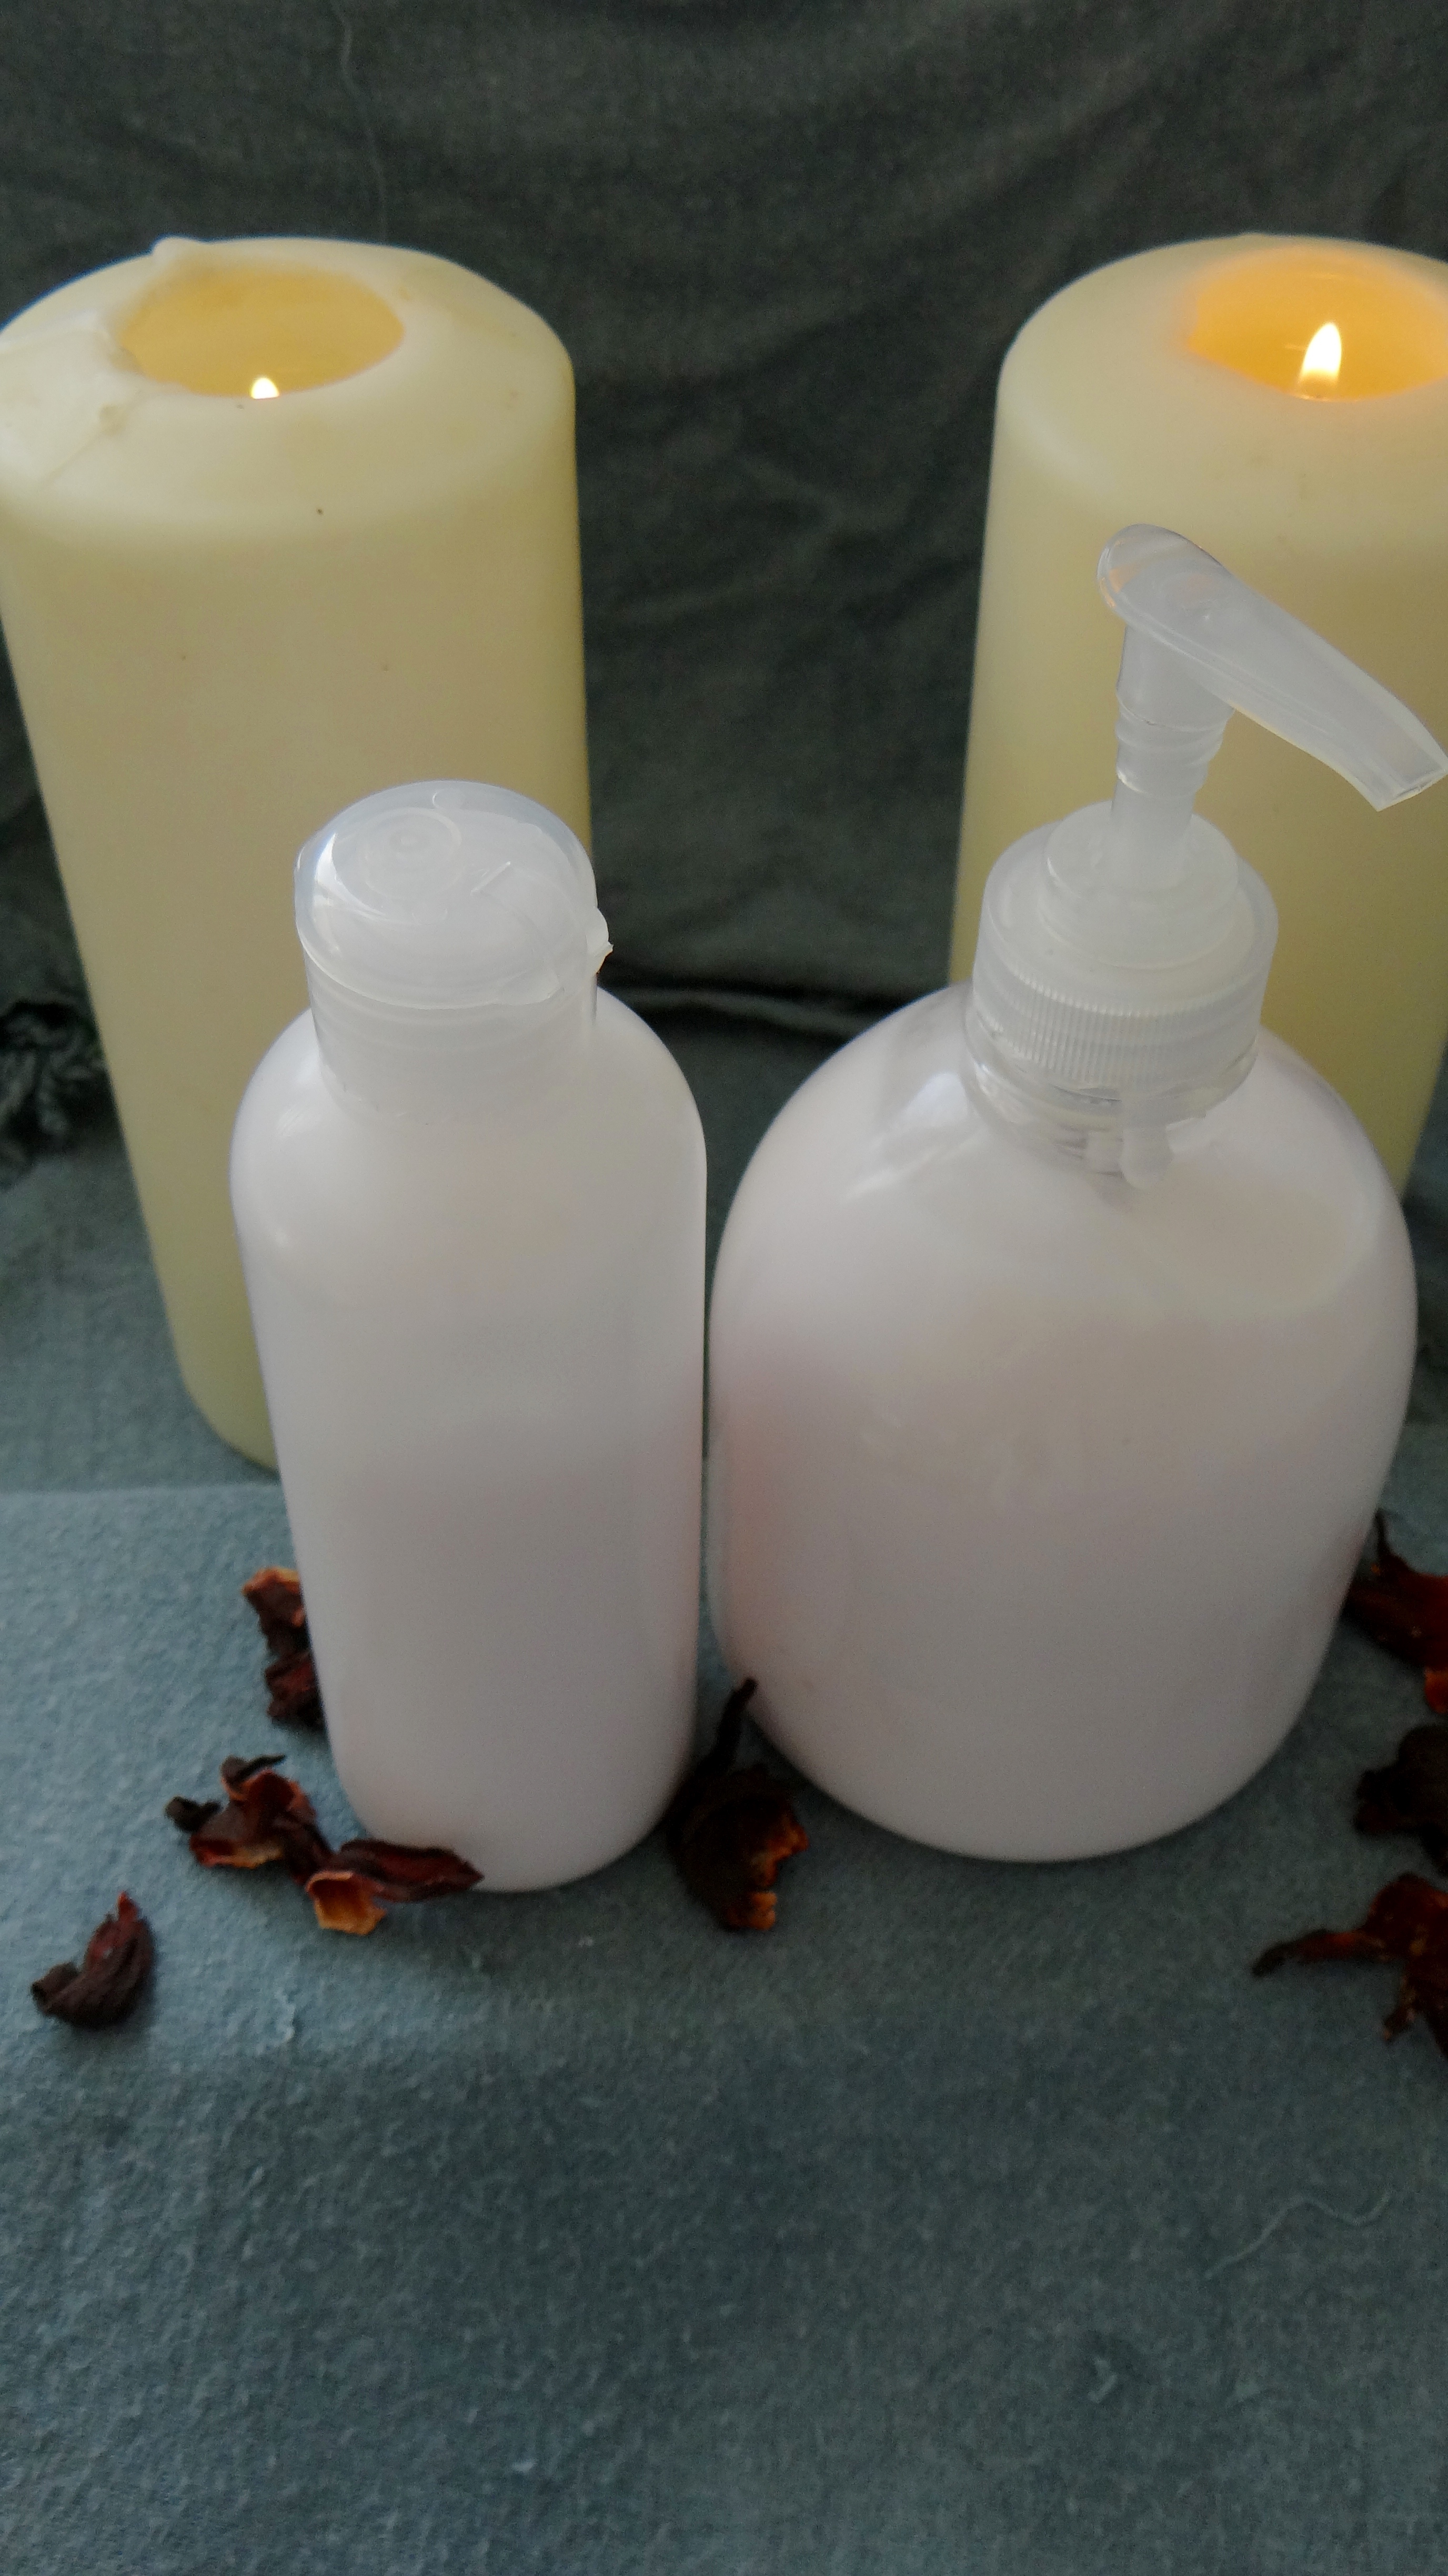
So back to the topic, my DIY Boosted Leave-In Conditioner.
DIY Boosted Leave-In Conditioner (Creamy)
Some of you who might have been following me for a while will know that I have a DIY Leave-In Conditioner mix already and might be wondering why another recipe Mai? Well, two reasons: 1. In the old mix I used a conditioner as the base of the recipe but I no longer use that conditioner and 2. my hair wasn’t responding as well as to the old mix as it use to. When that happens my hair is telling me “change the product mix Mai!” Since I do not use too many store brought products I do not have a stash of different leave-ins I can rotate I listen to my hair and rework the recipes instead.:D
I will put a link at the bottom of the post directing you to my old recipe, just so you can see what all I have changed. There are some subtle changes in the new recipe and a few ingredients that I add or omit depending on my mood at the time of mixing.
DIY Boosted Leave-In Conditioner (Creamy)
Ingredients
2.6 oz plain water (I use bottled water) A couple petals of dried hibiscus (completely optional) – I use about 7 8 oz leave-in conditioner (use any moisturizing leave-in your hair likes) 2 oz Rose Water 0.1 oz Virgin Coconut Oil 0.2 oz Coffee Infused Almond Oil (use any carrier oil) 3 capsules Vitamin E Oil = roughly 0.15 oz 0.1 oz Glycerine
(Additional ingredients I sometimes use)
0.5 oz fresh home made Aloe Vera Juice to the water I use. When I add AVJ I increase the amount of leave-in my 2 oz.
Glycerine – I add glycerine if the leave-in being used doesn’t contain it already but mine did.
Essential Oil (any oil of choice) – I like the rose scent so I skip the essential oil.
Mixing Instructions
I first add the hibiscus petals to the water and let it sit while I add the other ingredients. First I add the leave-in conditioner with the rose water, virgin coconut oil, coffee infused almond oil and vitamin E oil. I then pour the hibiscus water through a sieve to catch the petals and then whisk. When I use glycerine I add it along with the leave-in and other ingredients. After whisking I transfer the mix into my containers.
Ingredient Alternatives
In case some of the ingredients I use do not play well with your hair they can be replaced by basically anything e.g. castor oil, grapeseed oil, jojoba oil, olive oil or any other carrier oil in place of/along with the coffee infused almond oil I use. If glycerine is not your favourite you can use honey or agave nectar as a humectant. (The leave-in I was using in the video had Glycerine in it so there was no need to add any more.)
My next update will be a Spray Leave-In 😀
I would love to hear if you add any particular ingredients to a store bought leave-in to “boost” its properties!
I have two recipes to share today. Both of these mixes are for the lips.
I have been using a DIY Lip Scrub and Lip Salve over the last two months and have noticed a difference in how my lips feels and looks which is why I wanted to share 🙂
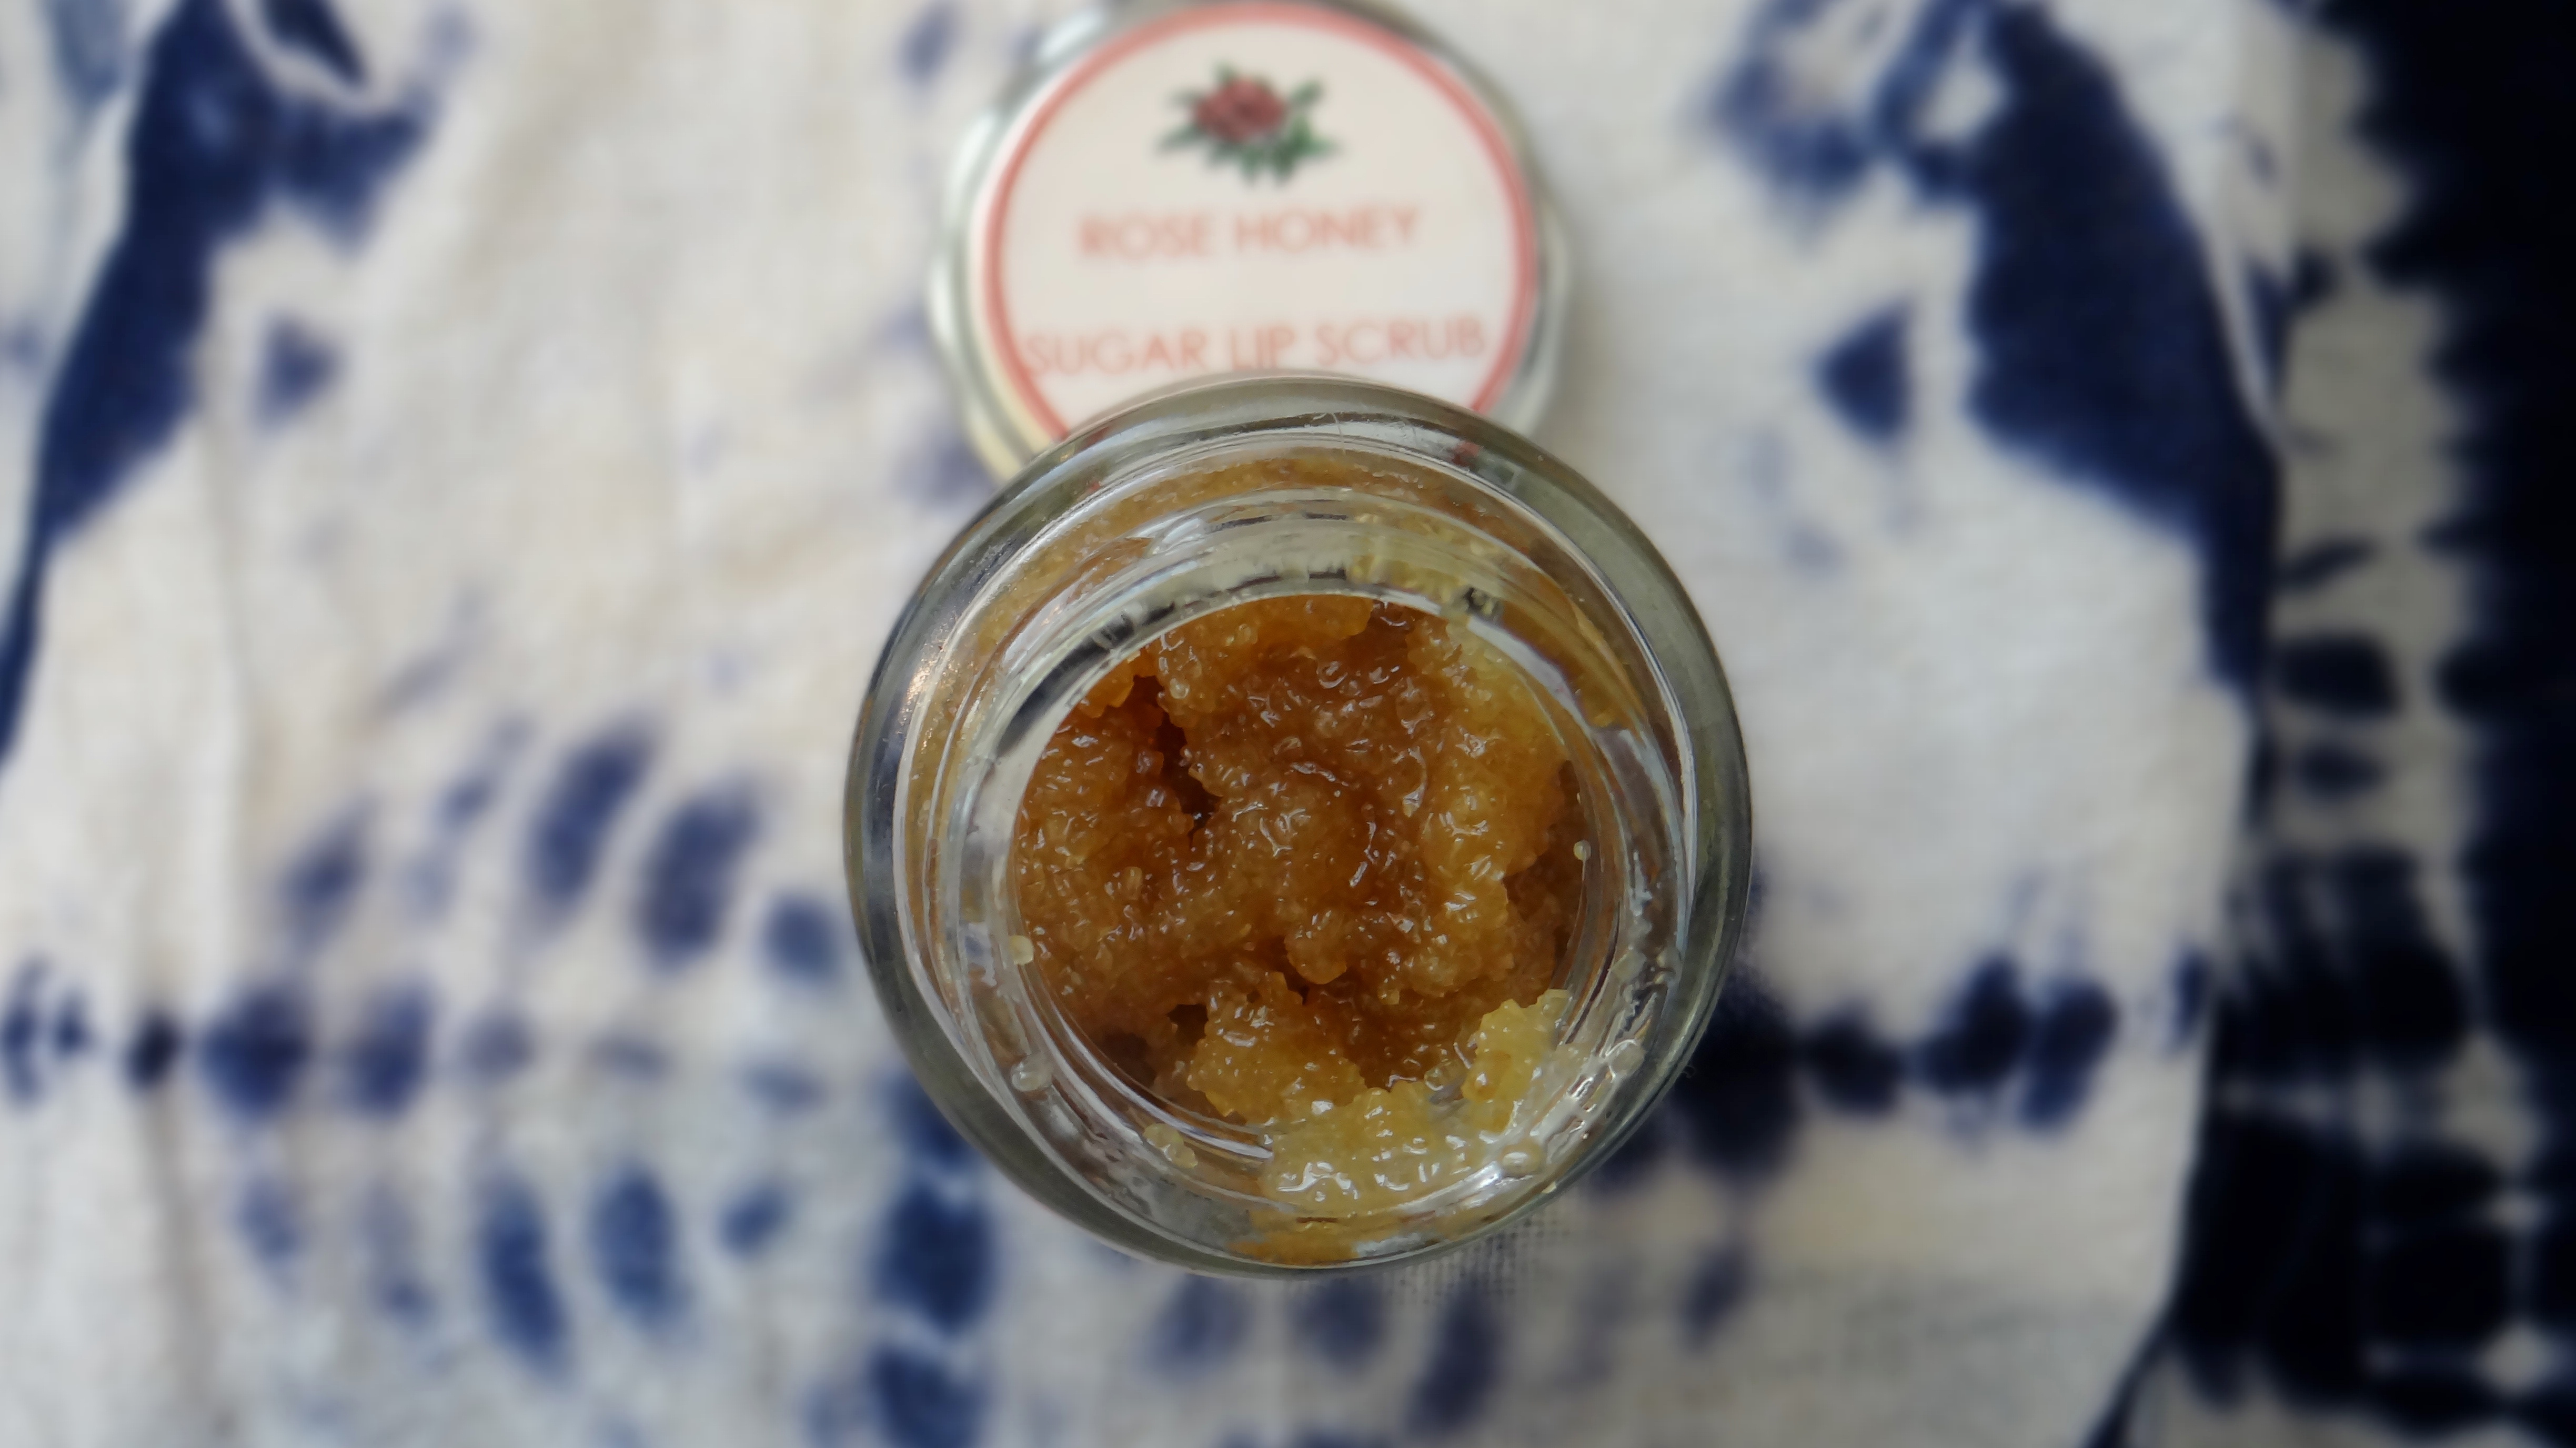
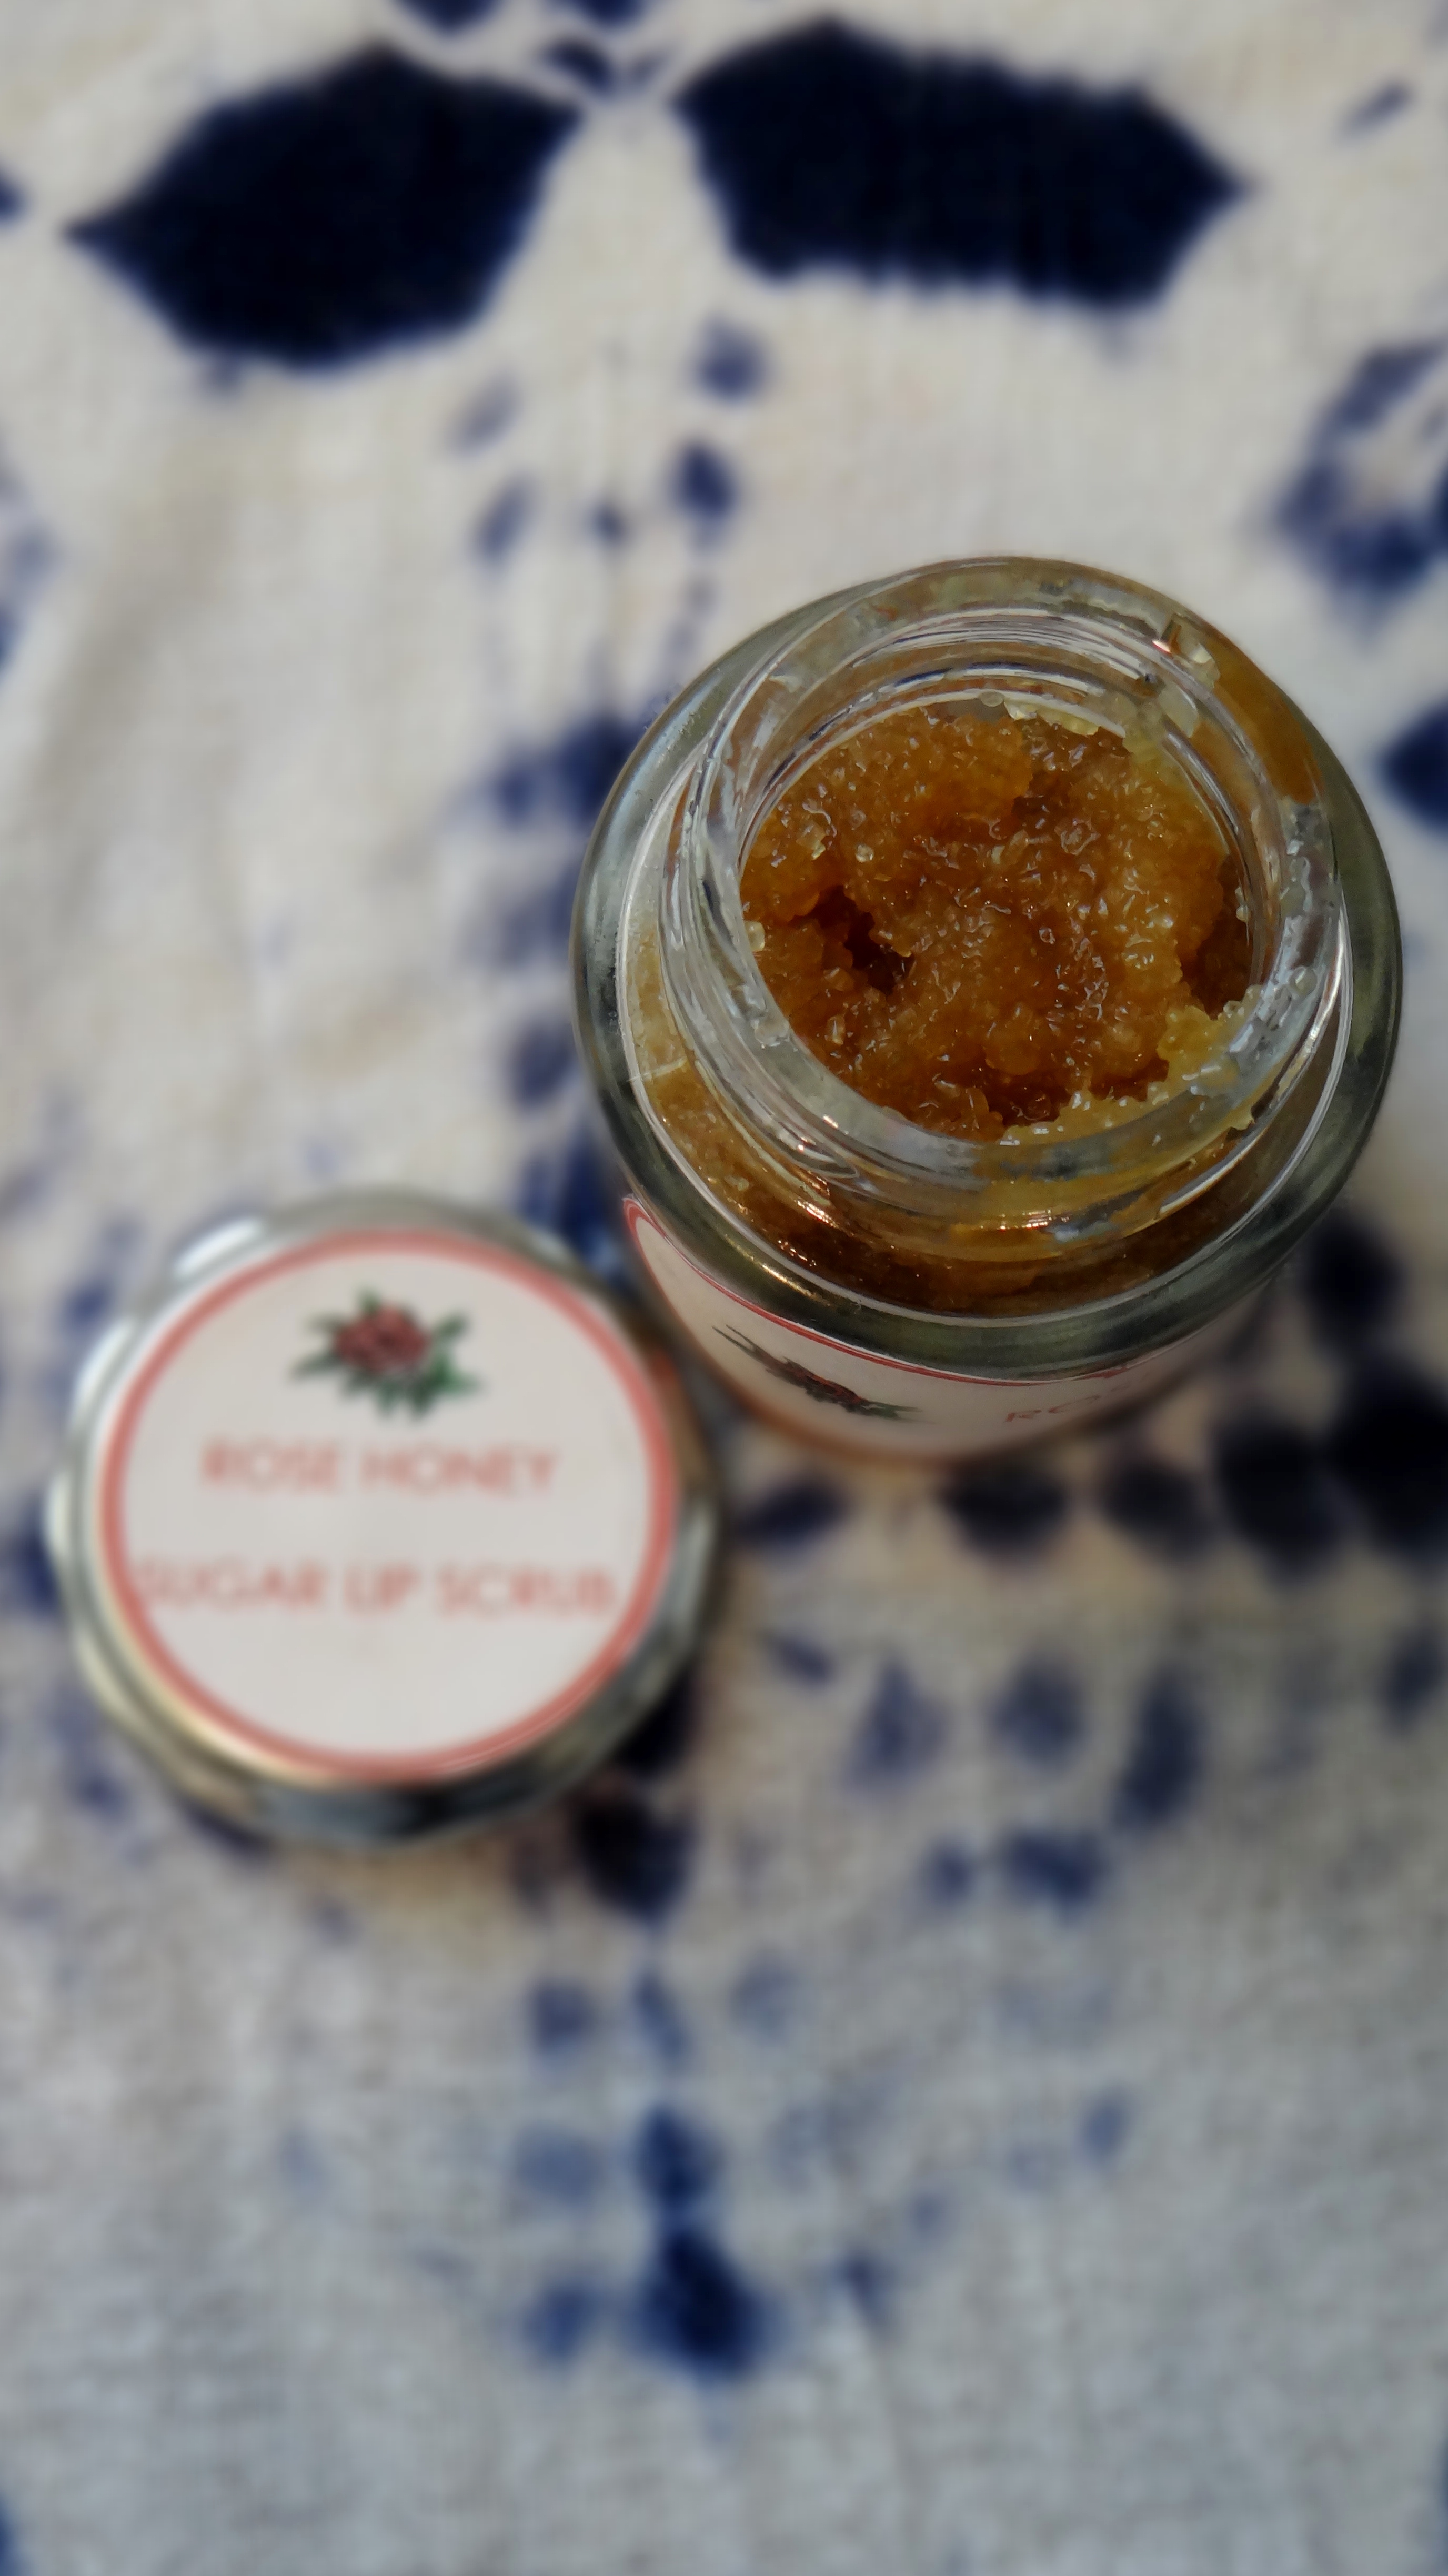
DIY Rose Honey Lip Scrub
DIY Rose Honey Lip Scrub
This baby is fabulous! I use the sugar scrub 1 – 2 times a week maximum to help exfoliate my sensitive chappy lips. Do not scrub more than twice a week otherwise you run the risk of ending up with a raw, fragile and over exfoliated pout!
Ingredients:
0.5oz Natural Honey
0.1oz Rose Infused Almond Oil (you can use any carrier oil)
1oz. Raw Brown Sugar (you could use white sugar)
Peppermint Essential Oil (you can use any Essential Oil)
Mix Instructions:
I first mix the Raw Honey and Rose Infused Oil together and then add about half the Sugar. After mixing in the first half I add the remaining Sugar. The Essential Oil is added at then end and then everything is transferred to my container.
DIY Rose Honey Lip Scrub
When/How I Apply the Scrub:
As I mentioned I apply the scrub once or twice a week after I have washed my face and removed my makeup (including anything on my lips). I make sure my lips are a little damp with water and then in a circular motion I lightly rub the scrub over my lips. I like to leave it on for about 1 minute and then splash it off with water.
Why I use these ingredients:
Brown sugar – helps to gently remove dead skin from the lips leaving you with a soft supple pout without being too harsh on the skin. (I prefer using brown sugar over white sugar but there is no harm in using white sugar.) Raw Honey – a light humectant that helps to draw moisture in the air to the lips, making it a super moisturizing ingredient. It has light anti bacterial and antiseptic properties so it helps to heal cracked lips. Rose Infused Grapeseed Oil – the oil will help trap in all that luscious moisture from the honey, it is light and therefore will not clog up the skin. The infusion of rose adds to the scent of the mix. Peppermint Essential Oil – this is an optional ingredient but I LOVE it. It helps to stimulate blood circulation giving you a tingling sensation, makes the lips plush and it also helps to keep the scrub from going off too quickly due to it’s anti fungal properties (it is not a preservative but helps to extend the shelf life of a product a little).
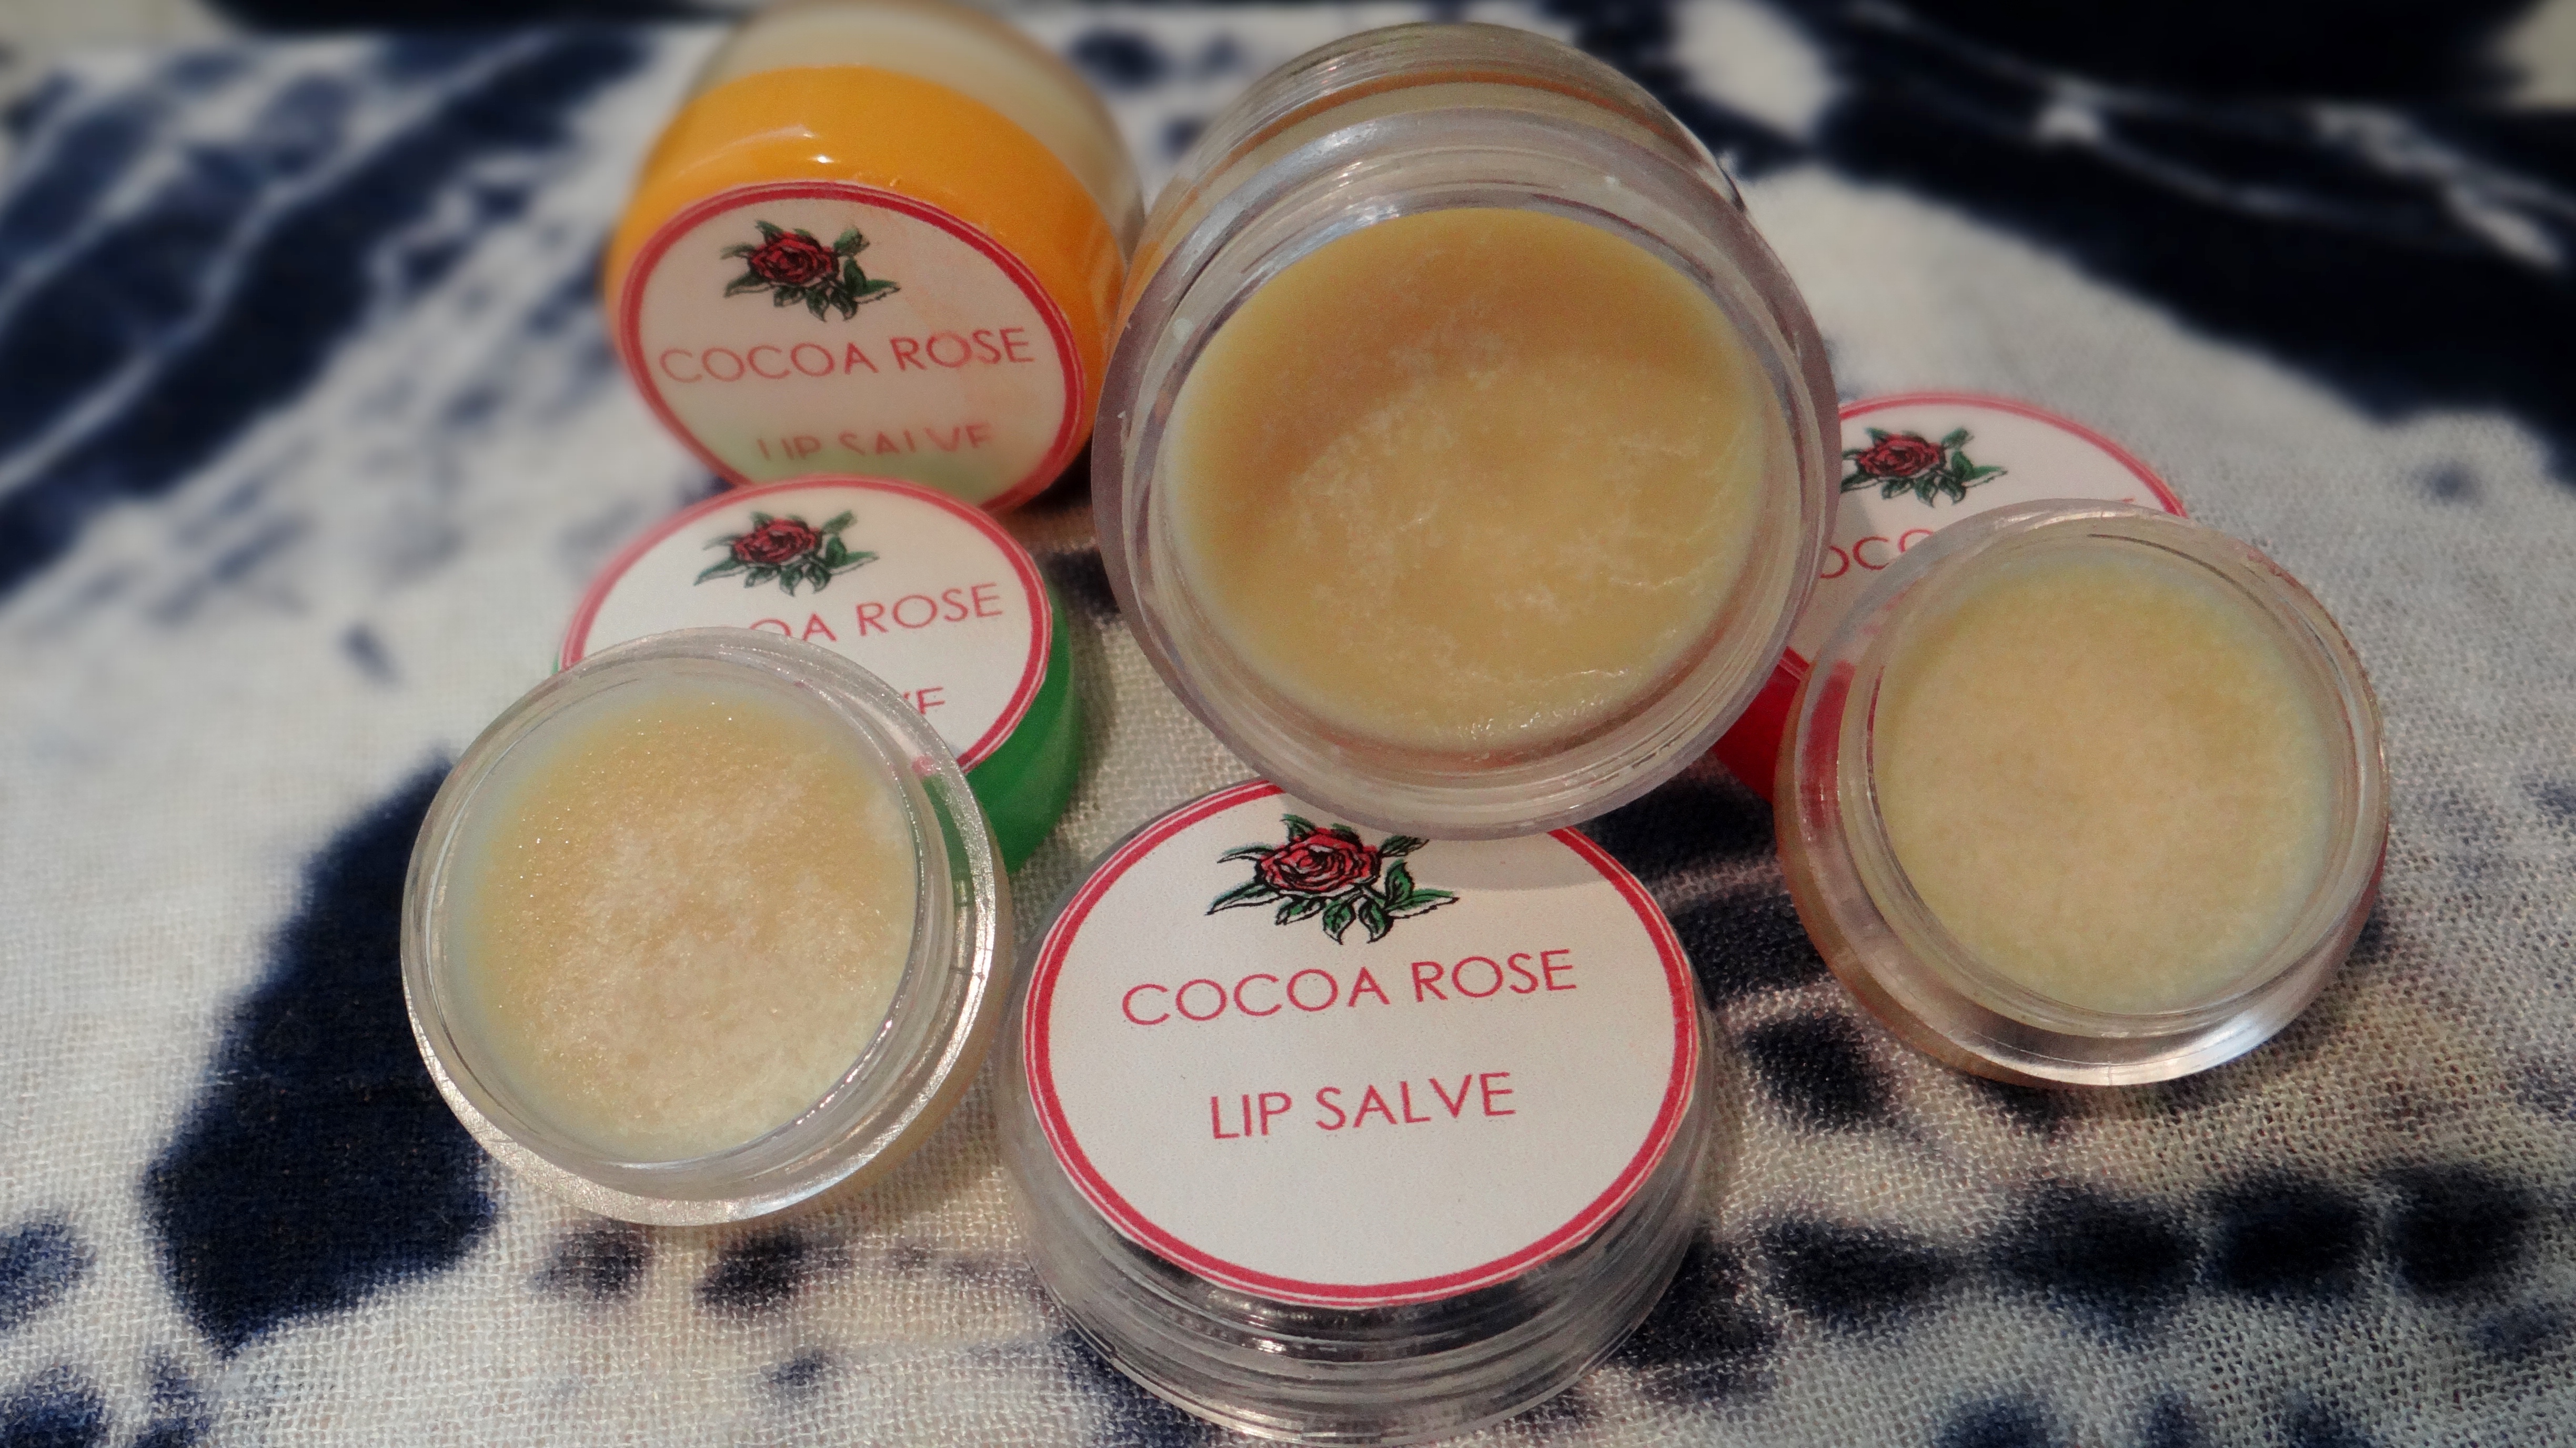
DIY Cocoa Rose Lip Salve
DIY Cocoa Rose Lip Salve
Ingredients:
0.8oz unrefined Cocoa Butter (double broil for less than 5 minutes)
0.3oz Virgin Coconut Oil
0.2oz. Rose Infused Grapeseed Oil
0.1oz Castor Oill
2 Vitamin E Oil Capsules = roughly 0.15oz (do not cut your fingers if you use capsules)
2 drops natural Rose fragrance oil – alcohol free (optional)
1 drop Peppermint Essential Oil (Optional – use any EO)
Mixing Instructions:
I first melt down the Cocoa butter in a double broiler for no more than 5 minutes and then add the Virgin Coconut oil to the melted butter (off the heat). The warmth from the Cocoa Butter will melt down the Coconut Oil. I add both the Rose Infused Grapeseed Oil and Castor oil to the mix followed by the contents of two Vitamin E Oil Capsules. The final step is to add the Alcohol Free Rose Fragrance Oil (optional) and the Essential Oil (optional). I then pour the mix into my containers and then let them set in the fridge for no less than 4 hours (usually overnight).
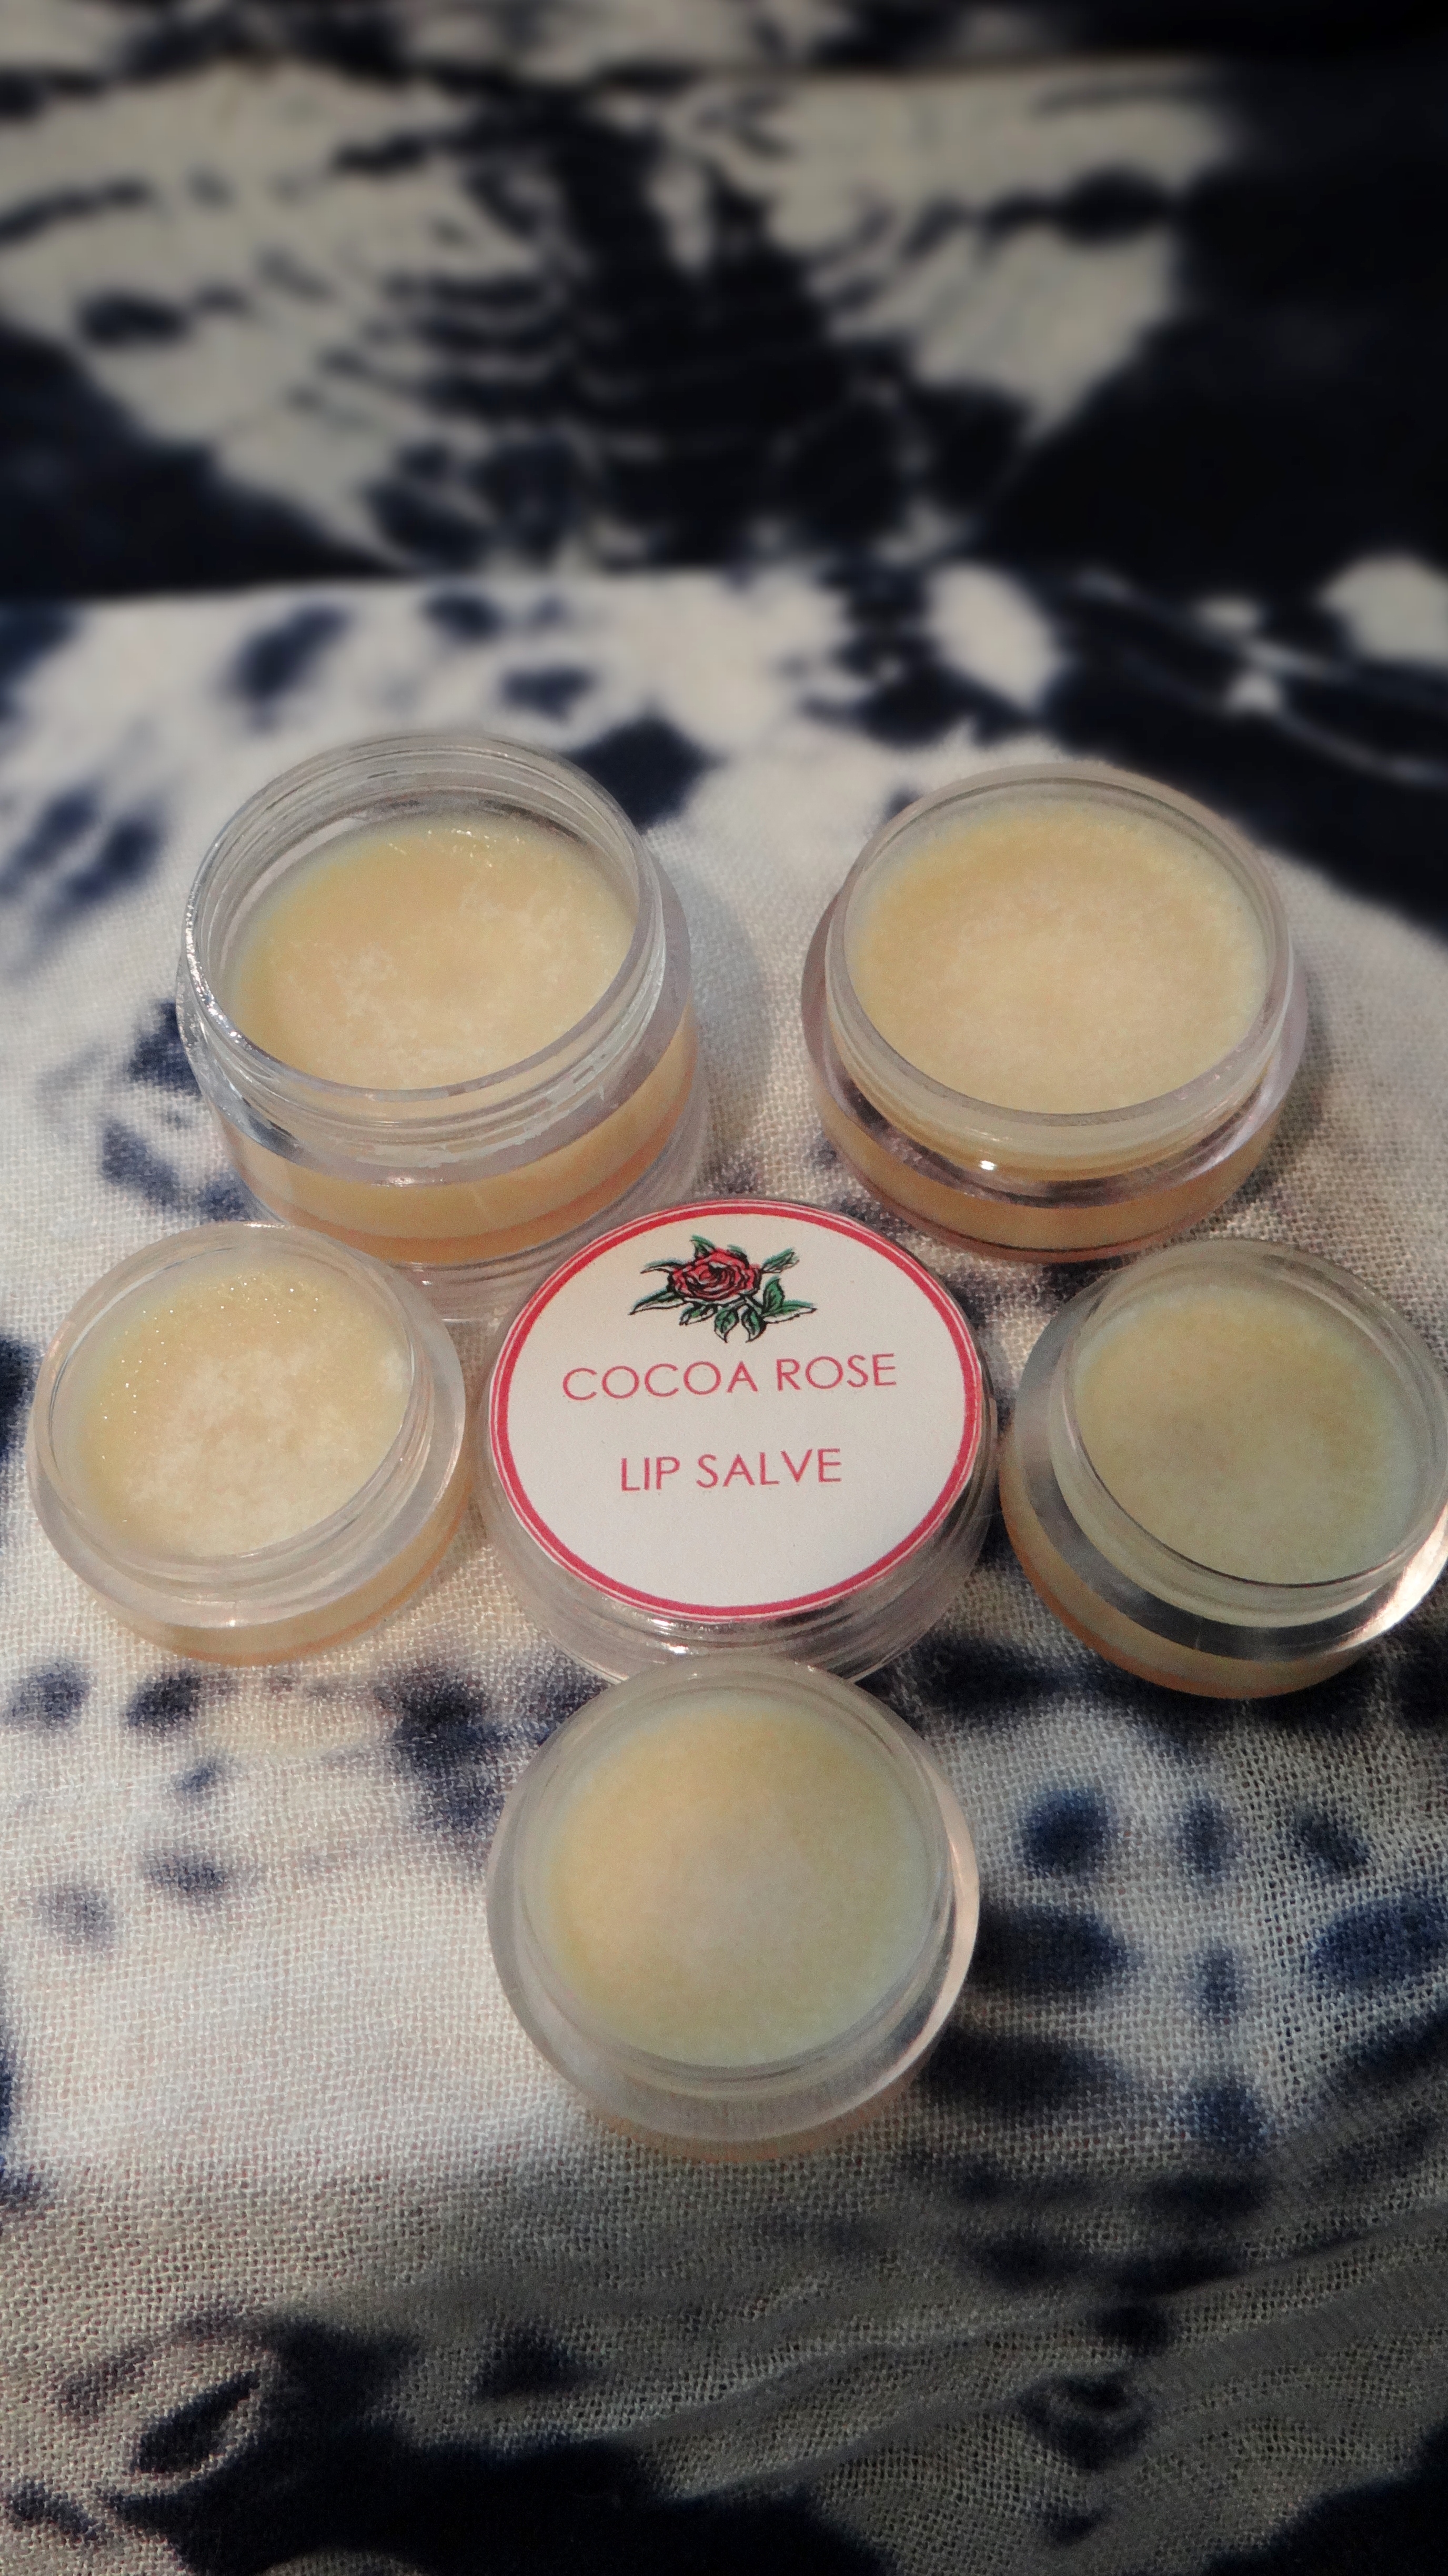
DIY Cocoa Rose Lip Salve
When/How I Apply the Scrub:
I have become obsessed with this lip salve so I do not only apply it at night but during the day too! Anytime really…but I do make a point of putting it on before bed. I also ensure that after I have scrubbed my lips I apply a sufficient amount of the salve. I make enough of this to keep a container on my bedside table, in my bathroom, my dresser and in my office.
Why I use the ingredients:
Cocoa Butter – an excellent butter that has moisturizing and soothing properties. It gives the salve hold yet still allows it to melt immediately upon contact with the skin providing a light sheen and glisten. Virgin Coconut Oil – is easily absorbed into the skin, has moisturizing properties and leaves the skin feeling soft. Castor Oil – is a humectant as well as being a sealing oil so it attracts moisture in the air to the lips and helps to heal damaged, dry and chapped lips. Rose Infused Grapeseed Oil – is a light oil that helps to seal in the moisturizing and nourishing benefits from the salve and provides a light sheen. I like to use alcohol free fragrance oil, because if provides a luscious scent to the salve and is not damaging or drying. Peppermint Essential Oil – (optional) helps to stimulate blood circulation giving you a tingling sensation, makes the lips plush and it also helps to keep the salve from going off too quickly due to it’s anti fungal properties (it is not a preservative but helps to extend the shelf life of a product a little). Vitamin E Oil – is super moisturizing for the lips, helps generate new skin growth and contains nourishing properties that helps to keep the lips supple and soft.
NOTE: Make sure that your fingers are dry before taking the products out of the container (before application) in order to keep them from growing bacteria. Since the Lip Salve does not contain beeswax it might become a little soft during the summer months therefor make sure not to keep them in your bag or pocket because it can melt and spill. Use the scrub no more than twice and week to ensure you don’t over exfoliate. You can apply the lip salve anytime you want, so if you make a few batches you can keep some handy in random places e.g. bedside table, dresser, bathroom cabinet, office desk etc.
I would love to hear if you try these mixes. If you have a favorite DIY Scrub or Lip salve/balm let me know, I like to experiment (as you know)!
The ever so stunning Naturalista D’Arcy is the brainchild and owner of Crazy4Coconut (seriously look at her and her stunning hair!). D’Arcy was kind enough to share the story behind her online store which as you probably guessed, mainly incorporates Coconut but she does offer other items/products too.
Everything D’Arcy sells are all natural and can be used on both hair and skin. Crazy4Coconut offers oils, butters, scrubs, clay and even jewelry. (D’Arcy I might have to get some of those earrings, they are beautiful!)
This naturalista’s site is not only about her store, she also blogs about her hair, hair care and having a healthy lifestyle.
I have the full story about D’Arcy and her company here on my Feature page. After reading her story, please take a few moments to visit Crazy4Coconut to take a peek at D’Arcy’s beautiful products and the wonderful work she does on her blog!
So this is going to be a quick post. It actually was my Birthday a week ago (the 7th) so I wanted to share a few details about what I did, what I did with my hair and all the goodies I got! My loved ones spoilt me rotten 😀
So this is what I did with my hair:
Surprise surprise….a Twist Out! It turned out quite well so I was happy.
I used my leave-in conditioner (my updated mix which I need to post here soon), almond oil and a little whipped butter. I put my hair in 6 twists the night before, covered with a satin scarf and left them in until I was getting ready for the “celebrations”. I took down the twists, separated with a little almond oil on my fingers and fluffed.
So for my “celebration” I went out with my family to this AMAZING Mongolian Restaurant. The food was awesome! The menu included a soup as starter, your main course and dessert. For mains you get to select what you want which could be a mix of: chicken, beef, lamb, shrimp and then a selection of vegetables: carrots, paprika, onions, green beans, tomatoes, spring onions as well as the sauces of which there were about 6 to pick from. You give your bowl to the chef who cooks it in an open kitchen and did I mention you could go for seconds, thirds, etc as many as your stomach can hold! The meats and seafood is kept cold/frozen so that it remains fresh and like I said you could go for only chicken, a combo of chicken and meat and if you are really crazy a mix of both meats and seafood together! Yes I rolled out of there full and happy. Oh and my choice of drink was white wine.
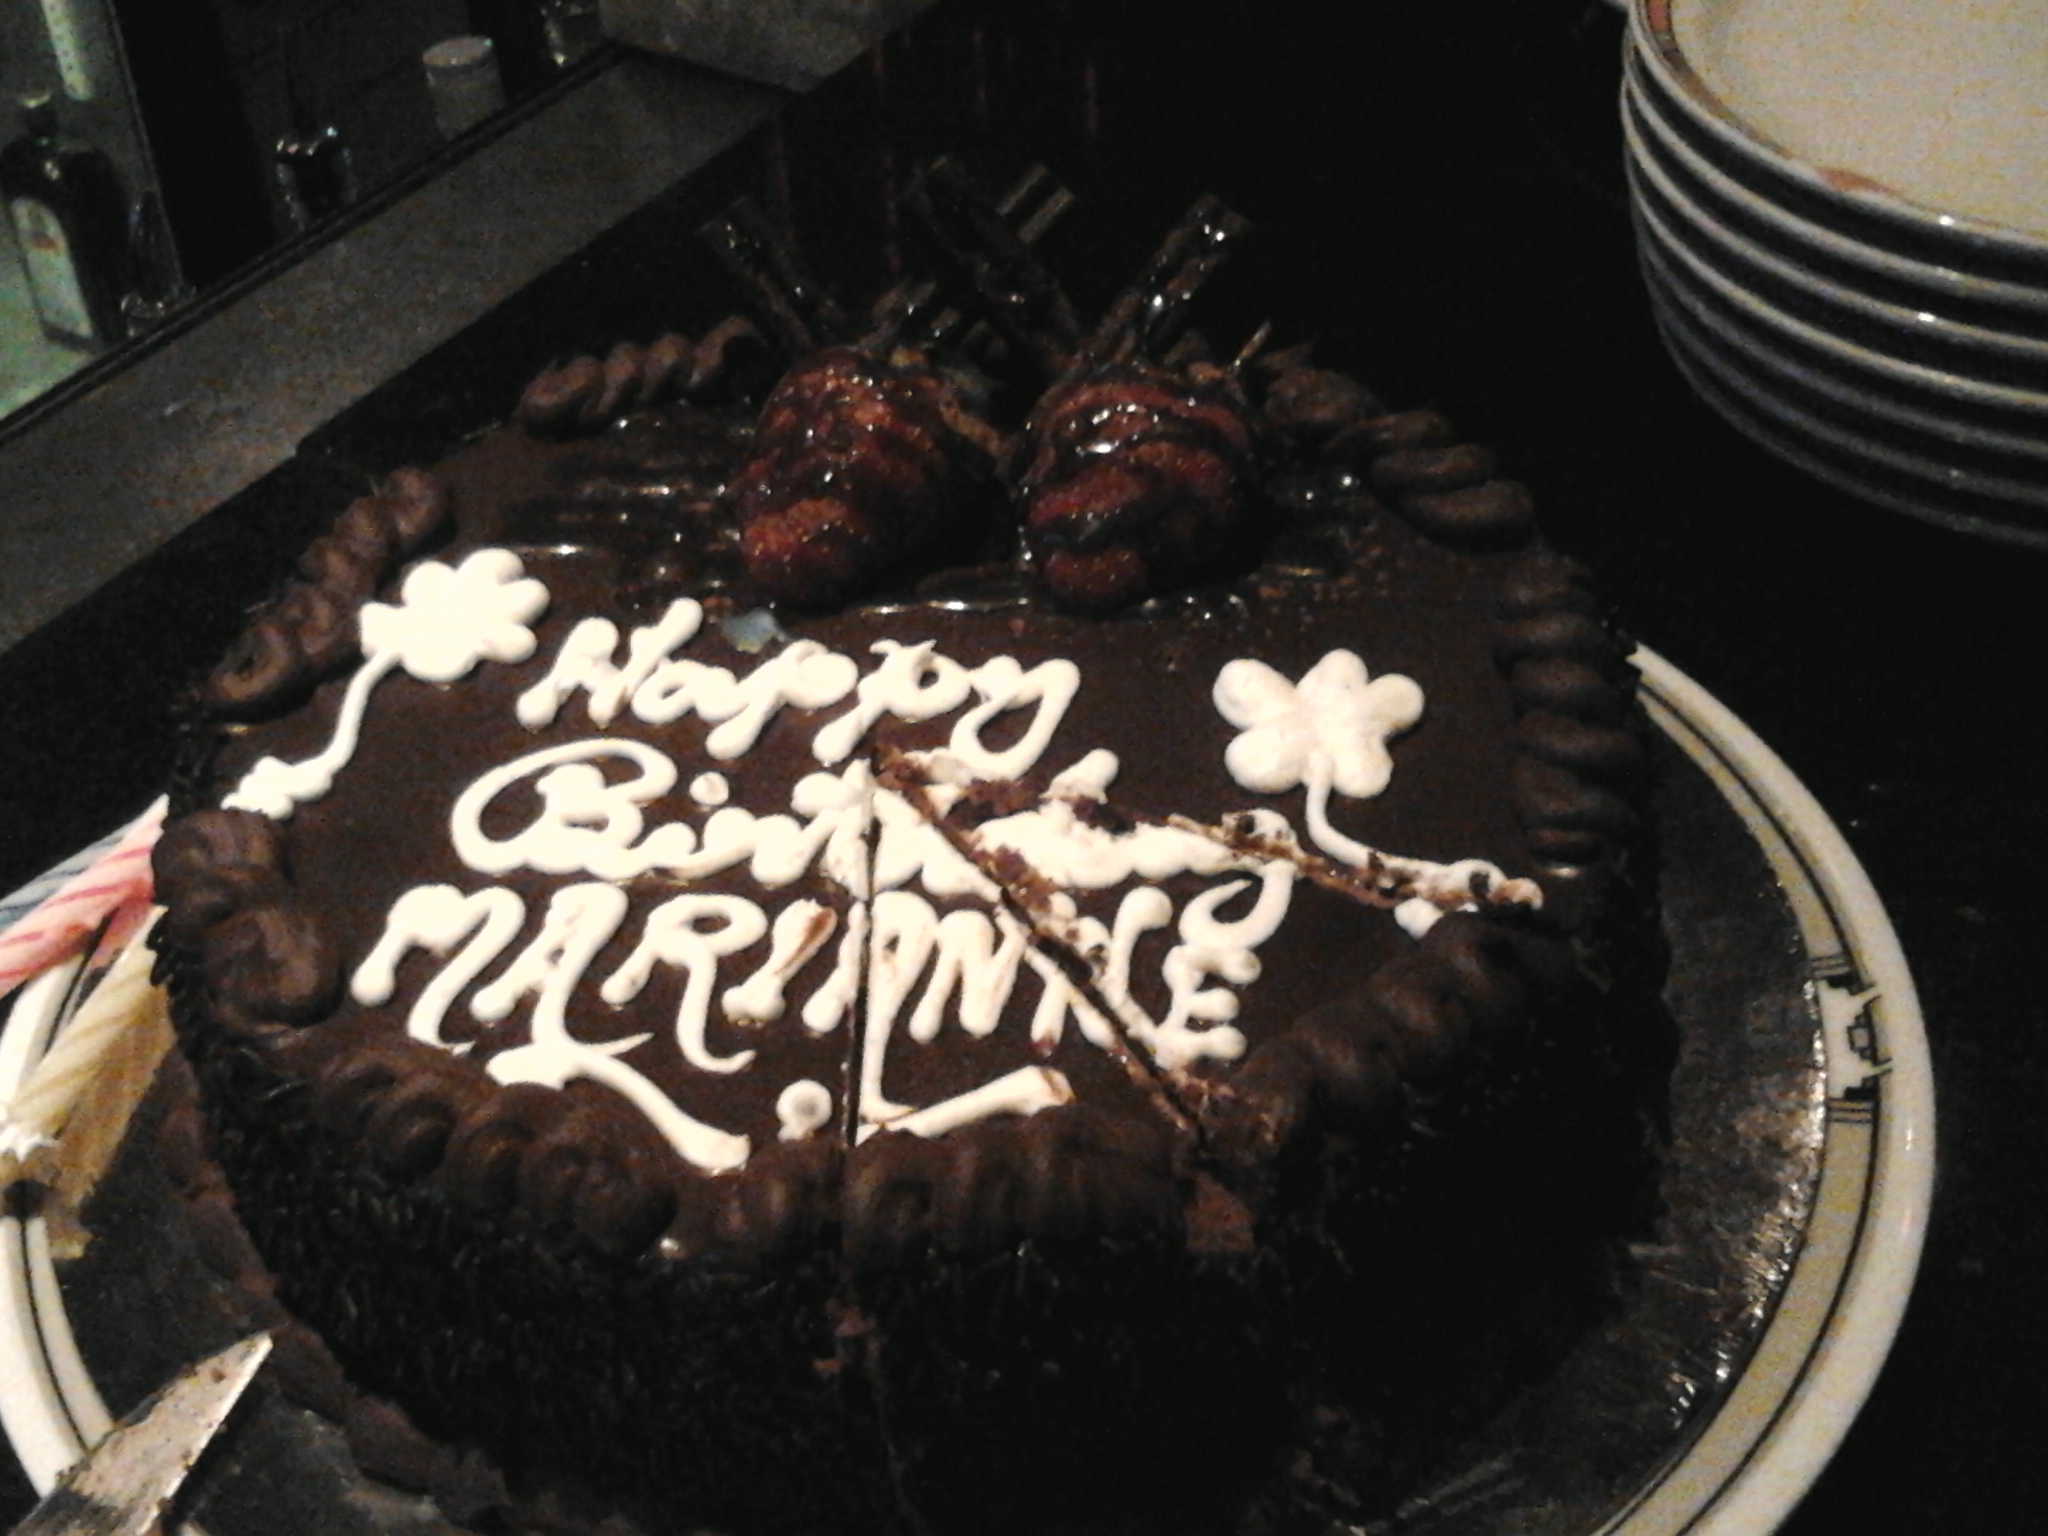
After dinner I went out with my friends for a few drinks…a good number of drinks which were Lychee Martinis! I LOVE this cocktail! My curlfriend got me hooked on them so I had to drag my friends to the best spot for cocktails of course. We ended up in our local spot and was surpirsed with a lovely birthday cake.
Now what did I get in terms of presents? I really got spoilt rotten!
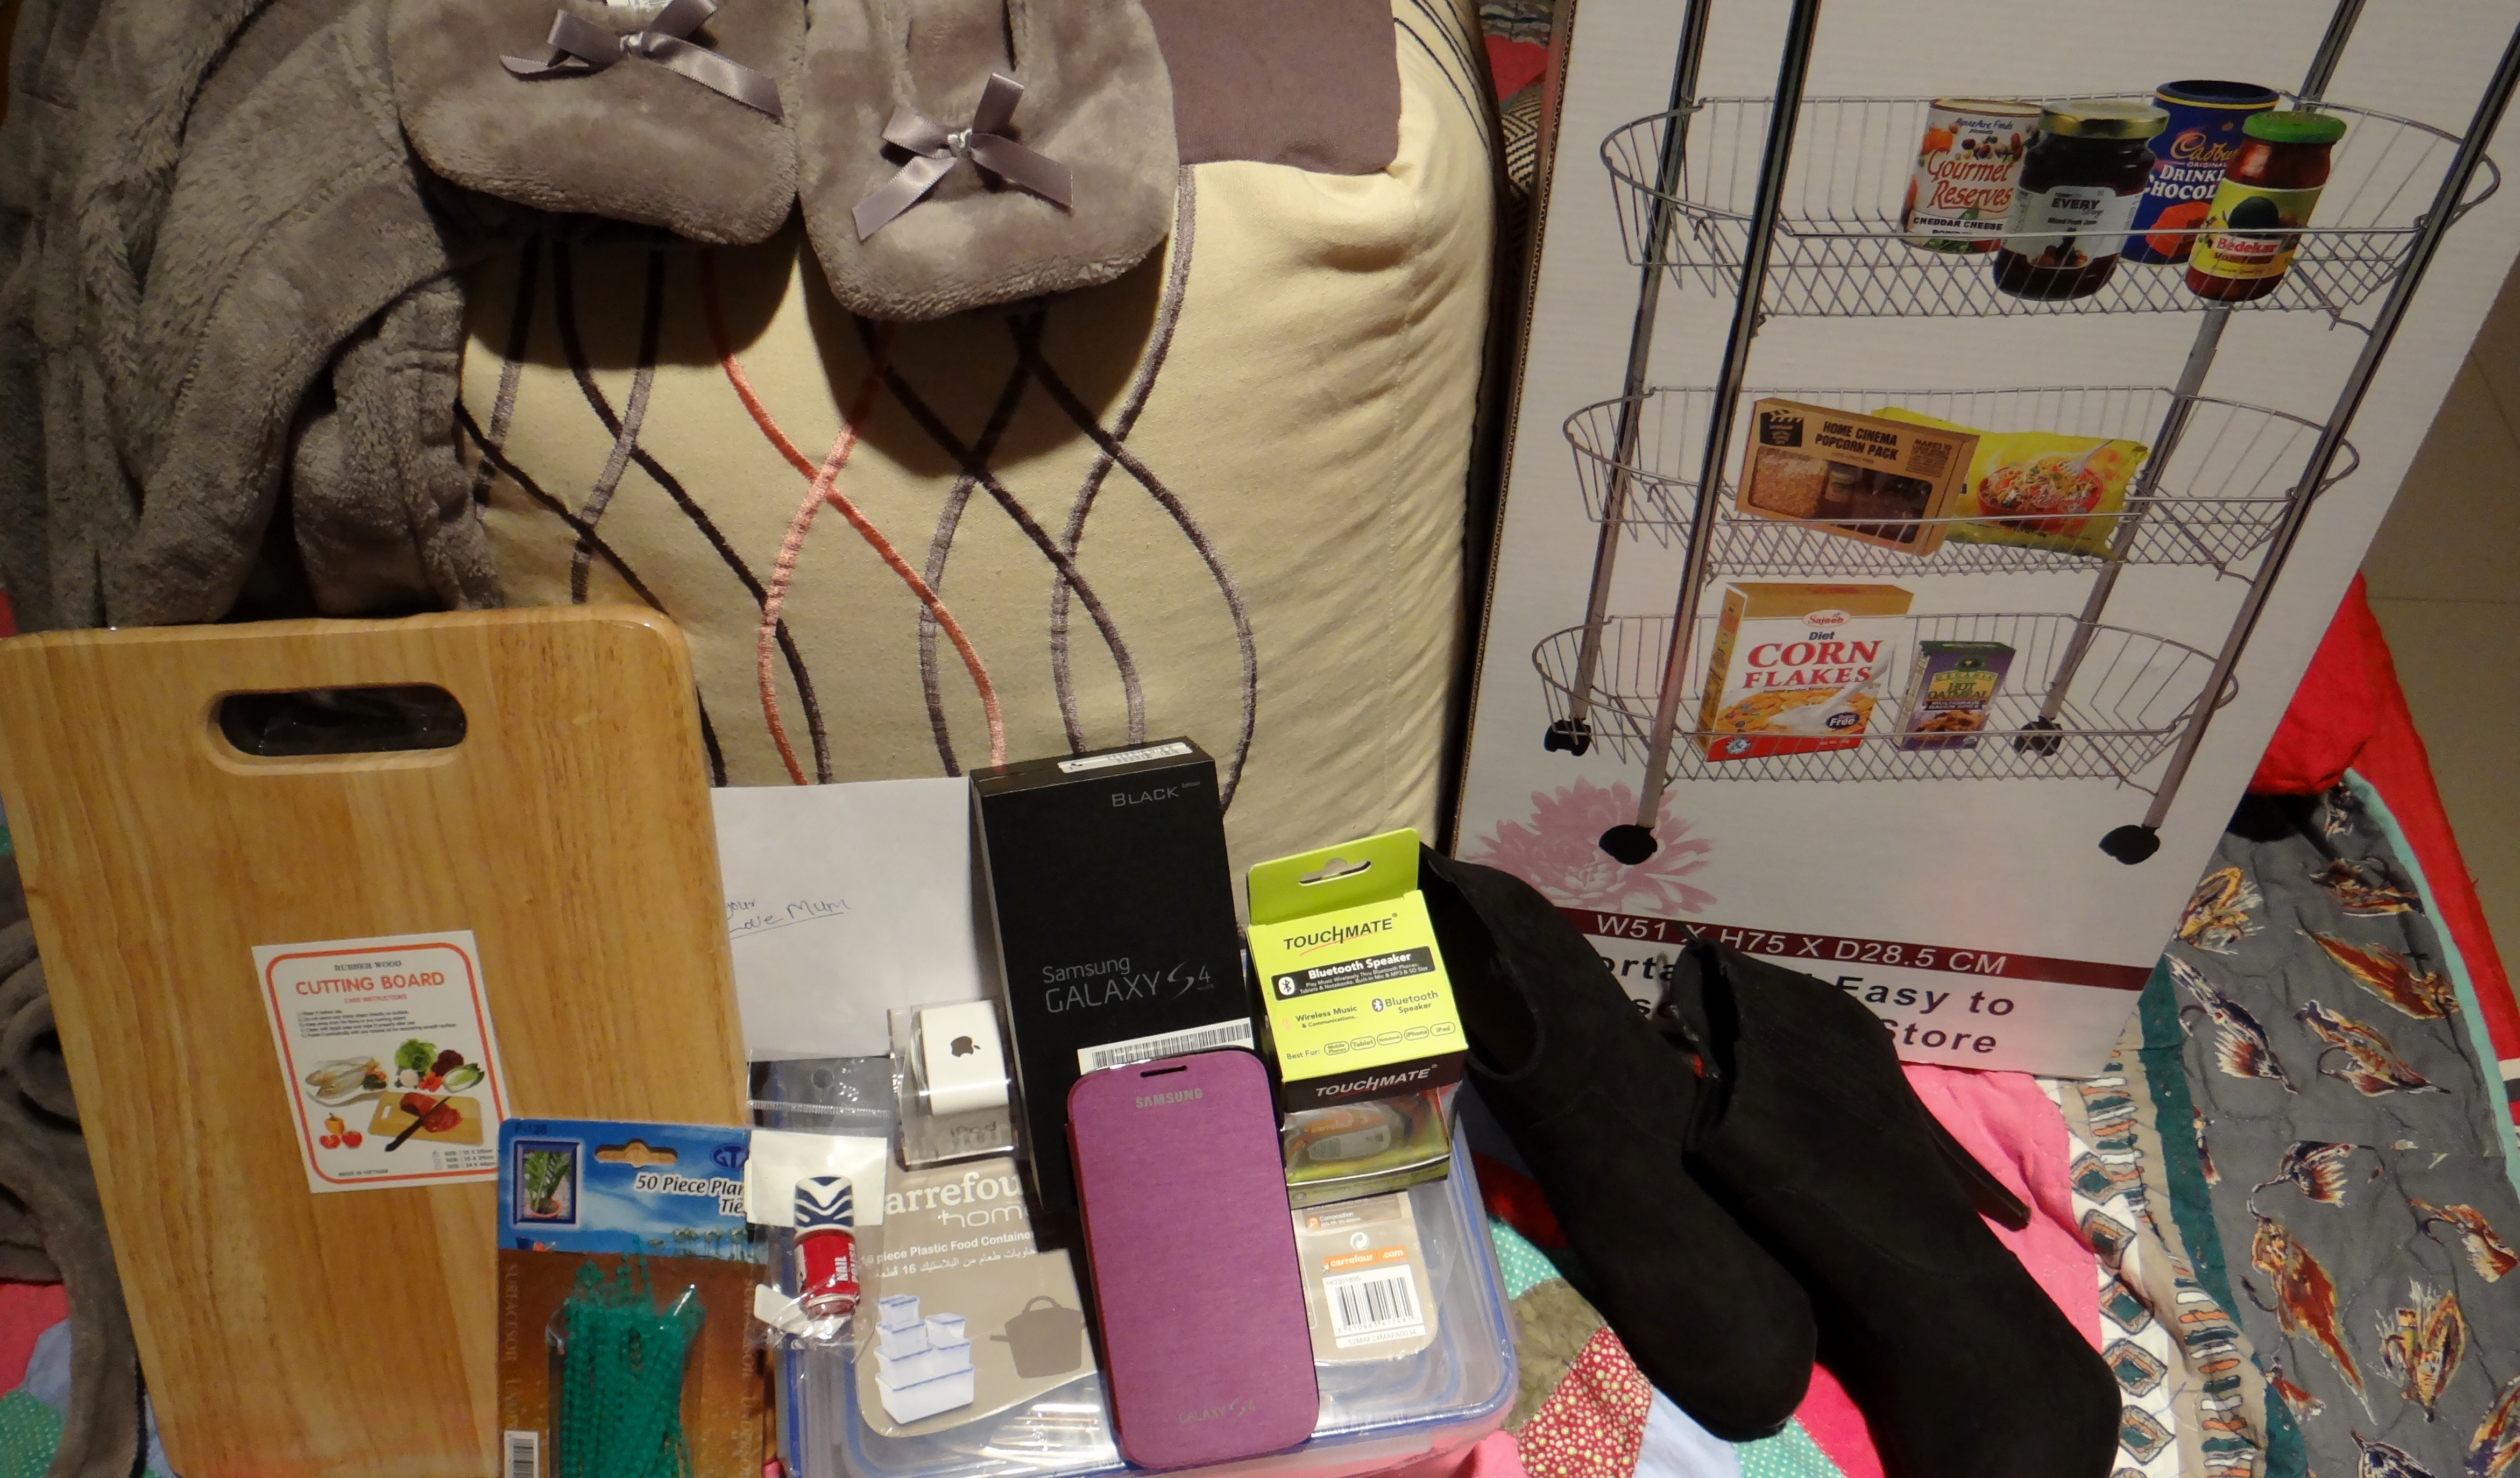
Ok so these are my goodies! My sister and I like to give each other random gifts that we call “silly gifts”. So I got the softest bathrobe/house robe with matching shoes (It is sooooo soft I want to wear it all day everyday!), a square bean bag seat (silly gift), a cutting board (my sister said so I can prep food for her lol), plant ties (for my soon to be green garden), wireless speakers, red nail polish, iPod Shuffle, Galaxy S4, Tupperware (silly gift), boots (a girl can never have too many boots), kitchen trolley (so I can put all my DIY goodies and other ingredients!), money and I forgot to take a picture of 2 tops I also got. 😀 Can someone say spoilt!
It was a great Birthday 🙂 however, now I can no longer tick the box of 25 – 30…not so excited about that but hey!
I am so super happy it is almost pathetic how happy I am LOL. So let first set the scene…as you may know I am an Instagram (IG) fan and a good curlfriend of mine ended up tagging me on a giveaway hosted by theNatural Hair Academy(NHA). If you haven’t heard of the NHA before I suggest that you visit their site. They have an awesome collection of information, inspiration and opportunities to connect with other naturalistas. Apart from their site and IG page you can also connect with NHA through twitter their YouTube Channel.
So the giveaway was basically created for those interested in all things DIY. Of course my curlfriend thought “hey Mai would probably like this!” and very kindly tagged me and I in-turn tagged some of my friends and followed the guidelines for the giveaway. One week later I was surprised to find out yesterday (9th March) that I won!!!! I am usually never lucky with things like this so I broke out in my happy dance LOL. I want to once again thank my friend Necey for thinking of me and tagging me which got me to join and I also want to give a big shout-out again to the NHA! The giveaway is HUGE!!! No…really it is HUGE!!! Thank you so much. I promise to put everything I receive to good use.
*************Products Included***********
2 Bottles of Trader Joe’s Tea Tree Tingle Shampoo
2 Bottles of Trader Joe’s Tea Tree Tingle Conditioner
Clover Honey
Organic Virgin Coconut Oil
Organic Mayonnaise
Vitamin E Oil
Jojoba Oil
Grape Seed Oil
Baking Soda
Tea Tree Oil
Extra Virgin Olive Oil
Apple Cider Vinegar
100% Pure Raw Shea Butter
*************Materials Included***********
Satin Bonet
15 Plastic Caps
Glass Jar
Spatulas
Measurement Spoons
Small Plastic Jars
Small Plastic Spray Bottle
Small Plastic Squeeze Bottle
Isn’t that insane?!?
I wanted to share the box with Necey but she insists that I enjoy the box by myself so I will send her a few of my DIY mixes instead, as a thank you :).
I plan to do an unboxing post & video once my package arrives. I also will be doing a “product review” of the Trader Joe’s Tea Tree Tingle shampoo & conditioner since I have never tried them before.
I am like a child LOL you all should have seen my reaction when Necey told me I won :D. I contacted Kim from NHA and she informed me that my package will be sent out by this week and hopefully should arrive in 2 weeks. (Big smile on my face again!) So stay tuned Maicurlies for the unboxing post & video! 😀
Have you ever won anything from the NHA? Anywhere else? If so what did you get, I would love to hear from you!
I (yet again) wanted to share a simple protective style that I seem to turn to whenever I am really not in the mood to fuss around with my hair or if my hair should be washed and I am slacking for the day (don’t judge me it happens!) 😀
There are a number of different ways in which I like to do the Gibson Tuck and today I wanted to share this method.
It really is as simple and easy as it looks. 2 two strand twists on either side, 1 forward “flat twist” at the front (don’t judge my “forward flat twist” I know it is ugly LOL) and then you tuck away the rest of the hair by rolling and tucking it away under the headband. Pin back the twists and presto you are done!
I use a headband for two reasons. 1. it acts as an accessory and 2. I use it to help tuck away the hair that isn’t twisted.
Like I said there are several different ways in which you can do the Gibson tuck so on the day when I recorded the video
I also took a few pictures of another versions of the style and changed up the headband (I really need to make a new headband to spruce things up).
What do you think, Gibson tucks yay or nay? Do you have favorite Gibson tuck styles? If so let me know, I would love to hear from you!


")
")