Hey Maicurlies,
Today I have the second recipe for my Whipped Butter “series”.

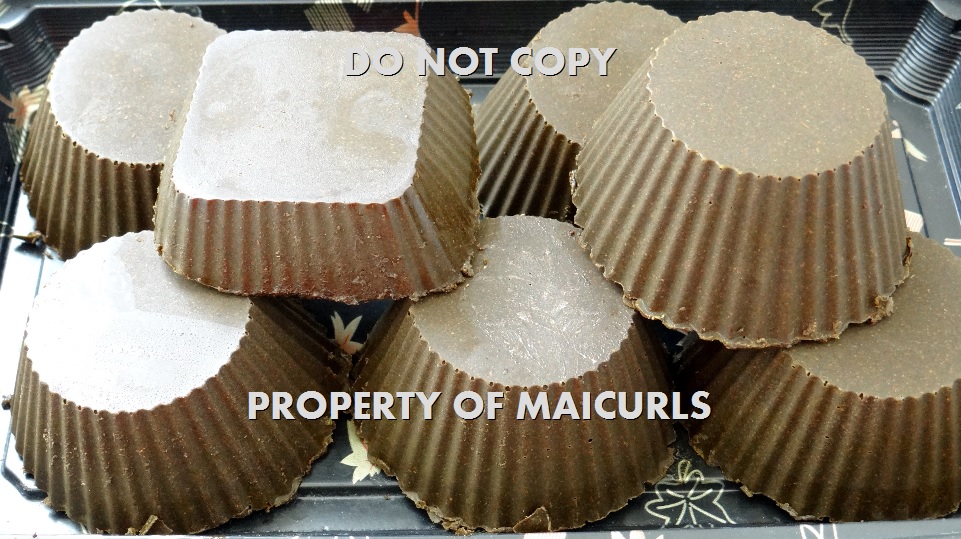
DIY Whipped Moisturizing Conditioning Butter
This Whipped Moisturizing Conditioning Butter is quite simply wonderful for the hair! The recipe is quick to make and literally can be done with 2 ingredients (I use an extra ingredient to make it super moisturizing but this is optional).
Why is this a Moisturizing Conditioning Whipped Butter?
I have been asked if whipped butter (on its own) is moisturizing for the hair and in my opinion it isn’t really “moisturizing” because I find that in order for a product to be truly moisturizing it should have proper moisturizing ingredients – basically it should have water included in some way. Water, at least for my hair, is the beginning and end of moisture. Regular whipped butter (on its own) doesn’t usually include water (especially if it is homemade) unless you have also added preservatives to keep it from going rancid and growing bacteria. I find regular whipped butter to be excellent at sealing, providing shine, making the hair soft, but not necessarily a moisturizing product in itself. For example, I would not abandon using leave-in conditioner in place of regular whipped butter.
So the combination of the moisturizing leave-in with the whipped butter makes this a moisturizing conditioning butter! To make sure you are using a moisturizing leave-in look at the back of your product to see if water is listed within the top three ingredients (if it is the very first ingredient even better).
Products/Tools:
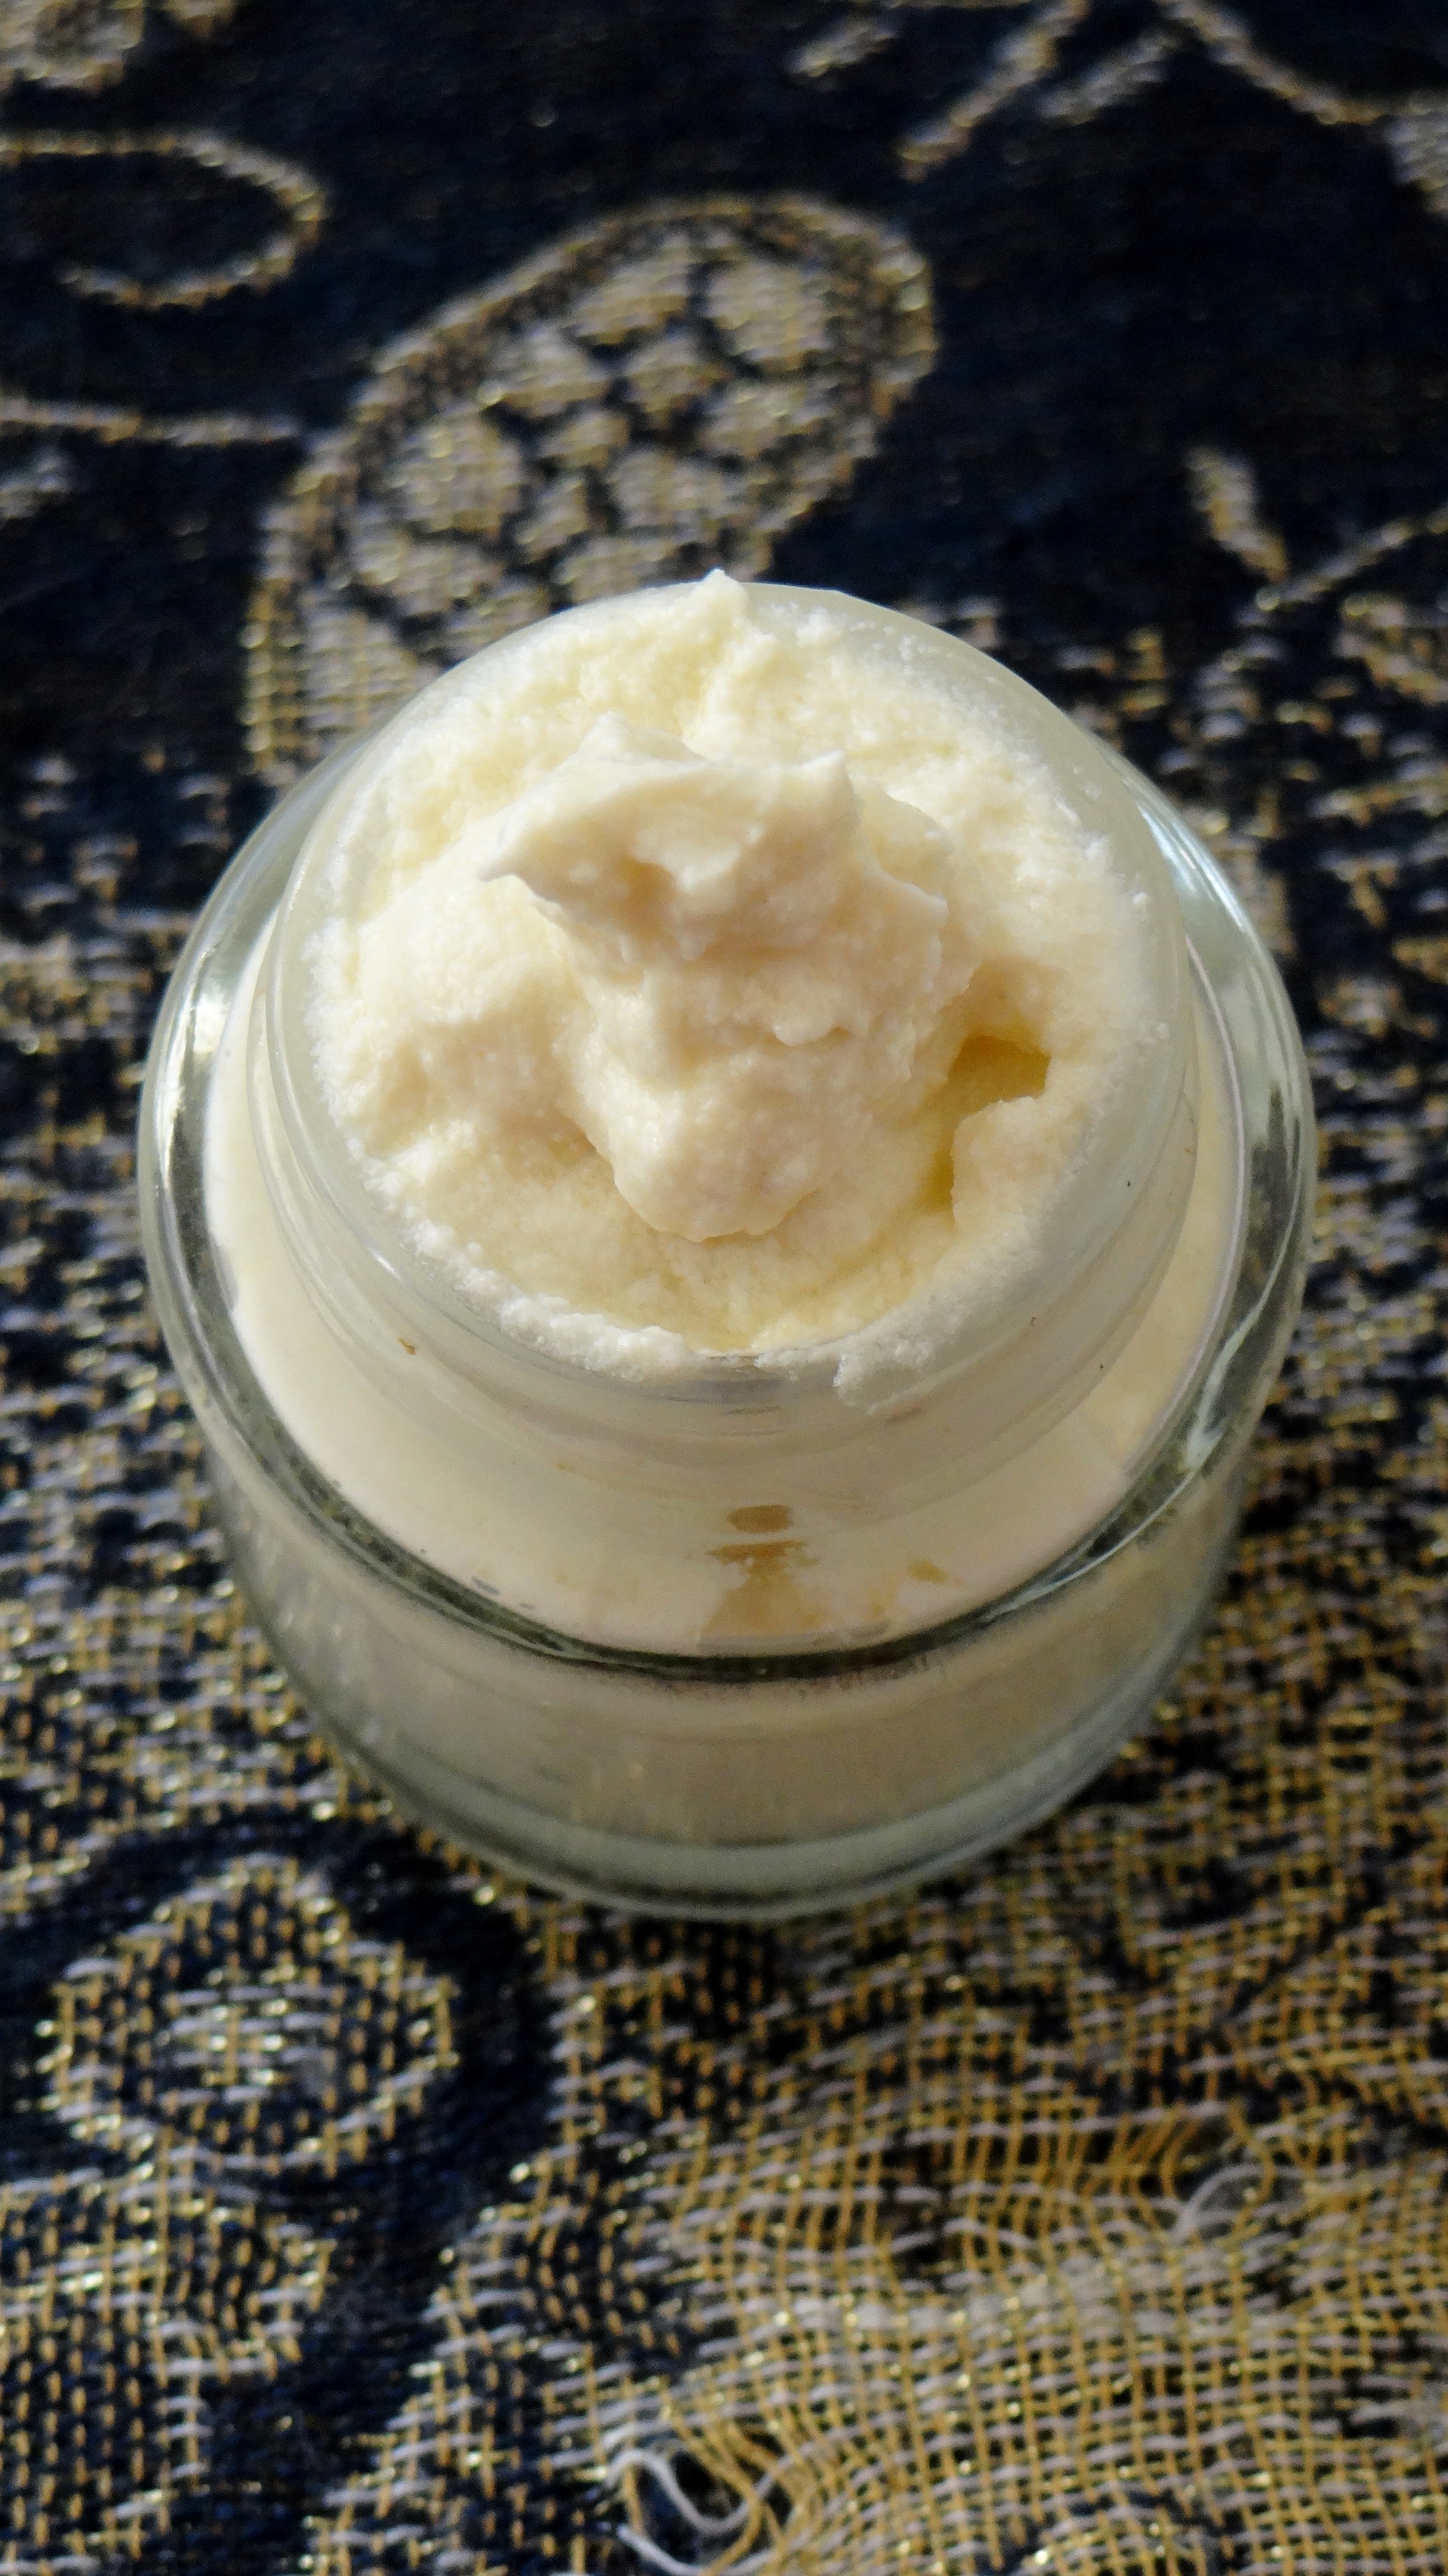
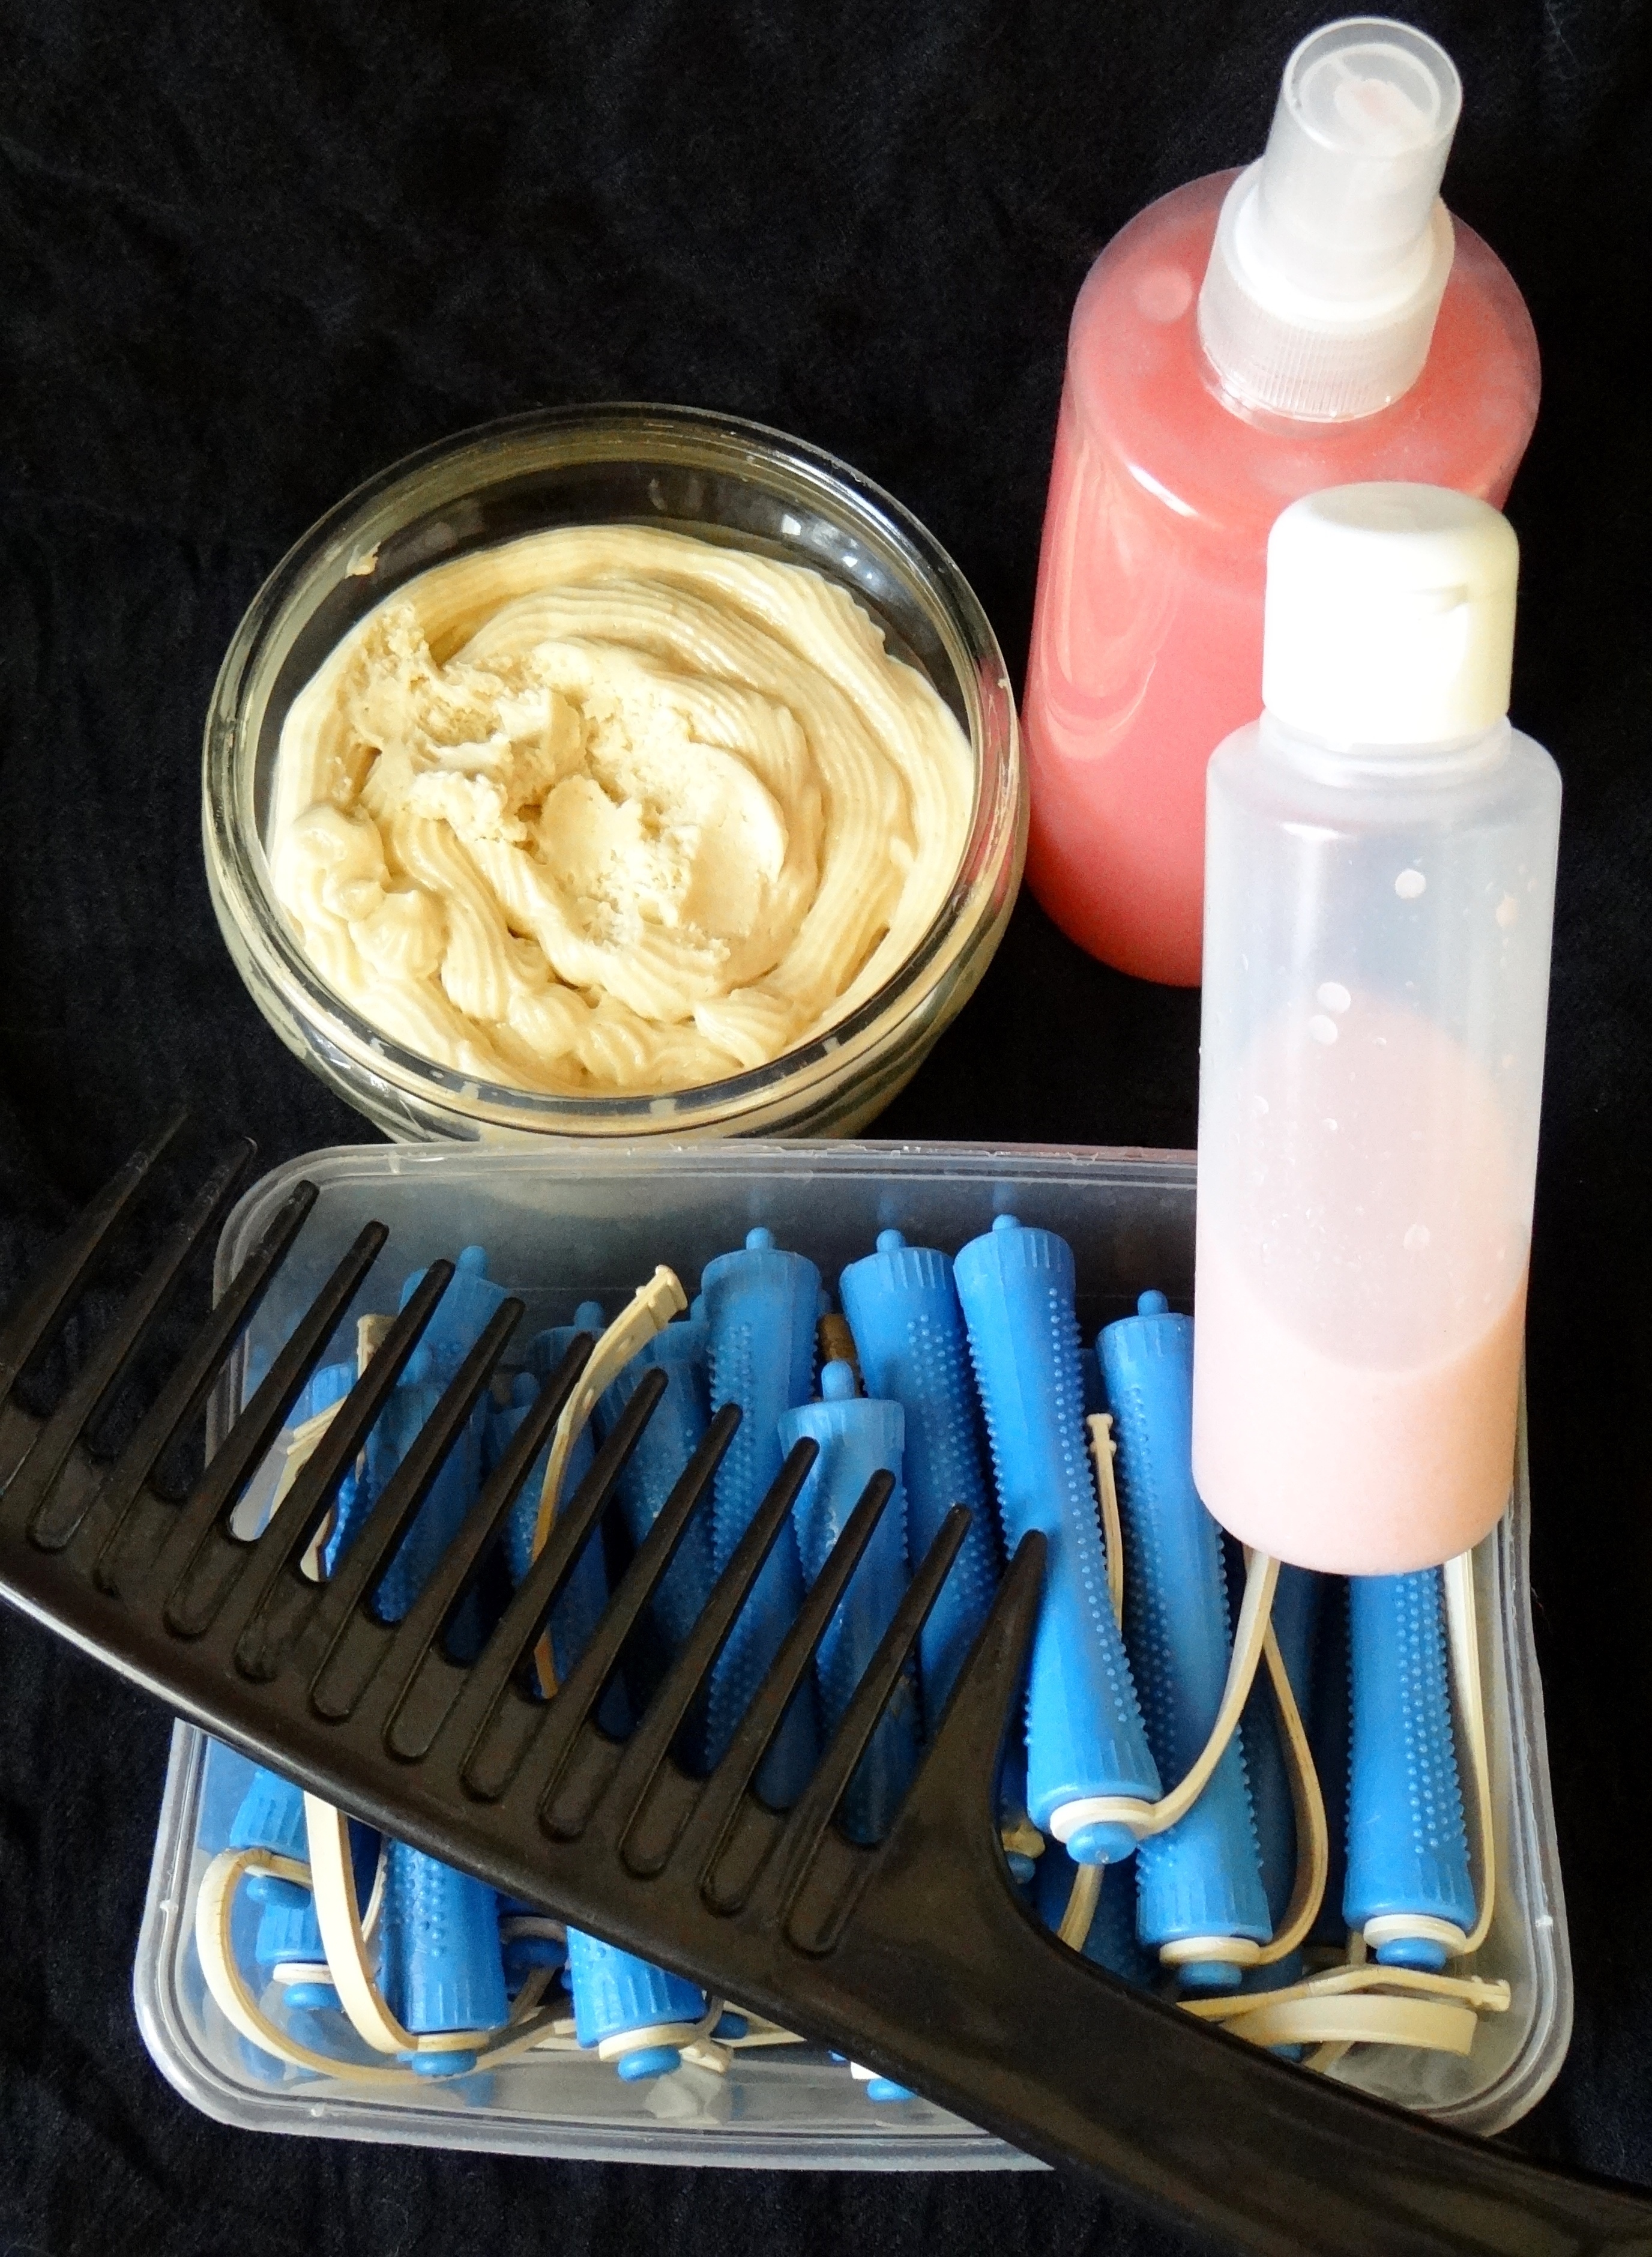
DIY Whipped Moisturizing Conditioning Butter
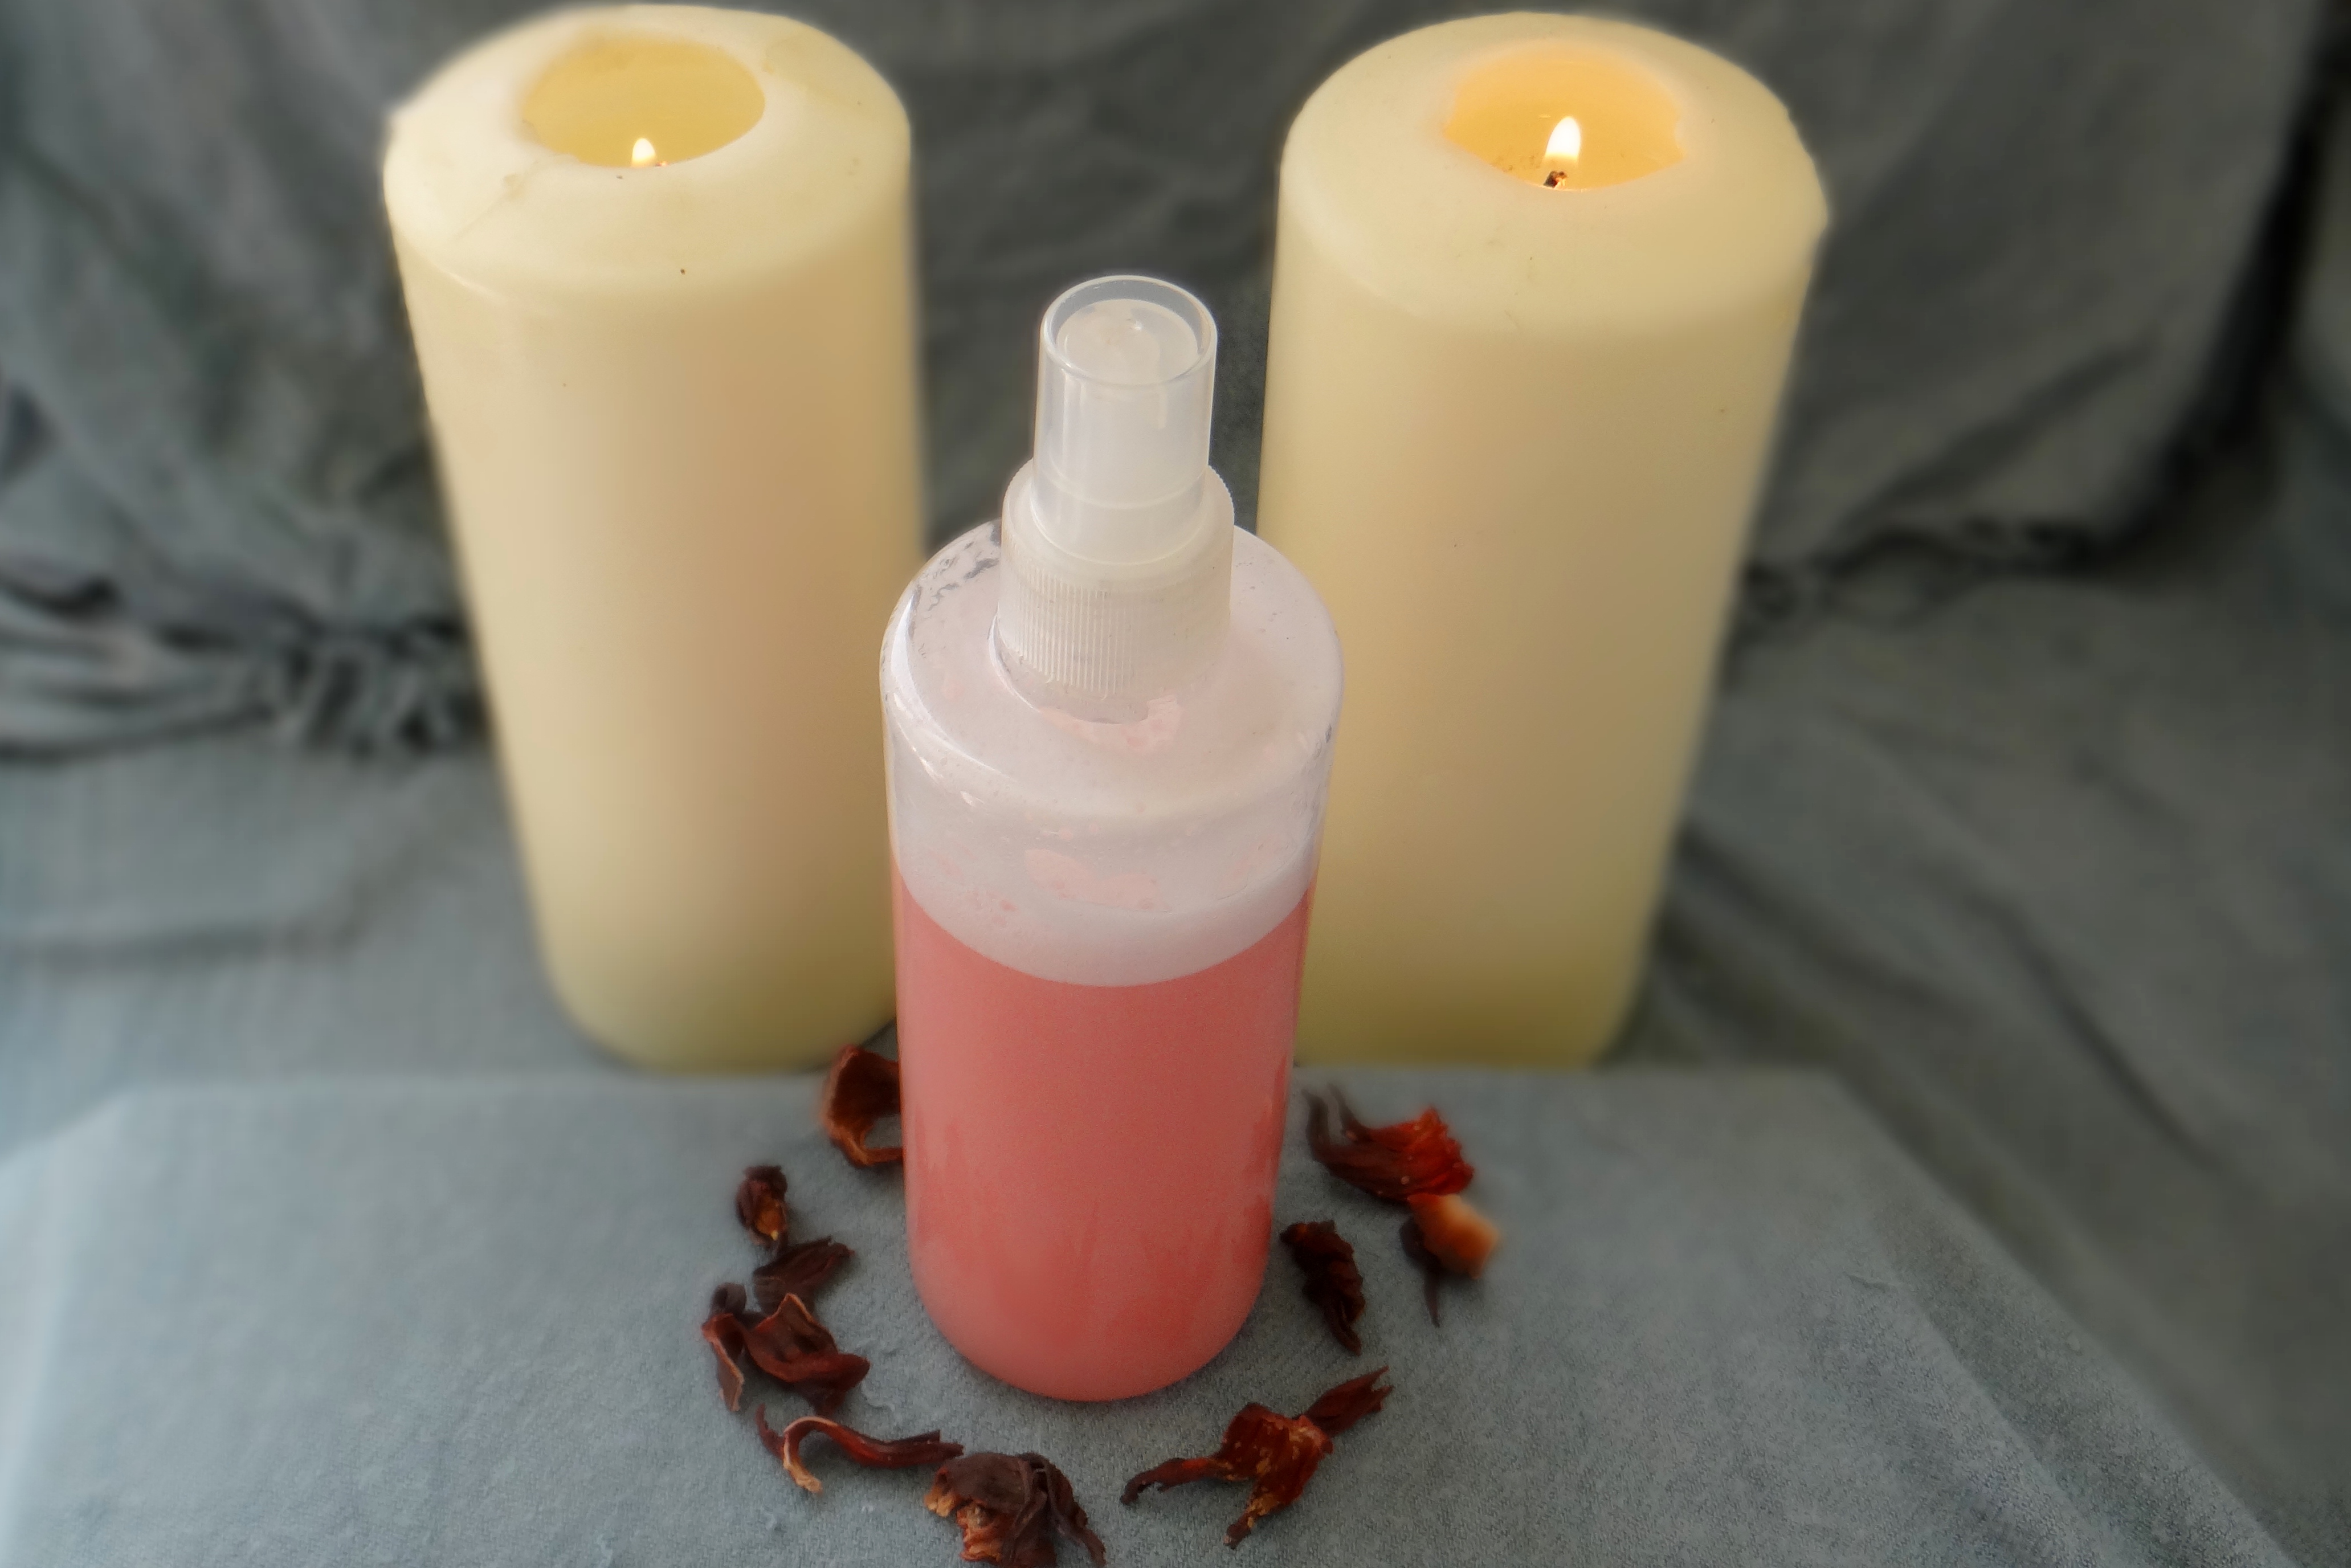
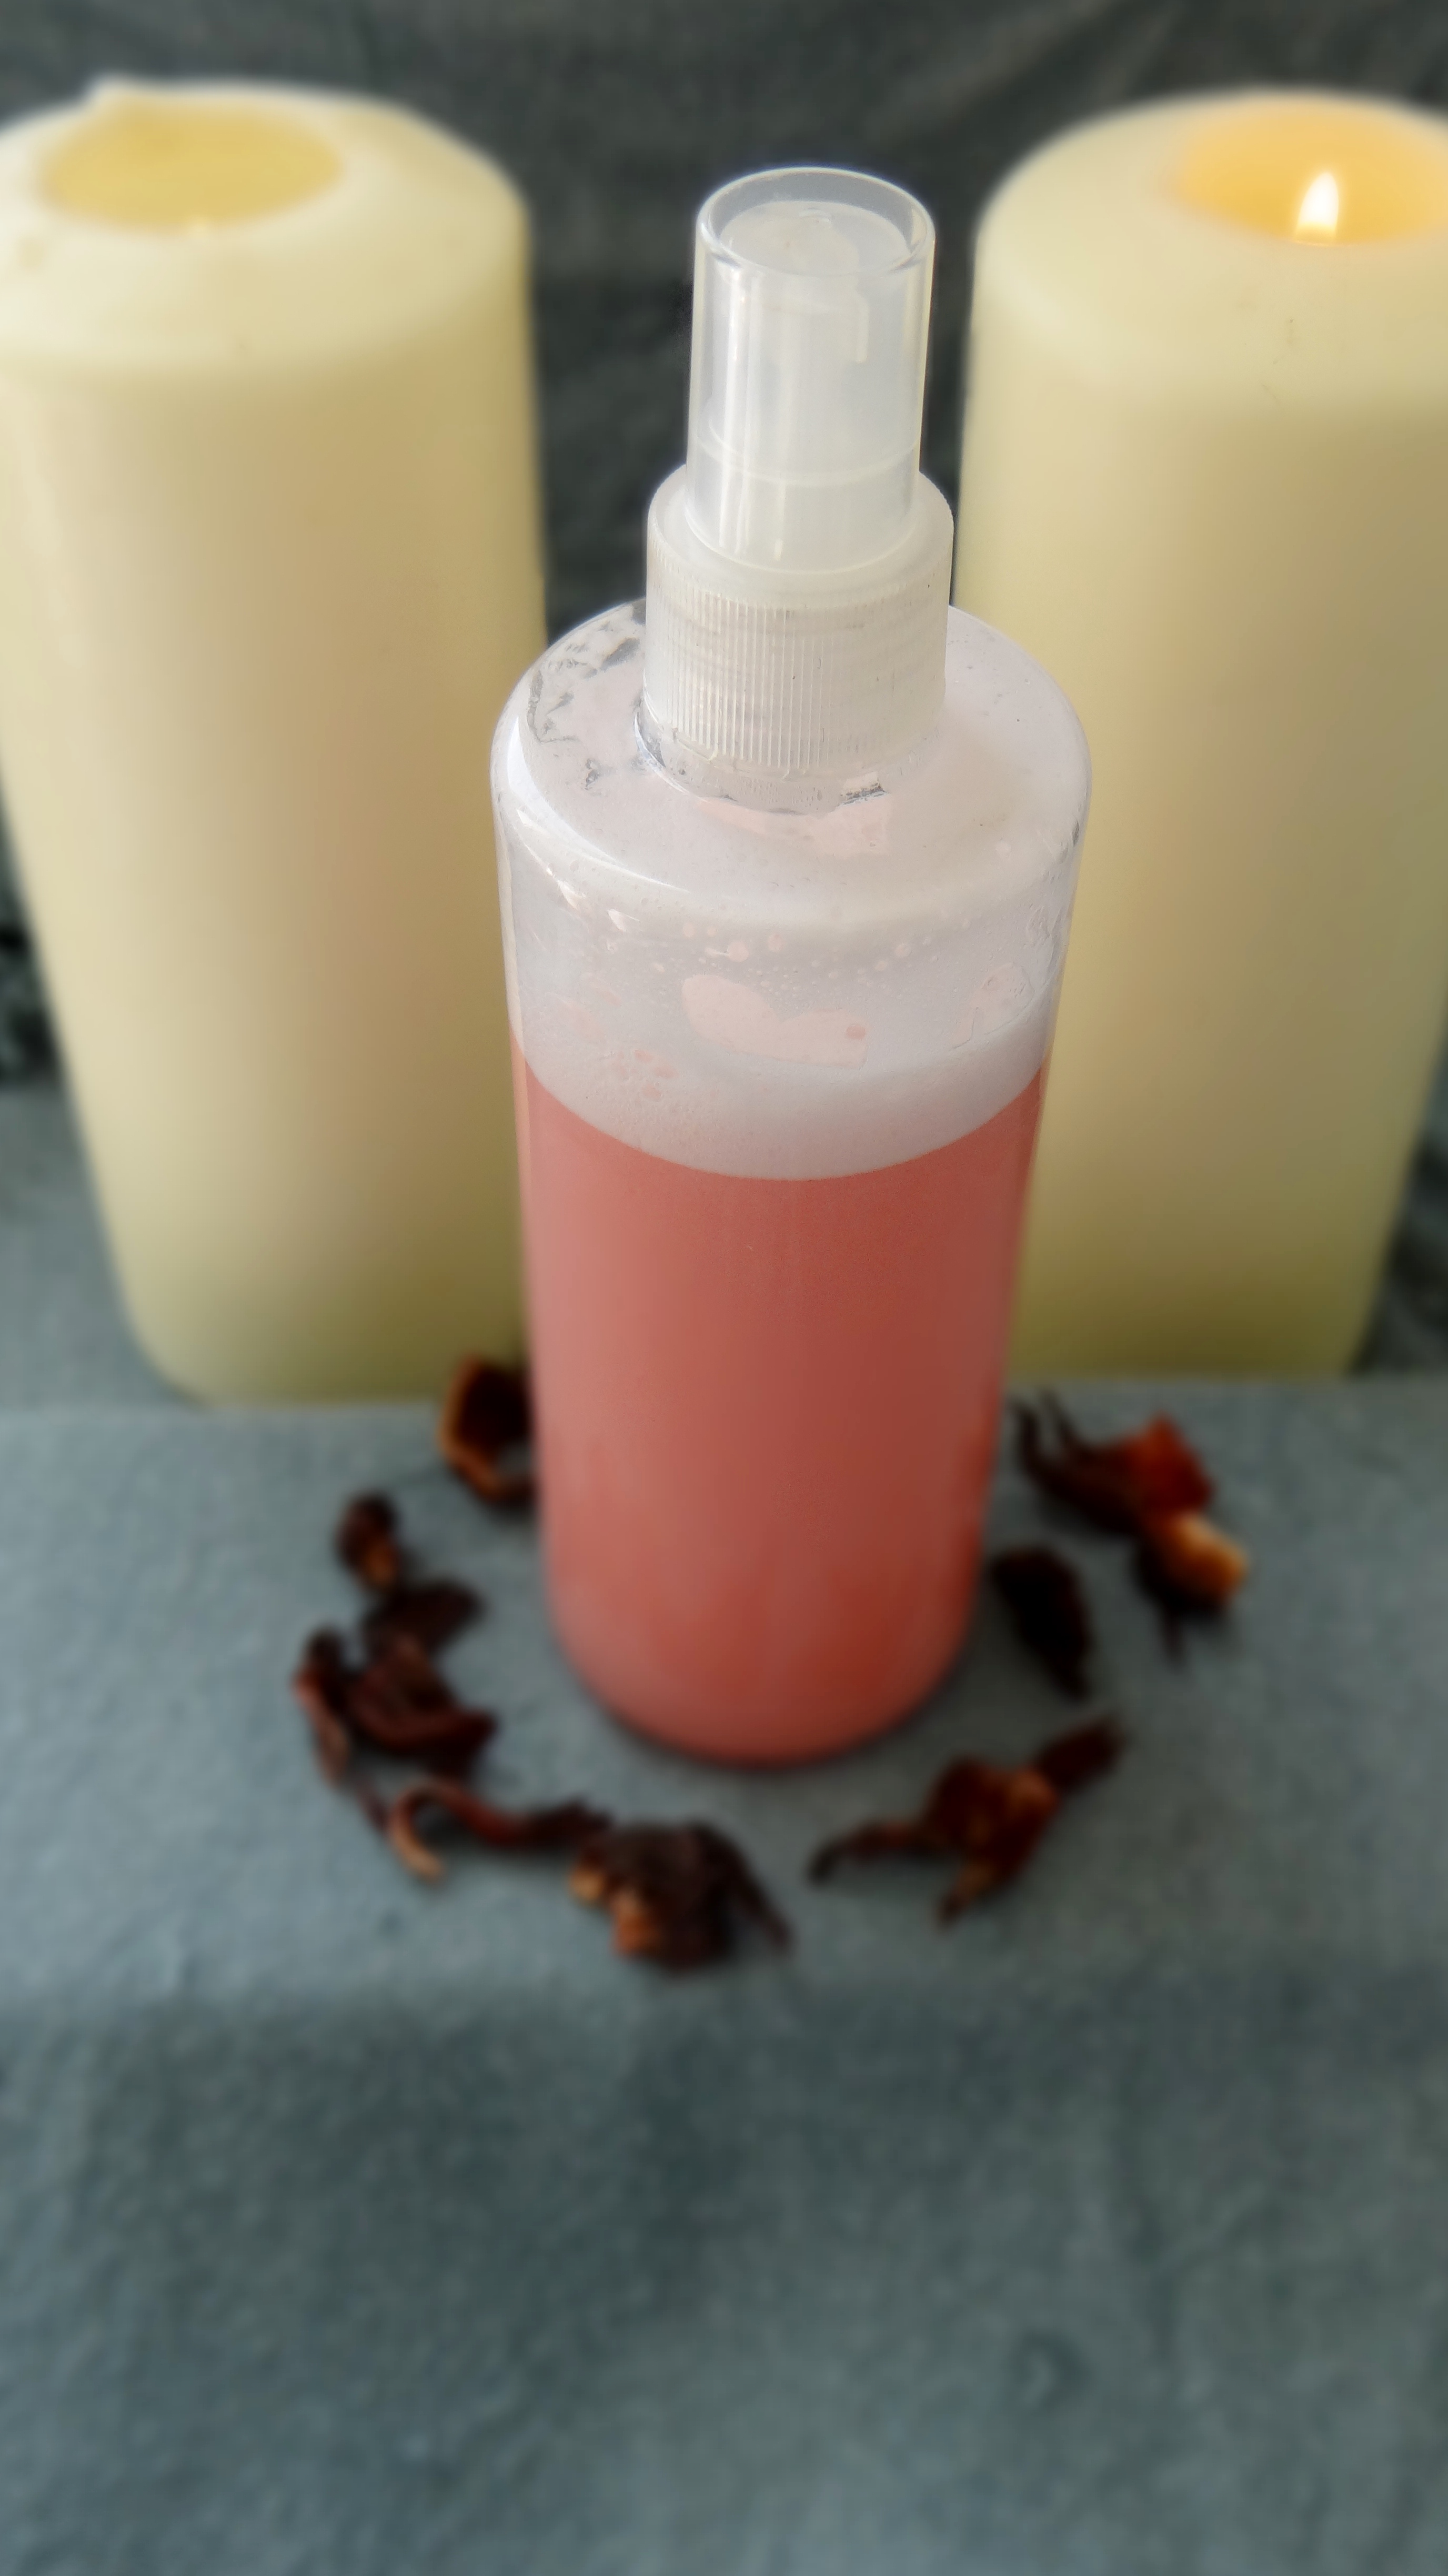
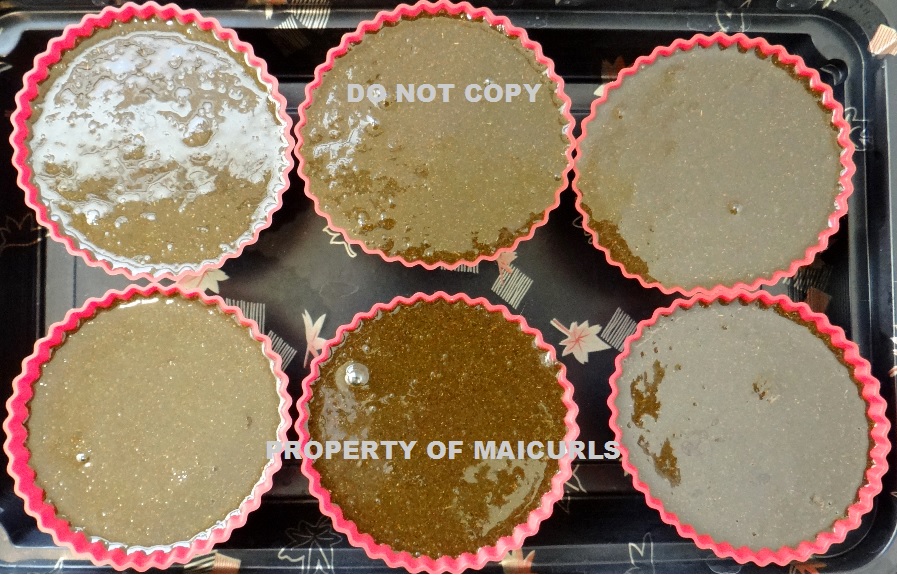
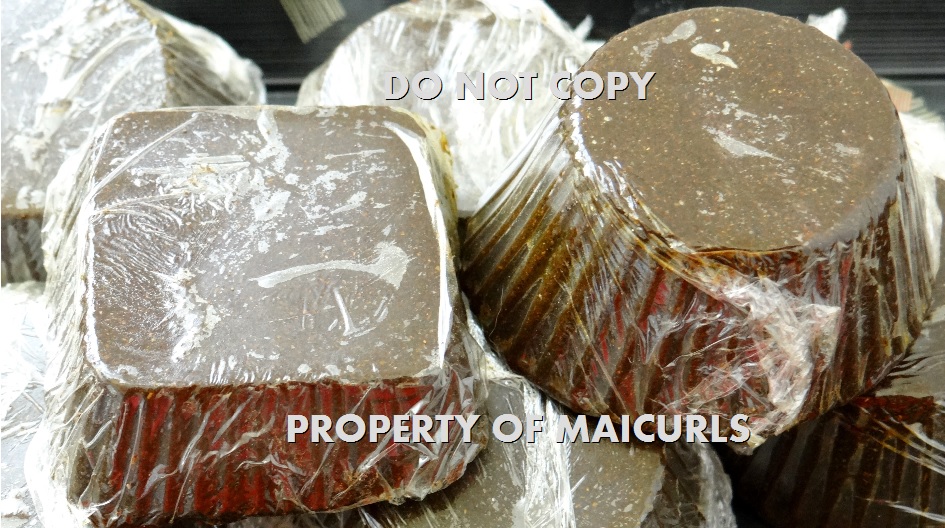
- 1 oz Whipped Shea Butter (you can use any whipped butter, I used my DIY Whipped Butter)
- 0.7 oz Moisturizing Leave-In Conditioner (you might need to experiment with different leave-ins)
- 0.2 oz Glycerin (Optional for additional moisture)
- Whisk
- Bowl
- Gloves
- Airtight container
When & how do I like to use this mix?:
I consider this an ‘all in one’ product. It has moisturizing properties, the ability to seal in moisture and at the same time also helps to give a little definition. I normally apply the butter mid-week on hair that was already properly moisturized and sealed after it was washed. I use it to help restyle my hair, giving back curl definition on styles like a twist-out, braid-out, Bantu knot-out, pin curls etc. I usually lightly spritz my hair with water and then follow up with the mix and move onto setting my hair. If my hair is feeling uber dry I will use my DIY Spray Leave-In Conditioner or my DIY Moisturizing and Curl Activating Spray. I do not follow up with an oil since the whipped butter already contains oil.
Storage/Shelf life:
I make small batches of this since I do not use preservatives. The combo of the leave-in and butter can result in bacteria/mould growth if it is left for weeks and weeks before being used up or properly stored. I have kept my mix for 4 weeks without any issues (by week 4 I had used everything up) but I strongly recommend making small batches especially when you are first trying out the recipe because not all leave-ins will mix well with your chosen whipped butter. You can store it in your fridge to help extend its shelf life for a little longer, just keep in mind the cold temperatures in the fridge will make the mix a little hard so take it out at least 30 minutes before you want to use it.
I have a video demo of how I make my Whipped Moisturizing Conditioning Butter:
Ingredient benefits:
Shea Butter: Shea butter acts as an excellent sealant and is known to help “trap in” moisture and moisturizing products applied to hair. Shea butter is actually considered to have some moisturizing properties and is therefore wonderful for the scalp as well as the hair. Shea Butter provides nourishment to dry or damaged hair from the roots to tips and is said to help repair and protect against weather damage, dryness and brittleness. It also has a smoothing effect that helps provide shine to the hair.
Water Based Leave-In: Water based leave-ins are a vital part of proving our naturally dry hair with moisture and should be part of our moisturizing routine. Leave-ins help to continue to condition the hair over the days they are left on and therefore help to prolong moisture in the hair while at the same time keeping the hair soft and supple. Leave-ins help to refresh styles, revitalizes our curls and help to smooth the hair cuticle, leaving us with shiny hair.
Glycerin: Vegetable Glycerin is a humectant that attracts water in the air (humidity) and directs it to the area applied (the hair.) Due to its oily nature it can also be used as a sealant however should be used sparingly and should be diluted since it is thick and sticky. Vegetable Glycerin is better served when used in moderately humid climate, if used where there is a lack of humidity in the air it can do the opposite, extract moisture from the hair to the air. At the same time too much humidity in the air can cause frizz. (Not all naturals like to use glycerin so this is a head to head preference).
I would love to hear what you think about this mix, especially if you try it out!
Thanks
Maicurls


")
")