Hey Maicurlies,
DIY Henna Gloss
This is a long overdue post. A couple of months ago I shared a DIY Henna Gloss Bar recipe on both my Blog and in a YouTube Video demonstrating the “how to” part without melting down the bars, so this is what I want to share today!
The process of how to melt down the bars is open to your preference but I just wanted to share how I melt mine down. But please remember this is not the only method that can be used. I use conditioner because it makes rinsing out the henna so much easier, my hair tends not to feel overly dry and it also helps to keep the henna paste really thick which is what I prefer. (I can not stand it if henna runs down my neck or forehead!)
Products/Tools:
- Heat Proof Bowl
- Spatula (do not use metal while mixing)
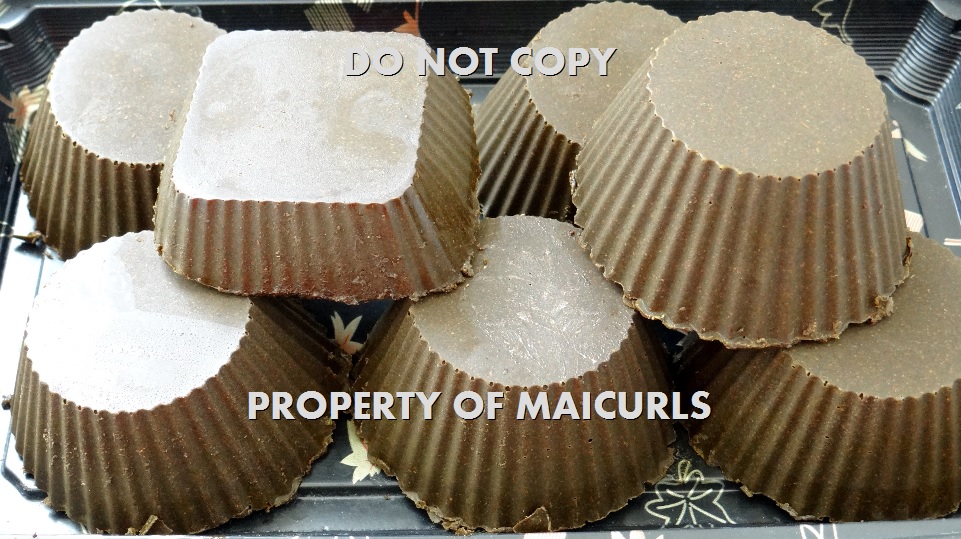
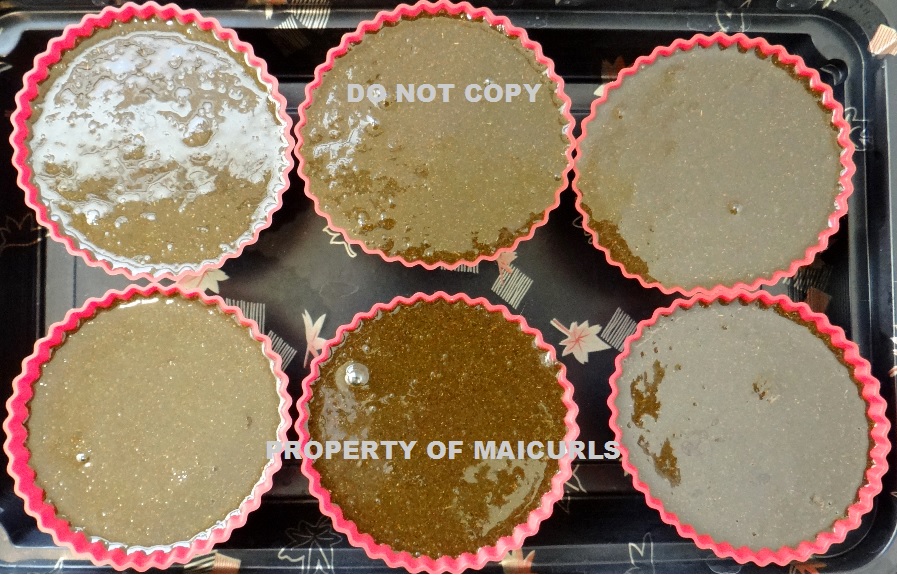
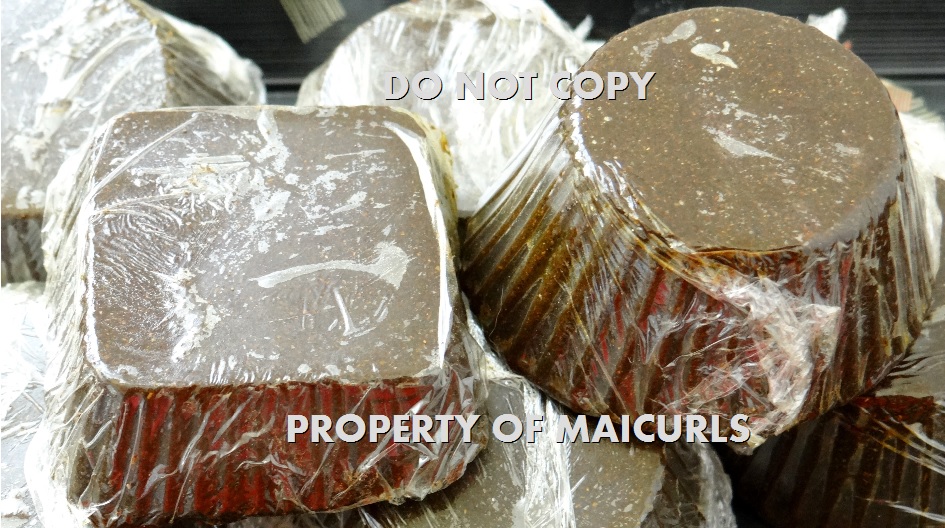
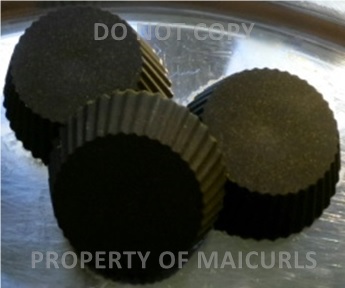
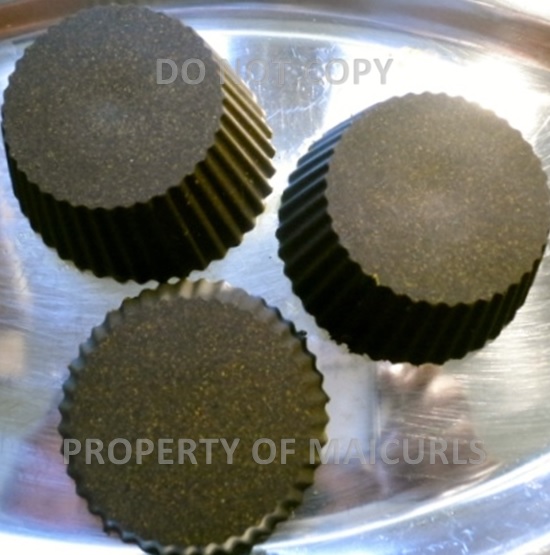
- Henna Bars (I used 3 bars – 5.3 oz)
- Moisturizing Conditioner (5.3 oz)
- Gloves
- Clingfilm/shower cap/plastic bag & scarf
- (I use an old piece of material to cover the area where I am working – you can use old newspapers etc)
Process:
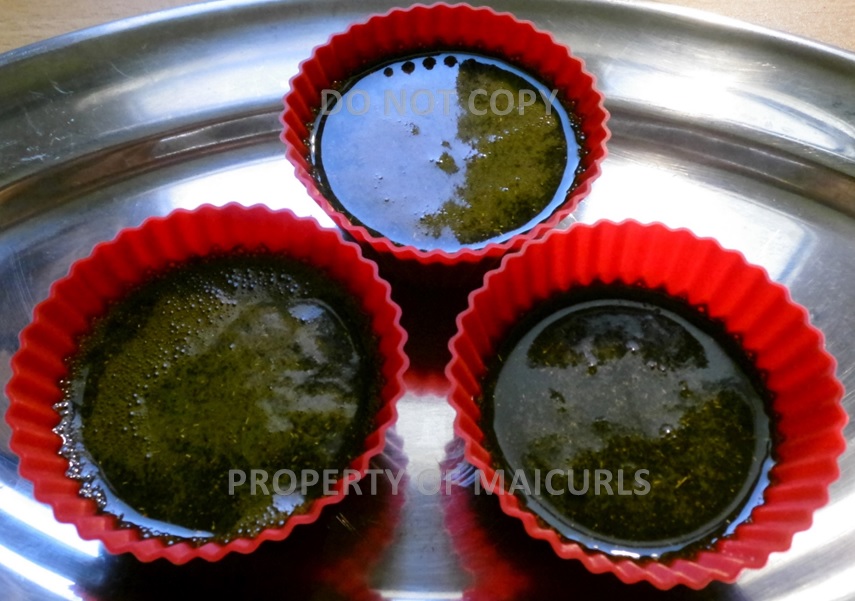
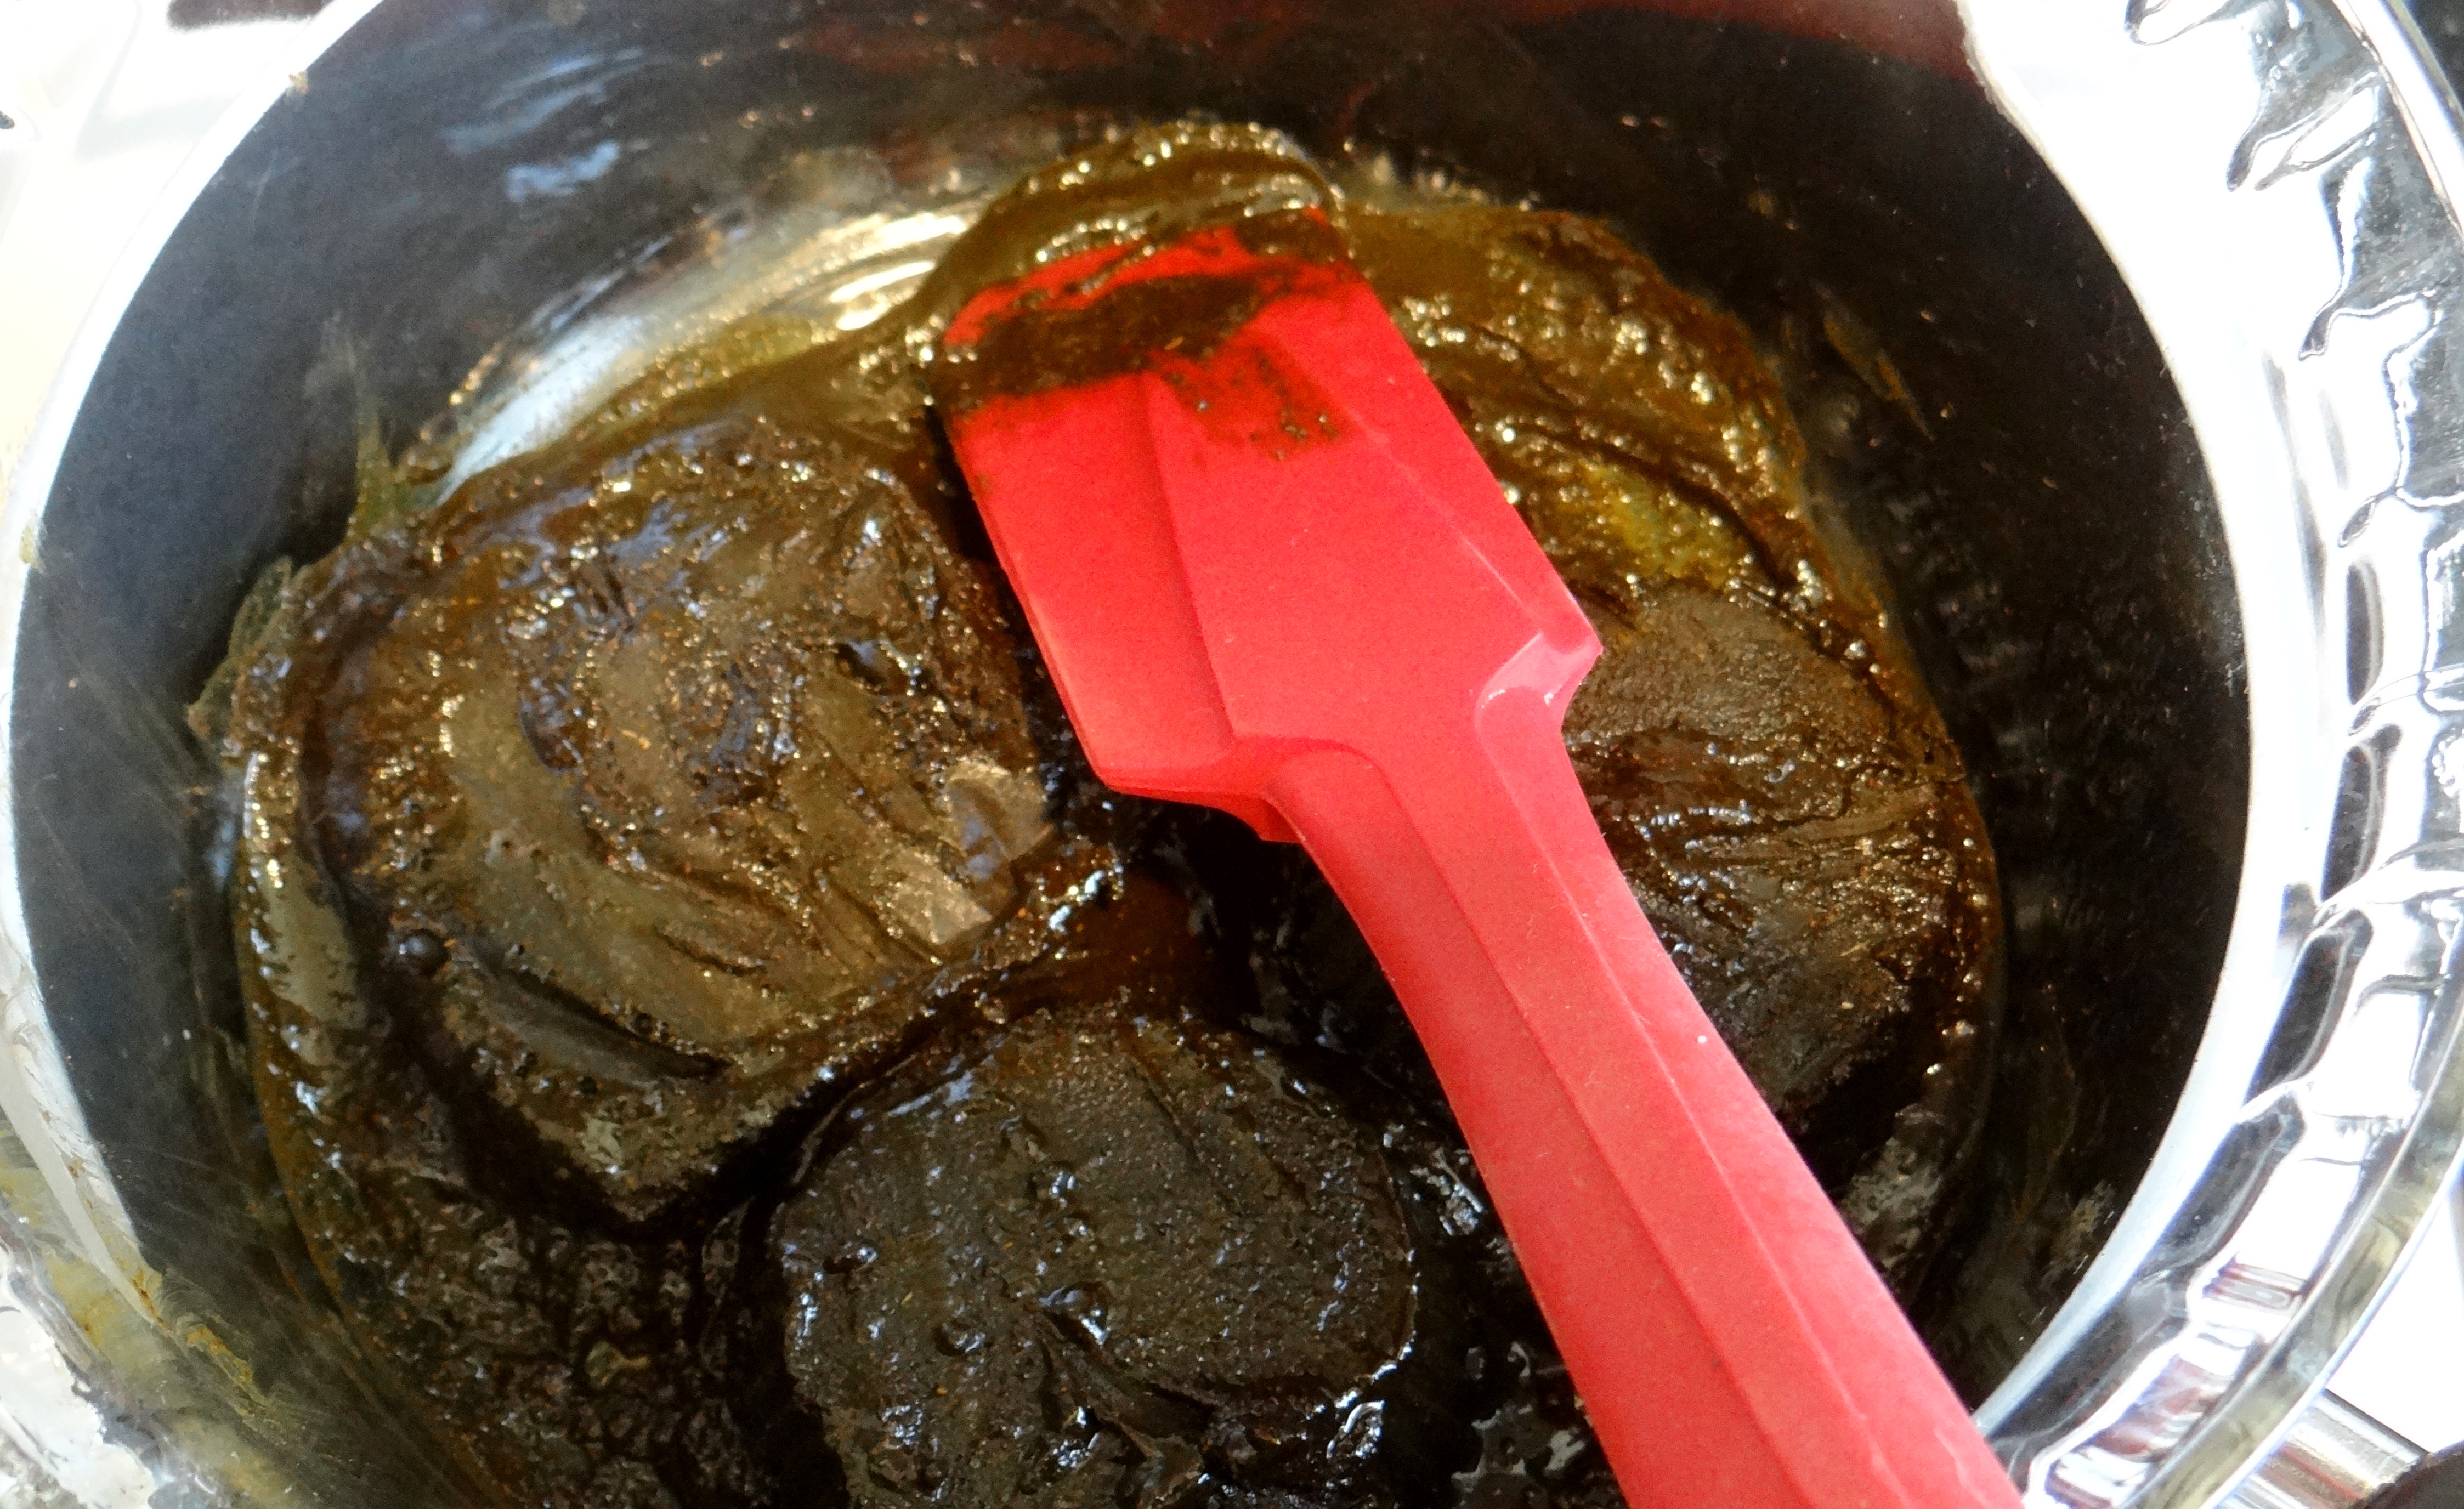
I first gently melt down the henna gloss bars in a double broiler for no more than 7 minutes on low heat. The low heat allows the bars to melt down without loosing their conditioning properties.
After it has melted I add the conditioner one step at a time and mix everything really well.


You can use tea/coconut milk/cream, conditioner or whatever other “liquid” you like. If you do opt for a conditioner I recommend using a moisturizing conditioner over one with protein simply because henna (even as a gloss) can make the hair feel dry and the protein can heighten that.
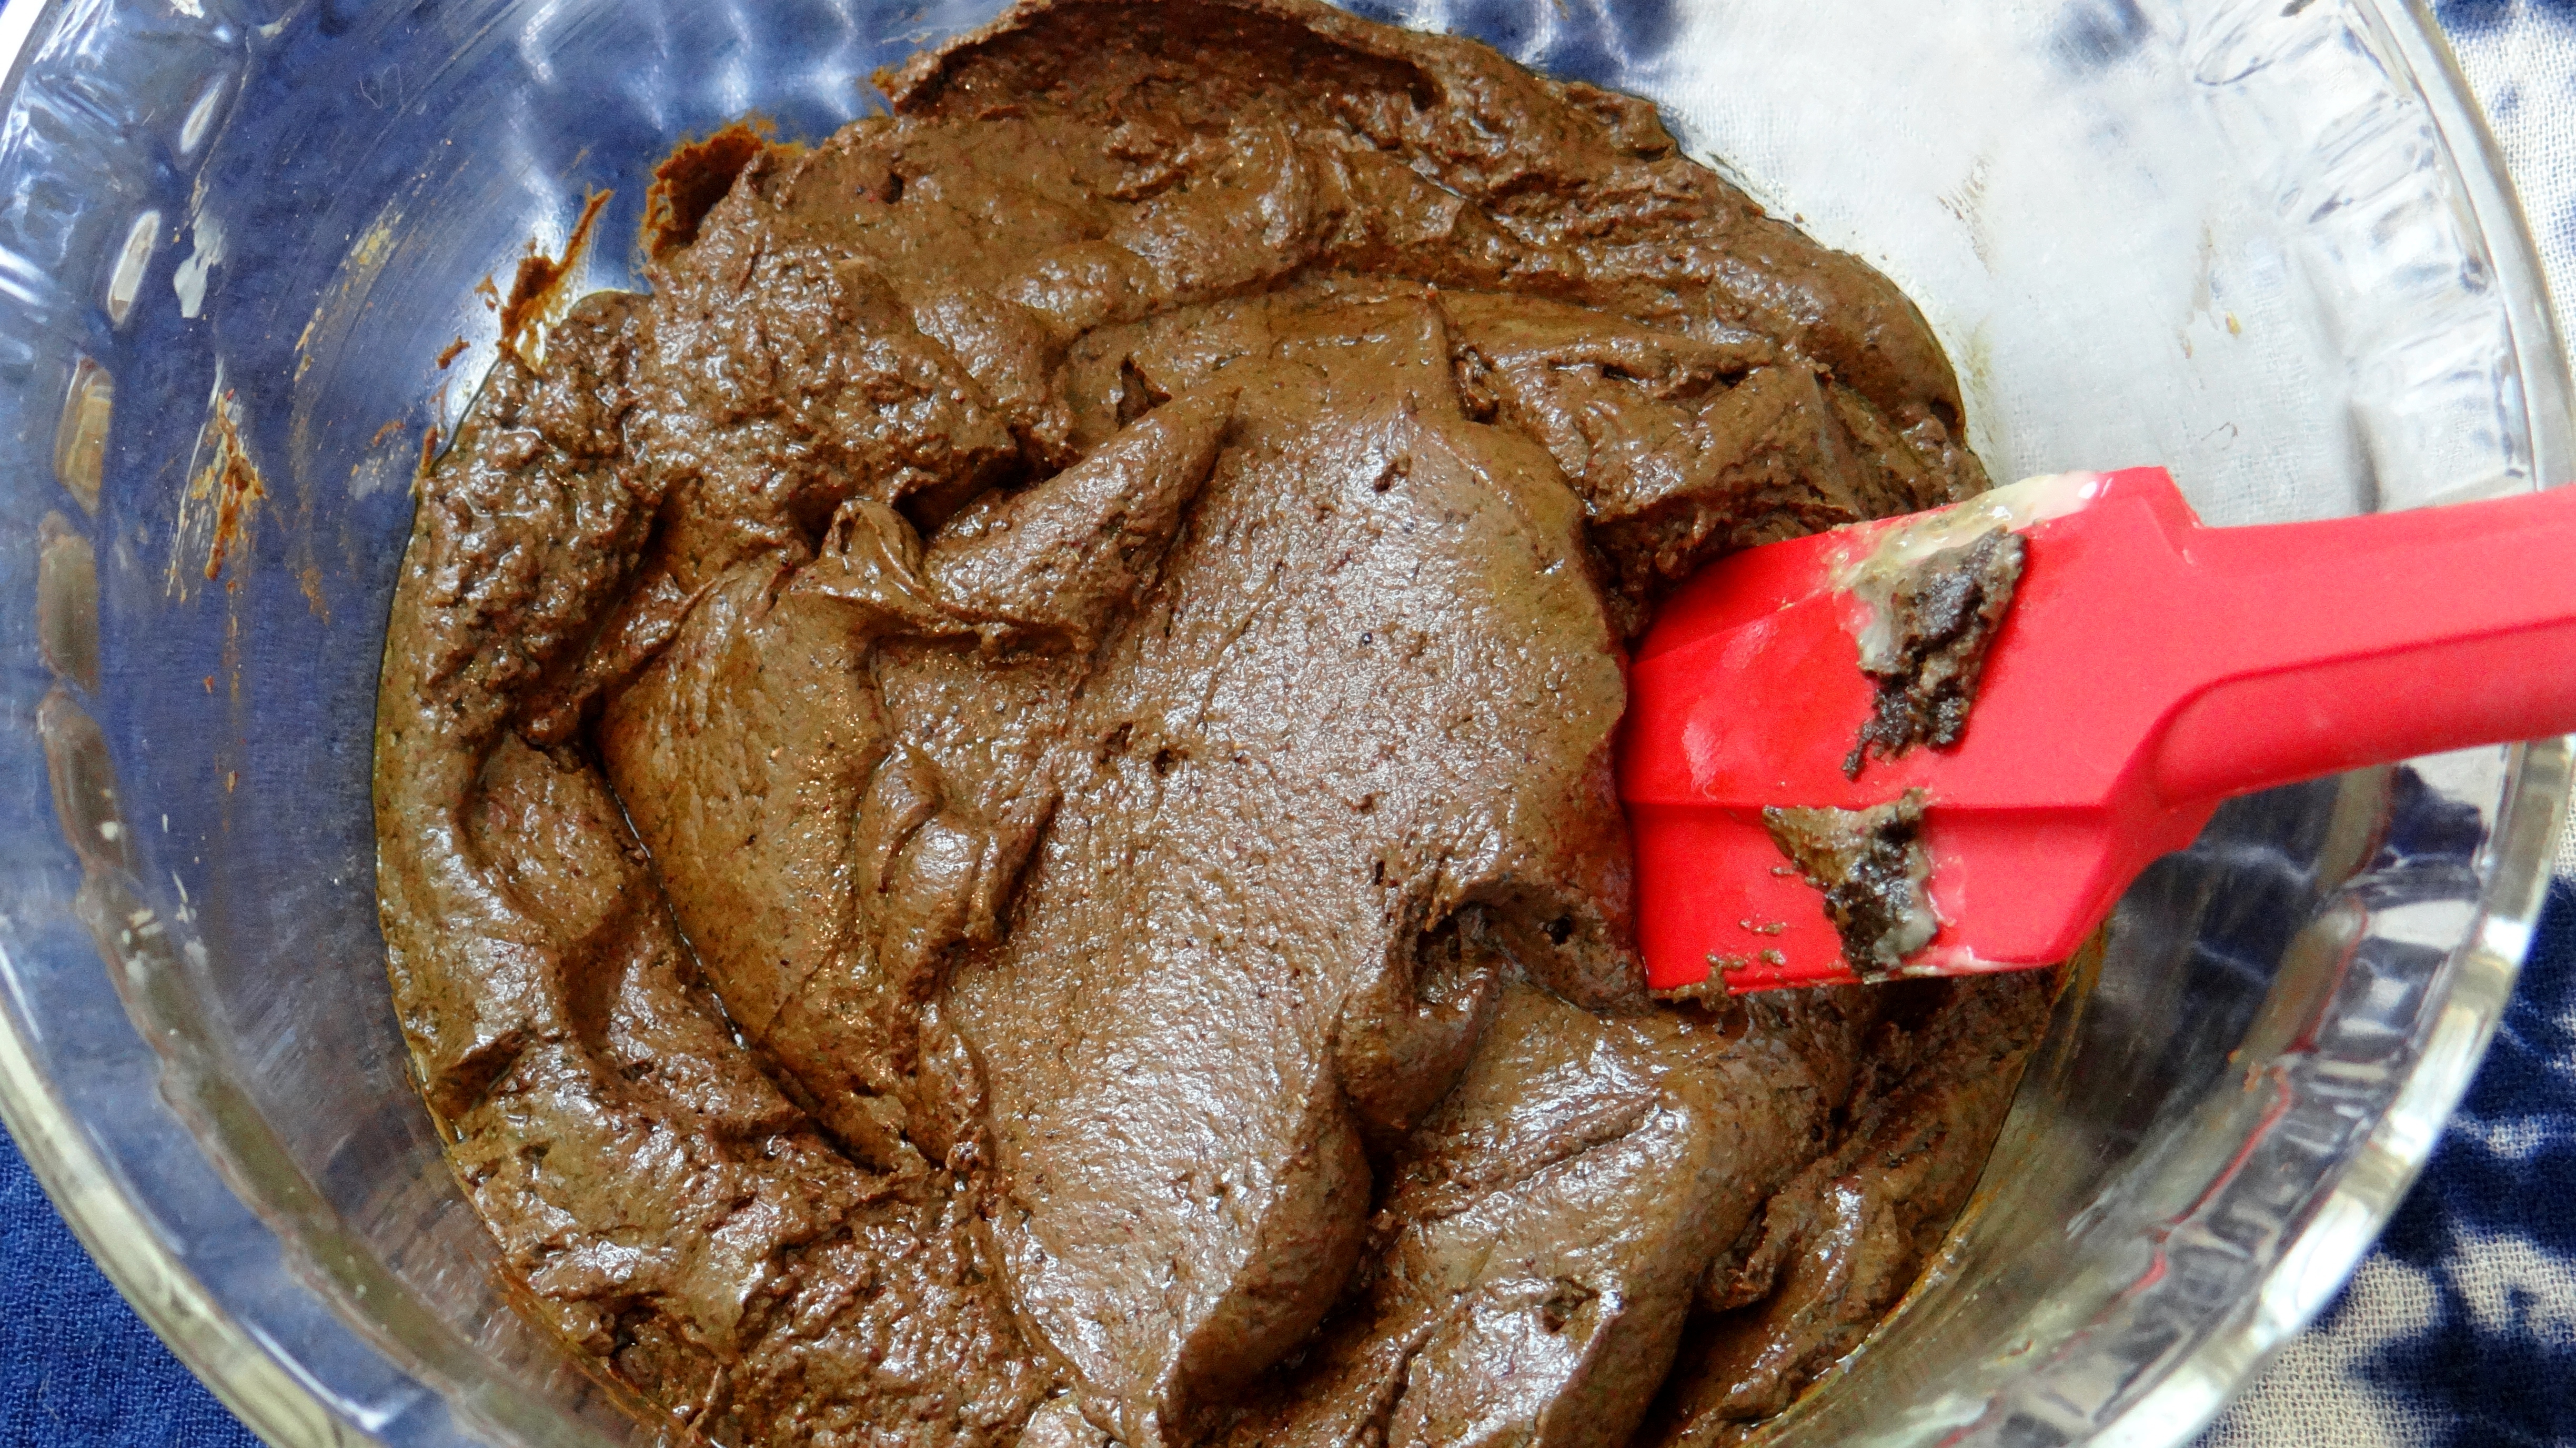
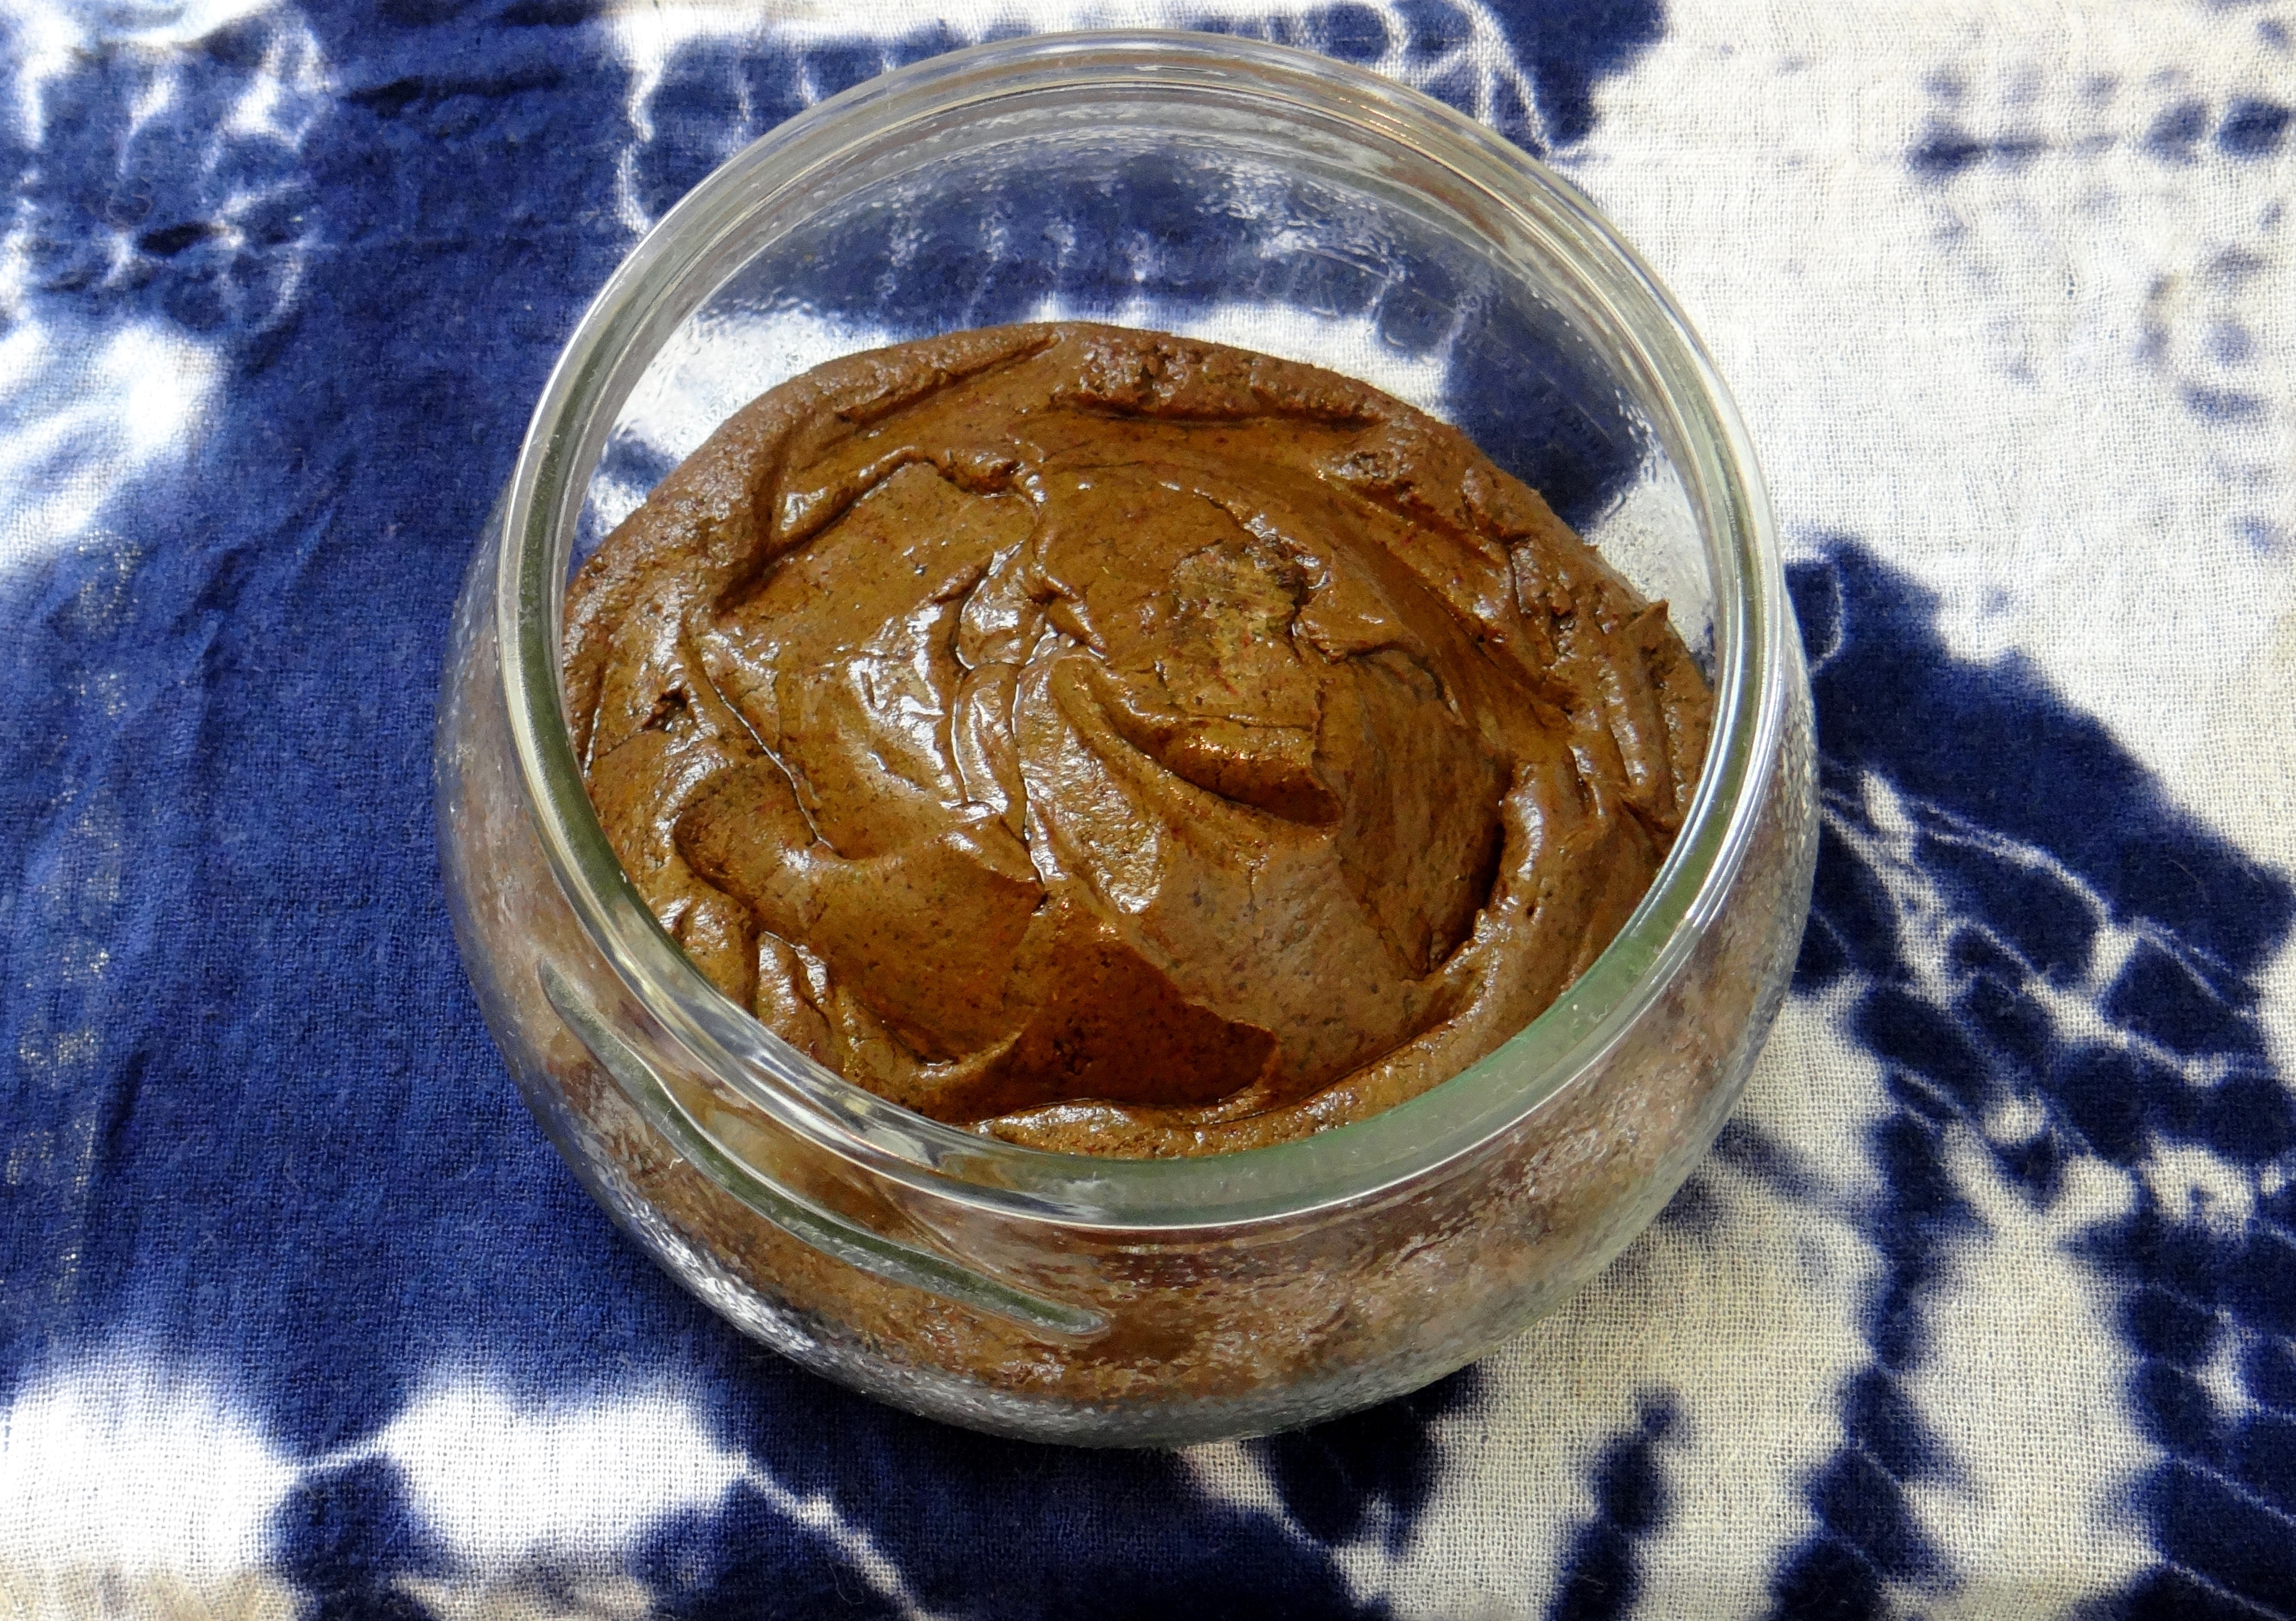
DIY Henna Gloss with Conditioner
Application/Rinsing:
I apply the gloss on wet/damp cleansed and detangled hair starting from the back, making sure my hair is coated from root to tip. I cover my hair with a clingfilm, a shower cap, a plastic bag and then finally a scarf. The layers keeps my scalp & the henna gloss nice and warm…really warm! I leave the mix on for 30 minutes – 1 hour (but it can left on for longer/shorter depending on your hair needs) and then rinse. Once I am ready to rinse it out, I loosen the henna by doing a really long run through with plain water, followed by rinsing with conditioner until the water runs clear and the final step is a moisturizing Deep Conditioner (DC). ALWAYS DO A MOISTURIZING DC AFTERWARDS even if your hair feels wonderful since henna can make the hair feel brittle and dry.
Pros & Cons:
As with anything there are pros & Cons to using a henna even as a gloss. These are some of the ones I have noticed:
Benefits:
- Easier to rinse out (compared to full strength henna due to the extra slip from the conditioner and other additional ingredients used to make the henna bars e.g. butter, oil).
- Reduces frizz.
- Softens the hair
- Less drying than full strength henna due to the additional ingredients used to make the bars.
- Strengthens the hair.
- Less time consuming (left on for less time than a full strength henna).
Cons:
- Less red dye (lawsone) due to the additional ingredients used.
- Not as strengthening or conditioning as a full strength henna (due to the additional ingredients & limited application time).
- Still requires a moisturizing DC afterwards (even if your hair feels great you should ALWAYS do one!)
That is it!
I would love to hear what you think!
Maicurls