Hey Maicurlies,
 Today I wanted to do a 2 in 1 post (it’s a little long), but first let me set the scene. I was gawking at natural hair pictures on Instagram (IG), when I came across a page: Glory Roots. The products caught my attention because 1. there were a lot of organic/natural and/or unrefined products and 2. a lot of their products come from Africa, mainly Ghana.
After a little search I left a message along the lines of “all your products look awesome” on one of their pictures. Shortly thereafter I was contacted by the company and they very kindly offered to send me two products to try out. (THANK YOU Glory Roots!!)
Please note, While I was sent the products I was not requested to write a review. I decided to do so on my own since I planned to use them in DIY experiments and wanted to share my results with all of you. I informed them that I planned to write a honest review based on my own personal opinions, which they encouraged since they wanted honest feedback.
The company is based in the Uk and I copied a snippet about Glory Roots from their Site:
Glory Roots is a specialist health & wellbeing online store offering a large range of organic and unrefined products. This includes our own Glory Roots range and many other trusted specialist imported brands that have been faithful staples over the years of many households and native lifestyles. Available products include: – body butters – herbal remedies – bitters – soaps – essential oils – creams & lotions – ointments – nuts & seeds, and many many more!
Source: http://www.gloryroots.com/
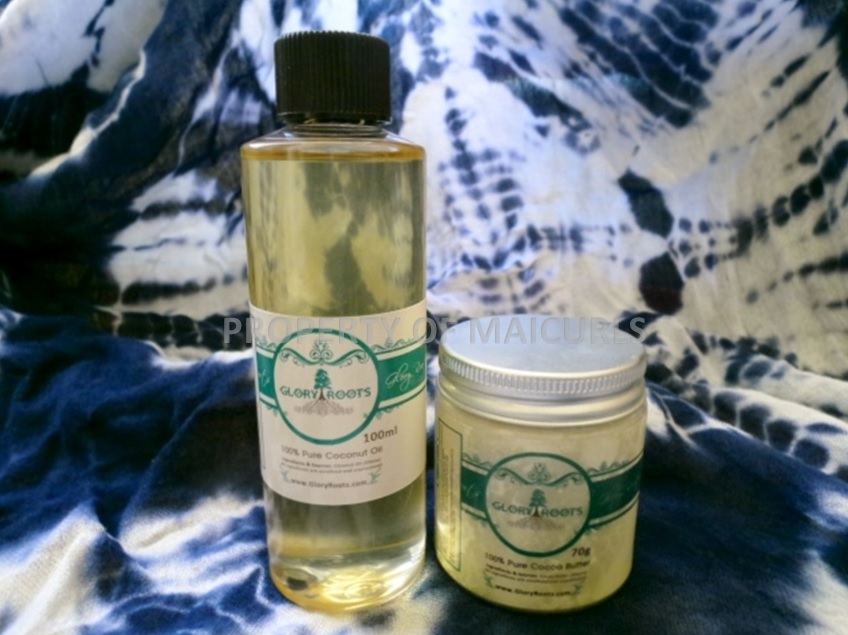
They offered to send me one product they recommend and I could select one of my choice. The 100% Pure Coconut Oil from Ghana (unrefined and unprocessed) was their selection and mine was the 100% Pure Cocoa Butter also sourced from Ghana (unrefined and unprocessed).
-
- 100% Pure Coconut Oil – 100ml
-
- 100% Pure Cocoa Butter – 70g
What I did was to try both products on their own and then in a DIY mix.
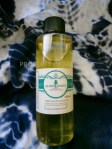
100% Pure Coconut Oil (100ml) – £5.00

100% Pure Coconut Oil – 100ml
Scent – It has a mild coconut scent to it. I will state that the Virgin Coconut Oil I normally use for both my hair and skin does seem to be a little more “coco-nutty”.
Colour – The Virgin Coconut Oil I normally use seems to be a little less yellow, (paler) compared to their oil. I am not sure but perhaps the type of coconut, how it is grown and where it grows makes a difference in the scent and colour (my Virgin Coconut Oil comes from India). Regardless, I did see a slight colour difference between mine and theirs.
Package/Consistency/Feel – The bottle was sturdy and the plastic used along with the lid did not let any of the oil spill out. When I first received the oil, the weather was still pretty warm so it was a fluid liquid. However, when I tested it out the weather had gotten colder and that of course started to turn the oil into more of a thick liquid state (which is normal). When applied, the oil was quickly absorbed into my skin leaving me with smooth, shiny (not greasy) as well as moisturized skin. I also used it to seal moisture in my hair and again my hair looked shiny without feeling greasy and I was left with a mild coconut scent, yum.
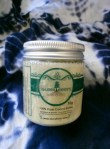
100% Pure Cocoa Butter 70g £3.50

100% Pure Cocoa Butter – 70g
Scent – There is a subtle chocolate smell to their 100% Pure Cocoa Butter. In comparison to my “normal” Unrefined Cocoa Butter I probably would have been happier if theirs had a stronger chocolate scent (since I love chocolate) however, for those that are sensitive to strong scents, it is not overpowering.
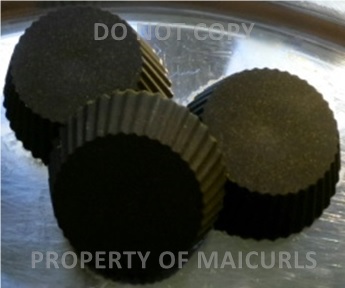
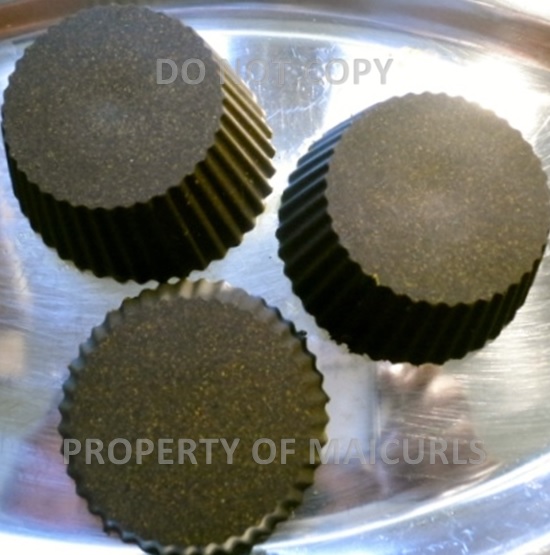
Colour – it has a slightly off white color similar to my “normal” Unrefined Cocoa Butter. (In the image the Cocoa butter looks a little white but it is off white in person).
Package/Consistency/Feel – Again the package is sturdy and you can tell it held the butter well because during transportation the butter must have melted a little bit (due to temperature differences) and at some point when it became a solid again the package was placed sideways which is why it solidified at an angle before I received it (notice the gap in the image). Keep in mind that does not impact its effectiveness or quality or the product. Due to the changes in temperature the butter was ever so slightly grainy but it melted down completely as soon as I rubbed a bit of it in my palms and left me with super moist skin that looked supple yet not greasy (no graininess either).
Overview: I enjoy using both of the products on their own and in DIY product mixes and think both work really when they are applied on my hair and skin. The only thing is my nose wishes the Cocoa Butter smelt a little more like chocolate and the Coconut Oil smelt a little more “coco-nutty”. As I mentioned I got the 70g Cocoa Butter and 100ml Coconut Oil which are ideal sizes if you want to see how your skin/hair likes them. They have different sized products available on Glory Roots Site but I would suggest going for the larger ones after you have tried them out. Then again, the little bottles might be sufficient for some, but since I am a DIY freak, little bottles are not enough for me :D. I really appreciate the fact that Glory Roots allowed me to try out their lovely products (thanks again!) and I would say if you are looking for raw products, check out their site.
DIY Under-Eye Cream (for the night)
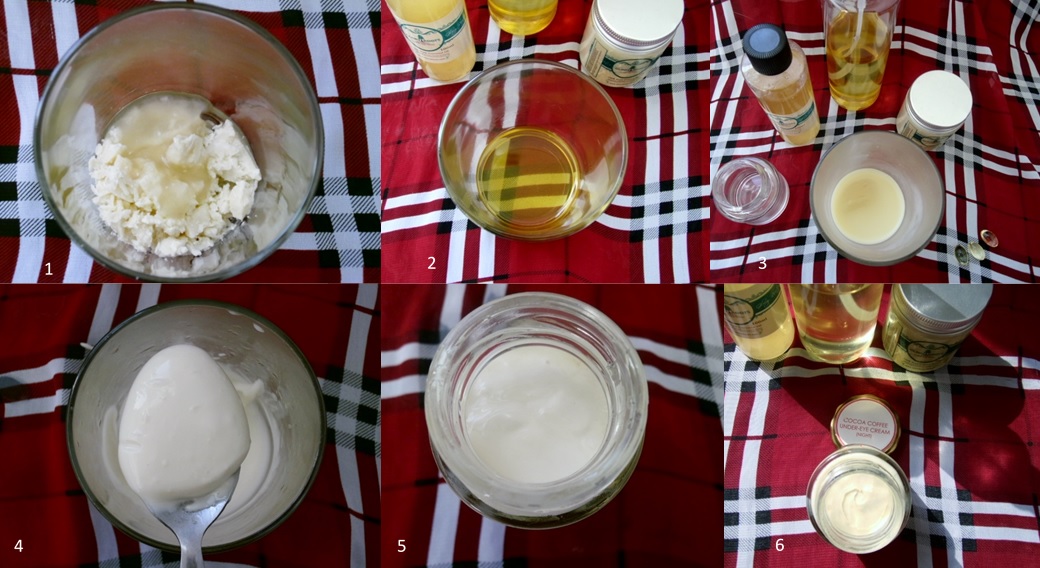
DIY Under eye cream
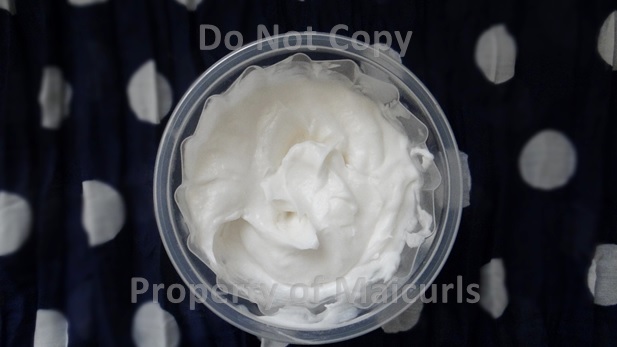
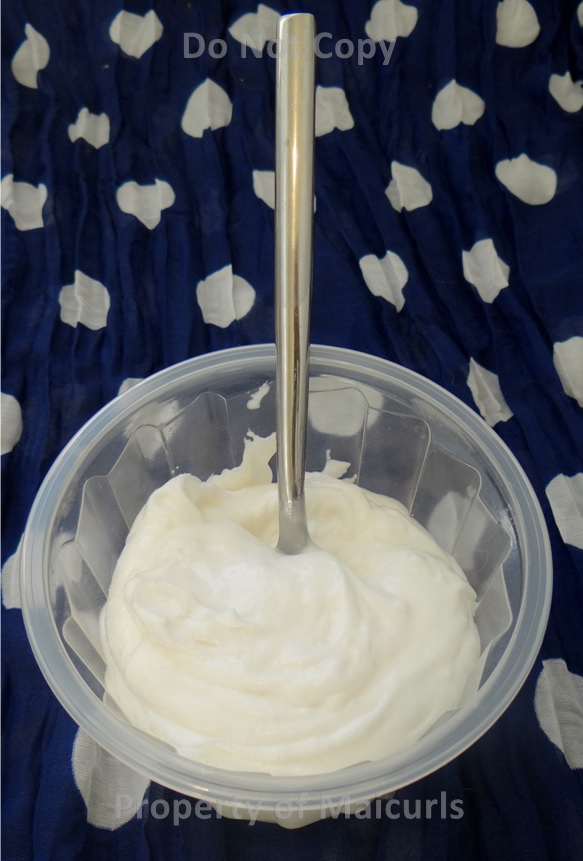
Mix Instructions – (I used a 1.7oz container)
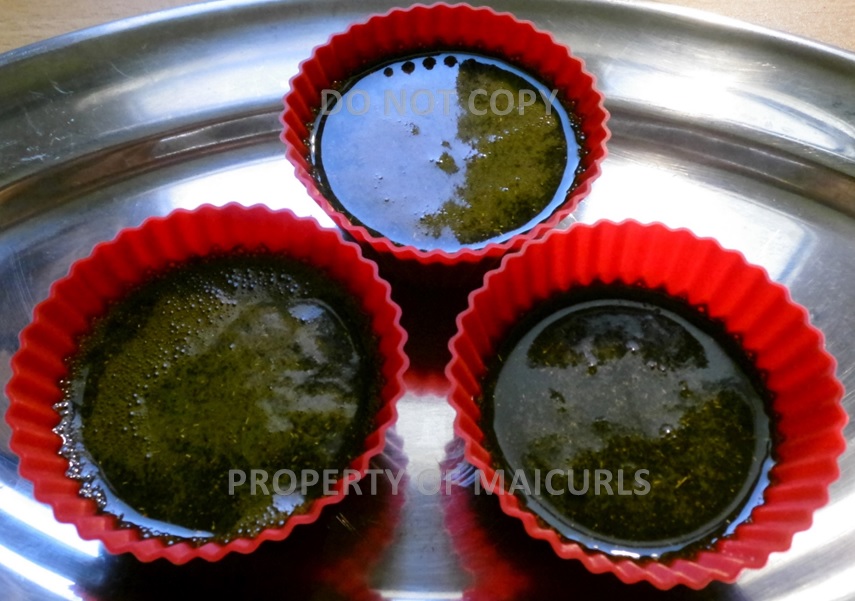
- I measure out 0.5oz Pure Cocoa Butter and 0.3 oz Pure Coconut Oil and placed them in a heat proof glass to double broil.
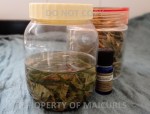
- I double broil for less than 5 minutes on medium heat, take it off the heat and add 0.1 oz of my DIY Coffee Infused Oil. (You do not have to use this particular carrier oil however coffee/caffeine is excellent for reducing puffiness).
- I place the mix in my freezer for 10 minutes to let it become a little thick and hard.
- I mix everything together with a spoon, add 3 capsules of Vitamin E Oil (roughly 0.15 oz) and mix again for 5 minutes till it becomes a smooth yogurt like consistency. (You might need to rigorously mix).
- I transferred the mix into my container and let it rest. (In picture 5 the “cream” still has a yogurt-like consistency right after mixing.)
- After it has “set” the consistency resembles more of a thick cream which is a little firm but easily comes out of the jar with a simple pat with your finger over the cream.
Application
After you have washed your face and removed your makeup, make sure your hands are clean and dry before applying. You only need to use a tiny tiny dab under each eye at night and gently glide your finger over your skin. It will melt immediately upon contact and will absorb easily (just make sure not to use too much!) With frequent use it should help reduce puffy under eyes, dark circles as well as help reduce fine lines. Please keep in mind, in some cases puffy under-eyes and dark circles can be hereditary or a sign of illness and this cream is not meant to be a replacement for any medication/ointments provided from medical professionals. Do not get the cream in your eyes because it might sting and remember a little goes a LOOONG way!
TIP: This mix should last you a long time if you use it lightly and the shelf life should be at least 6 months (if not 1 year). Always use clean and dry hands when applying the product to avoid contamination in the jar since there are no preservatives and try to use an airtight container for longer shelf life. You can store the cream in your fridge during the summer, this will make the cream hard but it still will melt upon contact with your skin nonetheless.
*I have a list of all the benefits and properties of each ingredient used here*
Have you tried Glory Roots before, if so which products and what do you think? Have you made your own nighttime under-eye cream? I would love to hear if you try my mix!
Thanks
Maicurls