Category Archives: Natural Hair Styles

How to: Heatless Wave Curls on Fine Natural Hair – Jumbo Perm Rods

Hey Maicurlies,

First off I want to wish you all a very Happy New Year! I hope that 2015 ended well and that 2016 will be a bright year full of love, good health, great company, prosperity and happiness for you and your family πŸ™‚Β 

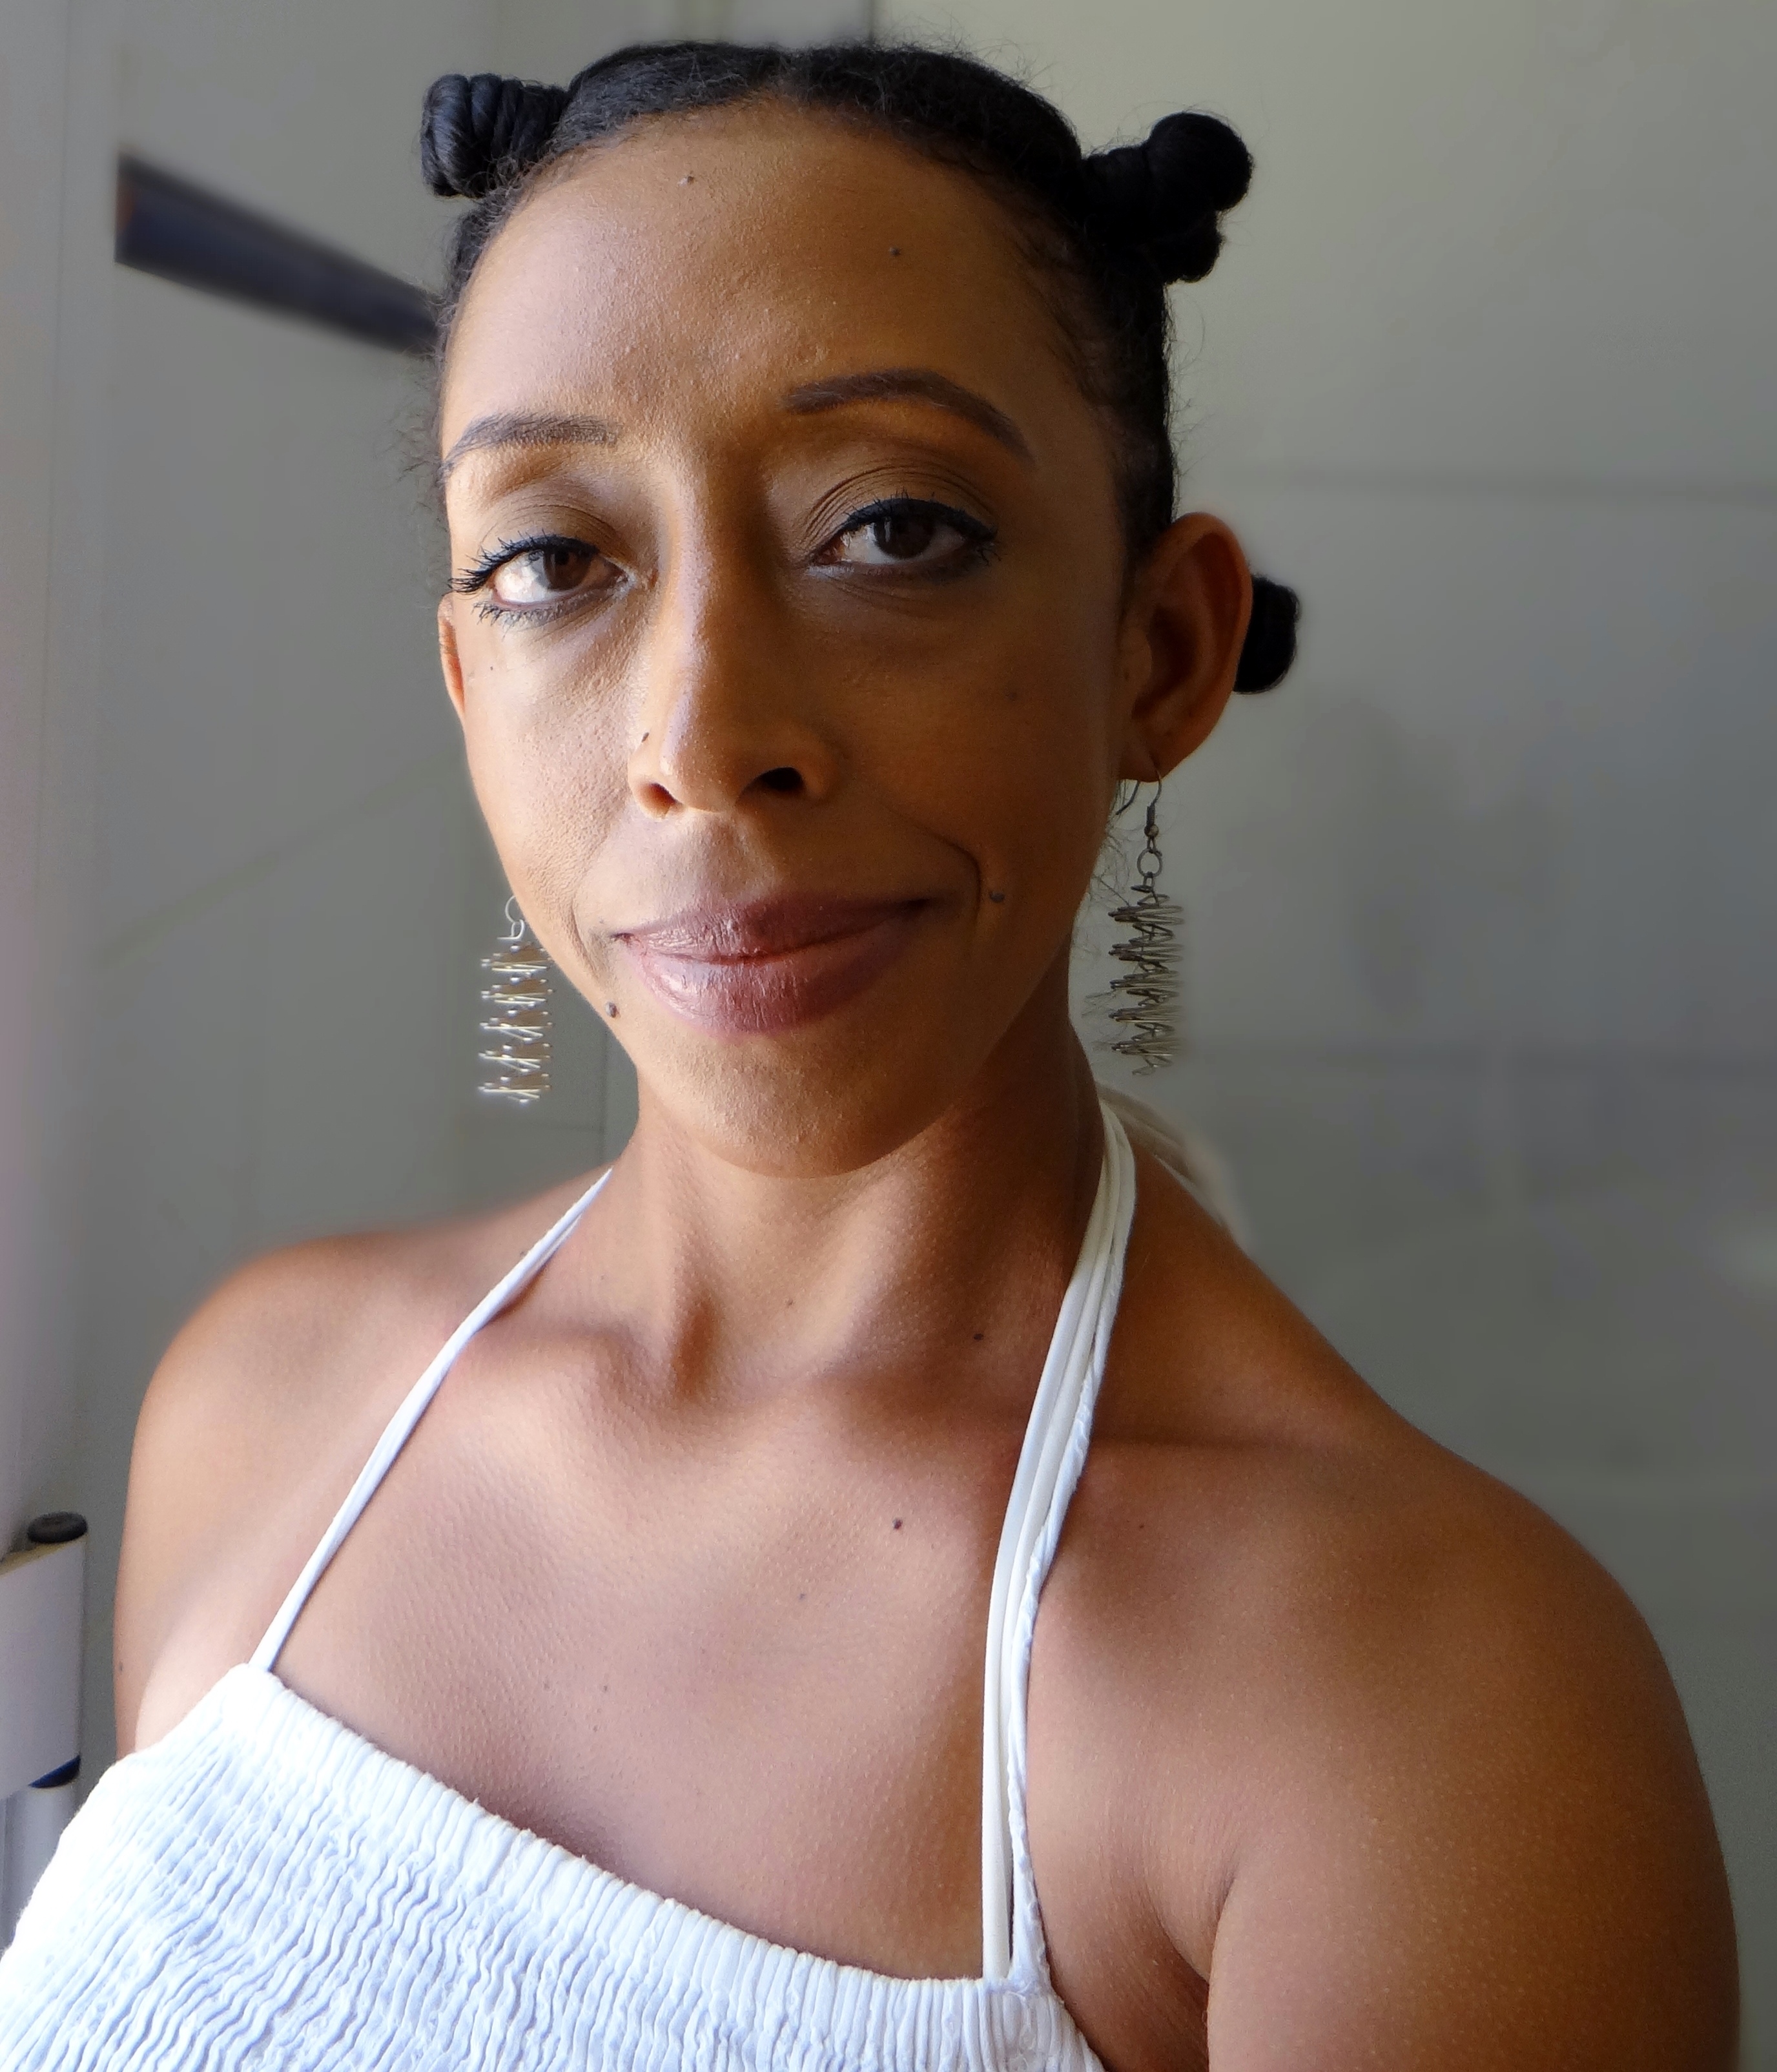
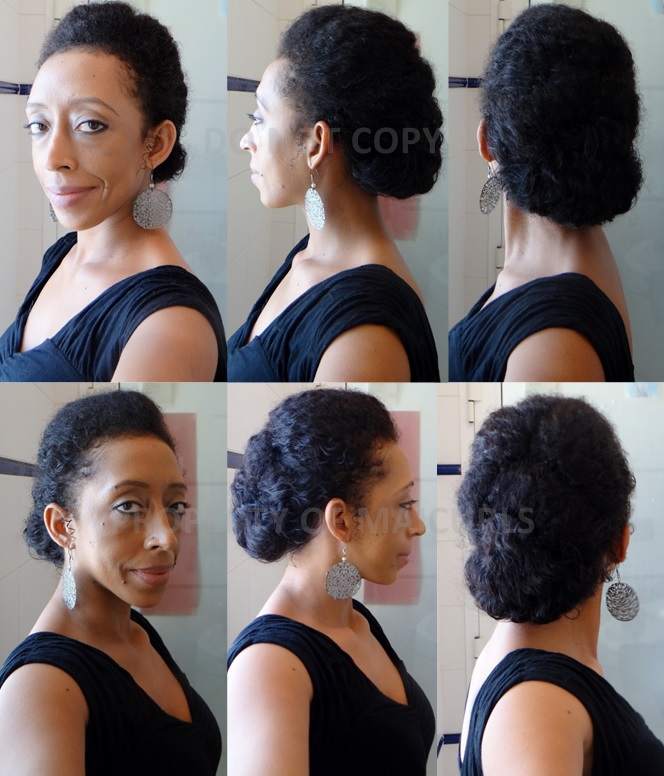
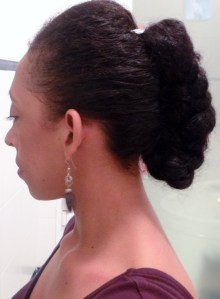
I wanted to start my blog post this year with a styling tutorial. I actually (hopefully) will be a little more “adventurous” with my styling options in 2016. So to kick things off here is my Heatless Wave Curls.

DSC03485

This is my “quick fix” styling option that I love! There are a few things I like about this style: 1. it sets in four hours so no sleeping with rollers in my hairΒ (I have found a method that is not too uncomfortableΒ but still prefer not to). 2. it is a great last minute styling option if IΒ haven’t planned anything but need myΒ hair done for an nightΒ out and 3. it gives my fine and thin hair volume!Β 

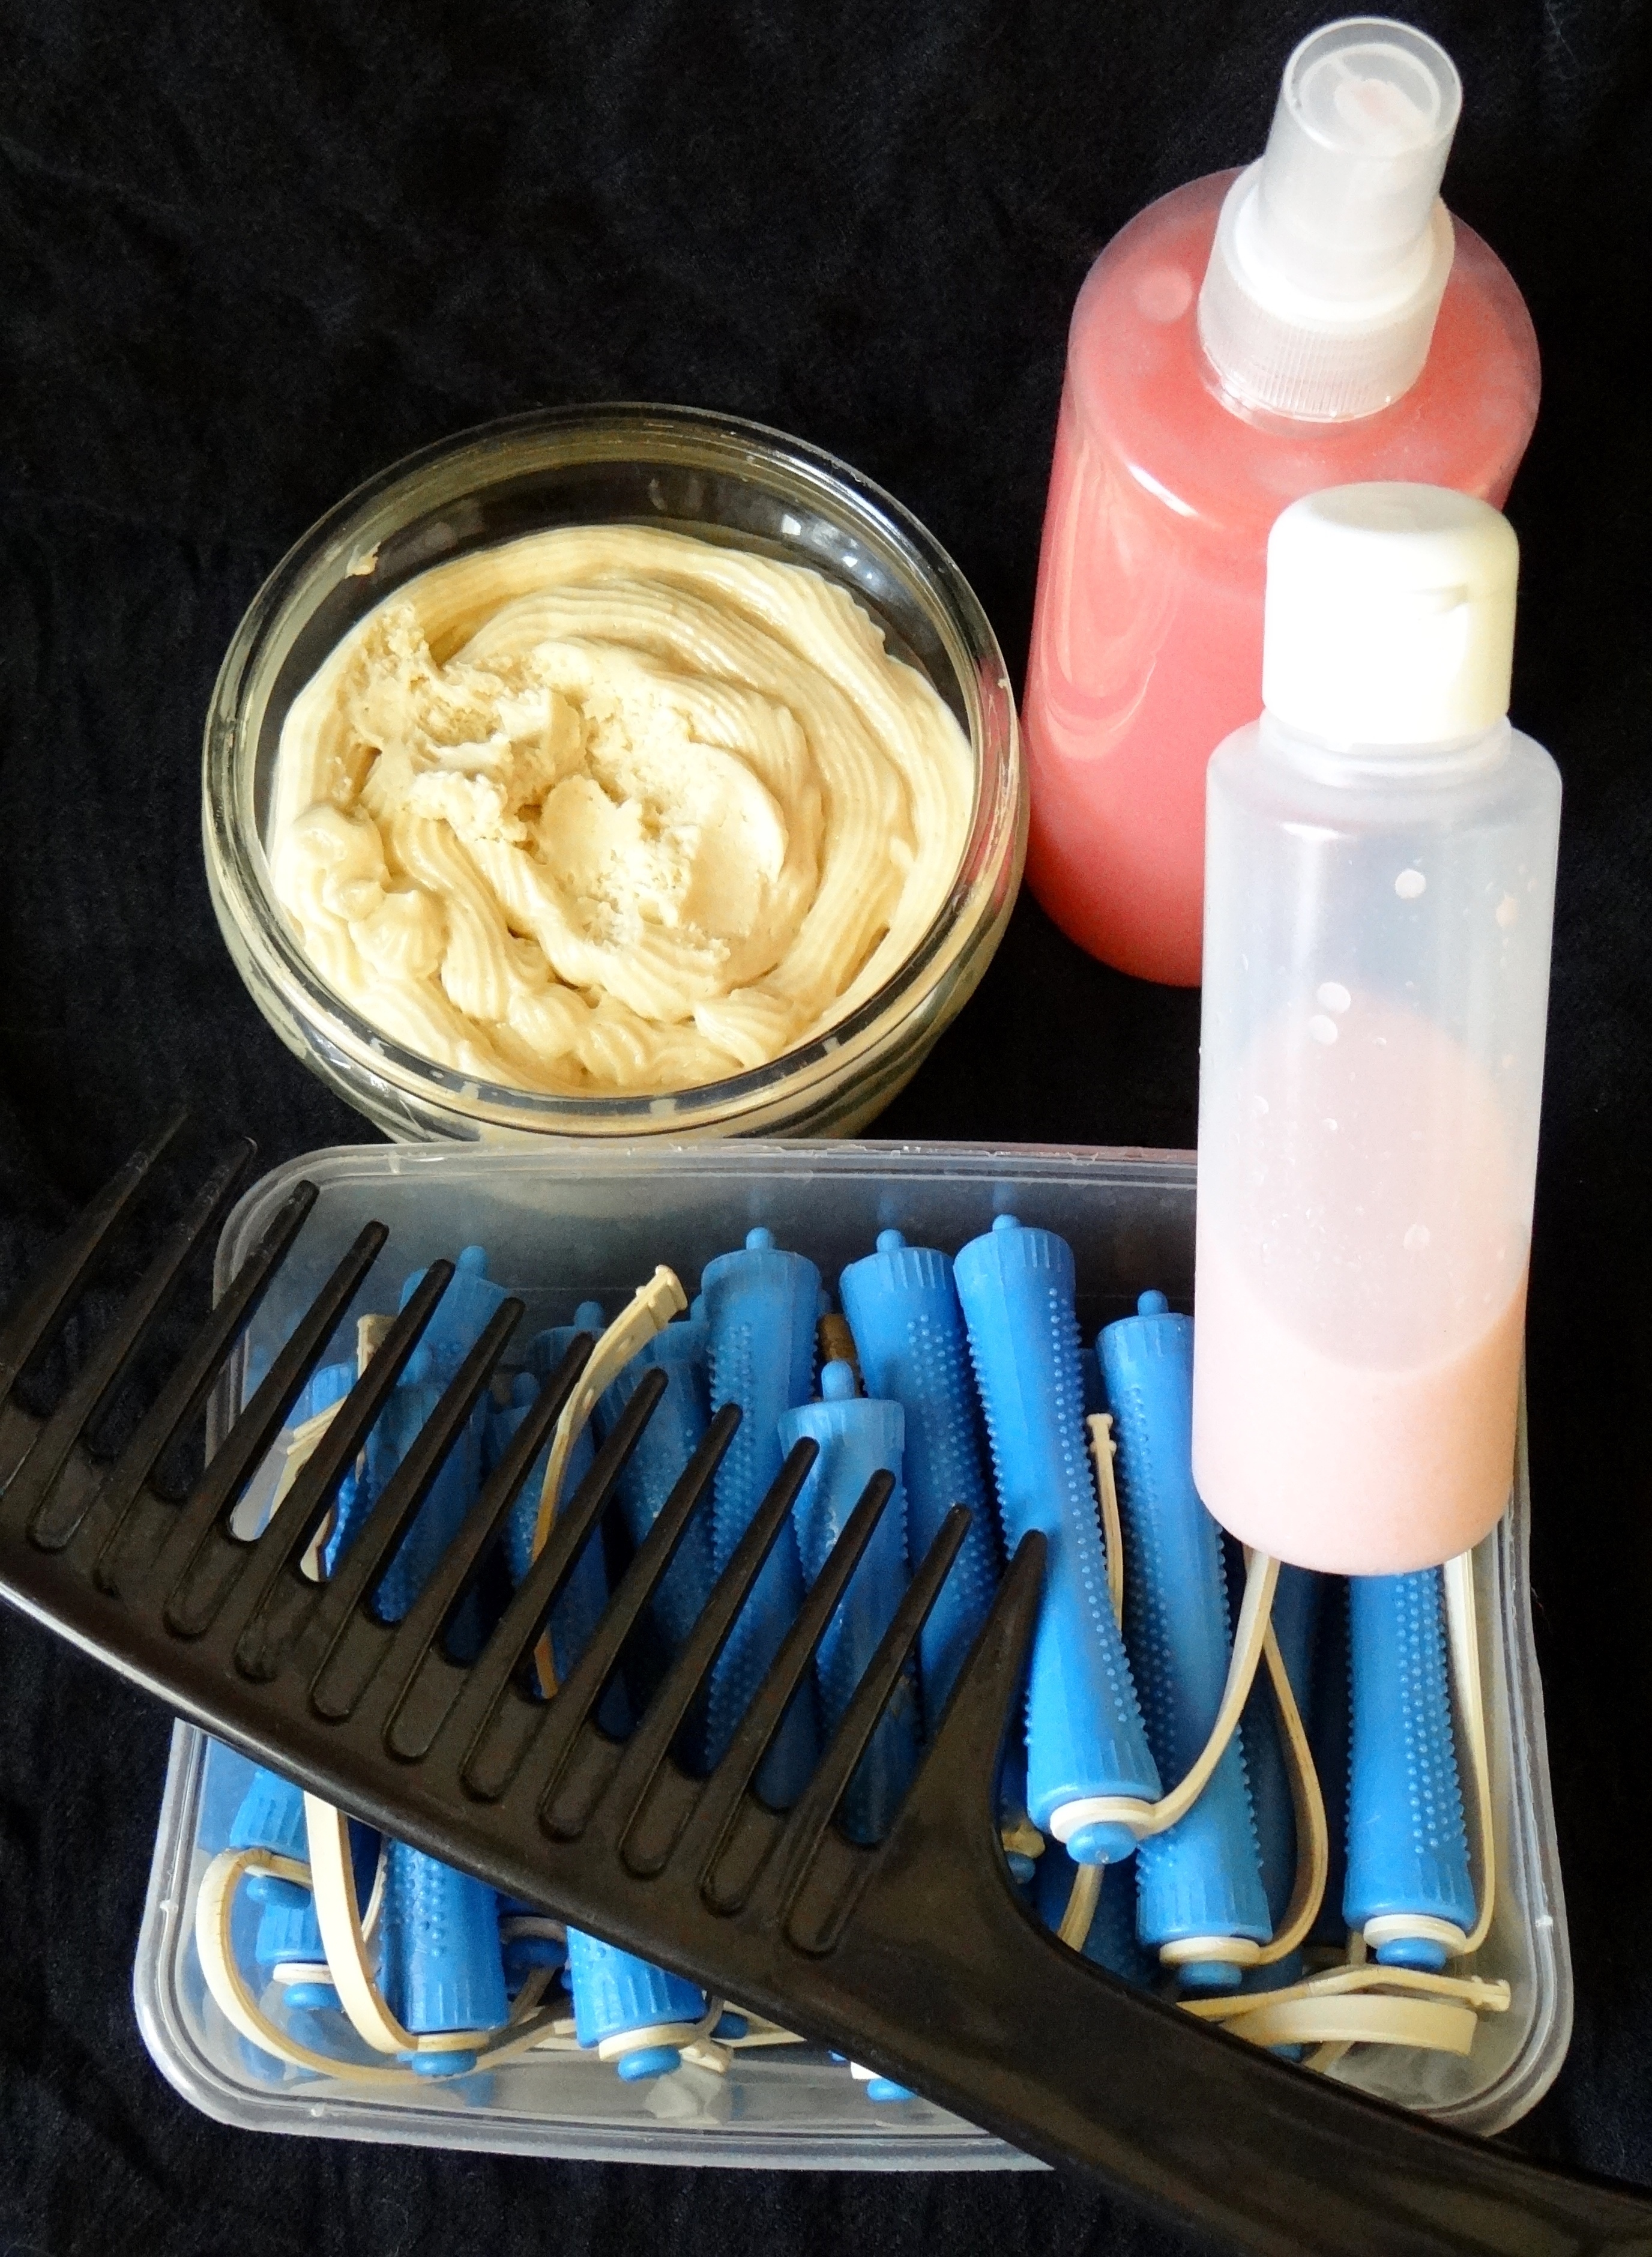
Products/Tools Used:

Method:

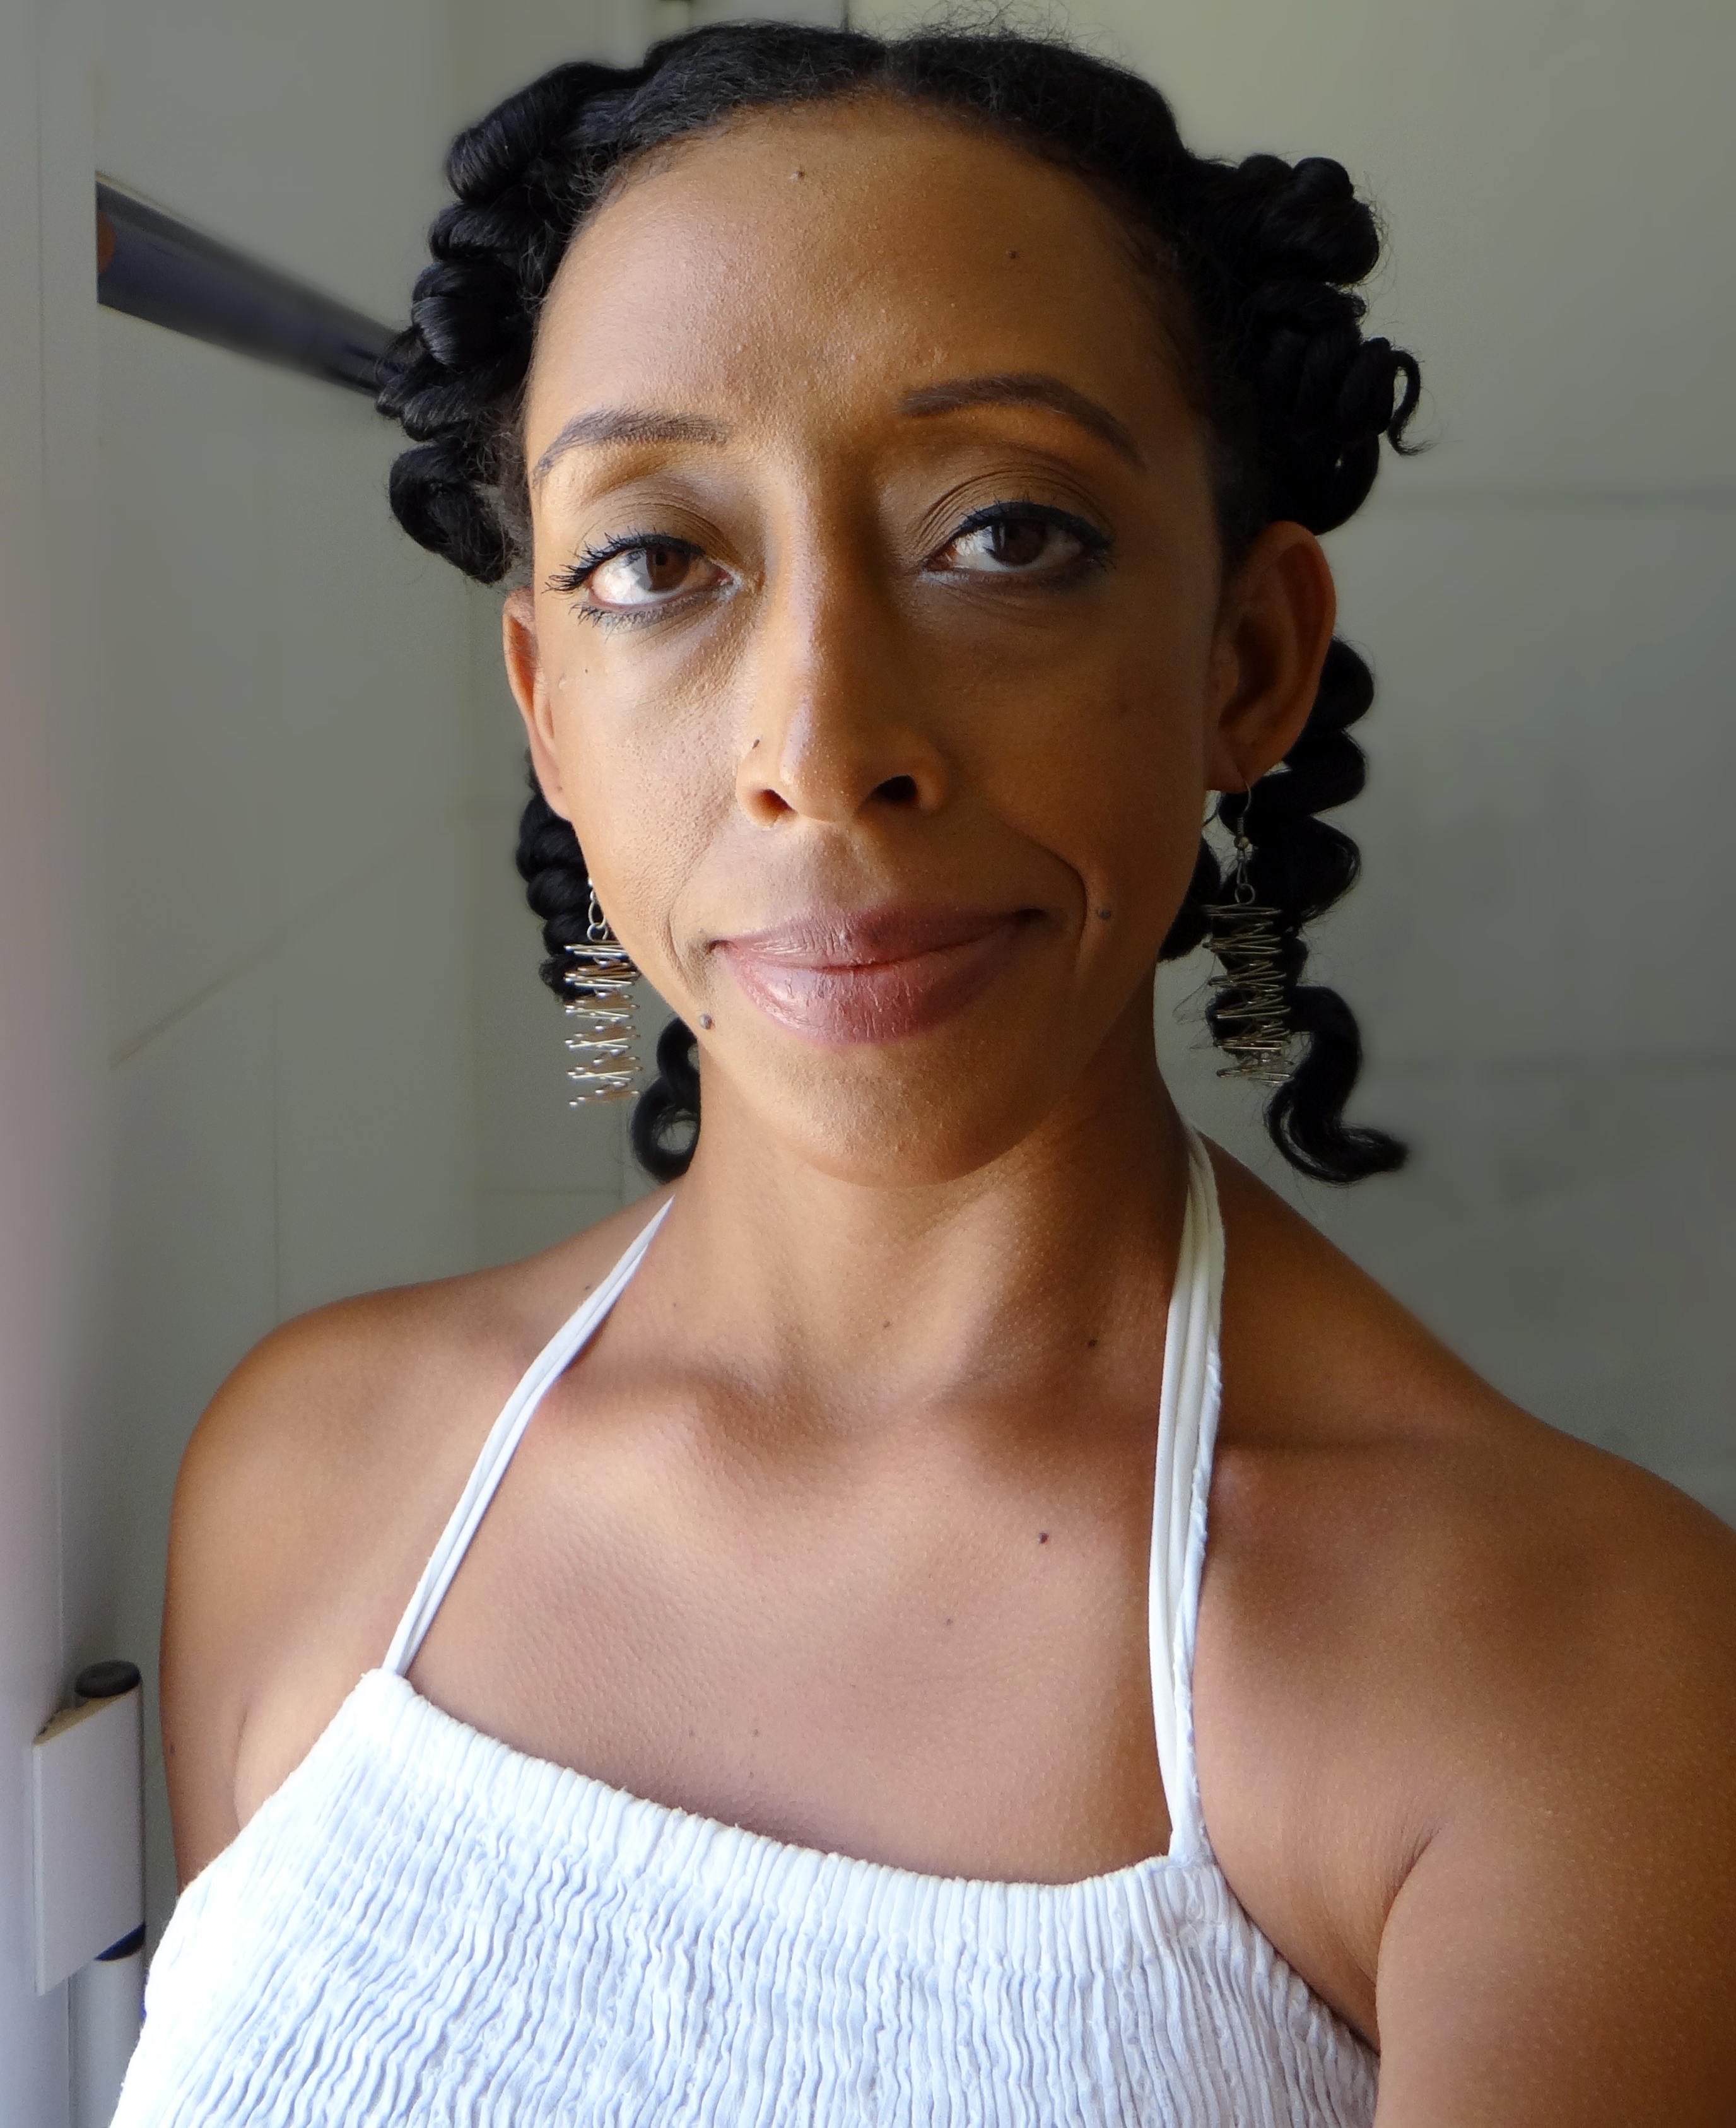
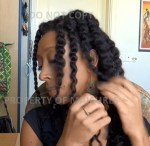
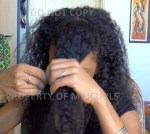
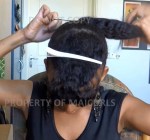
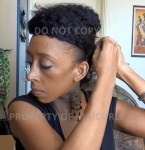
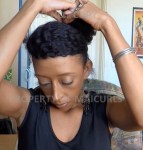
After spritzing my hair with a tiny bit of water I added a little spray leave-in conditioner to help moisturize my hair (just to lightly moisten but not to make it soaking wet). I lightly detangle my hair to make sure there are no knots and then I spay a tiny bit of my Spray FSG to help give really light hold. My rolling method is to first try and make sure my hair is smooth, I then roll the perm rod up my hair (for one rotation) and then twirl my hair once, roll up again and twirl the perm rod towards the root before closing the perm rods.Β I literally let it set (without heat) for 4 hours and then take the rods down, separate and I am done!Β 

It is a little easier to understand the “how to” in the video:Β 

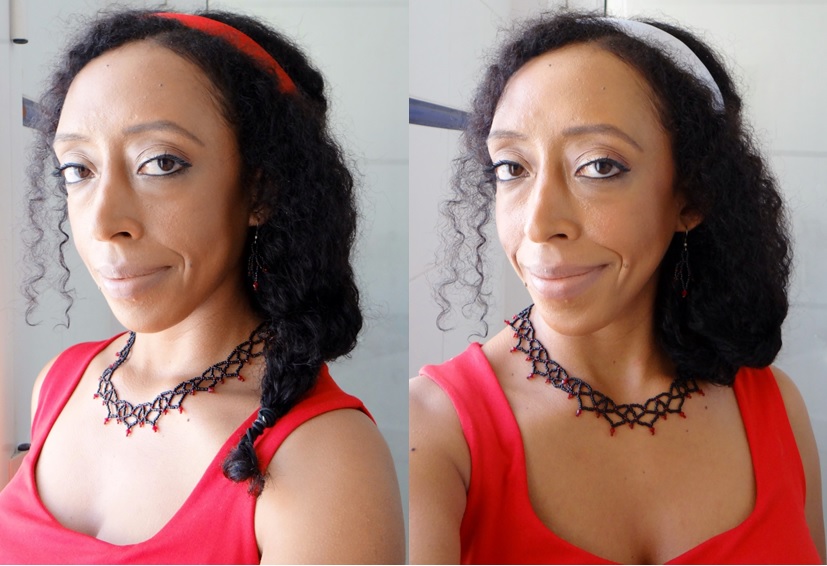
As I mentioned this is a “quick fix” styling option that I like to do whenever I haven’t had time the day before to plan for a hairstyle. The hold is really light and does not last for days and days therefore I will usually install the perm rods again after a day or two either during the day or at night (e.g. during the week when I have work and can’t sit in my office with perm rods on my head LOL).Β 

I would love to hear what you think. Have you tried day time jumbo perm rod sets or any other perm rod sets done during the day? I would love to hear from you!Β 

Thanks

Maicurls

Maicurls

Easy Milkmaid Twists

Hey Maicurlies,

So today I have a styling tutorial of my Milkmaid Twists.Β 

Milkmaid Twists

Milkmaid Twists

Now I will point out that I am not all that crazy about how this particular style looks on me (I love the style on others) the main reason why I don’t like it on myself that much is becauseΒ my forehead and ears become quite obviousΒ because all my hair is pulled back and away from my face LOL. I do like the fact that it is a protective/ low manipulation style since your hair is tucked away and can be left alone for days even.Β 

The style of Β course is a breeze to do and doesn’t require too many products either. Please note: I actually recorded this video working on old, frizzy hair (that had seen better days) but even with the frizz and mess the final look still ends up looking polished and neat. The video was recorded a few months back but since I was not that big of a fan I put it away without editing it, until I was kindly requested to share the video so I did πŸ™‚

Tools/Products used:

Method:

The first step is to splitΒ my hair in the middle in order to make two side ponytails (please note again apart from the frizz I also don’t make neat partings – I have issues). After parting, I use some FSG to help smooth out my hair and “tame” the frizz a little. I also follow up with a little of my Hair Pomade on my edges to help provide a little extra shine and thanks to the ingredients in the pomade it also helps protect and aid in the health of my edges. I use the soft bristle brush to bring my hair together and distribute the products applied. The soft bristle brush along with the gel and pomade really helps to give that “smooth” look. I pull my hair together into two side ponytails and then two strand twist each side. I then cross each twist over the top and bobby pin them on theΒ opposite side (under the base of the twist) and tuck away the ends under the base of each twist and that is it.Β 

Additional:

I tend to add a wide ribbon to help accessorize the look, I like to think it makes the style look a little more “fancy” while at the same time helps me feel that I have caused some distraction away from my forehead and ears (yes I am not a fan of them!)Β 

Whenever I do this style I actually just take down the bobby pins, cover my hair with a scarf for the night and the next morning I touch up my edges if there is need to and then re-pin them down so I get to protect my hair for a few days.Β 

I have a video of course:

Would love to hear if you do Milkmaid Twists, if your method is different or if you have any suggestions for me.

Thanks

Maicurls

Maicurls

8 Bantu Knot-out

Hey Maicurlies,

I am ADDICTED to Instagram! Yes I have admitted to this before (here) but seriously it is like a disease LOL!

Anywho, recently I started to take photos of what my hair looks like (quite frequently), soΒ I figured from time to time I will post a few photos here too. Primarily if I have photos of my styling process (taking down my hair, separating, fluffing and styling) or if I captureΒ how a style looks as the days go on I will load those up here.

8 Bantu Knot out

I want to start with my recent Bantu Knot-out which I did onΒ 8 Bantu Knots. Normally I prefer doing smaller knots (not too tiny) just because it means I’d have tighter curls which creates fullness for my fine hair and it usually (I repeat, usually) means I don’t have to separate as much since my hair will already be inΒ small sections. However, Bantu knots & sleep do not go hand in hand and I am tender headed so I did 8 Bantu Knots.

Bantu Knots

I put in the Bantu Knots literally right before bed and took them down the next morning.

Bantu knots taken down

I separated the sections, fluffed my hair, separated some more, fluffed some more and then decided to pin it backΒ for Day 1:

Day 2:

I did the pineapple method to sleep and covered my hair using a scarf. The next day (day 2). IΒ again had it pinned back but without any curls hanging down this time.Β Β By the second day my hair fluffierΒ which gave me volume (yay) andΒ of course also invited frizz butΒ I am fine with that.Β 

That is it Maicurlies! Let me know if you like these kinds of posts or not!Β 

Thanks

Maicurls

Maicurls

Twisted Perm Rod Set

Hey Maicurlies,

So I have very slowly been crawling out of my regular two strand twist-outs…only just…and have been experimenting with perm rods.

Products/Tools used:

Products and Tools

Process:

For this demoΒ I started off on freshly washed hair (I split my hair intoΒ 5 twists to make it easier to work through). From each of the 5 twistsΒ I split my hair into 3 -4Β Β (I had a total of 17 perm rods at the end). I applied the Leave-In, Conditioning Gel, Whipped butter, worked each product into my hair and then finger detangled to make sure theyΒ wereΒ distributed evenly before combing. (I already detangled my hair during my wash process so detangling was a breeze). IΒ two strand twisted and twirled my ends around the perm rods workedΒ up to my roots.Β 

I let my hair air dry and covered my hair right before bed with a scarf (with the rods still on). The next morning I unwound the perm rods, took down the twists, separated my hair and then fluffed lifted my roots and separated some more.

Left: perm rods taken down and twists separated Right: perm rods and twists taken down but not separated

My Left: perm rods taken down and un-separated twists My Right: hair was separated

I like the results once I separated and fluffed however, since I am not a “pro” there is always room for improvement. I do notΒ particularly like the perm rods I used (these are my old rods) but luckily my sister bought me new ones so I shall be using the new perm rods in the next video butΒ will try withoutΒ twisting my hair to see if there is a difference.Β 

How do you do your perm rod set? Two strand twist first or not?Β 

Thanks

Maicurls

Maicurls

2 Simple Valentines Day Styles

Hey Maicurlies,

So before I even begin to go through the process,Β me a minute to explain why I opted to (yet again) show you two simple styles. Ignoring the fact that doing an easy style just is my thing, sometimes overdoing our hair can just be annoying, nerve wreckingΒ (especially if this is going to be a first date) and not to mention it can potential cause damage and/or breakage.

Ok, now that I have come up with my “explanation” (excuse) let me share the two really super easy style options πŸ™‚Β 

2 Valentines Day Styles

Β  Β  Β  Β  Β  Β  Β  Β  Β  Β  Β  Β  Β  Β  Β  Β  Β  Β  Β  Β  Β  Β  Β  Β  Β  Β  Β  Β  Β  Β  Β  Β  Β  Β  Β  Β  Β  Β  Β 2 Valentines Day Styles

In all honesty it is one styleΒ –Β two different looks. The first startsΒ with one chunky side twist (pictures 1 below) & is accessorized with a ribbon. The second look is alsoΒ aΒ chunky twist butΒ I pin the end of the twistΒ byΒ bringing it forwards and over and use a bobby pin to hold the hair down – I pin the hair underneath (by my ear – pictures 2 below).Β 

What I use is: a hair bubble, bobby pins and ribbons Β (you can use a head band).Β 

I have a video of the process and the “looks” can be done in no more than 5 minutes!Β They are simple yet pretty (in my opinion lol) and you don’t have to worry about curls setting, damp frizzy results etc. on Valentines day.Β 

If you happen to be “celebrating” Valentines Day, I hope you and your significant other have a lovely day/night πŸ™‚Β 

Happy Valentines Day Maicurlies (in advance)Β 

Maicurls

Maicurls

My French Bourjois Updo

Hey Maicurlies,

I finally have a styling tutorial!

French Bourjois Updo

Β Β Β Β Β Β Β Β Β Β Β Β Β Β Β Β Β Β Β Β Β Β Β Β Β Β Β Β Β Β Β Β Β Β Β Β Β Β Β Β Β Β Β Β Β Β Β Β Β Β Β Β Β Β Β Β  French Bourjois Updo

This is what I like to refer to as my French Bourjois Updo. Now, I have shown you something similar before during my protective challenge in Week 6 (without a tutorial) but this looks a little difference. Even though the method of how I did the style is the same, the main difference is that my hair was taken down from twists during my Protective Style Challenge and in this demo I was working with week old hair that NEEDED a wash!

french bourjoisI will point out that I was on a “carefree” I don’t mind the frizz attitude. I had run out of henna and needed to go to the market to get some before washing my hair, so I didn’t want to add too much to my hair or do too much either.

You can make the style more polished and slick with the use of some gel. I would suggest using a light spray gel so that it is not uber sleek (check my DIY Spray Flaxseed Gel). But like I said I decided I wanted to rock it as is, so I went out frizz and all :).Β 

Products/Tools:

  • Hair clips (to separate hair)
  • Water – spray bottle
  • Bobby pins (I used 8 in total)
  • Gel (optional – I didn’t use any)

Instructions: much easier explained/understood in video!

Would love some feedback Maicurlies πŸ™‚

Thanks

Maicurls

Maicurls

It has been a wonderful year Thank You!

Hello Maicurlies,

I made a quick video to say thank you for all the support I’ve got over the last year, which has been a wonderful year by the way. I truly appreciate every single one of you! While saying THANK YOU is not nearly enough to express how much all of your support means to me I can only reiterate I really do appreciate every single comment, follow, share, like, question, suggestion and message of support I’ve received from you, so THANK YOU again!Β 

I also explain what I will be doing on my YouTube Channel, this Blog as well as the other social media platforms I am on (Pinterest, Instagram, Bloglovin). I basically plan on sticking with what I know best and am most comfortable in, DIY’s and a few stylingΒ  videos. I do plan on doing more styling videos/tutorials and will try my best to be a little more creative πŸ™‚

Along with that I also shared my Christmas Eve and Christmas Day hairstyles which, you probably already guessed were simple! Yes, I was being true to myself.

So with the buildup to Christmas over now comes the buildup to New Years Eve. I am still not sure what I will be doing in terms of hair but If I come up with something a little more exciting than a simple flat twist I will record a video ;).

Until next time Maicurlies!

Maicurls

Maicurls

Big Bun with a Side Bang (Styling Tutorial)

Hello Maicurlies,

It feels like it’s been forever since I made a styling video (it has been) so without further ado, I want to share my “how to” tutorial of my Big Bun with a Side Bang.

Big Bun with a Side Bang

Big Bun with a Side Bang

Now, I have to give credit where credit is due: I actually got inspired to do this style through one of Mo Knows Hair amazing videos. I did make some alterations to my version such as not working with blow dried hairΒ  and I also formed the bun a little differently to hers but the concept came from her. Please check out her video here like I said, she is amazing!

I have a few images of the steps (below) along with a video of how I did the style on my YouTube Channel.

Big Bun with a Side BangIt is really simple to do.

I hope you like it!

Maicurls

Maicurls