Hey Maicurlies,
So before I even begin to go through the process, me a minute to explain why I opted to (yet again) show you two simple styles. Ignoring the fact that doing an easy style just is my thing, sometimes overdoing our hair can just be annoying, nerve wrecking (especially if this is going to be a first date) and not to mention it can potential cause damage and/or breakage.
Ok, now that I have come up with my “explanation” (excuse) let me share the two really super easy style options 🙂
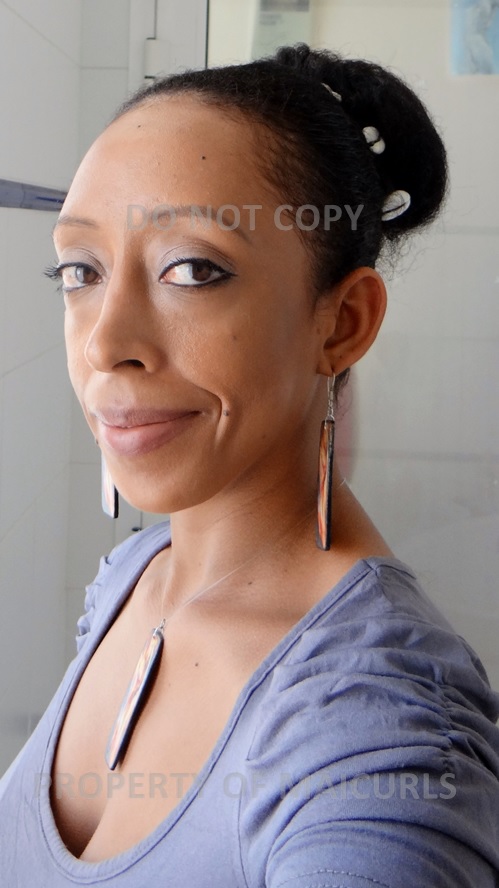
2 Valentines Day Styles
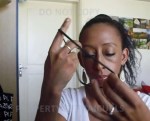
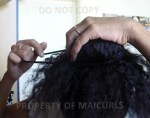
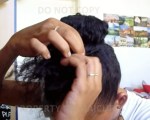
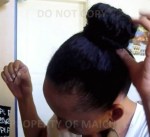
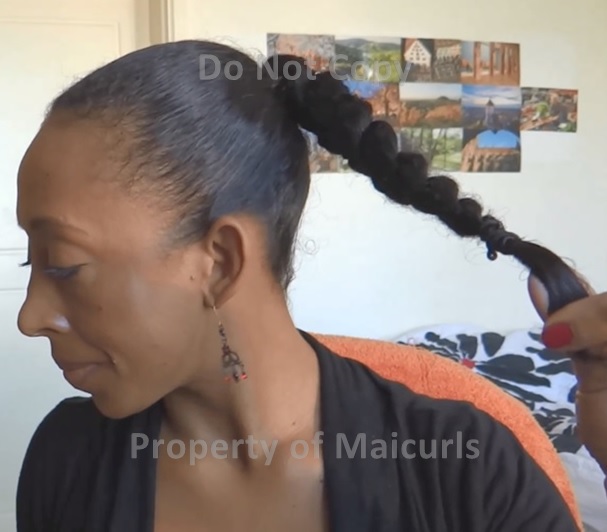
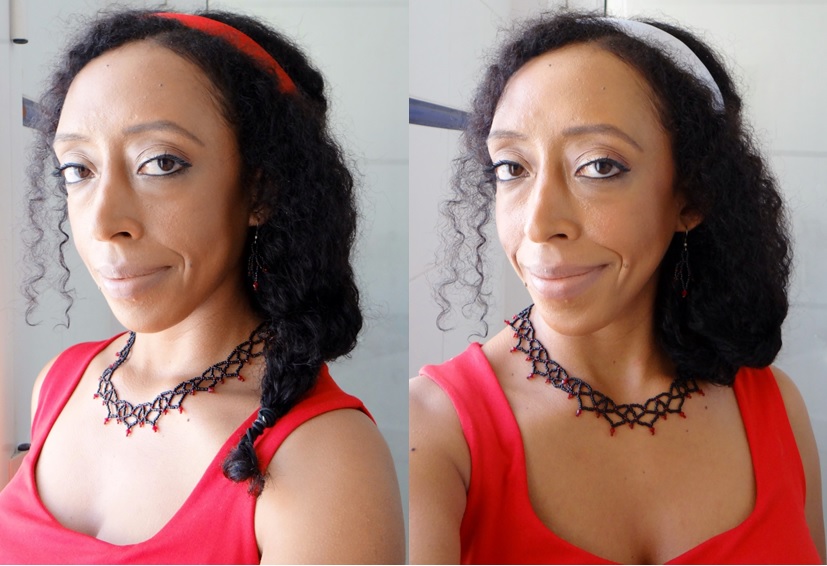
In all honesty it is one style – two different looks. The first starts with one chunky side twist (pictures 1 below) & is accessorized with a ribbon. The second look is also a chunky twist but I pin the end of the twist by bringing it forwards and over and use a bobby pin to hold the hair down – I pin the hair underneath (by my ear – pictures 2 below).


What I use is: a hair bubble, bobby pins and ribbons (you can use a head band).
I have a video of the process and the “looks” can be done in no more than 5 minutes! They are simple yet pretty (in my opinion lol) and you don’t have to worry about curls setting, damp frizzy results etc. on Valentines day.
If you happen to be “celebrating” Valentines Day, I hope you and your significant other have a lovely day/night 🙂
Happy Valentines Day Maicurlies (in advance)
Maicurls