I watched a number of videos on YouTube before I proceeded to make my own wig however, I quickly found out that while some of the stunning & talented women in the videos were able to make their wigs in a “few hours” it took me forever! Literally I split the process over two days (the weekend) and spent about 10 hours in total. This was only after I had initially made 2 failed attempts (two weekend before) with the Freetress Crochet Braiding hair – Bouncy Twist Out (colour 2).
Freetress Crochet Braiding Hair – Bouncy Twist out
Freetress Crochet Braiding Hair – Bouncy Twist out
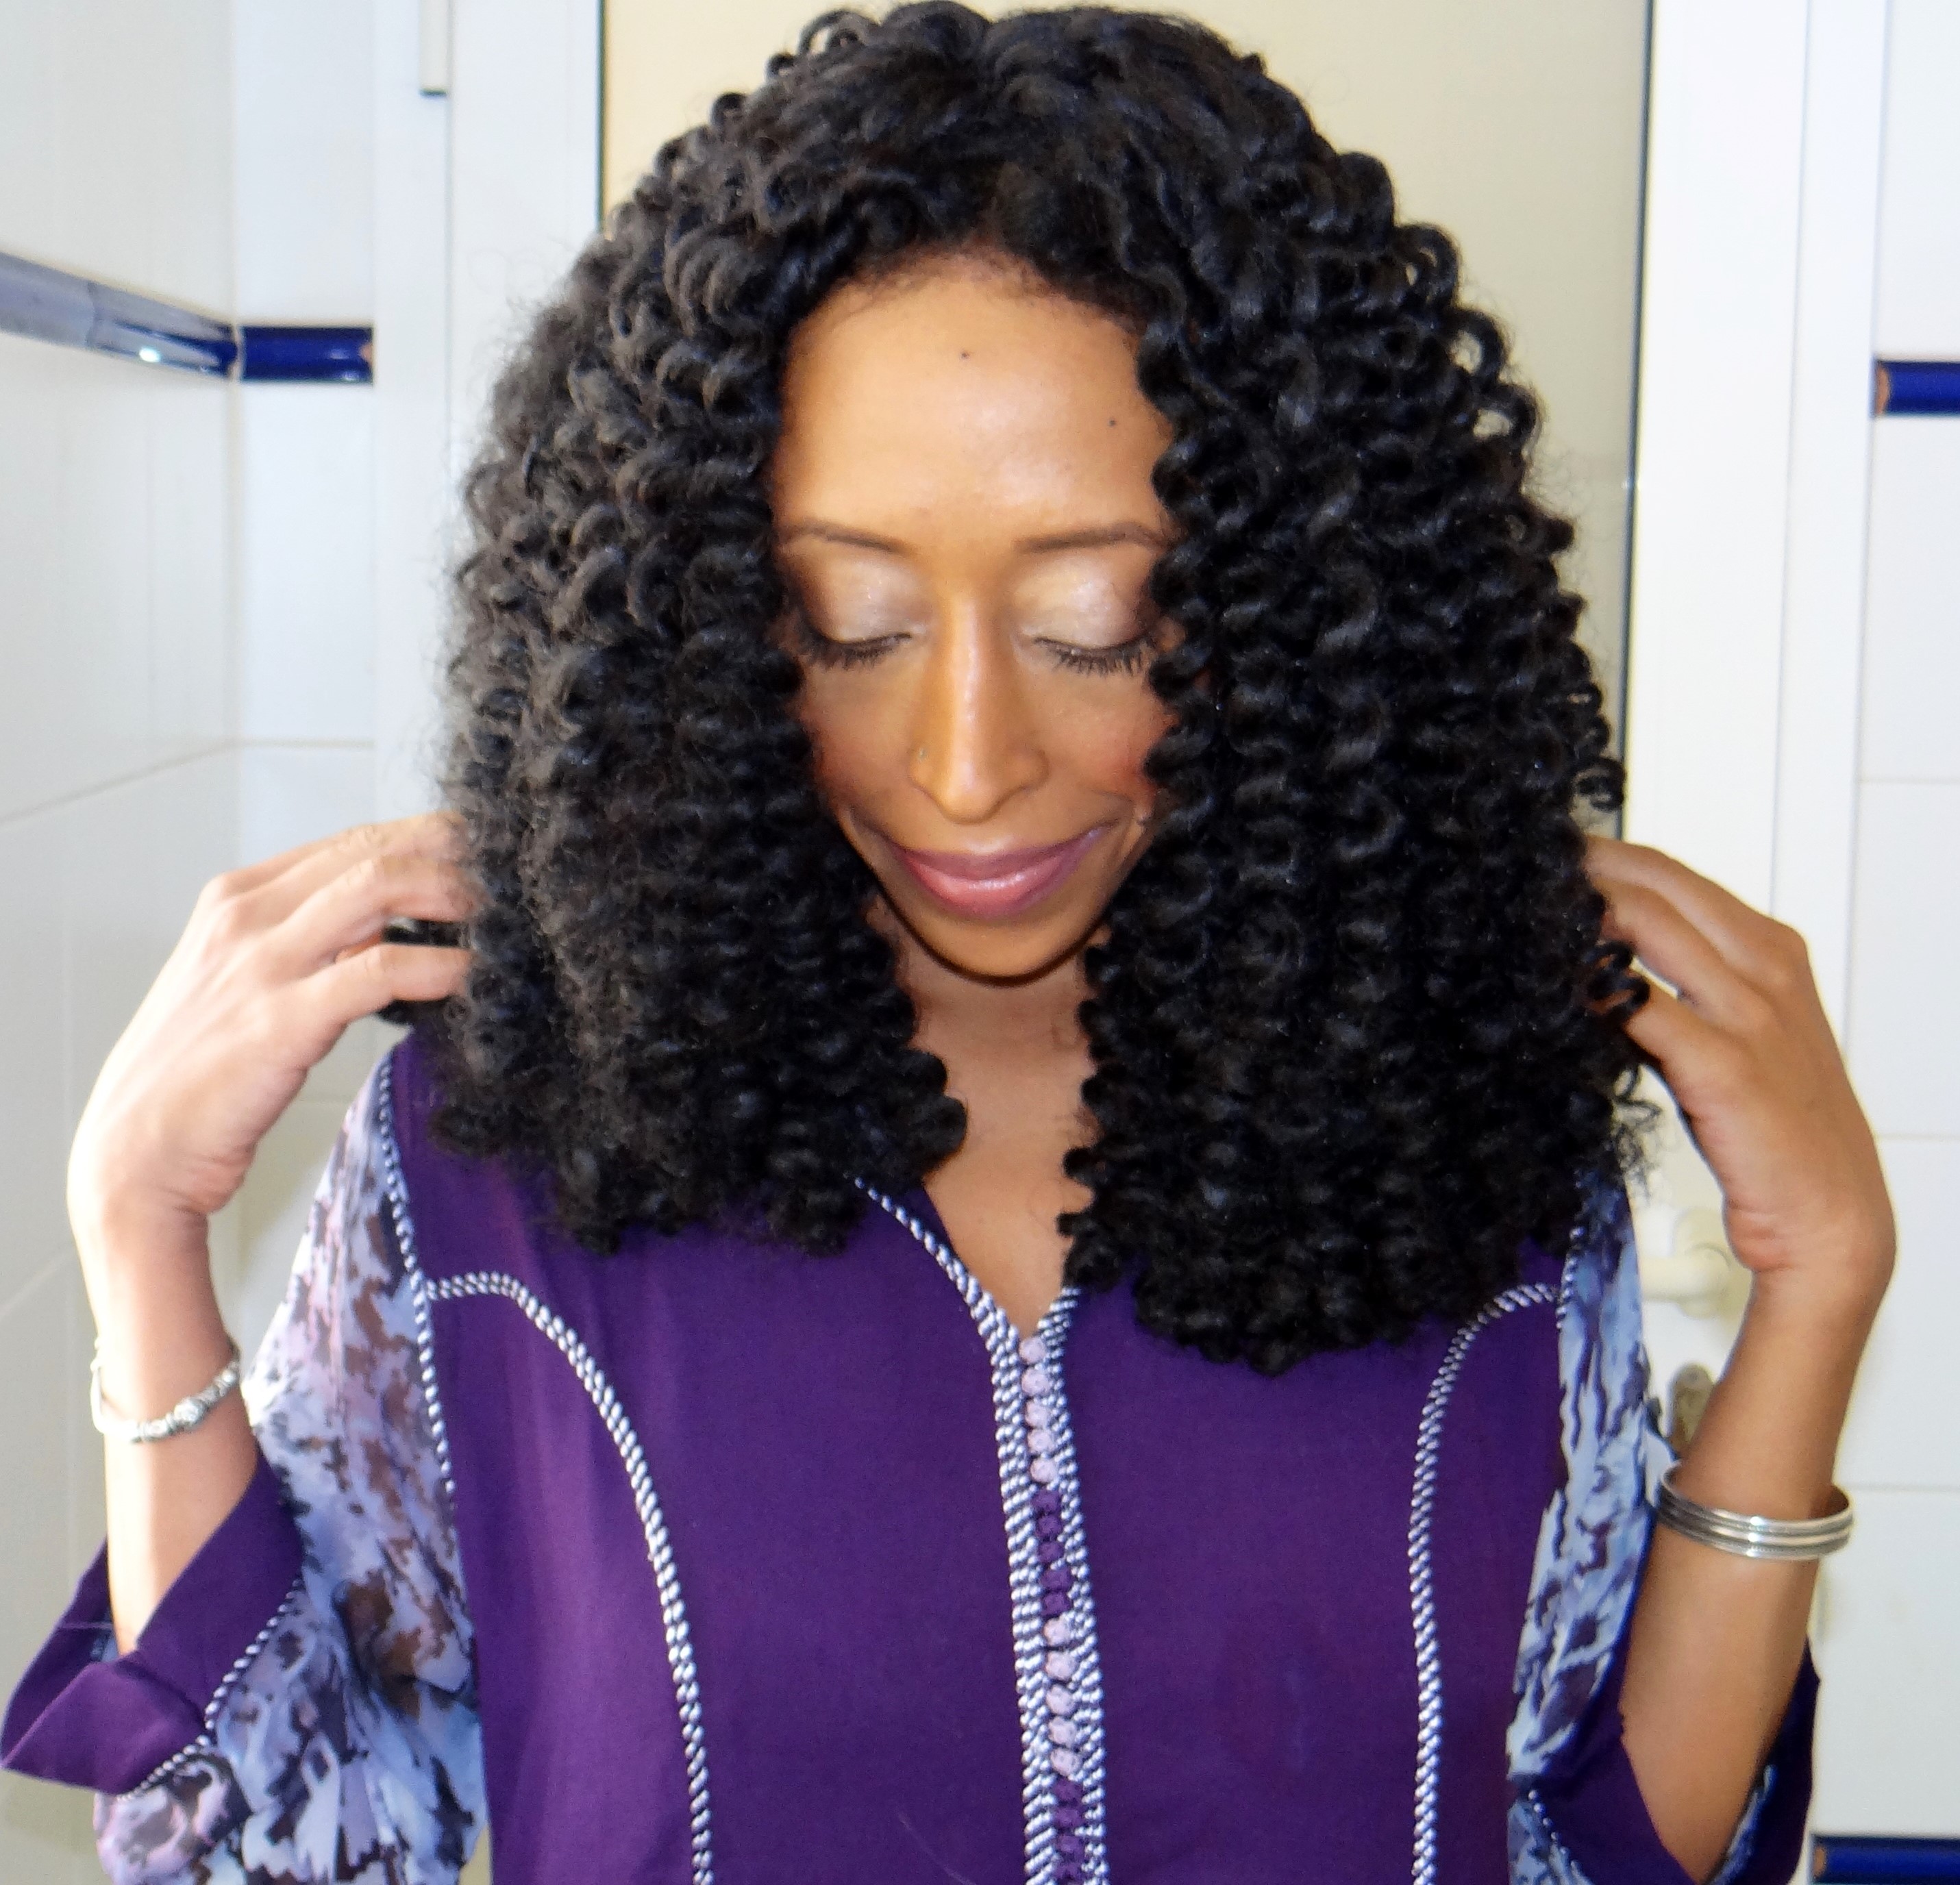
I initially wanted to make my wig to look the same as the crochet braids on the hair model however, it proved to be a challenge for me. The hair was just so thick it not only looked overly “fake” on my small face but it was overwhelmingly bulky. So in order not to give up I ended up changing the curl pattern of the hair by: moisturizing, detanglng, separating and re-curling with flexi rods and hot water. Once that was done I was able to make Annabelle with a lot more ease!
I have a detailed review about the crochet hair which I purchased online from Tisun Beauty(you can read about here.)
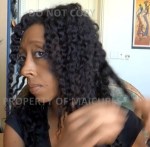
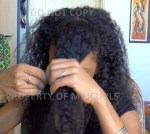
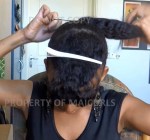
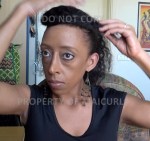
It is a lot easier to explain my wig making process via video which you will find below.
Would love to hear from you, if you have attempted a DIY wig let me know how it went!
I am currently away on holiday but I prepared a post in advance for my time away and today I shall be doing a detailed review on some Crochet Braiding Hair I bought and used to make a DIY Crochet Wig! The hair I will be reviewing is: Freetress Crochet Braiding Hair Bouncy Twist Outthat is part of theShake-n-Go collection.
Freetress Crochet Braiding Hair – Bouncy Twist out
Before purchasing this particular hair I wanted to read some reviews however, I found out that there was literally hardly any information about the hair (at least from my search). So I decided to buy it anyways because I was in love with the models hairstyle and decided I would try and recreate it but instead of doing crochet braids, I opted to try and make my own DIY Wig. Please note – this review is not about how I made the wig or details on the wig itself, it is simply about the hair used.
NOTE: I paid for the hair myself and I was not requested to do a review on the hair. I simply wanted to share my experience in case some of you come across the hair and want to know what others think about it.
I shall break this review down into two parts: the first will be about the beauty supply store where I purchased the hair from and the second part will be about the hair itself.
I bought the hair online from Tisun Beauty, a beauty supply store that sells not just crochet hair but also weaving hair, braiding hair, clip-ins, wigs, skin care products and hair care products. They also have a store front that you can physically visit in North Carolina (check the bottom of the post for the full addresses). I highly recommend purchasing from Tisun Beauty, they offer a number of different style options, different brands, colours, lengths and hair textures! Another aspect I love is the company’s excellent customer service! I was in touch with Steve and he was extremely helpful! He answered all my questions promptly, provided me with suggestions and was super helpful when it came to the shipping options available to me (shipping outside the States). If you are looking for a source to buy hair, I really do suggest giving them a try and if you get in touch with Steve, rest assured you will be in good hands!
P.s. I have a discount code for any of you that do decide to purchase from Tisun: http://tisun.refr.cc/5XBXKRV. You will get $5 knocked off your order if you use the code and when you purchase from them you automatically get enrolled in the $5 discount referral program too! I got enrolled after making my purchase,
5x Freetress Crochet Braiding Hair Bouncy Twist Out – 23″ in the colour 2 (Dark Brown) $5.99 per packet.
Each packet contained about 10 – 12 strands per pack.
******
Cons:
Dry & Rough –When I took the hair straight out of the packet I will be honest, it did feel really really dry and rough. Now I know the texture is suppose to mimic natural (black) hair however, I feel like it was just a tad bit too much on the dry side. Solution – I first washed the hair since I have super sensitive skin (2 oz of apple cider vinegar to a lot of water) & to restore some moisture to the hair I added a little conditioner (that helped). P.S when using the hair I sprayed it with a little plain water and rubbed some whipped Shea butter before installing the hair, this completely softened and moisturized the hair.
Tangles & Frizz –this hair really tangles up quite easily and quickly. There is a quite a bit of frizz once the wig was made which can get really annoying since it ends up making the individual curls I have to sort of “tango together”. Solution – I recurled the hair roughly 3 times (approximatly once a week) and once it was reculred the frizz and tangles were gone (the hair requires maintaince in order for it to not look like a tangled mess!
Uber Thick Strands – I tried using the hair in its original curl pattern (bouncy twist out) and while I love how beautiful and full each strand of hair is, they are just so thick! I can not imagine how each strand is installed into someones actual hair (cornrows) due to how thick and “chunky” the strands are! I made 2 (failed) attempts at making the wig with the curl pattern but had to redo them and then gave up. – Solution – I opted to change the curl pattern in the end because the wig ended up looking like a chunky, bulky pile of hair on my head!
Can Not Separate –I know some of you will wonder “well why didn’t you separate the strands in half” I did….and that didn’t work. Once I tried to separate the stands in half I ended up destroying the beautiful curl pattern and was left with half curled, mainly frizzed strands! Solution – same as above, I combed out the hair, separated the strands and then made my own curl pattern (not a bouncy twist-out).
Pros:
Changeable Curl Pattern – while I did not end up with the original look I had envisioned the hair can be used to create different curls by wrapping it around flexi-rods or perm rods, pouring hot water over them and voila a new look!
Beautiful Original Curl Pattern – now while I was unable to use the hair in its original state for a wig, perhaps it is more effective as crochet braids (especially since that is what the model had) and the original curl pattern really is gorgeous!
Not Very Expensive –as I mentioned, each packet comes with roughly 10 – 12 strands in them and each pack costs $5.99. If you are able to recreate the original crochet braid look like the model I would imagine that you would need a maximum of 3 packets (maybe a little less) since the hair is so full and thick. That is not too much on the pocket for a protective style that you can keep in for a few good weeks!
Colour/Length Options – while I went for the 23″ option (I did trim the hair to give it shape) and you can also select from a number of different colours, blended colours etc.
Looks Natural –the natural texture of the hair has that “natural look” and by that I mean it does not have that “fake” shiny appearance even though it is synthetic hair! Sometimes synthetic hair can give off that uber shiny appearance after heat is used on it (e.g. hot water) but this still kept its natural look.
Accepts Heat –in order to change the curl pattern of the hair I had to pour and soak the curled sections in boiling hot water (no more than 30 seconds – 60 seconds maximum) and this didn’t cause any damage to the integrity of the hair. The package instructions actually states: “Do not use hot curler at regular setting. This fiber can only be curled 350 degrees Fahrenheit – 400 degrees Fahrenheit”.
Below is an image gallery of the hair along with some photos of how it looked after I changed the curl pattern & made the wig.
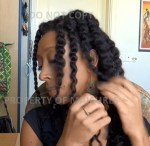
Freetress Crochet Braiding Hair – Bouncy Twist out
Freshly washed and conditioned Freetress Crochet Braiding Hair – Bouncy Twist out
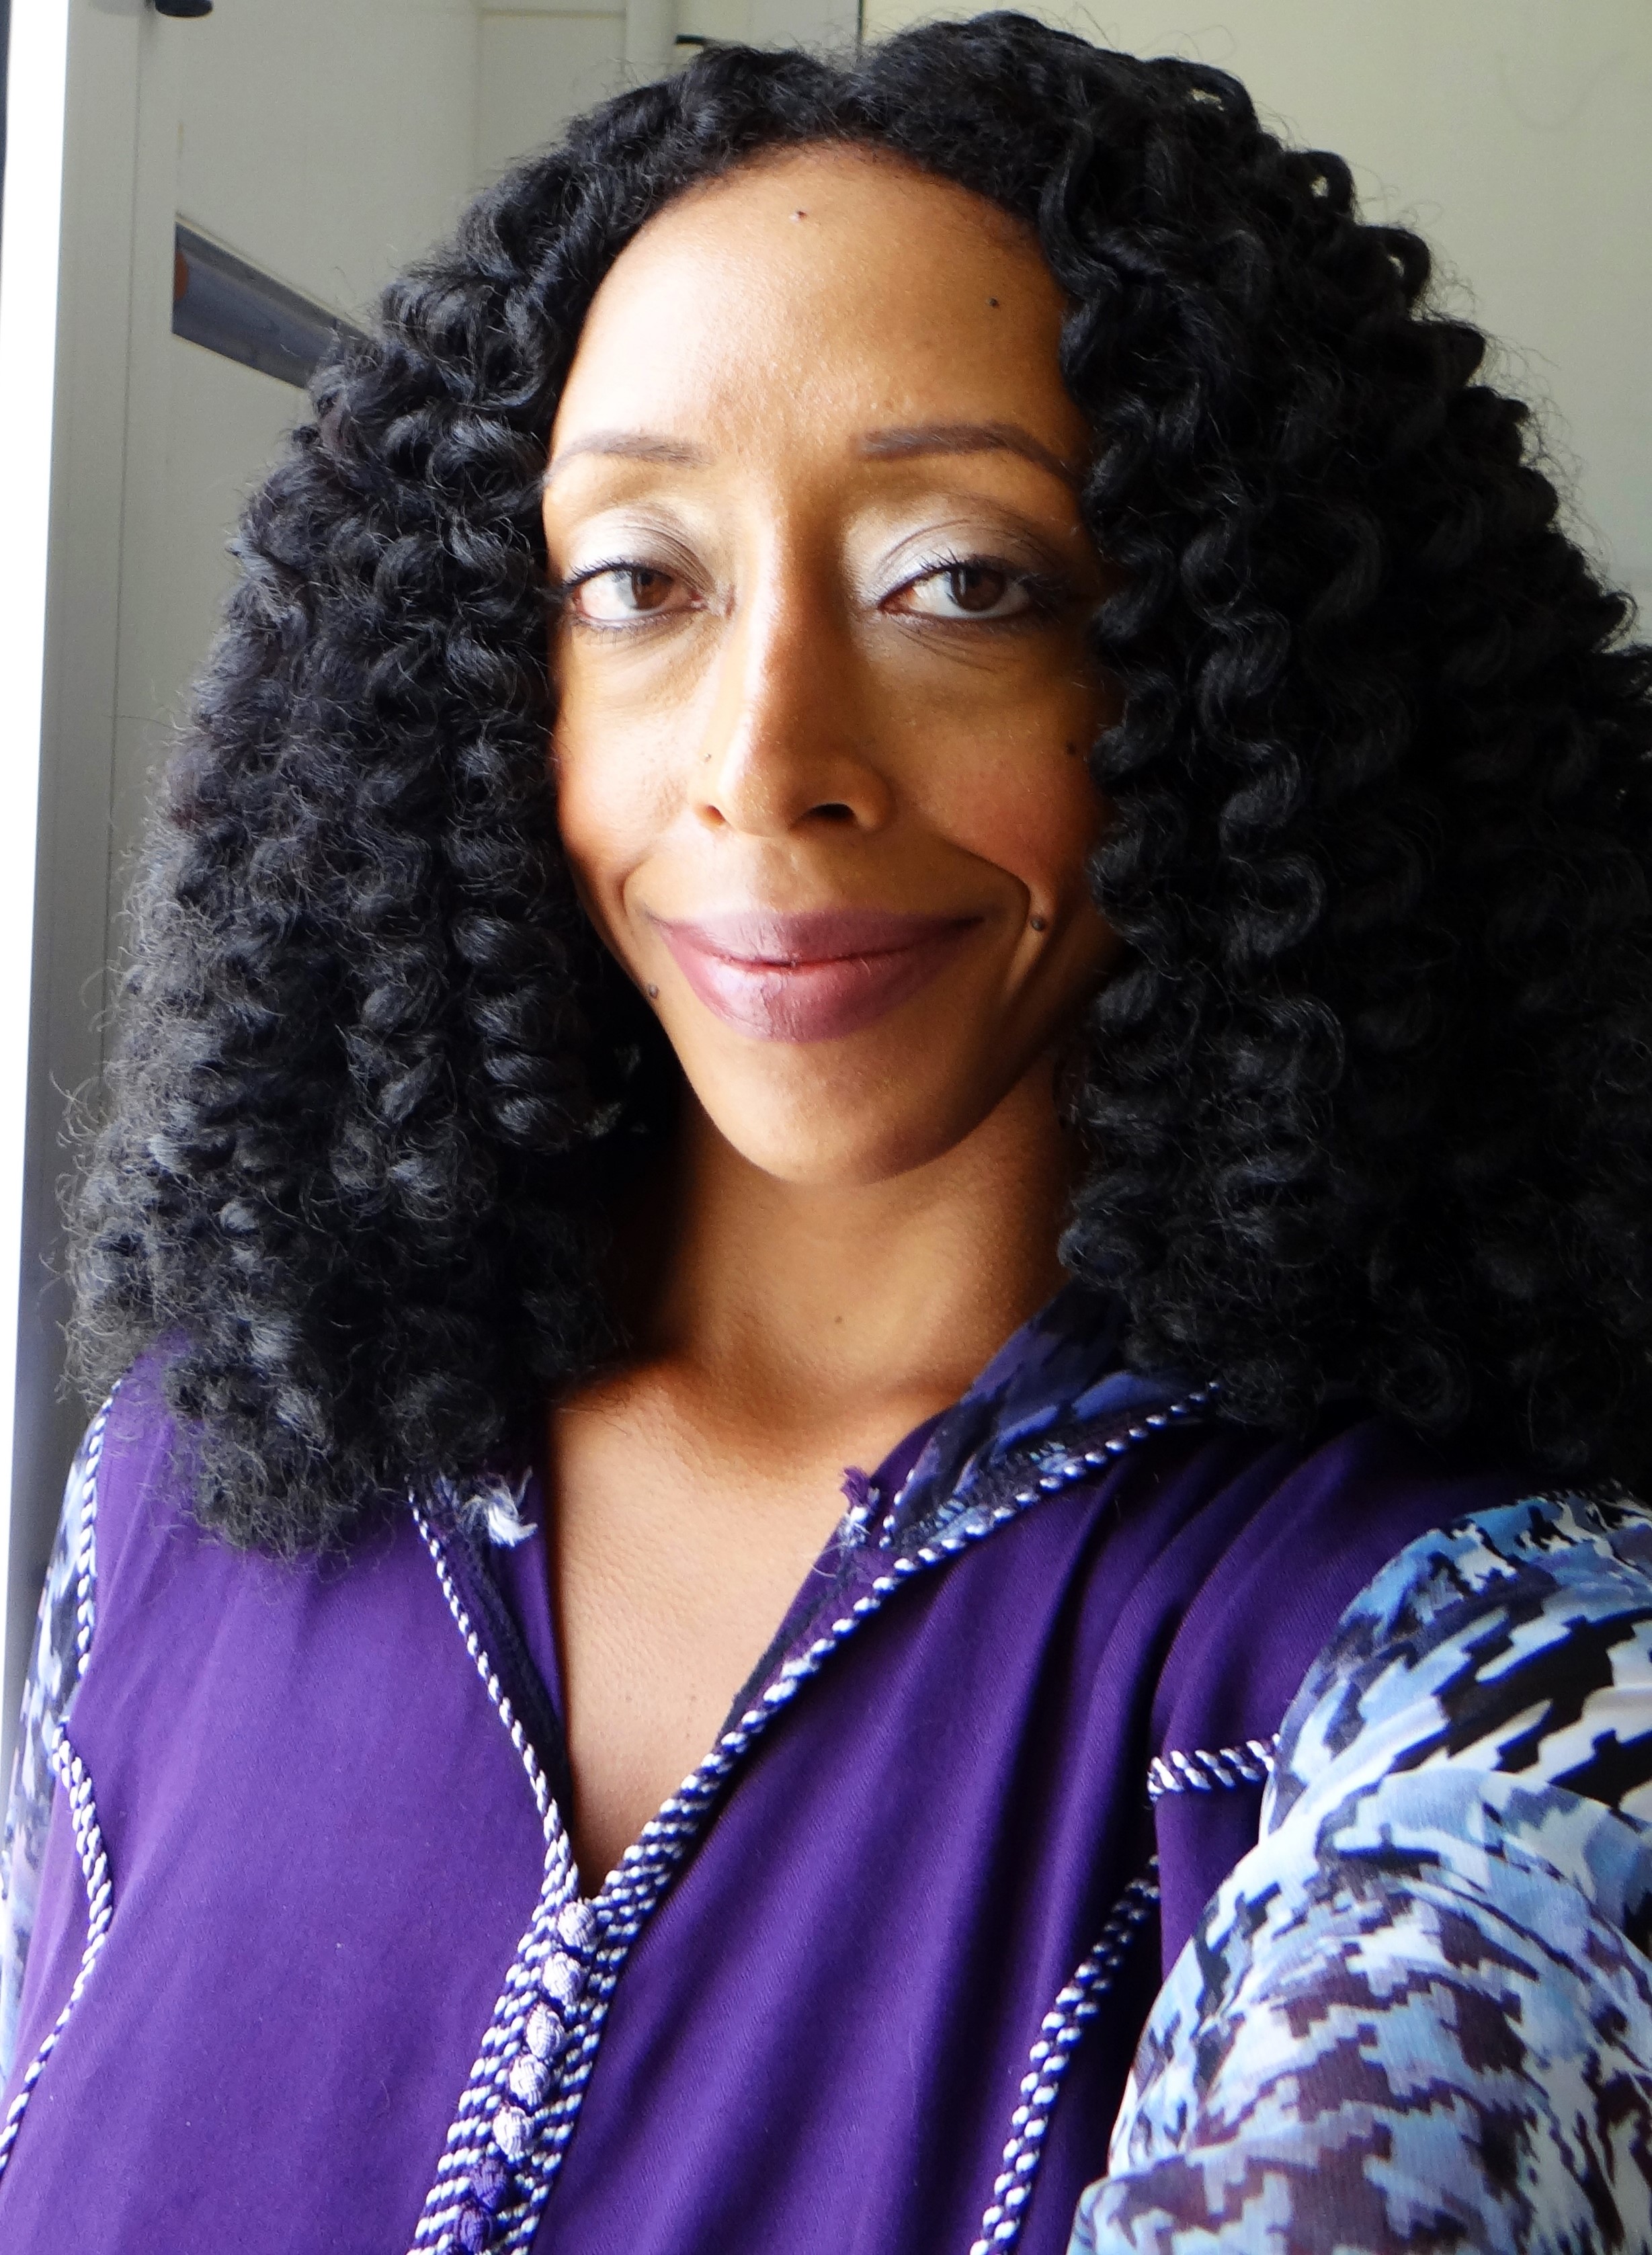
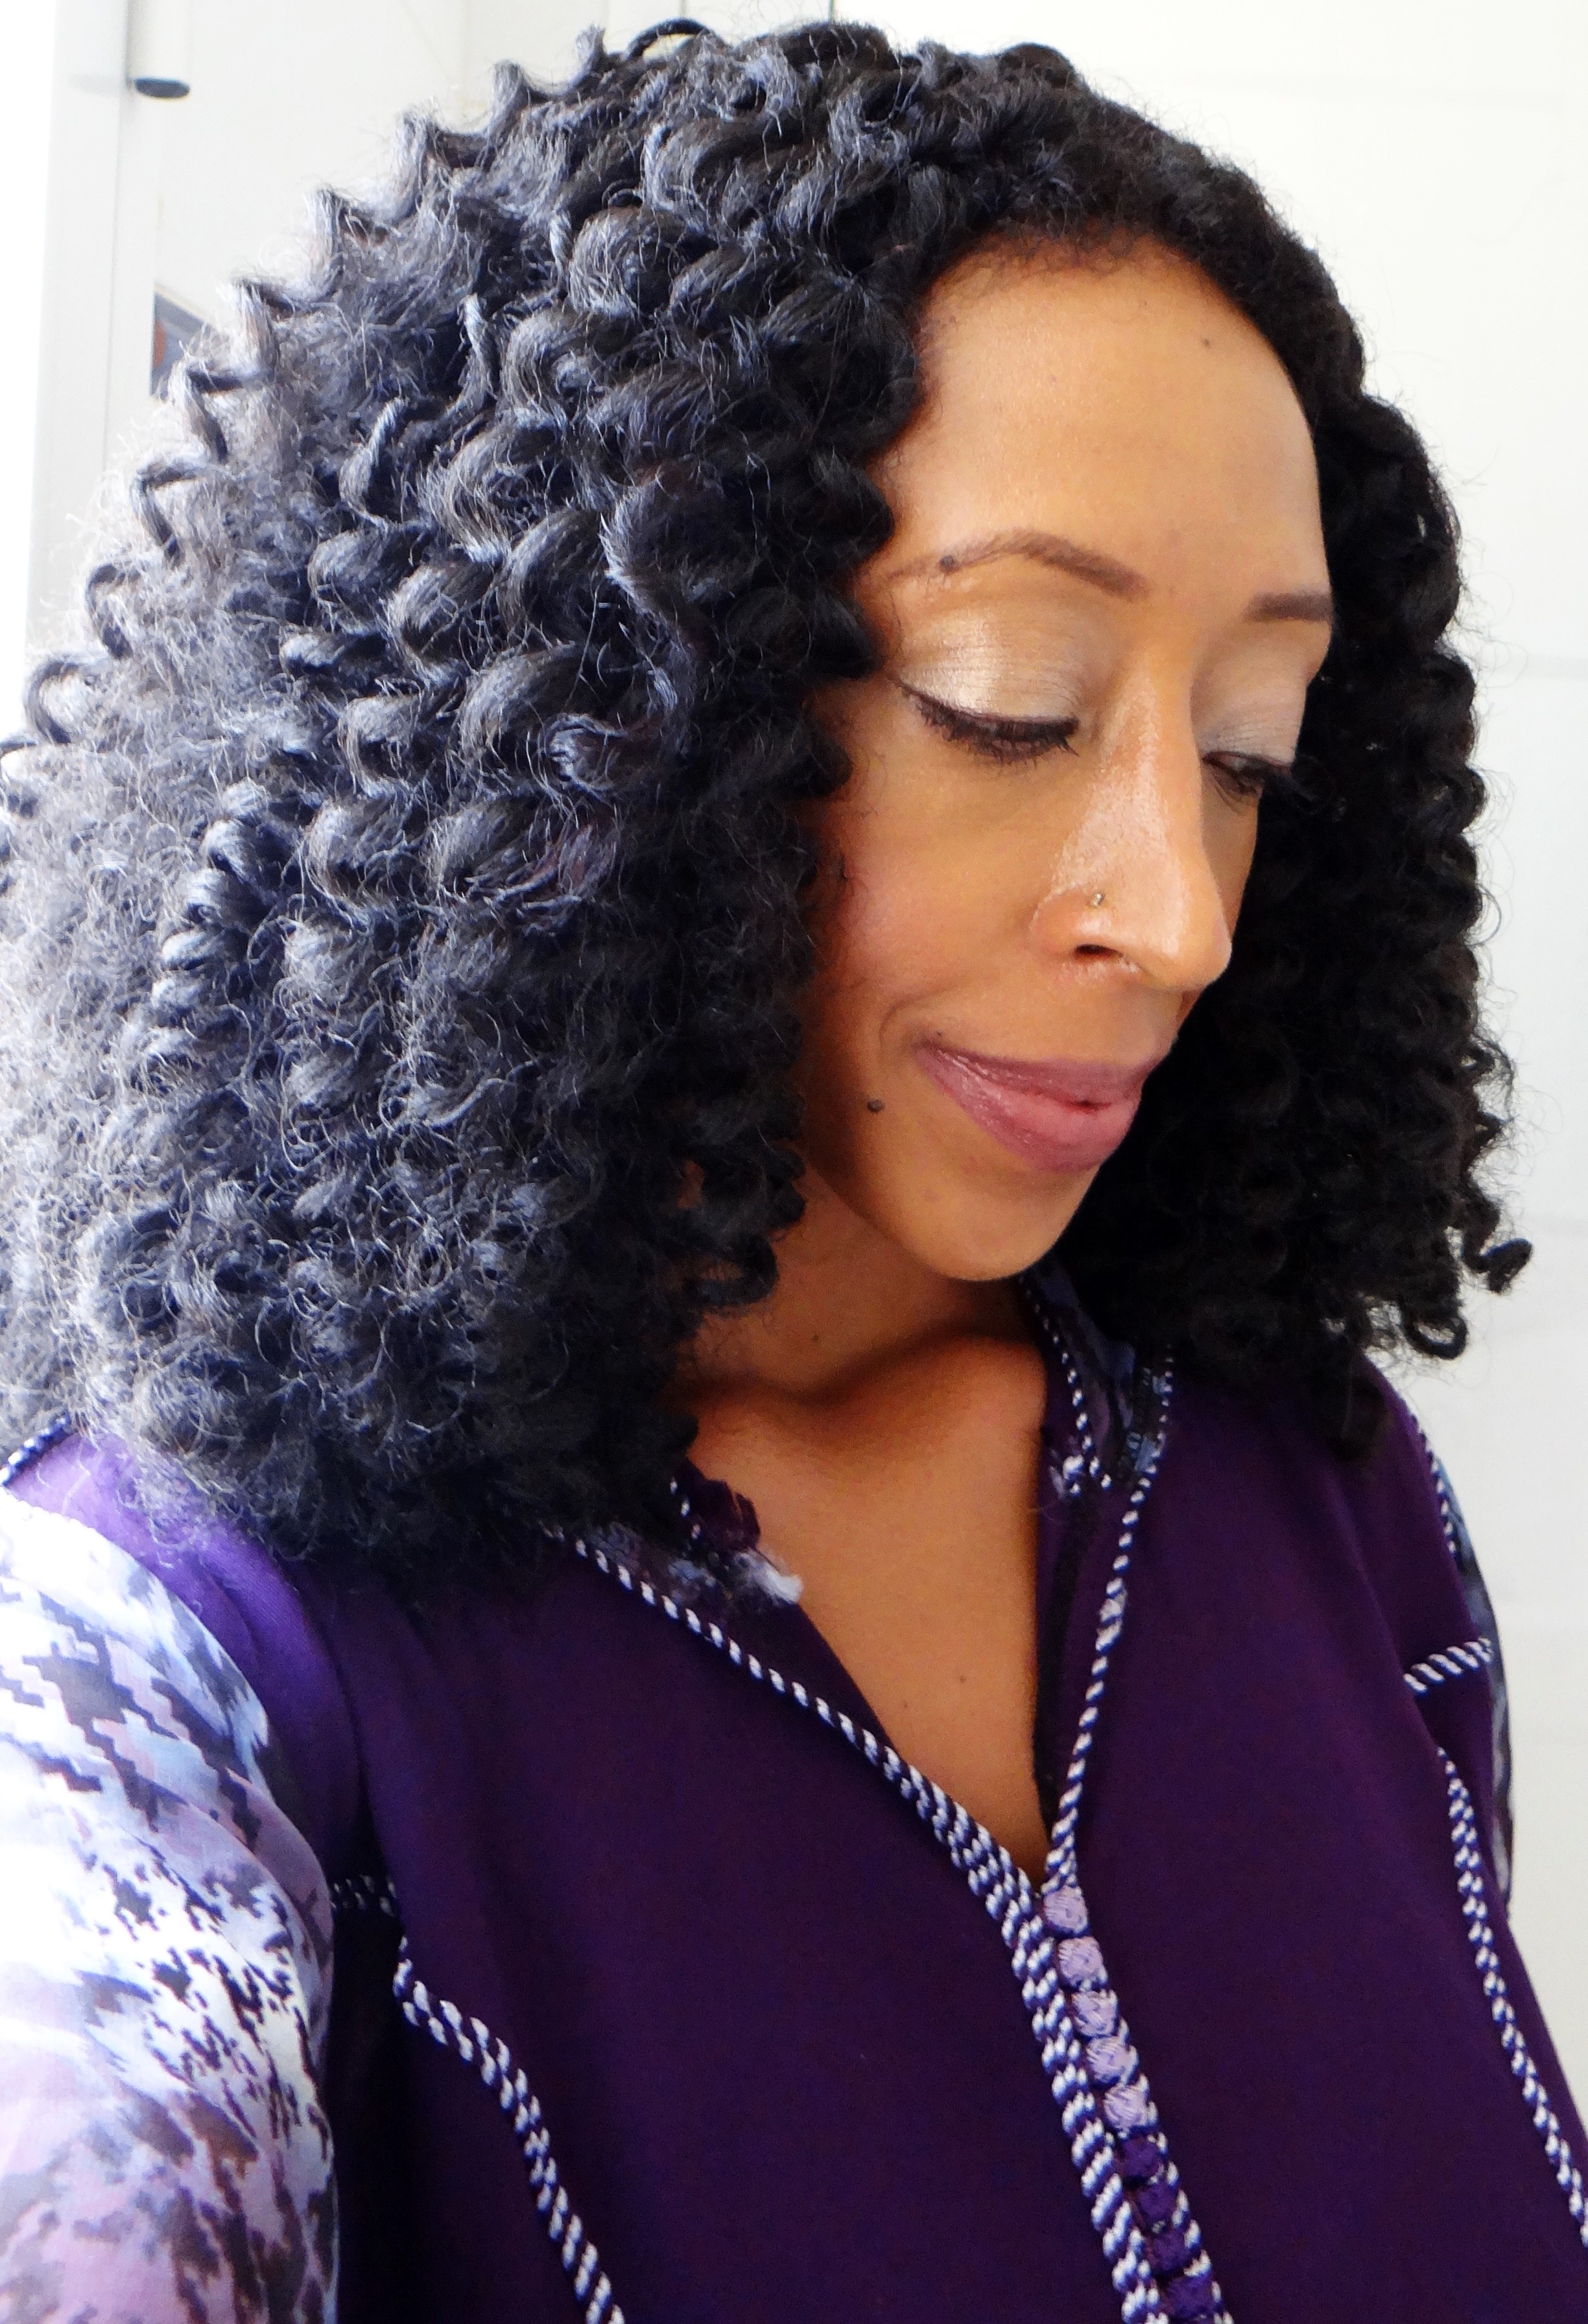
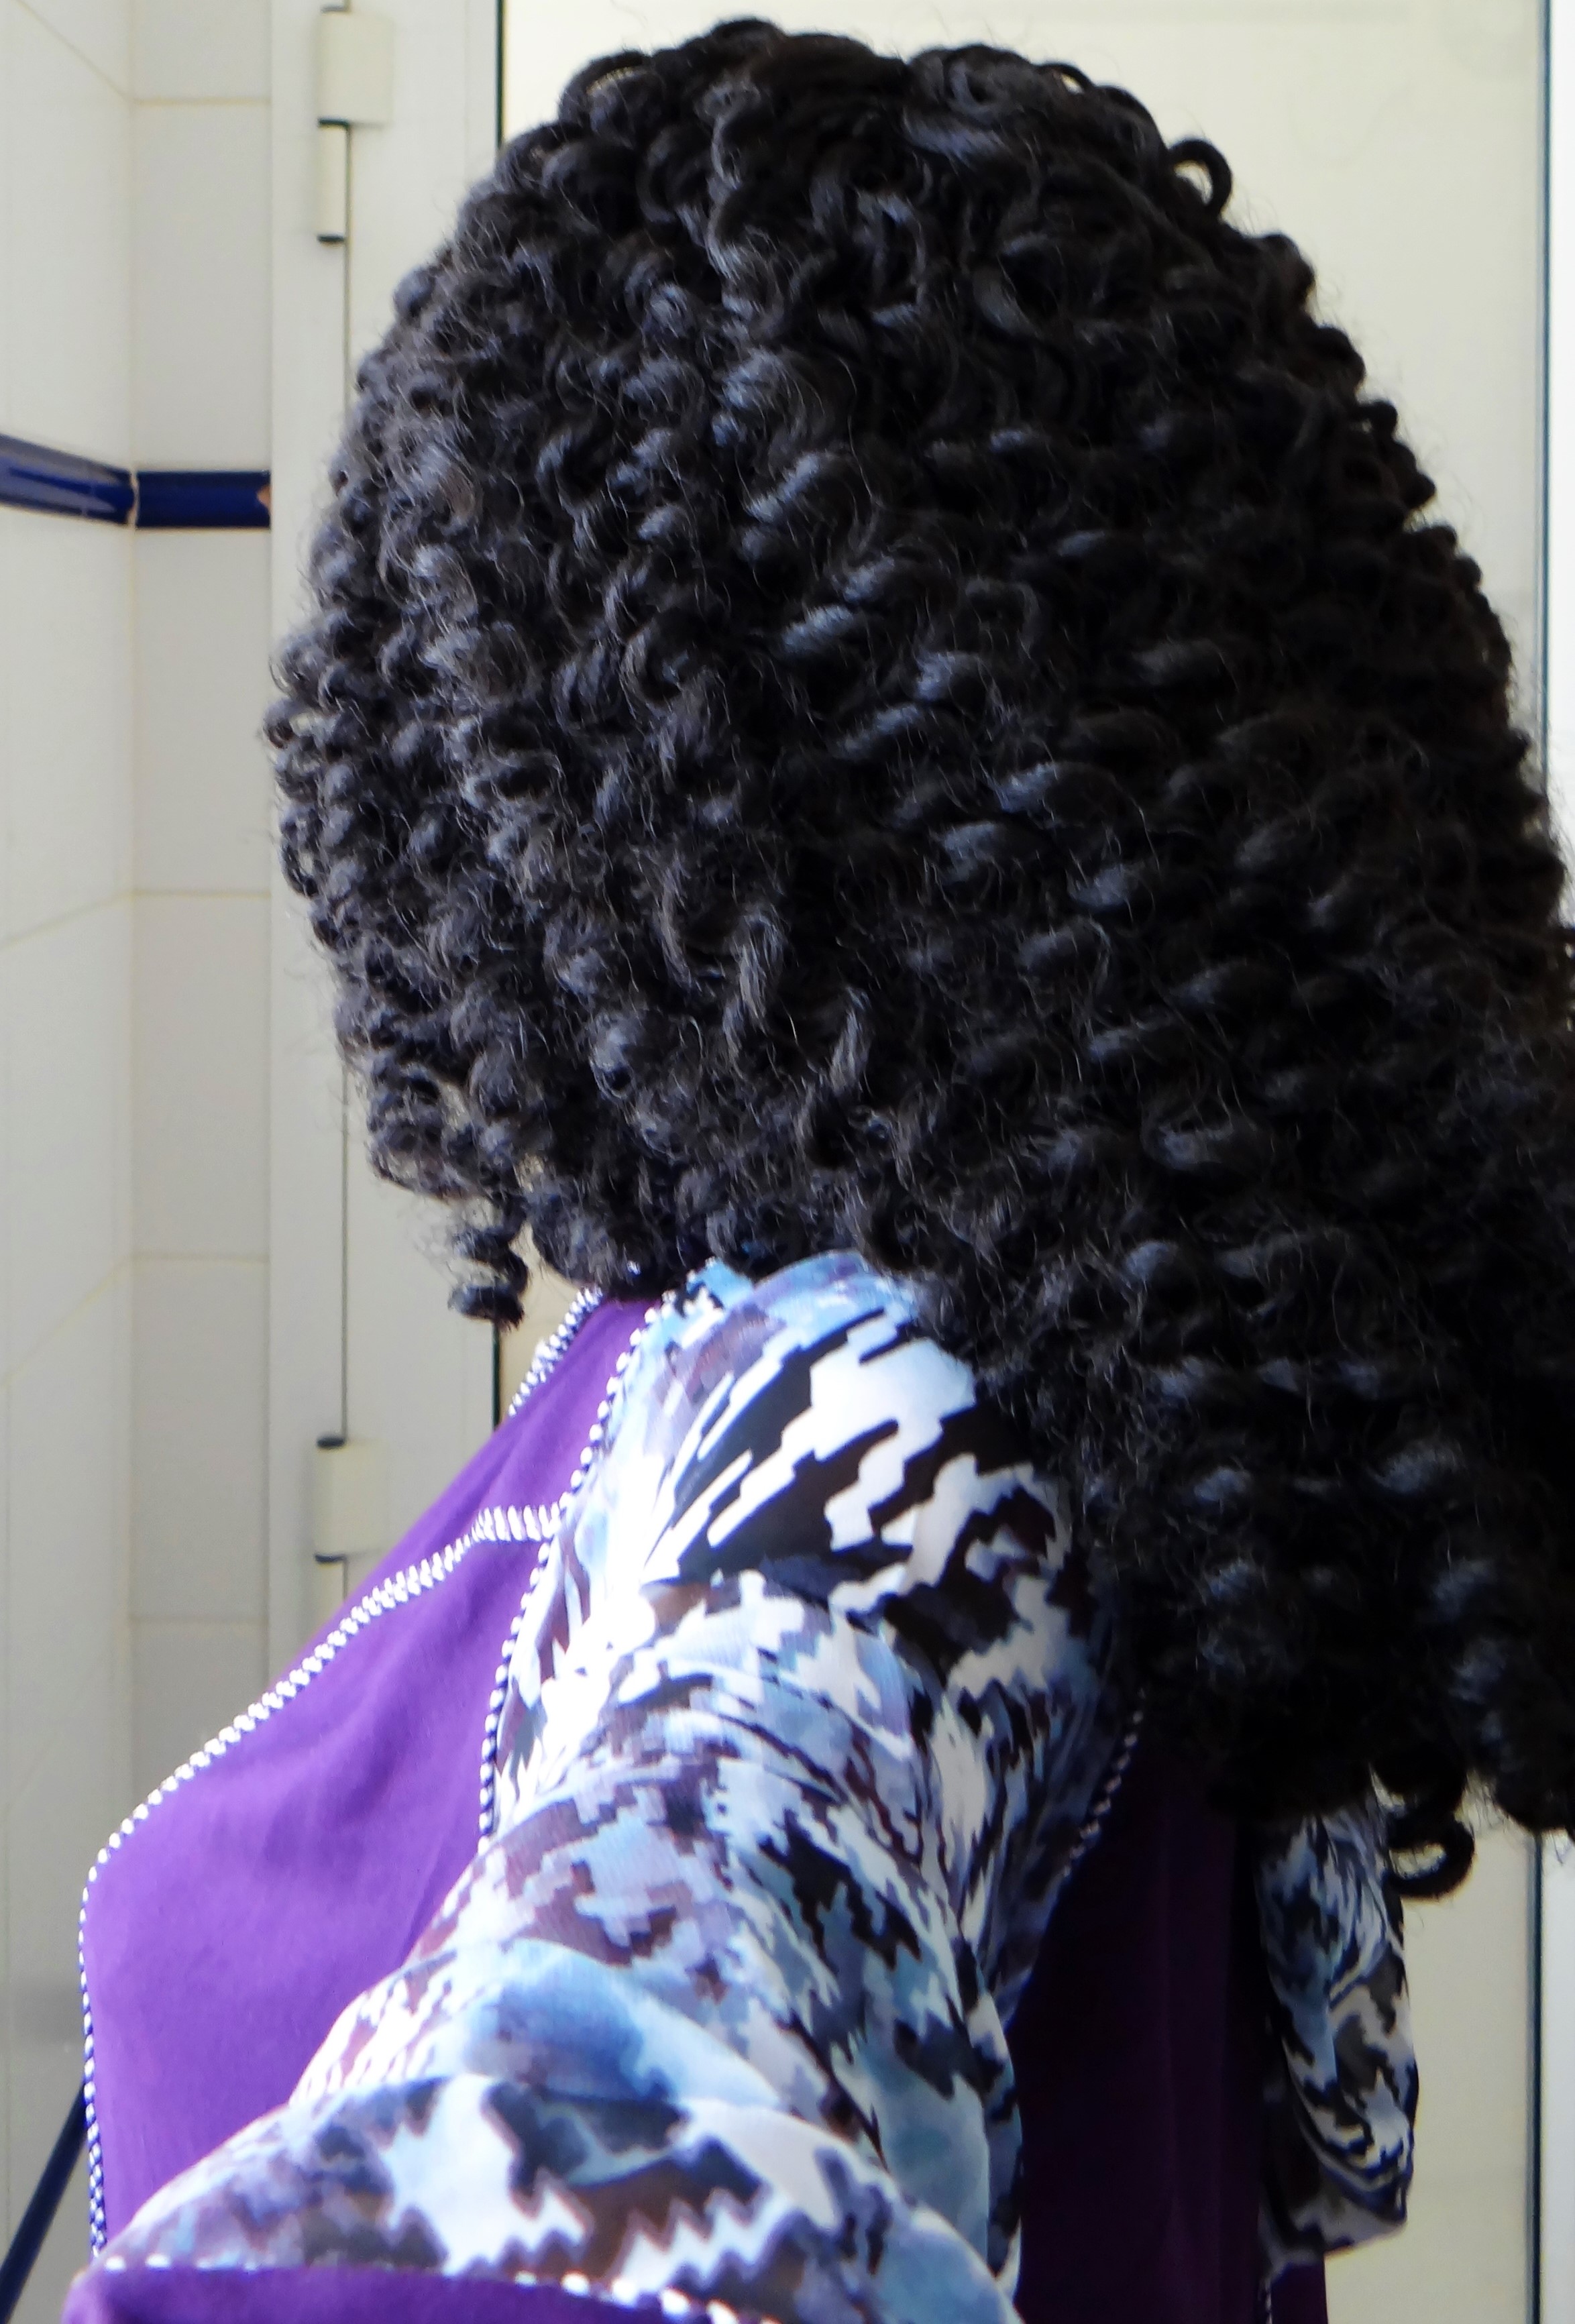
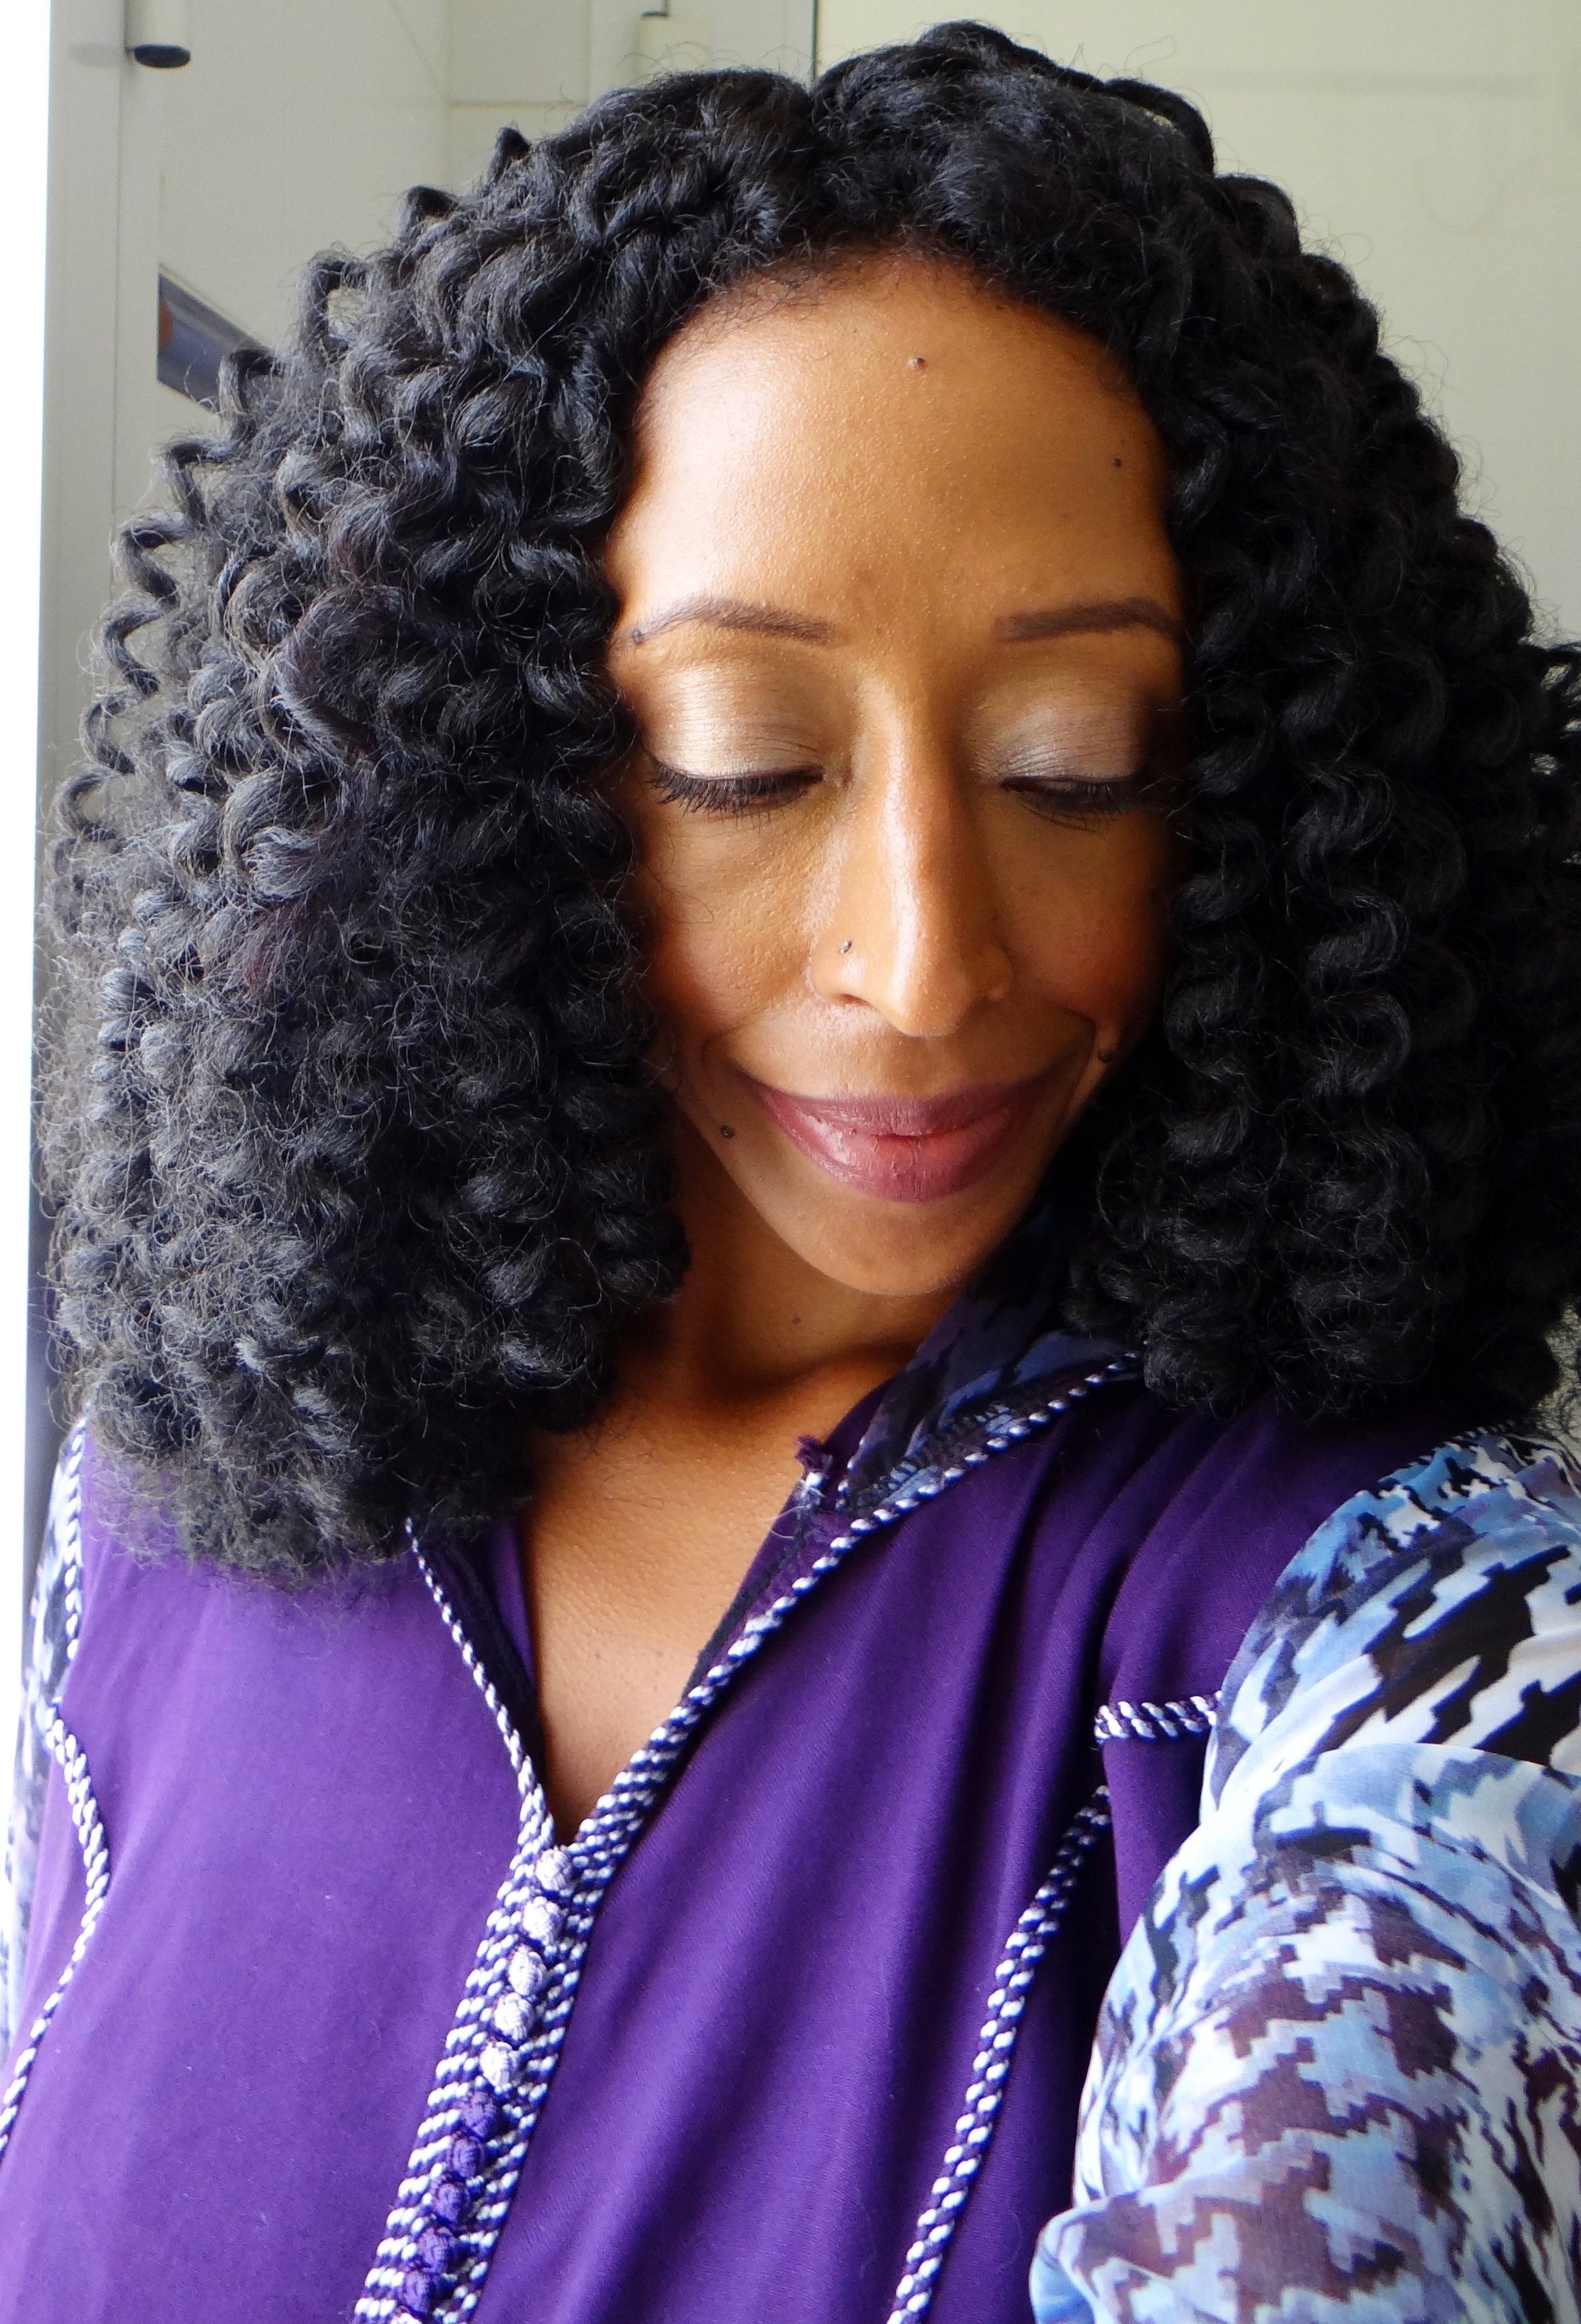
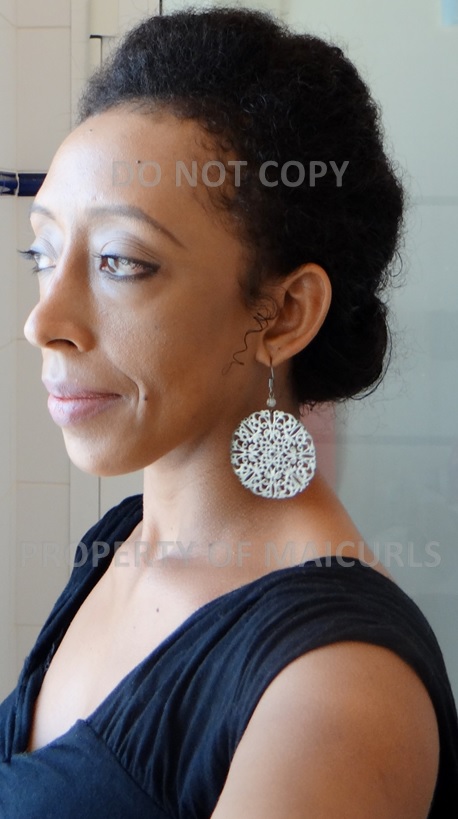
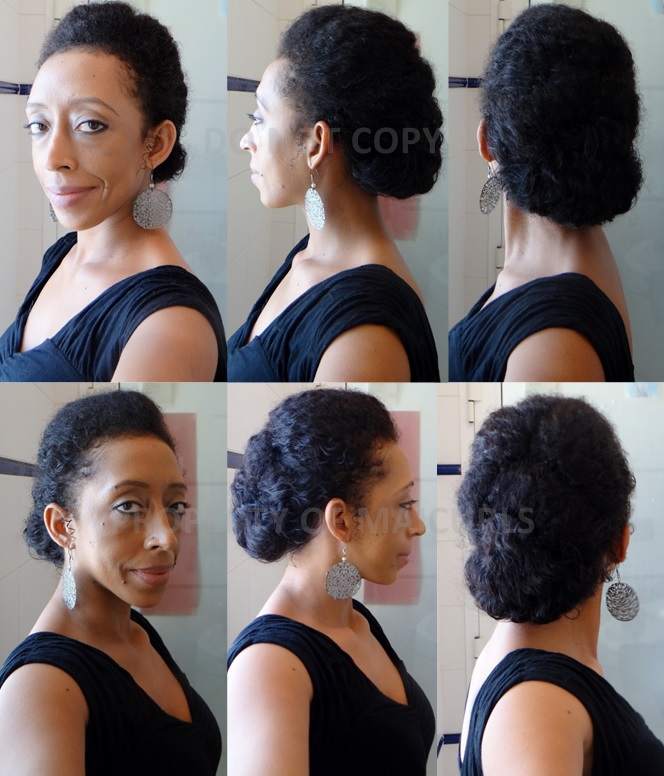
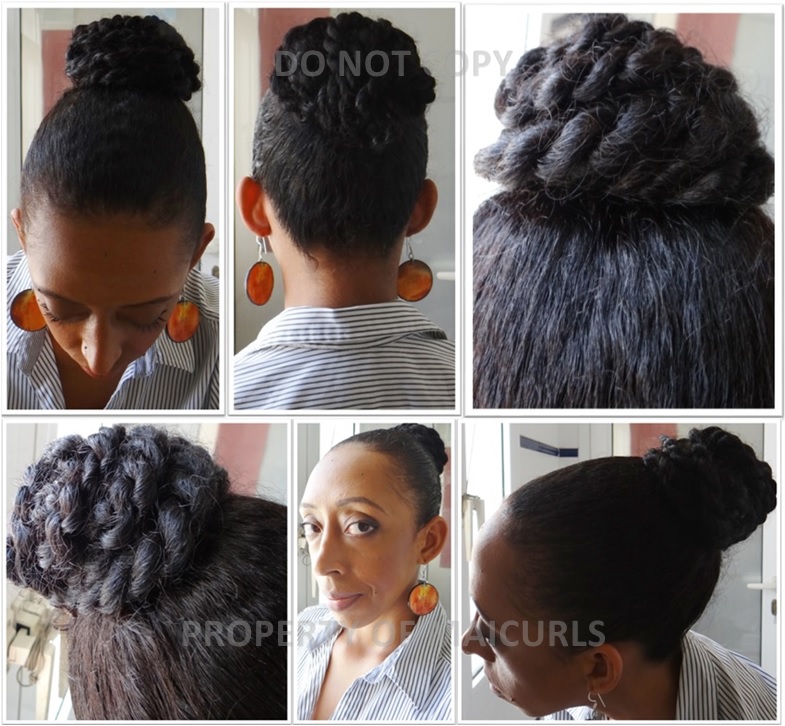
Bouncy Twist Out – Turned DIY Crochet Flexi Rod Curl Wig (Annabelle)
Bouncy Twist Out – Turned DIY Crochet Flexi Rod Curl Wig (Annabelle)
Bouncy Twist Out – Turned DIY Crochet Flexi Rod Curl Wig (Annabelle)
Bouncy Twist Out – Turned DIY Crochet Flexi Rod Curl Wig (Annabelle)
Bouncy Twist Out – Turned DIY Crochet Flexi Rod Curl Wig (Annabelle)
Bouncy Twist Out – Turned DIY Crochet Flexi Rod Curl Wig (Annabelle)
Overall:Would I purchase this hair again? I probably would not simply because I had initally bought it to use the hair in its original curl pattern and was unable to do so however, I might potentially consider buying it if I learn how to crochet braid my hair in order to try and get that beautiful look I primarily wanted! Side note – I do have a few ideas for some new hair I want to buy and I already have some hair that I plan to use for another protective style!
Tisun Store physical location:
Tisun Beauty 5420 North Tryon St #1, Charlotte, NC 28213
Have any of you used Freetress Crochet Braiding Hair Bouncy Twist Out before? If so did you use it to do crochet braids, a wig, another type of protective style? I would love to hear from you!
This is what I like to refer to as my French Bourjois Updo. Now, I have shown you something similar before during my protective challenge in Week 6 (without a tutorial) but this looks a little difference. Even though the method of how I did the style is the same, the main difference is that my hair was taken down from twists during my Protective Style Challenge and in this demo I was working with week old hair that NEEDED a wash!
I will point out that I was on a “carefree” I don’t mind the frizz attitude. I had run out of henna and needed to go to the market to get some before washing my hair, so I didn’t want to add too much to my hair or do too much either.
You can make the style more polished and slick with the use of some gel. I would suggest using a light spray gel so that it is not uber sleek (check my DIY Spray Flaxseed Gel). But like I said I decided I wanted to rock it as is, so I went out frizz and all :).
Products/Tools:
Hair clips (to separate hair)
Water – spray bottle
Bobby pins (I used 8 in total)
Gel (optional – I didn’t use any)
Instructions: much easier explained/understood in video!
It feels like it’s been forever since I made a styling video (it has been) so without further ado, I want to share my “how to” tutorial of my Big Bun with a Side Bang.
Big Bun with a Side Bang
Now, I have to give credit where credit is due: I actually got inspired to do this style through one of Mo Knows Hair amazing videos. I did make some alterations to my version such as not working with blow dried hair and I also formed the bun a little differently to hers but the concept came from her. Please check out her video here like I said, she is amazing!
I have a few images of the steps (below) along with a video of how I did the style on my YouTube Channel.
I unravel the overnight twists
Separate the twists with Almond Oil on my fingers
Separate a section at the front for the bang and pin away
I spray a little leave-in around the top of my hair and make a ponytail
I put 2 bobby pins about 1/4 down the bang
Pull the rest of the hair over to cover the bobby pins and have a side bang
Tuck away the ends of the bang
Separate the ponytail into 3 and then roll and tuck each section
I must admit I sort of hit a little bump on the road in terms of how to style my hair but I figured something out in the end.
Protective Style challenge week 3
I did not plan properly, washed my hair late at night on Sunday and everything just got dragged out but I managed. Similar the my previous weeks I did 2 styles (kept the styles for 3 days each) and then washed my hair at the end of the week.
The styles I did were “flat twists” (I’ve mentioned before – flat twists and I are still trying to build a relationship) but I figured I would get to practice some more…
What Did I do?
To start the week I had washed, Deep Conditioned, moisturized and sealed before twisting my hair into 5 chunky twists.
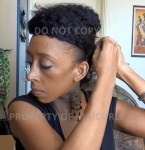
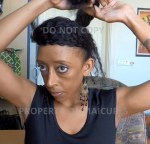
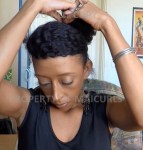
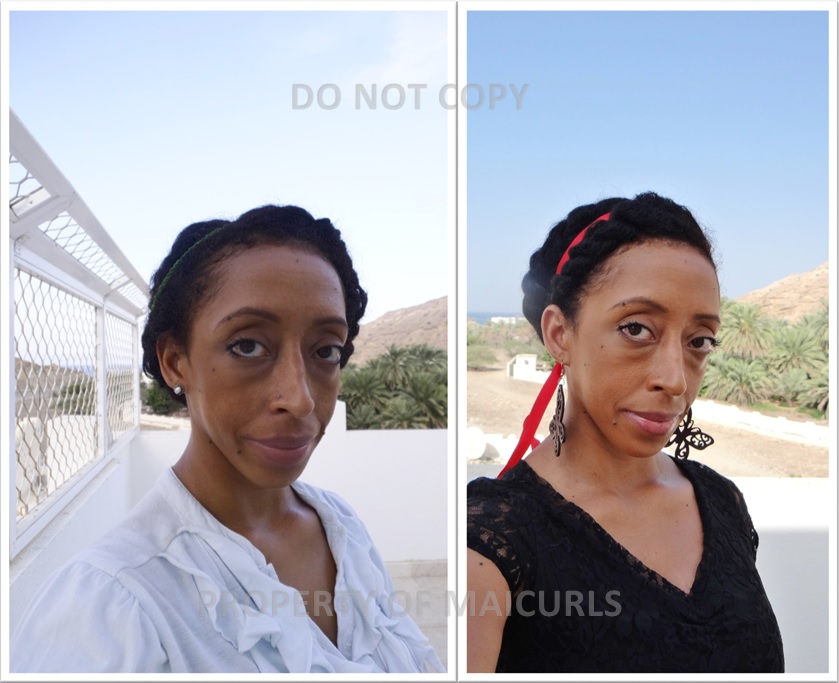
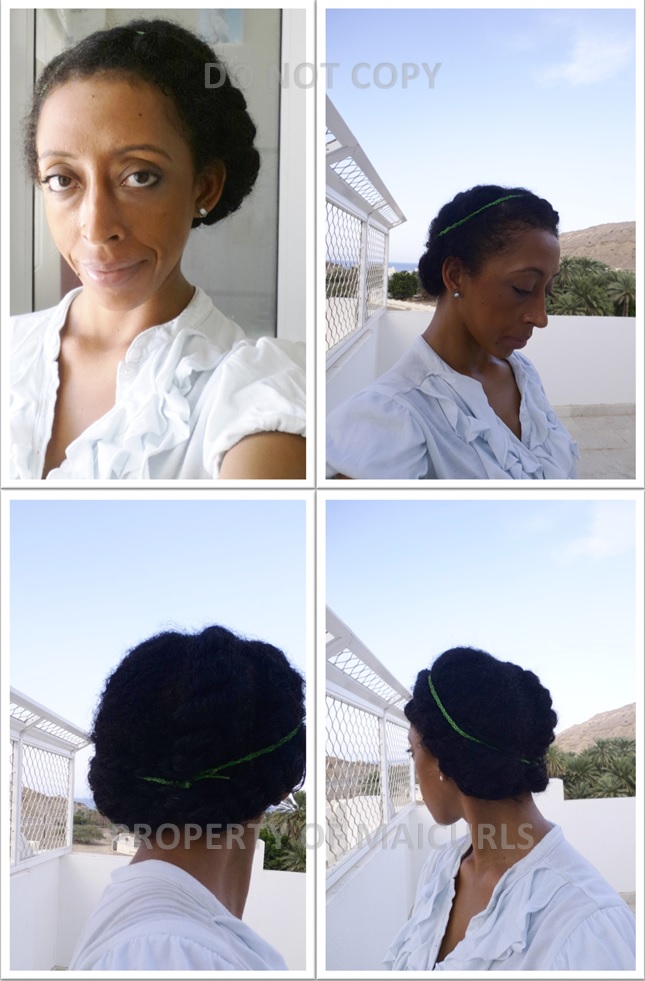
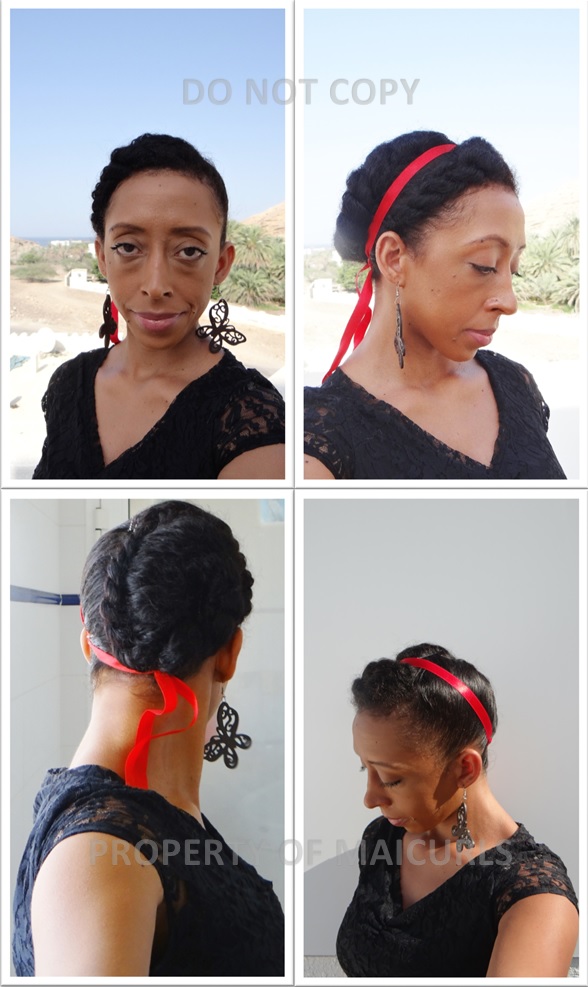
Day 1 – After taking down the twists I massaged my Castor Oil Mix on my scalp, hairline, ends and put my hair in my first hairstyle: 3 really loose flat twists (one on either side of my head and one in the middle). I accessorized with different ribbons over the 3 days…to distract people from my not to neat flat twists.
First style – 3 loose flat twists and accessories (this was the last day before I changed the style).
Day 3 – I reapplied my Castor Oil mixto my scalp, hairline and ends.
Day 4 – I moisturized my hair with my DIY Spray Leave-In Conditioner and sealed with Rose infused Grapeseed Oil. I then put my hair into my second hair style: one loose big flat twist on the right and a two strand twist at the front which I pinned back to the right.
Second style – One big flat twist (on the right) pinned down and a two strand twist pinned back.
Day 6 – I took down the flat twist at night, massaged my scalp, hairline and ends with the Castor Oil mix and pineappled my hair to sleep.
Day 7 –Wash day routineand then got my hair ready to be set for week 4.
Castor Oil Challenge:
I used the oil 4 times and think I might stick with just applying it 4 times. I do not think my hair will be happy with me if it is coated even though I have diluted the Castor Oil…I know my limits :D. I have my recipe and a video of the mixing process here.
Again my hair felt great throughout the week: moisturized, soft, smooth, less tangles and shine galore! While I am not really looking to “grow out” my hair, I will admit that I am interested to see how much length I retained/gained at the end of the challenge.
In all honesty I have always been a fan of wearing my hair out….”FREE” because it is so much easier for me to do a simple twist-out or braid-out, but I am appreciating this challenge. Is it a little difficult for me to come up with styles to wear? Yes. I have said this before and will continue to say this: I am NOT a styling guru and I am not “creative” in terms of unique styles however, I do what I know/can.
How did my second week go?
Similar to week 1, I enjoyed the fact that I didn’t have to “mess” with my hair too much, especially in the morning before work. I would lightly touch up my edges and be on my way. As always I slept with my scarf around my head at night and that sort of helped with the fly-aways. My hair felt really moisturized, soft and looked shiny (LOVE). I only moisturized and sealed my hair once during the week and felt that a light moisturizer (my DIY Spray Leave-In) was sufficient. I also noticed that I had less tangles than I normally would by the end of the week (winning!) I did two styles for the my Twist and Tuck Donut Bun (days 1 – 3) and my new Pinned up “Flat twist” AKA Seahorse (I shall explain below).
What Did I do?
To start the week I had washed, Deep Conditioned, moisturized and sealed before twisting my hair into 5 chunky twists.
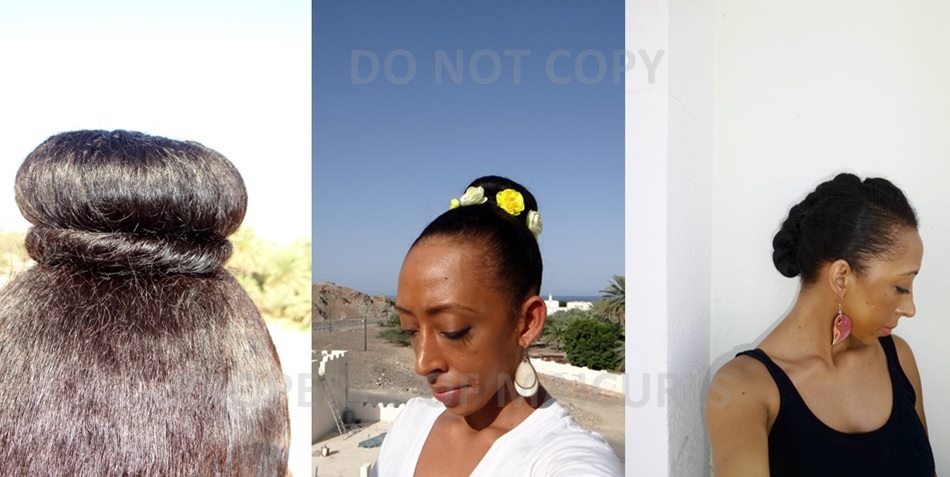
Day 1 – After taking down the twists I massaged my Castor Oil Mix on my scalp, hairline and used a dab on my ends. I put my hair in my first hairstyle: Twist and Tuck Donut Bun.
Day 3 – I reapplied my Castor Oil mix to my scalp, hairline, ends and decided to accessorize the Bun with my DIY floral hairband.
Twist and Tuck Donut Bun (added accessory)
Day 4 – I moisturized my hair with my DIY Spray Leave-In Conditioner and sealed with Almond Oil. I then put my hair into my second hair style the (Pinned up “Flat twist”) that I kept for the remainder of the week. I don’t know if people would call it a flat twist because to me it looked like a seahorse before pinning. –Side note*: Flat twists and I do not get along at all! I suck at them but I did try and so far this is the best I have ever done!
Pinned up flat twist
This is the seahorse “flat twist” before I used one bobby pin to tuck away the ends
“Flat Twist” aka Seahorse
Day 6 – I took down the flat twist, massaged my scalp, hairline and ends with the Castor Oil mix and redid the flat twist again.
Day 7 –Wash day routine and then got my hair ready to be set for week 3 (this week).
Castor Oil Challenge:
I used the oil 3 times last week and actually want to increase it to 4 times. Eventually I might even increase it (but we shall see I don’t want to push it). I was always worried that my hair would be greasy and my scalp/pores clogged up but the mixed blend of Castor with Rose Infused Grapeseed Oil seems to be working out great. I have my recipe and a video of the mixing process here.
My hair did not feel dry at any point during the week. I did re-moisturize my hair mid week just because that has been my habit but I only used my light leave-in so there was no worry of product build up, plus moisturizing is always a good idea. My roots felt so super soft, the ends were smooth and I think the Castor oil blend helped to avoid extra tangles. My individual strands basically glided across each other instead of wrapping, trapping and clinging onto one another.Overall I am loving this challenge!
Here’s to week 3!
What do you think of my Protective challenge styles? Do you like my Castor oil blend? I would love to hear how you use castor oil.
It went really well! I enjoyed the fact that I didn’t have to do too much with my hair in the morning. I literally just fixed the top of my hair (I slept with a satin scarf which sort of helped keep down fly-aways). “Fixing” didn’t take long and I was out the door. My roots felt super soft and I only moisturized my hair 2 times the whole week.
What Did I do?
I washed my hair the day before the challenge started (which was the 21st September), moisturized, sealed and then let it air dry in twists.
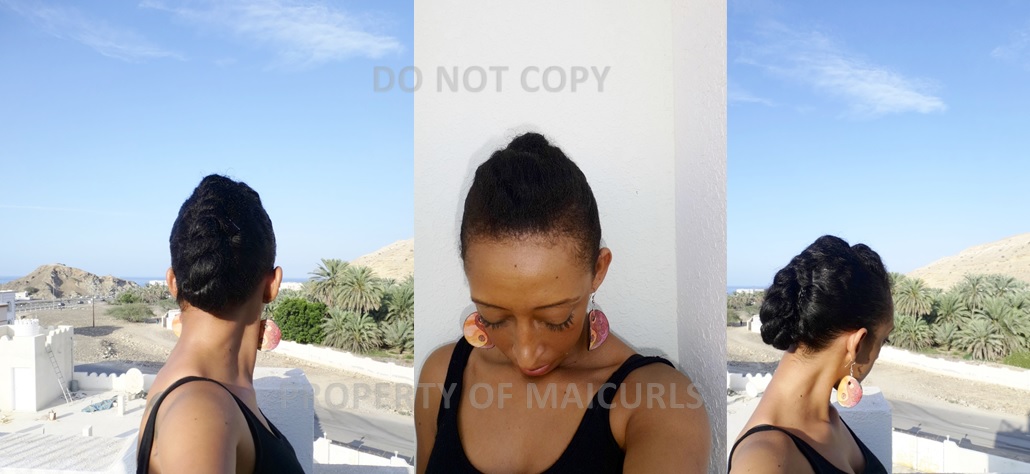
Day 1 – First hairstly: After taking down the twists I massaged a little of my mixed Castor/Rose Infused Grapeseed Oil with Peppermint on my scalp, hairline and a tiny bit to my ends. This is the style I did for the first 3 days.
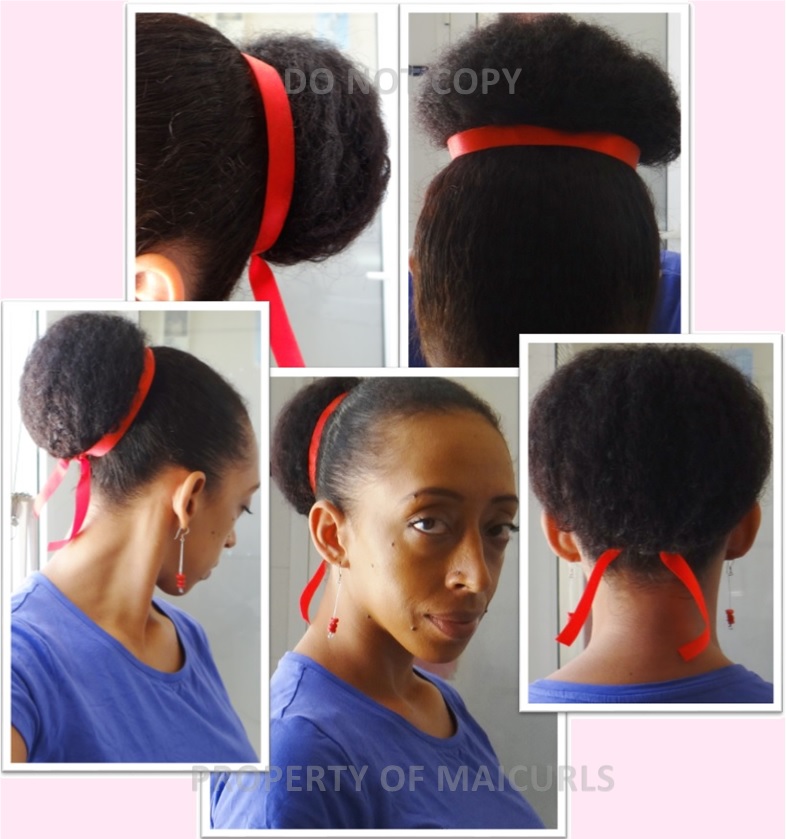
I put my hair in a ponytail, made about 8 twists, wrapped them around to make a bun and held it in place with bobby pins.
Day 3 – I reapplied some castor oil mix to my scalp and hairline.
Day4 – I re-moisturized my hair with my leave-in conditioner, again massaged my scalp and hairline with the castor mix and also put a dab on my ends and changed my hair style to this:
I put my hair in a ponytail and rolled my ends up and under – towards my head. Using bobby pins I kept my ends tucked underneath and used a ribbon for a little added color.
Day 7 (yesterday) –Washedmy hair and did a henna gloss;
I put my hair in twists to air dry, pinned them down for the night and will be styling my hair for the next 3 days!