I watched a number of videos on YouTube before I proceeded to make my own wig however, I quickly found out that while some of the stunning & talented women in the videos were able to make their wigs in a “few hours” it took me forever! Literally I split the process over two days (the weekend) and spent about 10 hours in total. This was only after I had initially made 2 failed attempts (two weekend before) with the Freetress Crochet Braiding hair – Bouncy Twist Out (colour 2).
Freetress Crochet Braiding Hair – Bouncy Twist out
Freetress Crochet Braiding Hair – Bouncy Twist out
I initially wanted to make my wig to look the same as the crochet braids on the hair model however, it proved to be a challenge for me. The hair was just so thick it not only looked overly “fake” on my small face but it was overwhelmingly bulky. So in order not to give up I ended up changing the curl pattern of the hair by: moisturizing, detanglng, separating and re-curling with flexi rods and hot water. Once that was done I was able to make Annabelle with a lot more ease!
I have a detailed review about the crochet hair which I purchased online from Tisun Beauty(you can read about here.)
It is a lot easier to explain my wig making process via video which you will find below.
Would love to hear from you, if you have attempted a DIY wig let me know how it went!
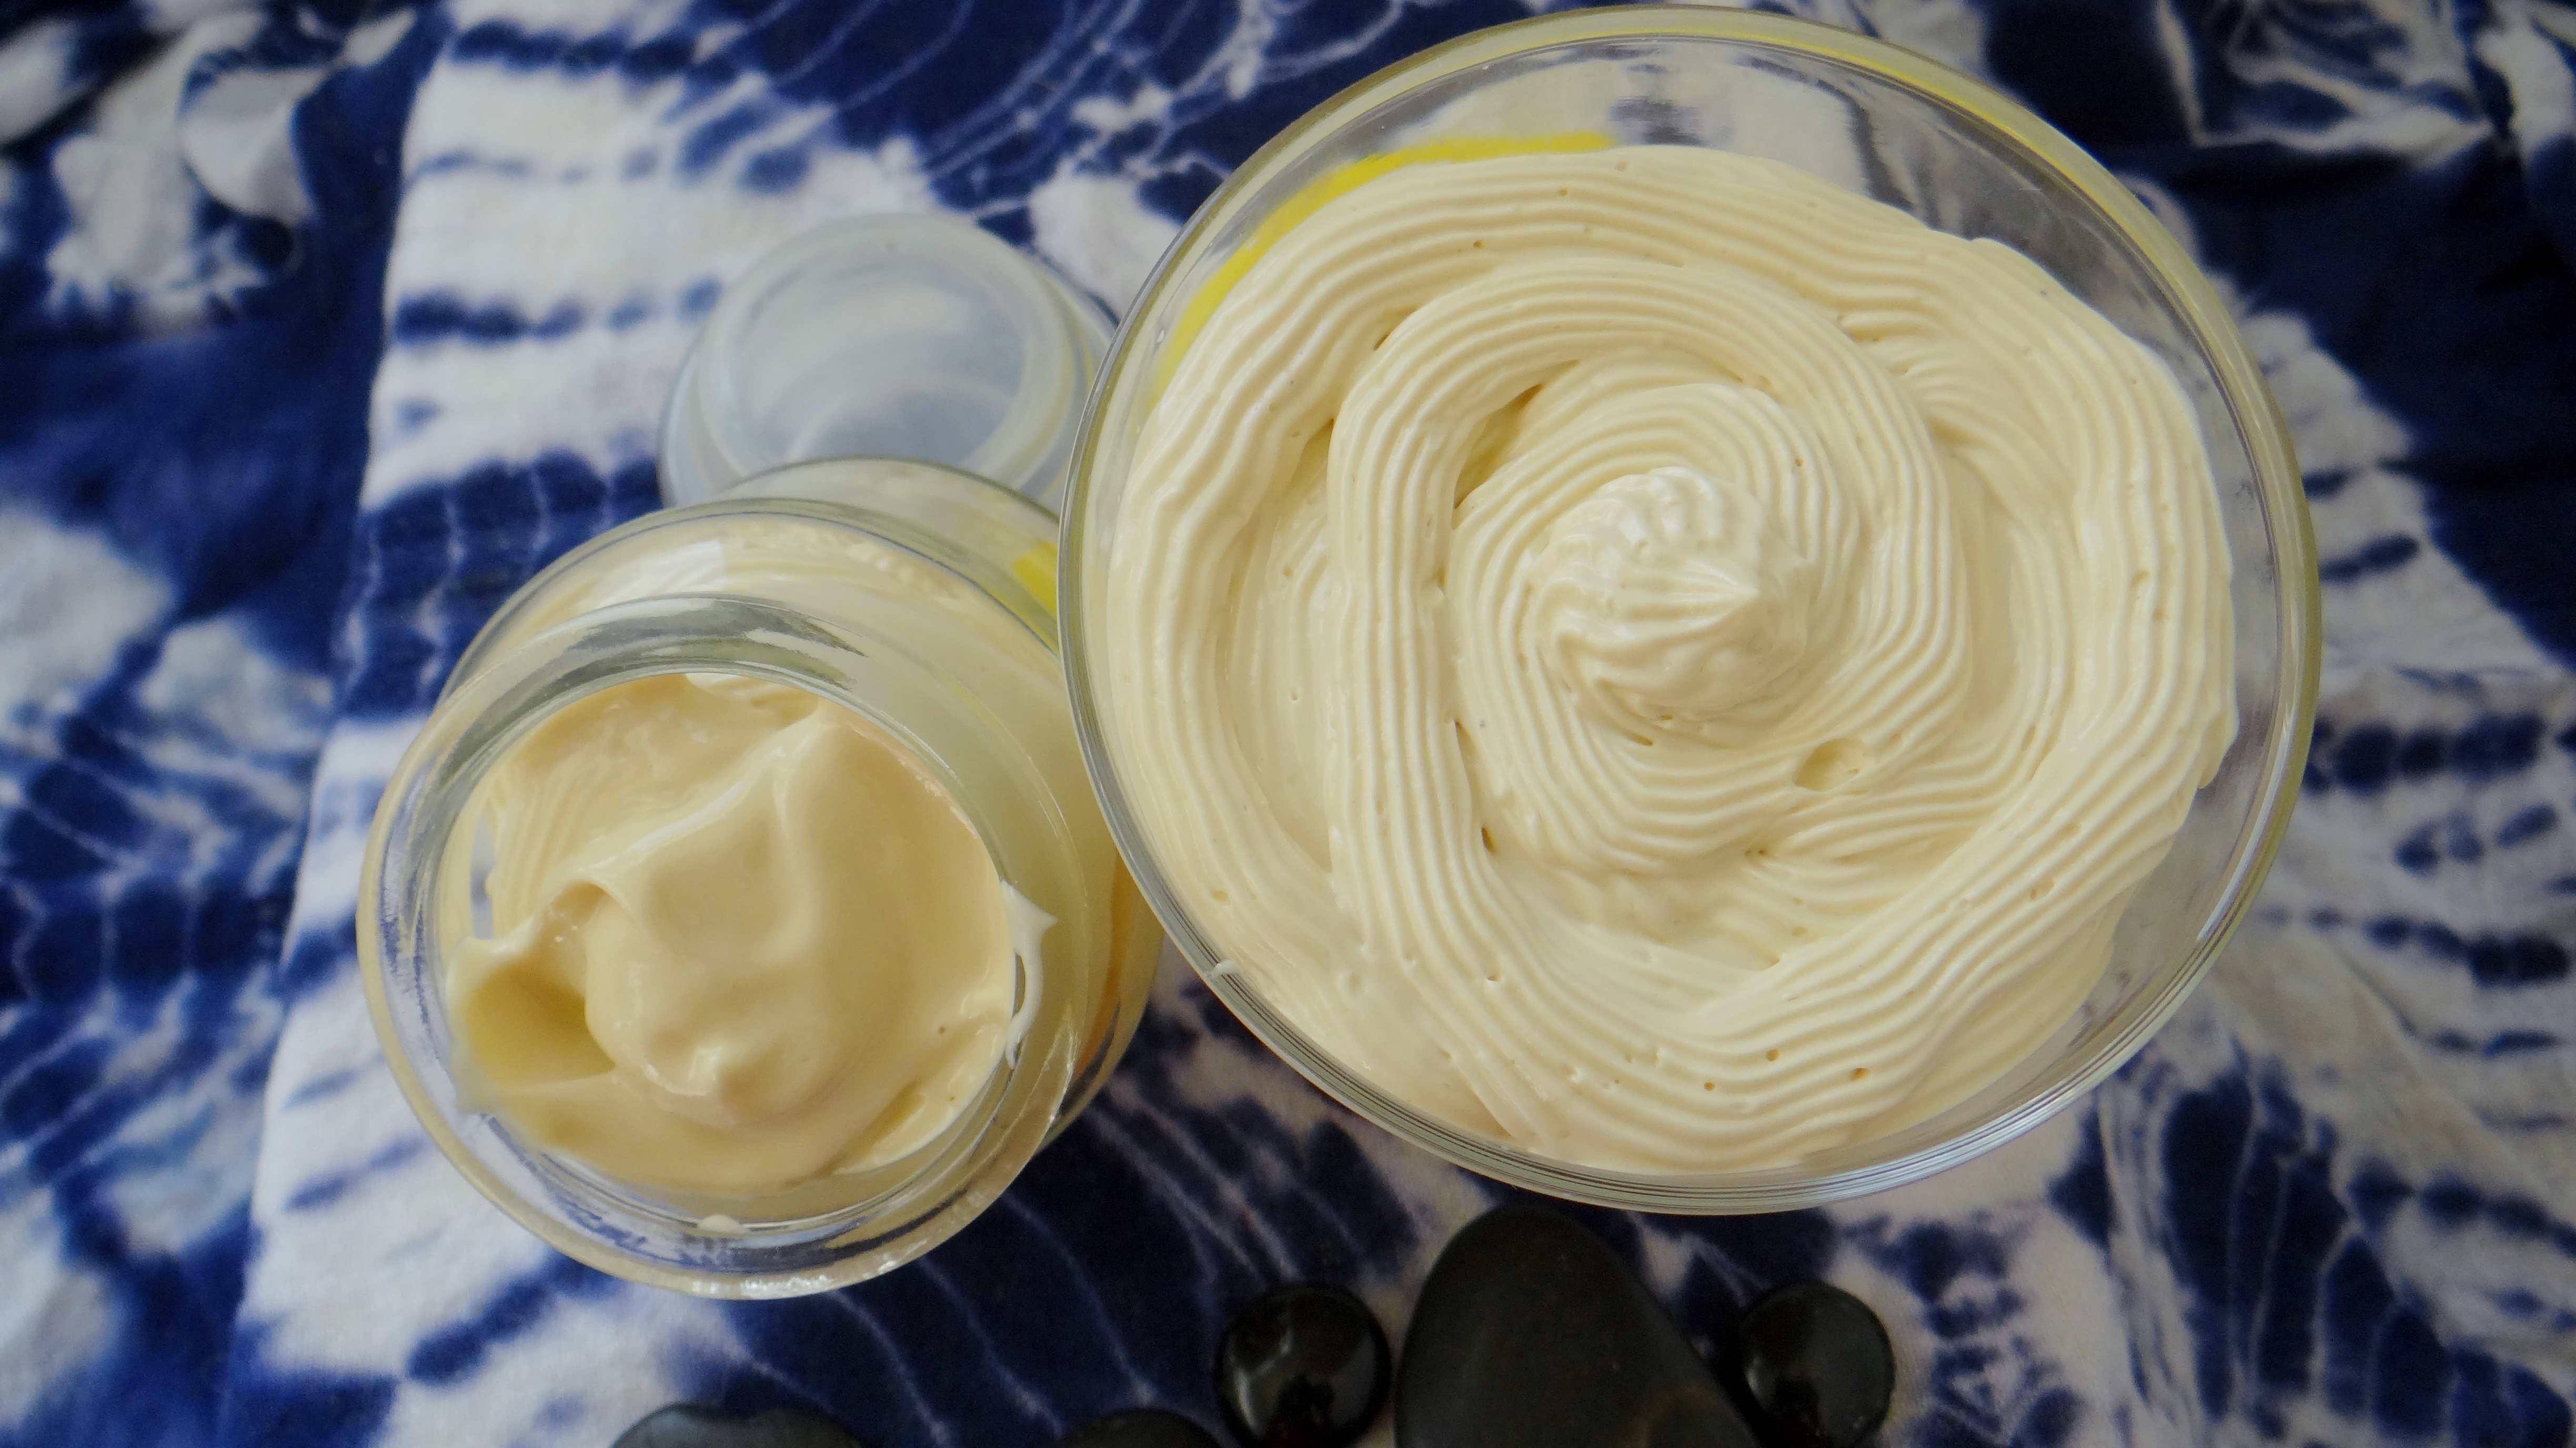
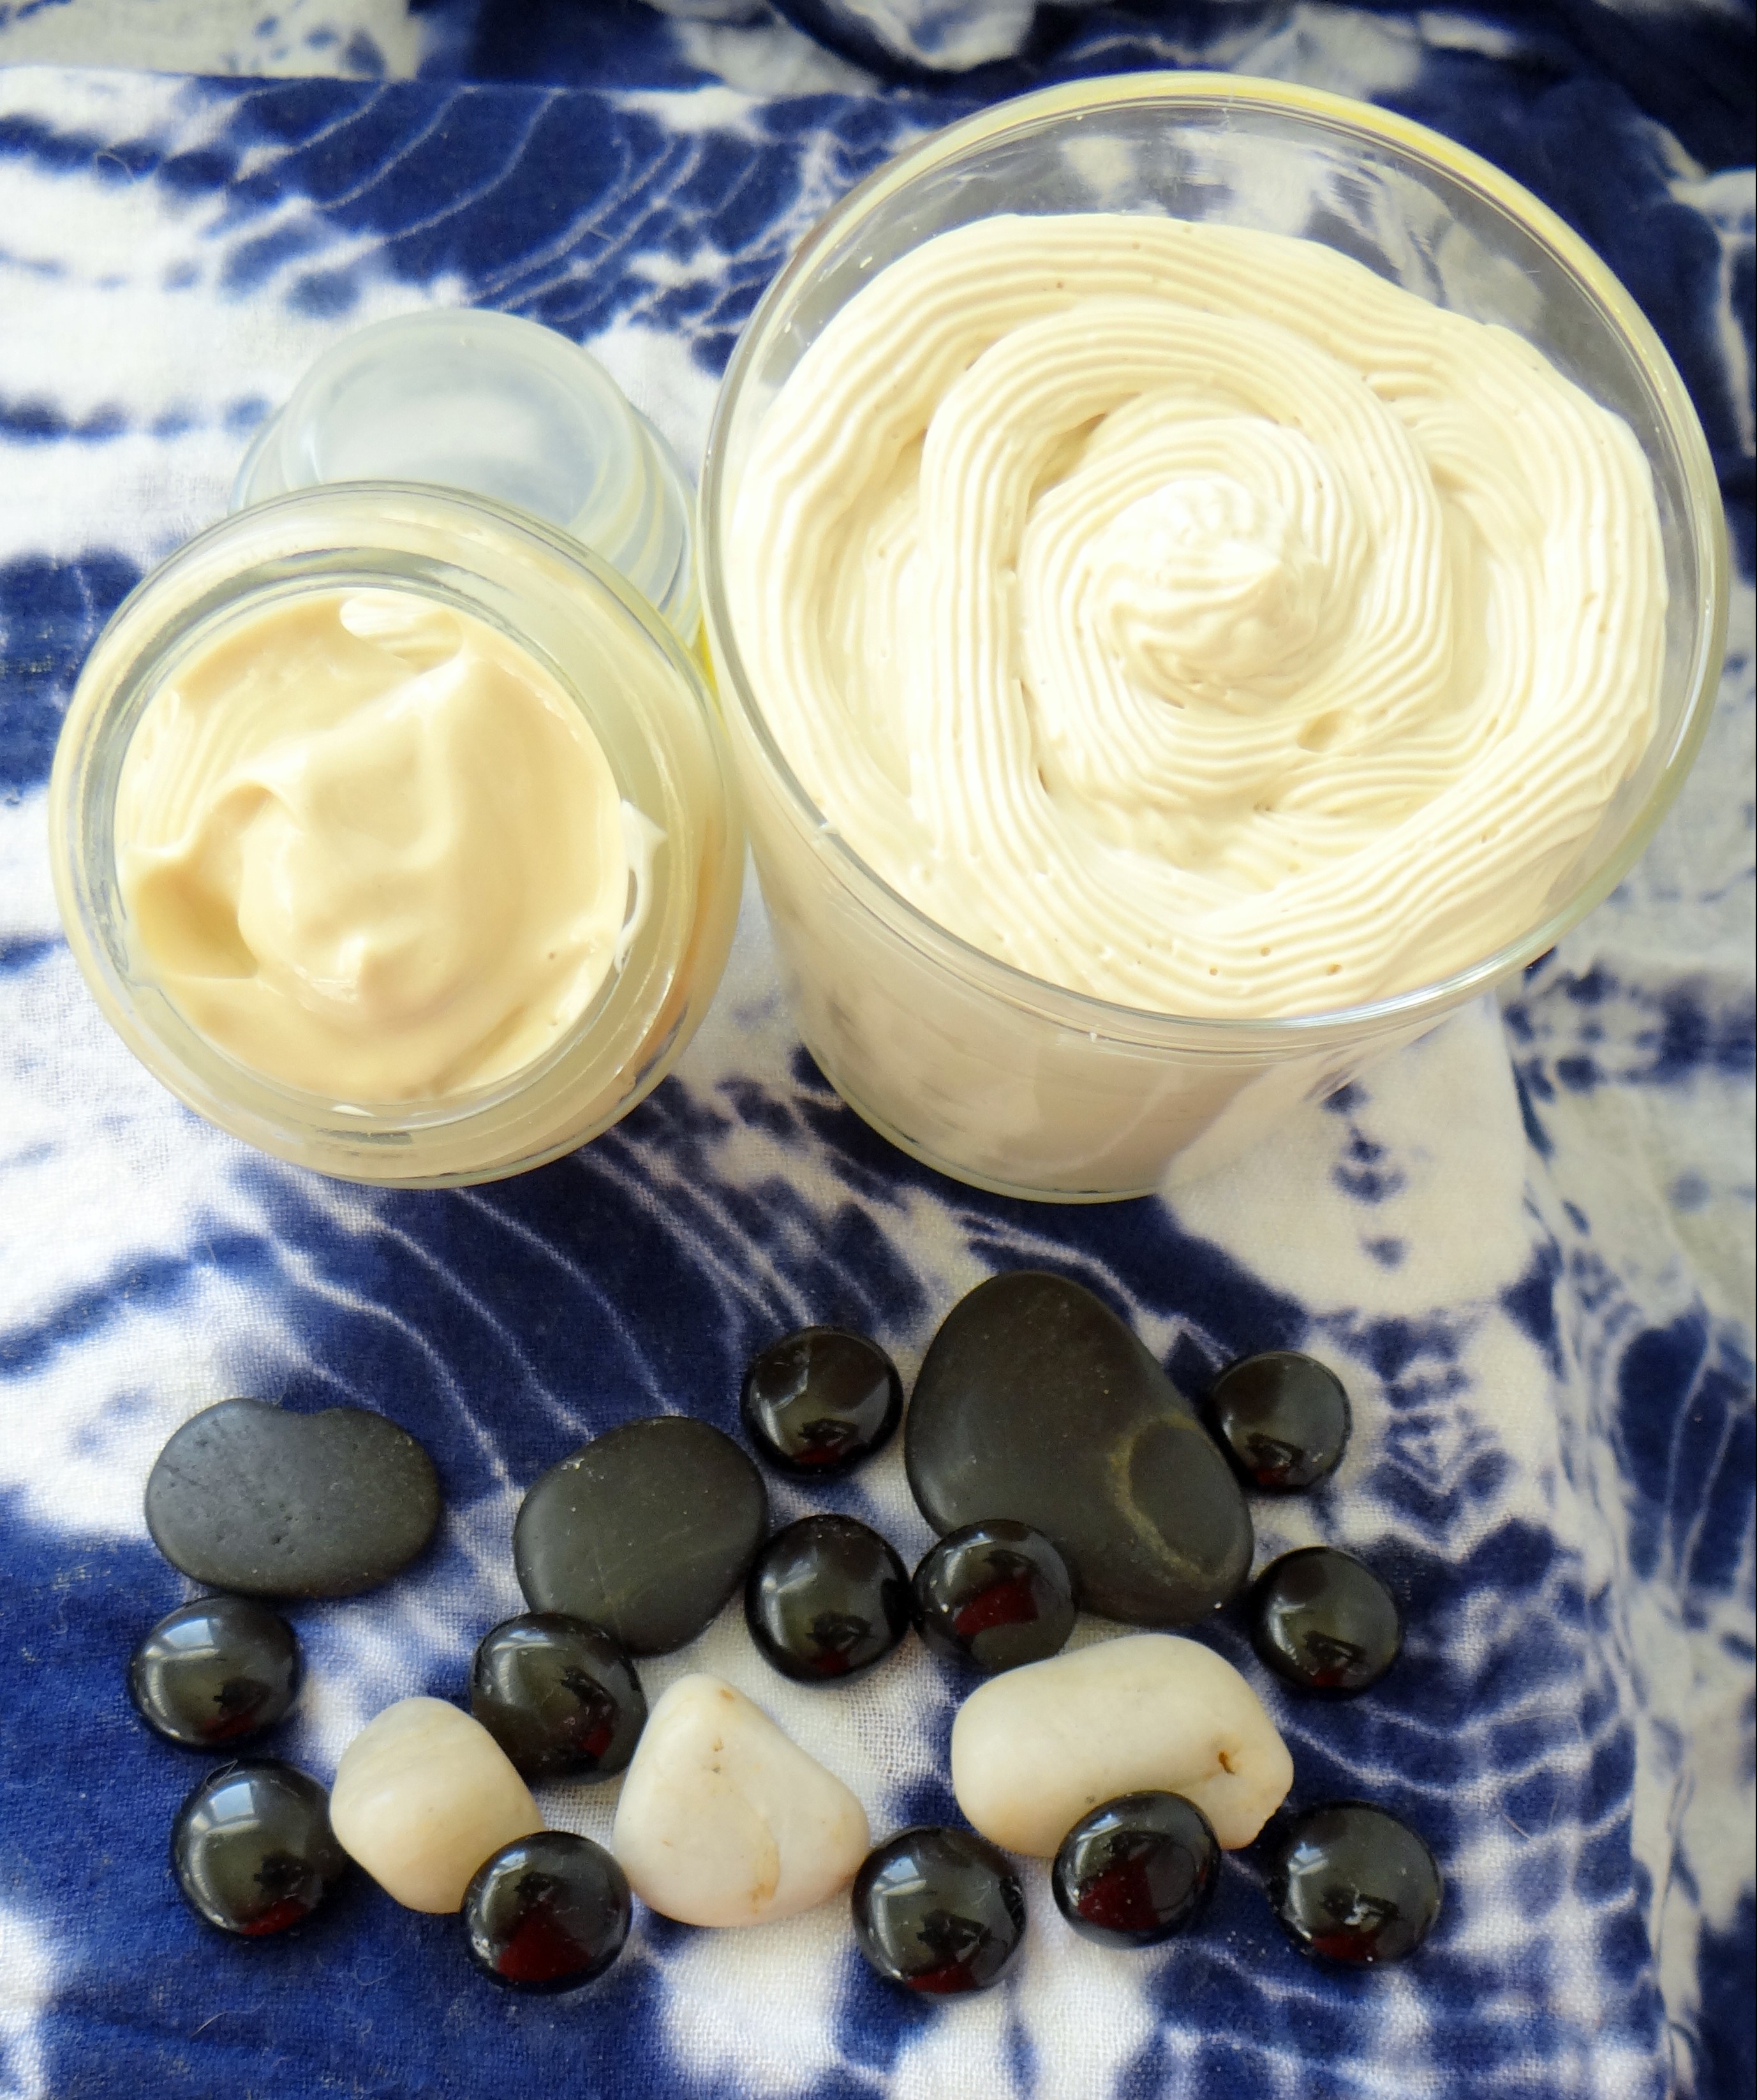
Today I am back with an alternative recipe version of a mix I already shared a few weeks ago! I have a post & video about moisturizing dry & brittle ends with a humectant based recipe here and was then requested to do a humectnt free version and here it is!
I have mentioned this a few times in my blog, not everyone’s hair appreciates humectants, it all boils down to hair preference and weather conditions in the area where you live. This recipe works in a similar way to my humectant based mix, just without the addition of ingredients that draw moisture in the air (humidity) to the area applied (the hair).
Ingredients/tools:
1.7oz Plain Full Fat Yogurt
1oz Cocoa Butter
0.5oz Rose Water
0.5oz Plain Water
0.5oz Virgin Coconut Oil
3 capsules Vitamin E Oil (roughly 0.15oz)
3-5 drops Peppermint Essential Oil (Optional) – use any*
Clean and disinfected heatproof container
Pot
Clean and disinfected spoon
Gloves (optional to keep mix sanitized)
*If you are pregnant do not use Essential Oil and always consult your personal physician whenever using something new!
Ingredient alternatives:
You can replace the 0.5oz Rose Water with more 0.5oz Plain Water if you do not have access to Rose Water. Virgin Coconut Oil can be replaced with any other carrier oil e.g. Almond Oil, Grape Seed Oil, Jojoba Oil etc Cocoa Butter can be replaced with any other butter e.g. Shea or Mango Butter. Depending on your preference you can either use any Essential Oil of choice or opt not to use any.
Mixing:
1.Melt down the cocoa butter by double broiling for 5 – 7 minutes. 2. add the yogurt and stir really well. (If you haven’t fully melted down the butter it will become a bit lumpy with the addition of the yogurt so place the container back in the pot with hot water for a few minutes till it is fully melted. 3. add the water and rose water a little at a time while continuously stirring. 4. add the virgin coconut oil and stir well. 5 add the Vitamin E oil and finally 6. add the essential oil (if using) and stir. I like to place the mix in my fridge in a squeeze container for a few minutes as this allows it to thicken up but this is optional.
Application:
I like to apply this to slightly damp hair that has been detangled. I mainly focus the mix on my ends – at the most going to the mid-length of my hair since the ingredients are a little on the heavy side and can weigh down my curls if I apply it on my length of my hair. However, this can be used on the entire length of your hair (it depends from person to person).
Storage:
I keep it for no longer than 10 days in the fridge, IT MUST BE STORED IN THE FRIDGE. If you know you won’t be able to use it all up then I suggest storing in the freezer if you want it to last for more than 10 days.
Ingredient Benefits:
Plain Full Fat Yogurt – helps provide strength to the hair thanks to the traces of protein. Leaves hair feeling soft and eases detangling. Provides shine while smoothing the hair stands and fighting frizz.
Cocoa Butter – reduces hair loss and breakage. Since it is a fat, it can be used to replenish lost oils. Strengthens the hair, tames frizz and flyaway hair.
Plain Water – the optional moisturizing element for the hair!
Rose Water – revitalizes the quality of the hair due to Its natural moisturizing and nourishing properties. It helps stabilize the natural p.H level of the hair which helps to heal the porosity of the cuticle providing shine and it smells divine!
Virgin Coconut Oil – provides shine and strength, penetrates into the hair shaft strengthening from within. Helps seal in moisture from the other ingredients used in the mix e.g. water & rose water. Helps to fight against frizzy and brittle hair.
Vitamin E Oil – helps to extend the products shelf life (extends not preserves). Rejuvenates the hair strands, fights against frizz, provides shine and helps to slow down premature greying.
Would love to hear what you think, especially if you use this recipe!
I brought my DIY (you know what) back on the blog to share…drum roll please…a DIY Recipe for the hair! (And the crowd goes wild!)
This particular recipe is one that I like to mainly focus on my ends since it does include a few “heavy” ingredients (heavy for my hair) that can potentially weigh my fine hair strands down. If however, you happen to have thick/coarse hair you probably can get away with applying this throughout the length of your hair without it stopping your curls/kinks/coils from being big and fierce!
Ingredients/Tools
Mixing Bowl (dry, clean and disinfected)
1.5 oz Plain Full Fat Yogurt
0.2 oz Raw/Natural Honey or Agave Nectar
0.2 oz (optional) Glycerine or Fresh Aloe Vera Juice
0.5 oz Rose Water
0.2 oz Virgin Olive Oil*
3 capsules Vitamin E Oil (roughly 0.15 oz)
**3-5 drops any Essential Oil (I used Citronella)
Spoon (dry, clean and disinfected)
Gloves (to be “extra” but not absolutely necessary)
**Note: Please do not use Essential Oils if you are pregnant of breastfeeding. Always consult with your doctor/dermatologist or a professional. Always make sure not to use too much Essential Oil since this can make the mix extremely “potent” and harsh, potentially causing you skin irritations.
Mixing Instructions:
All you need to do is combine all the ingredients together and mix really well once the Virgin Olive Oil has been added and that is it!
Application:
I prefer applying this on lightly damp detangled hair (the ends) as it makes it easier to distribute versus working on dry hair. I usually put my hair up in a bun and cover with a shower cap for 15-30 minutes then rinse it off with conditioner and cold water. The cold water helps to close the hair’s cuticles which allows for moisture to stay in my hair and since the cuticles are laying flat (closed) it also provides extra shine!
Ingredient Alternatives:
This is a humectant based recipe and some of you might find that humectants and your hair are not friends, it really depends on what your hair likes and the weather in your area. Humectants draws humidity in the air (moisture) to the area applied, if you have the right amount of humidity (neither too much nor too little) this creates additional moisture for dry curls/kinks/coils. If your hair does not like humectants you can limit the amount used e.g. Instead of using both Honey/Agave Nectar AND Glycerine/Aloe Vera Juice you can go for either Honey/Agave Nectar or Glycerine/Aloe Vera Juice.
Extra Virgin Olive Oil – can be replaced with any carrier oil of choice however I would suggest using one that is known to penetrate the hair strands e.g Virgin Coconut Oil.
Essential Oil – you can use any Essential Oil of choice or skip this all together (I am not the biggest fan of the smell of yogurt so the Rose water and Essential Oil helps to mask that).
If you have coarse/thick hair and would like to use this on the entire length of your hair then simply double the amounts apart from the Rose Water and Essential Oil. Instead use 0.7 oz Rose Water (so it does not become too runny) and keep the Essential oil at no more than 5-7 drops.
Storage:
I always use what I have made and then place the remaining in my freezer. I simply let it defrost on its own (no heat) during the following application.
P.S. in case some of you would like a humectant free recipe please do let me know I would be happy to create something along those lines.
Today I have something that I hope will help save you some money and perhaps even turn some of your least favorite conditioners (that you have stashed away collecting dust) into favorable ones!
Whether you returned natural just a few months ago or have been natural for a while, finding “staple” or favorite products (e.g. conditioners) are one of things we want to achieve. It can become a little difficult to find products that work for our hair without some trial and error, which can be quite frustrating.
We tend to look for conditioners that:
Provides moisture (if we are not seeking a protein conditioner)
Has sufficient slip to ease detangling
Smooths the hair
Softens the hair
Provides shine
Provides elasticity
In this particular DIY example I used TRESemmé Naturals but you can use any of the conditioners in your shelf. Note: some might not mix all that well with the gel but since it is not going to be left in your hair and will be rinsed out that shouldn’t be a problem.
The crux of this whole thing is to add Flaxseed Gel (FSG) to your conditioner of choice and that pretty much is it!
Why add Flaxseed Gel:
Apart from the fact that adding Flaxseed gel will help provide slip to the conditioner here are some of the other benefits:
Rich source of vitamin E. Vitamin E.
Provides moisture to the hair.
Provides nourishment to the hair thanks to the Omega – 3 fatty acids.
Helps reduce breakage and split ends.
Helps slowdown the process of premature gray hair.
It helps reduce shed hair.
Helps fight scalp irritations and dandruff.
Ingredients:(I get 2 uses from this recipe)
8 Oz Conditioner (if you have shorter/thicker hair you might need to use less or more conditioner).
8 Oz Plain Water
2 Oz Flaxseeds (I like my gel to be thick since that provides slip).
(Optional) 5 – 7 drops Essential Oil (EO)*
Pot
Sieve
Clean and disinfected container
Spoon/Spatula
Gloves (to be extra sure you don’t contaminate the product)
*Essential Oils should be used with caution and only requires a few drops. If you are pregnant please do not use any!
Method:
I add the flaxseeds to the water (before it boils) and allow it to slowly come to a boil on low heat for 10 minutes while continuously stirring. Once I have the gel at a consistency I am happy with I immediately sieve the seeds (keep the seeds for reuse in a ziplock bag in the freezer and quickly pour water in the pot). I add the gel to my conditioner, mix really well then add the EO stir again, fini!
Storage:
If you have any remaining conditioner and plan to use it the following week I do suggest storing it in the fridge however, I have left mine in an airtight container in my bathroom to be used the following week without anything nasty growing in the container. I am always “extra” and use a clean, disinfect and dry spoon whenever I scoop out any hand prepared products just to make sure no bacteria, dirt etc comes in contact and grows anything funky so I suggest you doing the same (don’t dip your fingers in the container unless you use it all up in one go).
Ratio/Ingredient Alternatives:
If you are using a thin/runny conditioner and want to really thicken it use 3 Oz flaxseeds.
You can add some Rose Water to this by replacing half of the water e.g. 4 Oz Plain Water & 4 Oz Rose Water.
You can add a Humectant (if your hair likes them) e.g. Honey/Agave Nectar/Glycerine or Aloe Vera Juice (0.5 Oz).
You can also use a combination of Fenukgreek Seeds together with the flaxseeds e.g. 1 Oz Fenugreek 1 Oz Flaxseeds.
P.S. You can also add some FSG to your shampoo! Use 1 tablespoon of FSG to your shampoo in a bowl & stir. It will provide slip but also help to reduce the amount of stripping from the shampoo.
I really would love to hear if you try this DIY and what your results were!
I have been a little off about posting the different articles I have contributed to Global Couture. If you haven’t already visited the site then you really should! It is a wonderful source of information and inspiration!
I just wanted to share some of the previous articles along with the links to them.
Preparing your Natural Hair for Bleach
Being Natural With Nay-saying Family Members
7 Steps to Help Determine the Right Products for your Natural Hair
Methods to Cutting your Natural Hair at Home
Develping a Hair Routine or Chasing Hair Envy
Taking Care of Natural Hair on a Tight Budget
I would love to hear what you think if you read any of them.
The DIY freak is back and this shall be my last whipped butter as part of this “series” for now.
Whipped Double Coffee Butter
Fret not (I can hear you screaming whaaaat), I shall have 2 more tutorials that will be released within the next 2 months that will be strength based thanks to an inspiration from a YouTube viewer (thank you)! I am just taking a break to actually have time to use up the whips I already have.
Anyways back to this whipped butter, I can honestly say that this Double Coffee Butter is my favorite (I have probably said this a few times but I truly love this) 😀
From all the mixes/recipes/concoctions I have made, this one has the highest concentration of coffee… coffee is my friend is my love. My curls seem to thrive on products that include coffee/caffeine so why would I not use use different types of coffee butter along with some coffee infused oil right?
I can go on and on about the benefits of coffee for the hair and skin and I of course already have, you can read all about it here where I introduce my DIY Coffee Bean Infused Butter and here my DIY Coffee Bean Infused Almond Oil
Piping Bag (optional) – a sandwich bag can do the trick or a spoon/spatula to transfer the whip to your container)
Note: I want to remind you that I live in the desert so normally during the summer I prefer my mix to be a little more firm therefore I use more butter than oil. If you live in colder climates and especially during autumn & winter I suggest that you add more oil that I do (see below).
Ratio Alternatives/Ingredient Alternatives:
In my opinion the infused coffee bean and the coffee butter are what makes this a double coffee butter however, should you not have any infused coffee bean butter (recipe) you can replace it with either Shea Butter or a Shea & Cocoa Butter combination (40% Cocoa 60% Shea butter). For a less firm whip particularly in autumn/winter I would suggest using 2 oz – 3 oz carrier oils. Technically you can use any carrier oil you prefer, they do not have to be coffee bean or vanilla bean infused oils however again, to make this a coffee focused butter I would suggest using more coffee bean infused oil (recipe) such as 70% coffee oil 30% vanilla bean oil. Other oil alternatives could be: Extra Virgin Coconut Oil, Pure Almond Oil, Grapeseed Oil, Avocado Oil, Extra Virgin Olive Oil etc. Glycerin is an optional ingredient that does not need to be added especially if your hair does not like it. It can either be omitted or even replaced with raw honey.
Method:
Butters and Oils mixed together after 10 minutes in the freezer
Whipped till fluffy!
Once the coffee bean infused butter has been double broiled I add the coffee butter. The warmth from the melted butter will help melt down the coffee butter without the need of additional broiling. I then add 0.8 oz of the Coffee Bean Infused Almond Oil and 0.5 oz Vanilla Bean Infused Almond Oil and stir.
I then place it in my freezer for 10 – 15 minutes till it begins to thicken. Once this happens, I scrape the mix together and then begin to whisk. I whisk for a good 3 – 5 minutes and then add the remaining 0.3 oz of Coffee Bean Infused Almond Oil, 0.15 oz Glycerin (optional) and 3 capsules Vitamin E Oil. I continue to whisk for at least 3 – 5 minutes.
Depending on the consistency you prefer you can stop here and transfer it to an airtight container but I prefer mine to have a fluffy texture so I place it in my fridge, this time for 10 minutes till it becomes a little hard on the top. I then take it out and whisk for the last 5 – 7 minutes and I am happy with the texture. Using a spatula I scoop the whip into a piping bag (because I like being “extra”) and transfer to my container. (The piping bag really isn’t necessary but it makes the butter look extra pretty and is a nice touch if you are giving it away as a gift).
Uses:
It is not just the inclusion of coffee and coffee butter that makes this an excellent choice for your hair and skin care but also the inclusion of cocoa butter, Shea butter, almond oil, vitamin E oil and glycerin (read about the benefits of these ingredients for the Hair and Skin). I like to use this butter on damp/slightly damp hair after I have moisturized to help seal in moisture for styles likes twists, twist outs, braid outs, Bantu knots, Straw Sets, Perm rod sets, Pin curls, Flexi rod sets… basically everything! Whenever I use Flax Seed Gel(FSG) which is full of nourishing benefits and is all natural, I actually like to seal in the FSG too by applying the butter as my last product. If however you are using a store bought commercial gel, you might find it more beneficial to apply the whip before you apply your gel. When it comes to the skin, I like to apply this after a shower to slightly damp skin to help seal in the moisture. It makes my skin super soft, smooth and lush looking and also helps with faint marks!
I of course had to record my tutorial as well:
I would love to hear from you if you try this delicious whipped butter!
So today I have a two tutorials to share and both are all about a Hot Oil mix which can be used as:
a pre-poo– applied before using a shampoo/cleanser to avoid the hair feeling completely stripped.
an overnight hot oil mix – after which you would co-wash or shampoo your hair (you don’t have to warm up the oil)
DIY Hot Oil Mix
Personally I like using it as an overnight hot oil mix so I shall delve a little more into that aspect but like I stated above you do not have to warm up the oil before application since your body heat (your scalp) and a shower cap (which you should use) helps to keep the oils warm. I prefer warming up the oil because it feels awesome applying it while lightly warm and my hair seems to soak up the oils when it is warm.
All you need to do is to combine all the oils together. If you opt to make it a hot oil treatment then you place the bowl with the oil in a pot of hot water (no longer on the stove) for 3 – 5 minutes. Once the oils are a little warm you can add the essential oil and you are done.
NOTE:Do not let the water mix with the oil especially if you plan on storing the remaining oil for future use. And remember to never place the oil in direct heat e.g. in the microwave or directly in a pot on a stove! You run the risk of not only zapping away the nutrients of the oil but will cause the oil to burn your hair and scalp and might accidentally cause a fire!
Application Process:
Before I apply the warm oil I like to spray my hair with a little plain water. I find this step necessary because 1. it means I am re-hydrating my hair with moisture 2. it makes the application process a little easier and 3. if you have dry hair then applying the oil onto dry hair means you are “trapping in” the dryness versus trapping in moisture if you apply water first.
I like to apply the oil while warm (NOT HOT) going from my roots to my ends. I work in the oil really well and usually do a quick detangle with my fingers. I cover up with a shower cap and scarf for the night and then proceed to wash my hair with shikakai or a co-wash depending on what my hair needs.
Benefits:
Helps to stop cleansers from stripping the hair.
Provides shine.
Softens the hair.
Eases detangling.
Fights against dry hair
Soothes a flaky/itchy scalp.
The results afterwards and even during the hot oil treatment is really quite evident immediately! In the video you can see how my old, dry and tangled hair quickly becomes soft, detangled, shiny, smooth and all round happy!
I would love to hear if you do hot oil treatments and how? Do you do overnight treatments, what oils do you use? Do you apply water first? Tell me all about it!
If you didn’t know I have become a Instagram (IG) FREAK! Seriously, it is an addiction. Before I was a Pinterestaddict and now IGhas become my fascination. My Instagramprofile is not limited only to all things hair, I do put up posts about skin care and health (but yes hair is a big part of it.) I also have snippets of my YouTubevideos on there too. What I love the most about IG is that there is so much inspiration and you get constant updates! Natural beautiful crowns and everything in between all the time!
Anyways, the purpose of this post is to share some of the things I have been doing with my hair, skin and health. These images are all on my IGpage so if you aren’t following me yet, please do! While you are at it, you might as well follow me on Pinteresttoo (yes I am being cheeky :D)
So, as a way to perhaps encourage you to follow me on IG I put together a collage of some of the recent photos I have up on there (putting on every single one would too self promoting and self obsessed lol).
Hope to see you on my IG& Pinterestpages! If you have IG or Pinterest please let me know, I love supporting others!
I wrote a new article for Global Couture that I think a few of us might have/are/will go through as a naturalista: Hand In Hair Syndrome (HIH).
Hand In Hair syndrome and how to try to combat it
In case the term is new to you all it basically means it that you “suffer” from constantly touching your hair – your hands are constantly in and and around your hair.
During my hair journey I was always touching my hair, wanting to feel my natural texture and play with my curls. Admittedly I will sometimes still play with my hair whenever I am really digging a style. In case you “suffer” from a bad case of HIH, I provide a few potential consequences of the syndrome as well as a few solutions to try and stop touching your hair in the article: “Hand In Hair syndrome and how to try to combat it”.’
Do you “suffer” from HIH? What steps do you take to try and stop touching your hair throughout the day?
Now I know what you are thinking, “wait a minute don’t you always say you are not a hair guru”… I am not. However, I am not talking about becoming a styling professional or hair “artist”. The article is more about how to become more comfortable with styling your own hair.
For some of us going back natural and having healthy hair also means having control of our hair in terms of styling it by ourselves. For many years hair stylists, hair dressers, mums, aunts, cousins, friends etc. might have been our go to person in terms of getting our hair done. So it can be a little intimidating to finally start to style our own hair.
The article was written to help encourage new naturals, those considering going back natural or even those who already are natural about how to overcome that initial hesitation of self-styling.
Click on the link at the top of the post to read the full article on Global Couture!


")