Hey Maicurlies,
I am back with a highly anticipated skin DIY!
I did a poll on my YouTube Channel (click on the link if you haven’t already) to see what I should share next and my DIY Whipped Sugar Scrub got the most votes, so here we go!

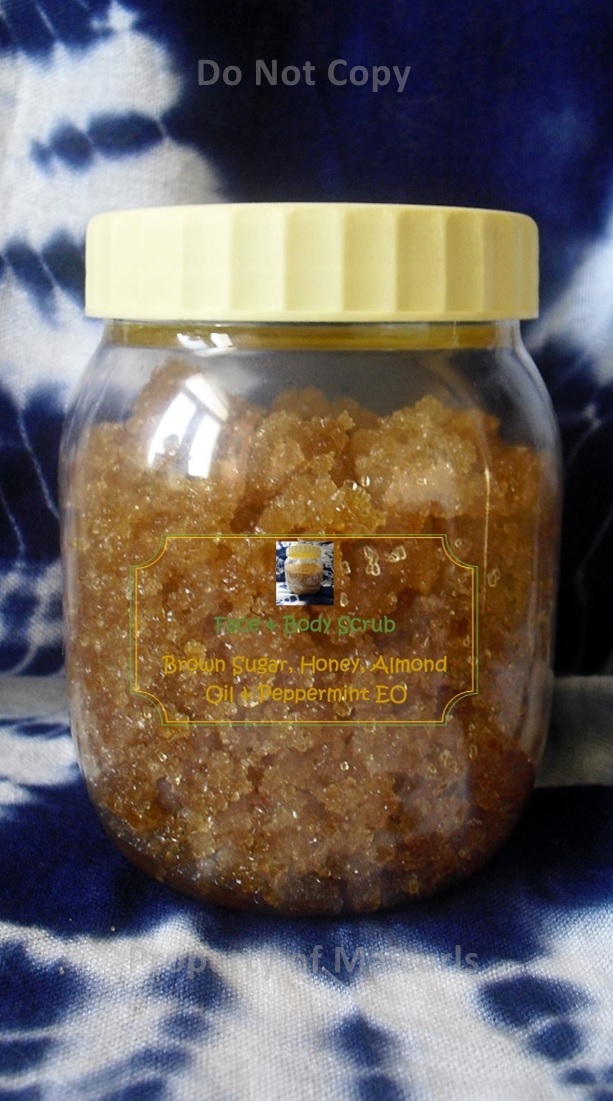
Sugar scrubs can be used on the body and face to remove dead skin cells while promoting new glowing skin. It can help reduce bumps, blemishes, fade scars, reduce dark spots, clean up pores and promote healthier skin overall. Before delving into the details please not that I highly recommend only using brown sugar versus refined white sugar because the granules of brown sugar are less coarse and harsh on the skin, thus will not tear or cause damage. When using the scrub on your face, I suggest applying it no more than 1 – 2 times a week (daily use would be excessive). When it comes to your body, alternative days (works for me) however, I once again suggest daily use would be excessive.
Ingredients:
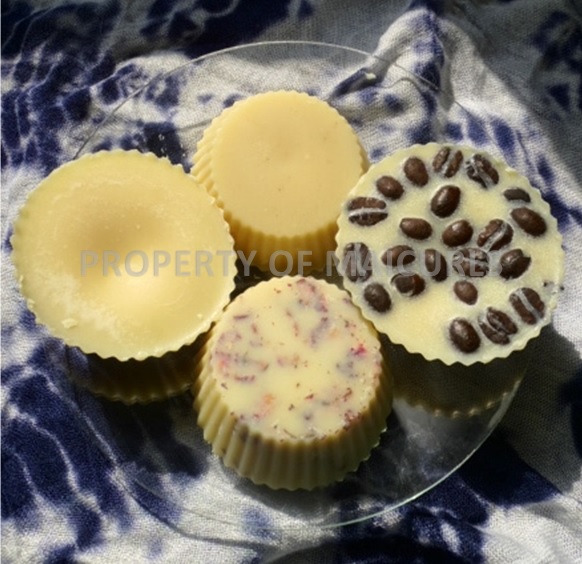
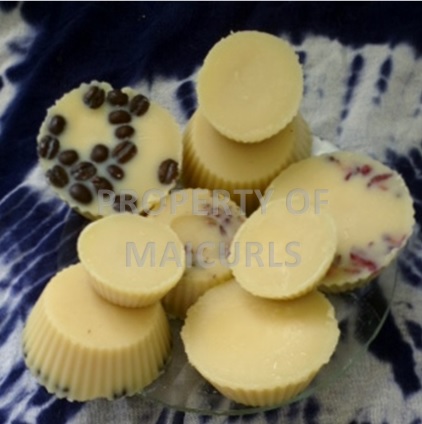
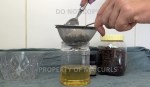
- 3 oz Mango Butter
- 0.6 oz Almond Oil
- 0.2 oz Lemon Juice
- 3.6 oz Brown (Cane) Sugar*
- 3 oz Raw African Black Soap
- 12 drops Peppermint Essential Oil
*I suggest using equal amounts Sugar to Butter and Oil, this way it won’t be too runny or hard on the skin.
Ingredient alternatives:
Mango butter can be replaced with another soft butter however, I highly recommend only using a soft butter that is not overly greasy. Almond oil and Peppermint Essential Oi (EO)l can be replaced with any carrier oil or EO of choice. (EO can be omitted altogether and should be in case you are pregnant)!
Ingredient benefits:
Mango butter is rich in fatty acids, antioxidants and contains anti-inflammatory properties. It contains vitamins A, C and E and is known to help ease skin conditions such as acne and eczema. The butter is effective in moisturizing dry skin and is said to help reduce the appearance of fine lines.
Almond Oil contains vitamin E and helps promote smooth, soft and supple skin. It is effective in keeping dry skin moisturized and known to help ease itchiness, reduces redness, relieves inflammation and can help skin conditions such as psoriasis and eczema.
Brown (Cane) Sugar works at exfoliating the skin by removing dead skin cells, clearing out the skin’s pores, removing dirt as well as excess oils. It contains glycolic acid, which, is an alpha-hydroxy acid (AHA) that is known to help maintain healthy skin. Due to its exfoliating properties it can reduce the appearance of scars and dark areas (e.g. dark underarms, elbows and knees).
Raw African Black Soap contains anti-fungal, antibacterial and cleansing properties for the skin. It can help reduce the overproduction of oils (and in this mix will help maintain a level of oil and butter). It is moisturizing for the skin while soothing, it reduces irritations, blemishes and fine scars.
Peppermint Essential Oil Peppermint Oil has a soothing and cooling effect on the skin that leaves it feeling tingly and fresh. Its anti-bacterial and inflammatory properties is known to help fight acne and skin irritations. It is also known to help with blood circulation in the skin.(*Never use undiluted EO on the skin as it can lead to burning and itchiness).
Mixing Instructions & Use:
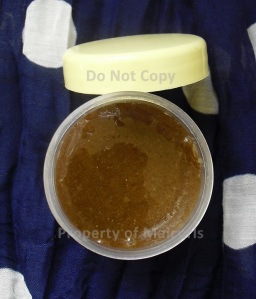
You want to place the butter, oil and lemon juice in a bowl and mix with a whisk for a few minutes until everything is well combined. light and fluffy. Fold in the sugar first before using the whisk in order to avoid sugar granules from being flung around the kitchen (it can get a little messy). The final step is to add in the Raw African Black Soap which, you need to grate first in order for it to be well mixed and distributed evenly in the scrub. Essential oil can be added as the last step (if used) and then the mix can be transferred into a disinfected airtight container.
When it comes to applying the scrub, please ensure that you have anti-slip stickers in your shower in order to avoid potentially falling (it can get really slippery). You want to start off with damp skin (for both your face and body) and gently using your fingertips rub the scrub onto your skin in circular motions (be gentle). You can rinse your body with a body wash post scrub (if you feel like you have too much butter/oil present and a face wash for your face). Please ensure that you use a dry and clean spoon to scoop out the scrub (don’t use wet fingers otherwise you are inviting bacteria growth) and make sure to close the lid. Once used always store the scrub in the fridge to help ensure it remains fresh for as long as possible.
So, that’s it! If you use this mix, please do let me know what you think and if you have any suggestions on what you would like me to share, let me know!
Maicurls