Good evening Maicurlies!
Protective style challenge week 2
It has been two weeks since I started my Protective Style & Castor Oil challenge and let me tell you, I am LOVING it!
Protective style update:
In all honesty I have always been a fan of wearing my hair out….”FREE” because it is so much easier for me to do a simple twist-out or braid-out, but I am appreciating this challenge. Is it a little difficult for me to come up with styles to wear? Yes. I have said this before and will continue to say this: I am NOT a styling guru and I am not “creative” in terms of unique styles however, I do what I know/can.
How did my second week go?
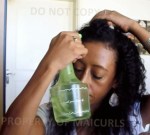
Similar to week 1, I enjoyed the fact that I didn’t have to “mess” with my hair too much, especially in the morning before work. I would lightly touch up my edges and be on my way. As always I slept with my scarf around my head at night and that sort of helped with the fly-aways. My hair felt really moisturized, soft and looked shiny (LOVE). I only moisturized and sealed my hair once during the week and felt that a light moisturizer (my DIY Spray Leave-In) was sufficient. I also noticed that I had less tangles than I normally would by the end of the week (winning!) I did two styles for the my Twist and Tuck Donut Bun (days 1 – 3) and my new Pinned up “Flat twist” AKA Seahorse (I shall explain below).
What Did I do?
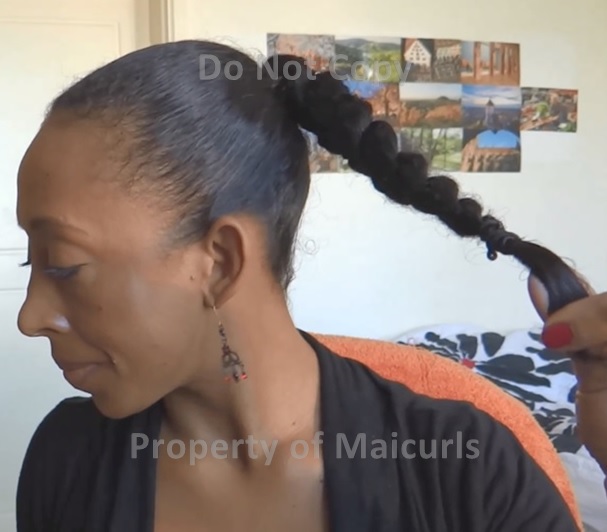
- To start the week I had washed, Deep Conditioned, moisturized and sealed before twisting my hair into 5 chunky twists.
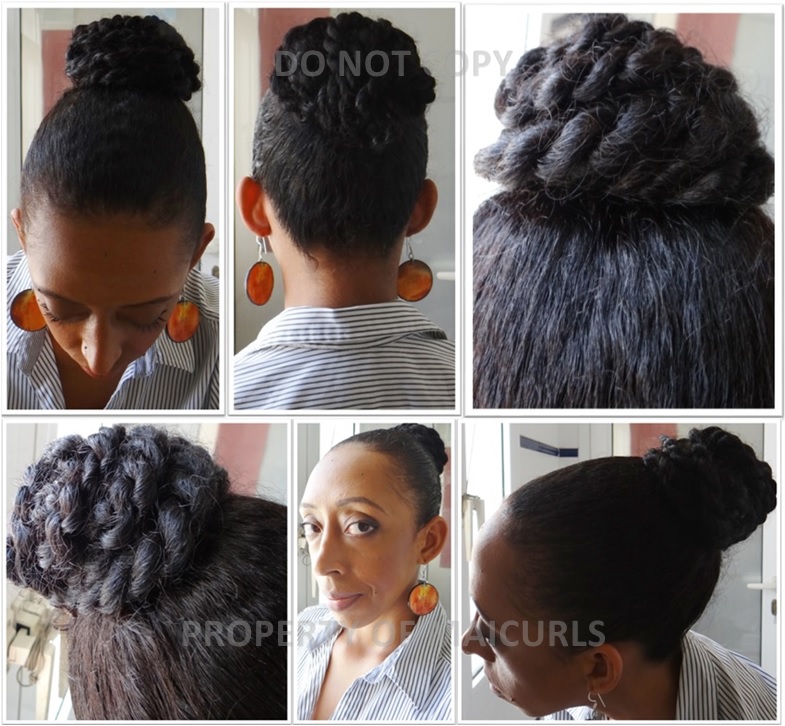
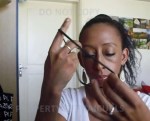
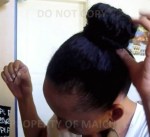
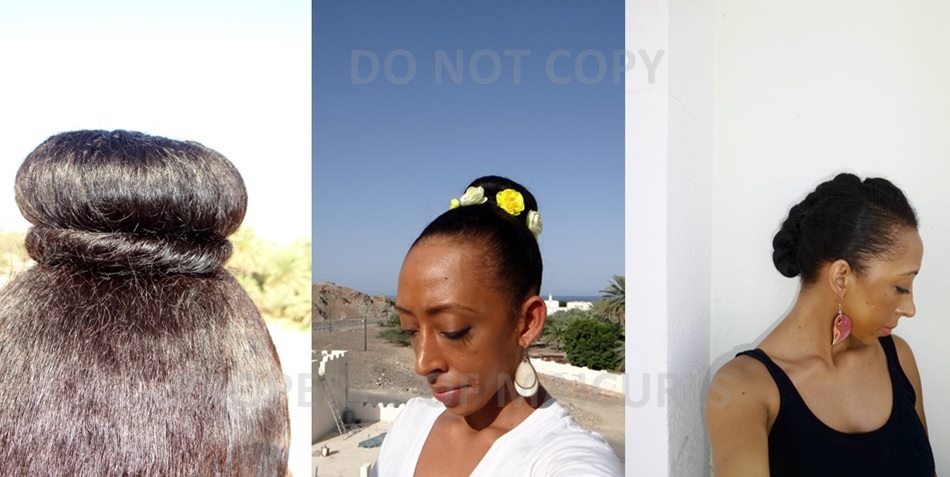
- Day 1 – After taking down the twists I massaged my Castor Oil Mix on my scalp, hairline and used a dab on my ends. I put my hair in my first hairstyle: Twist and Tuck Donut Bun.
- Day 3 – I reapplied my Castor Oil mix to my scalp, hairline, ends and decided to accessorize the Bun with my DIY floral hairband.

Twist and Tuck Donut Bun (added accessory)
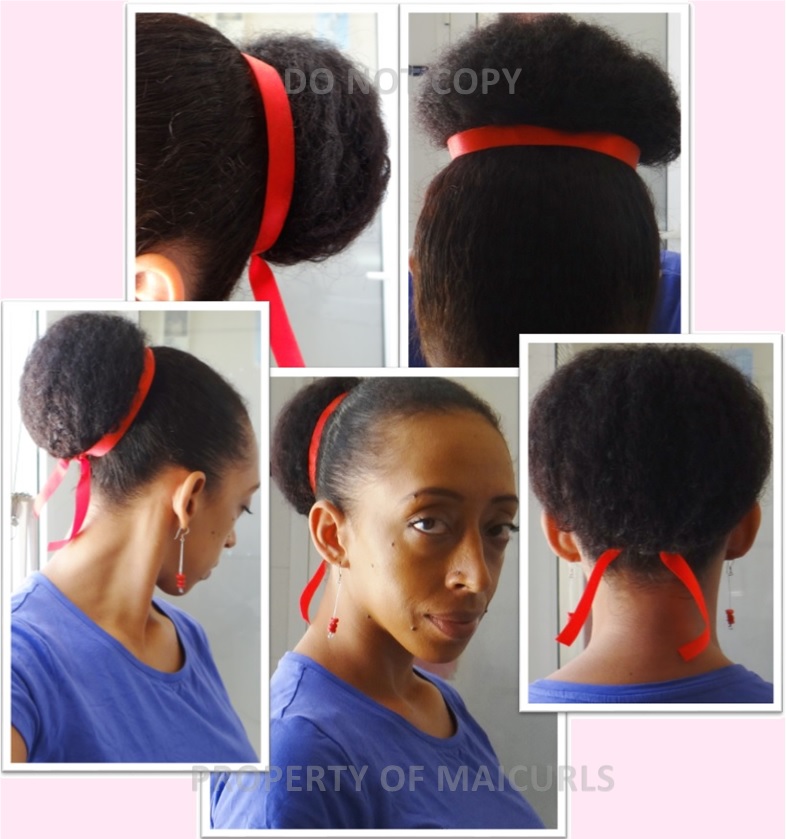
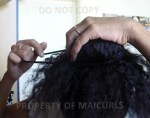
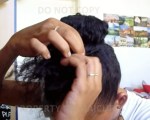
- Day 4 – I moisturized my hair with my DIY Spray Leave-In Conditioner and sealed with Almond Oil. I then put my hair into my second hair style the (Pinned up “Flat twist”) that I kept for the remainder of the week. I don’t know if people would call it a flat twist because to me it looked like a seahorse before pinning. –Side note*: Flat twists and I do not get along at all! I suck at them but I did try and so far this is the best I have ever done!
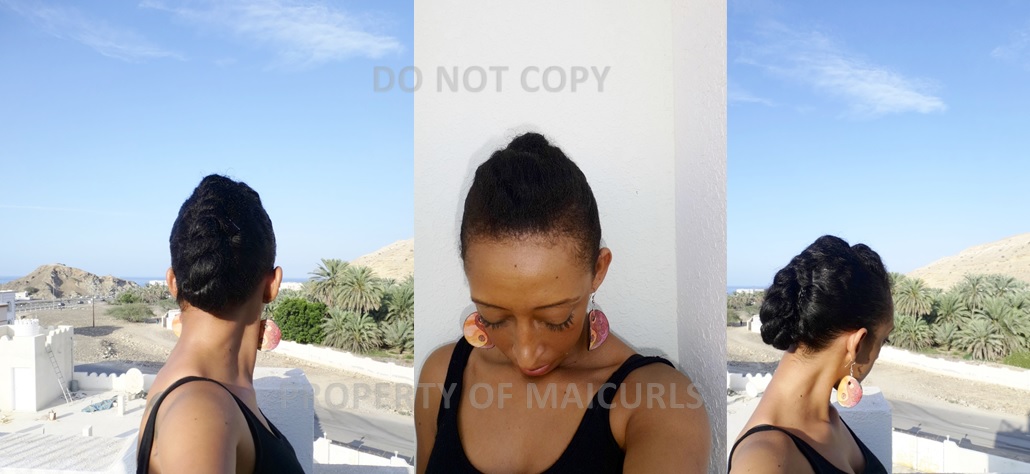
Pinned up flat twist
This is the seahorse “flat twist” before I used one bobby pin to tuck away the ends

“Flat Twist” aka Seahorse
- Day 6 – I took down the flat twist, massaged my scalp, hairline and ends with the Castor Oil mix and redid the flat twist again.
- Day 7 – Wash day routine and then got my hair ready to be set for week 3 (this week).
Castor Oil Challenge:
I used the oil 3 times last week and actually want to increase it to 4 times. Eventually I might even increase it (but we shall see I don’t want to push it). I was always worried that my hair would be greasy and my scalp/pores clogged up but the mixed blend of Castor with Rose Infused Grapeseed Oil seems to be working out great. I have my recipe and a video of the mixing process here.
My hair did not feel dry at any point during the week. I did re-moisturize my hair mid week just because that has been my habit but I only used my light leave-in so there was no worry of product build up, plus moisturizing is always a good idea. My roots felt so super soft, the ends were smooth and I think the Castor oil blend helped to avoid extra tangles. My individual strands basically glided across each other instead of wrapping, trapping and clinging onto one another. Overall I am loving this challenge!
Here’s to week 3!
What do you think of my Protective challenge styles? Do you like my Castor oil blend? I would love to hear how you use castor oil.
Thanks
Maicurls