Hey Maicurlies,
Today I’ve got another DIY and this also sort of ties in with my recent re-addiction to all things henna 😀
I first want to share my updated henna paste (full strength henna) which focuses only on ayurvedic herbs – Henna, Amla and Hibiscus mixed with Green Tea.

This mix is somewhat similar to my “old” henna paste which you can read about (here) except that I now add hibiscus. I have already written about the wonders of hibiscus here p.s. it is awesome for a number of different reasons! Another aspect that is different is that I keep my henna paste “clean” by not adding anything additional e.g. conditioner, coconut milk etc after I see dye release. There is no harm in adding conditioner/coconut milk/oil etc to the paste, they actually help to make your hair feel less dry after you rinse out the henna however, at the moment I am more focused on the ayurvedic benefits which is why I opt not to add anything to the mix.
(I turn to my DIY Henna Gloss Bars on days when I want to henna without the punch that is packed in my full strength henna paste).
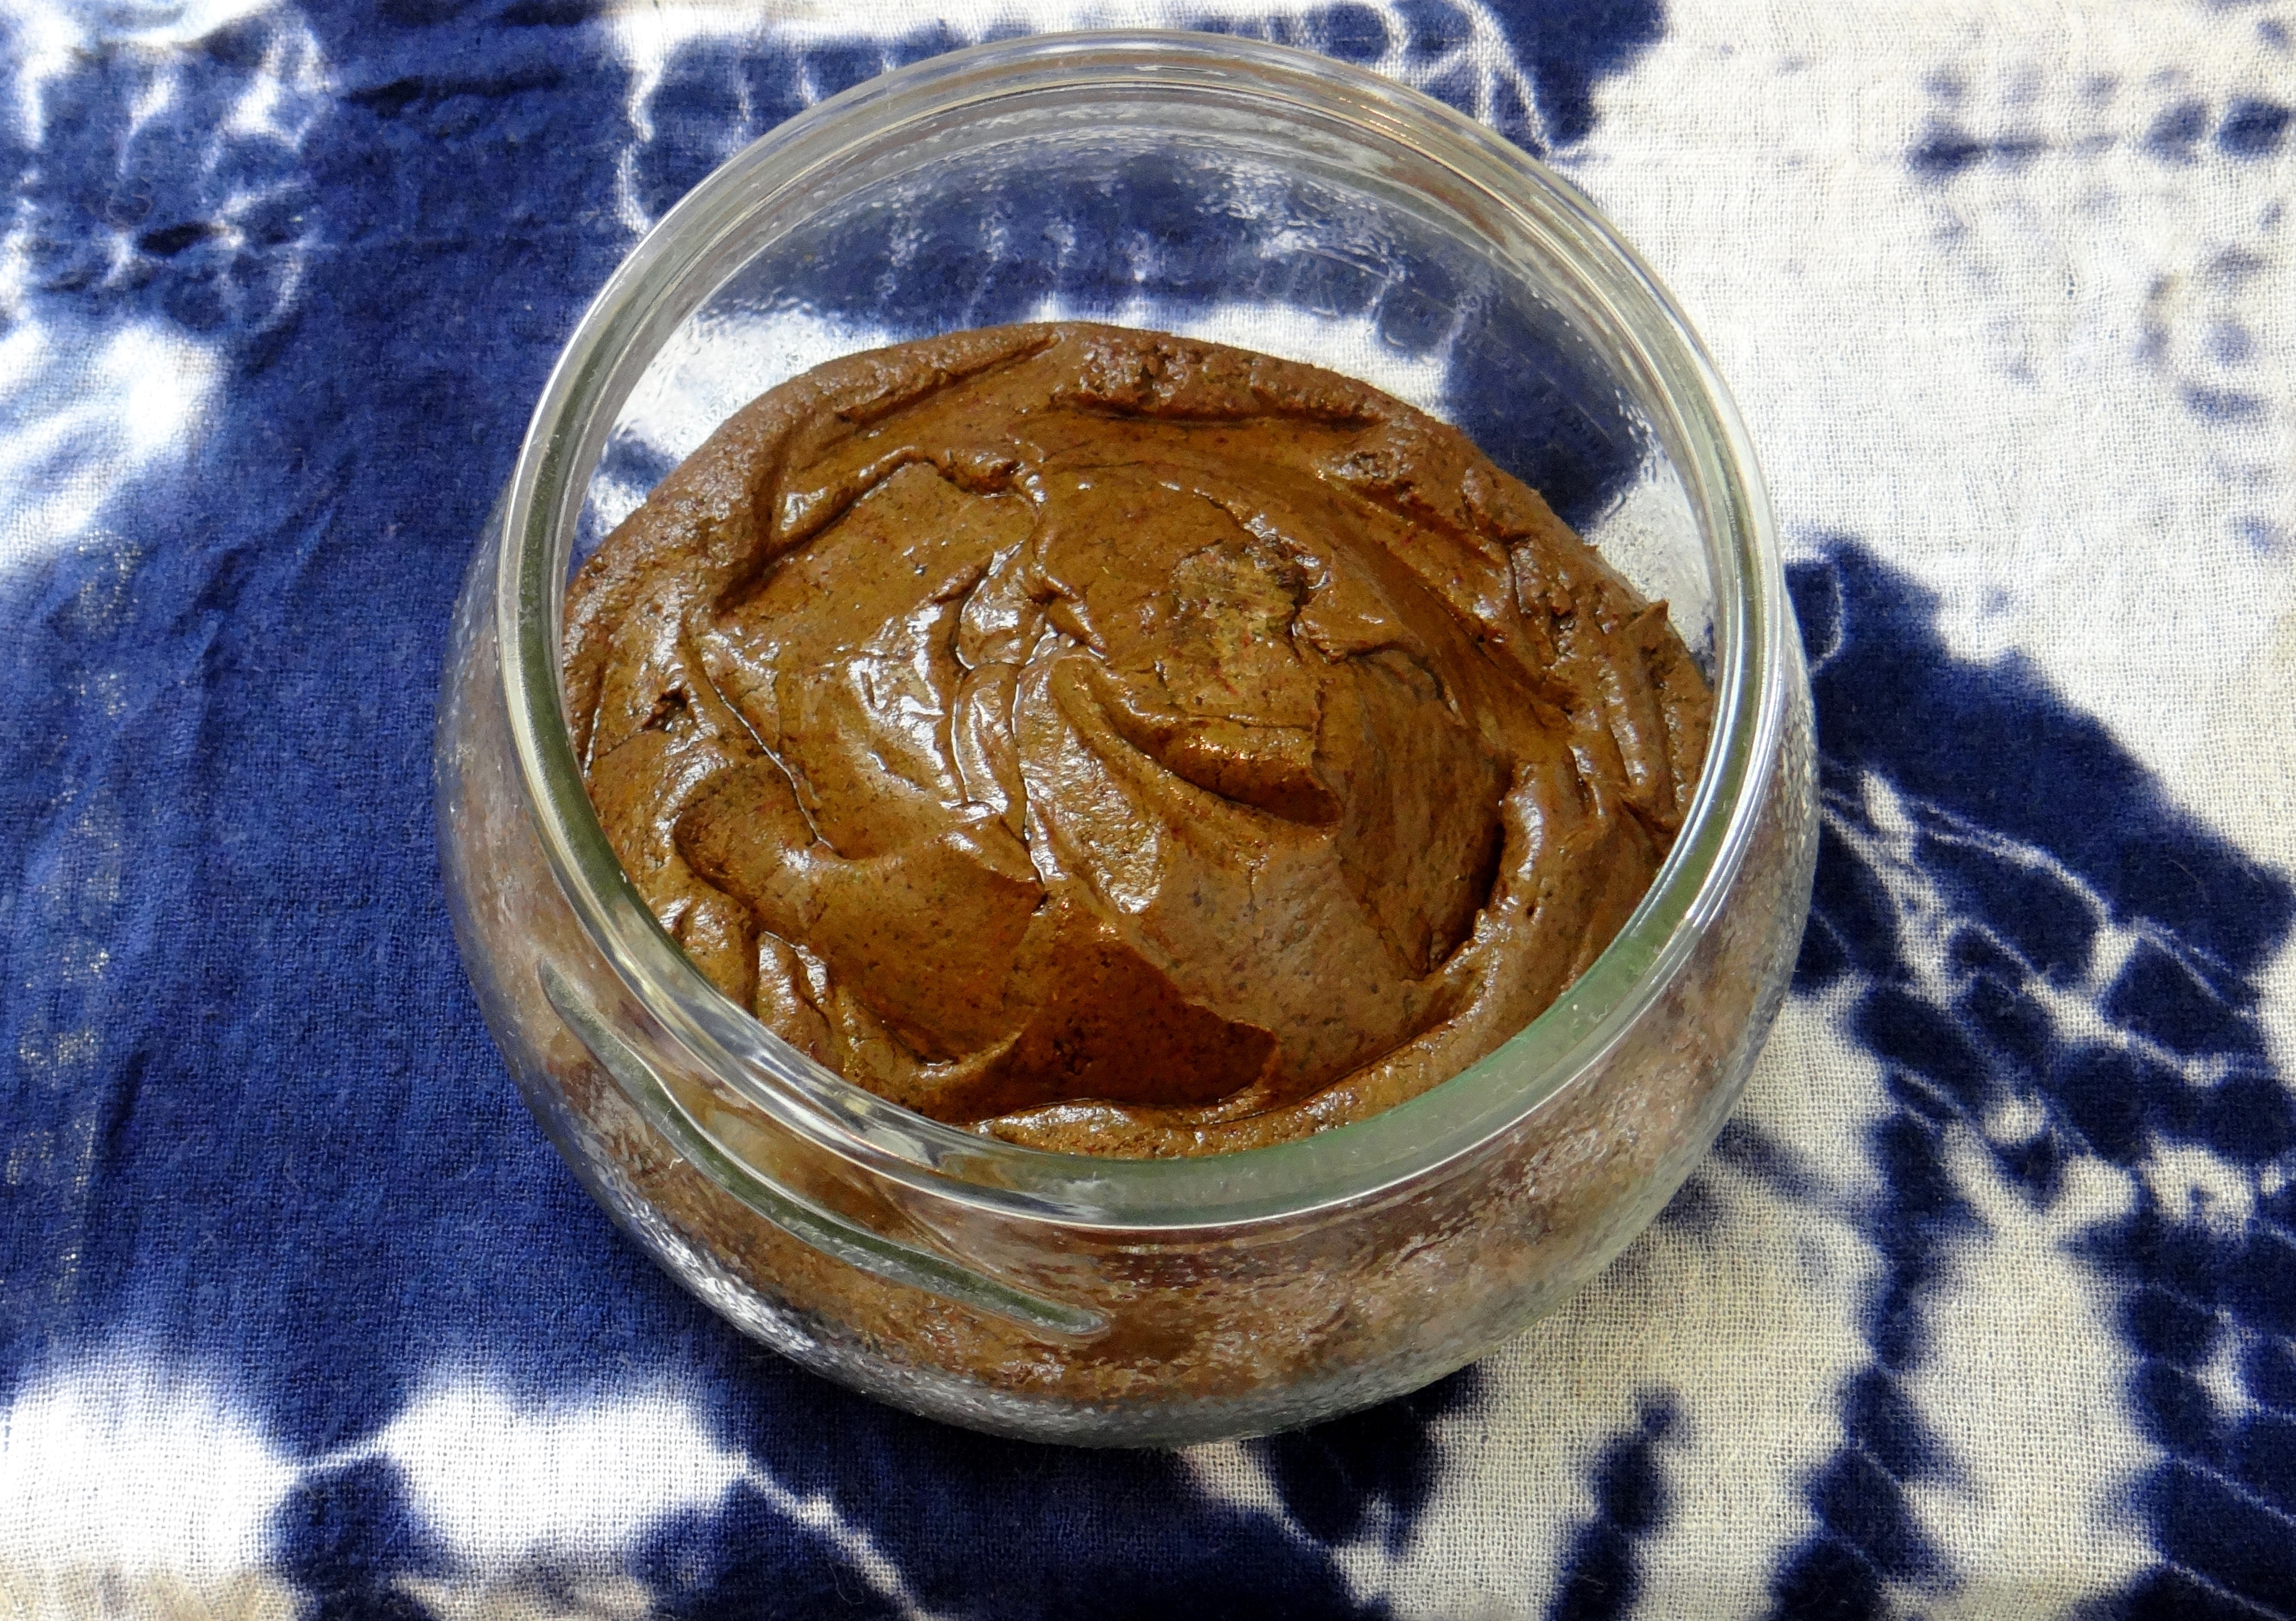
Henna Paste

Ingredients/Tools:
- Henna 5 oz
- Amla 0.7 oz
- Hibiscus 1.2 oz
- Green Tea 6 oz
- Glass Bowl
- Spatula
- Old material/newspaper to cover the work space
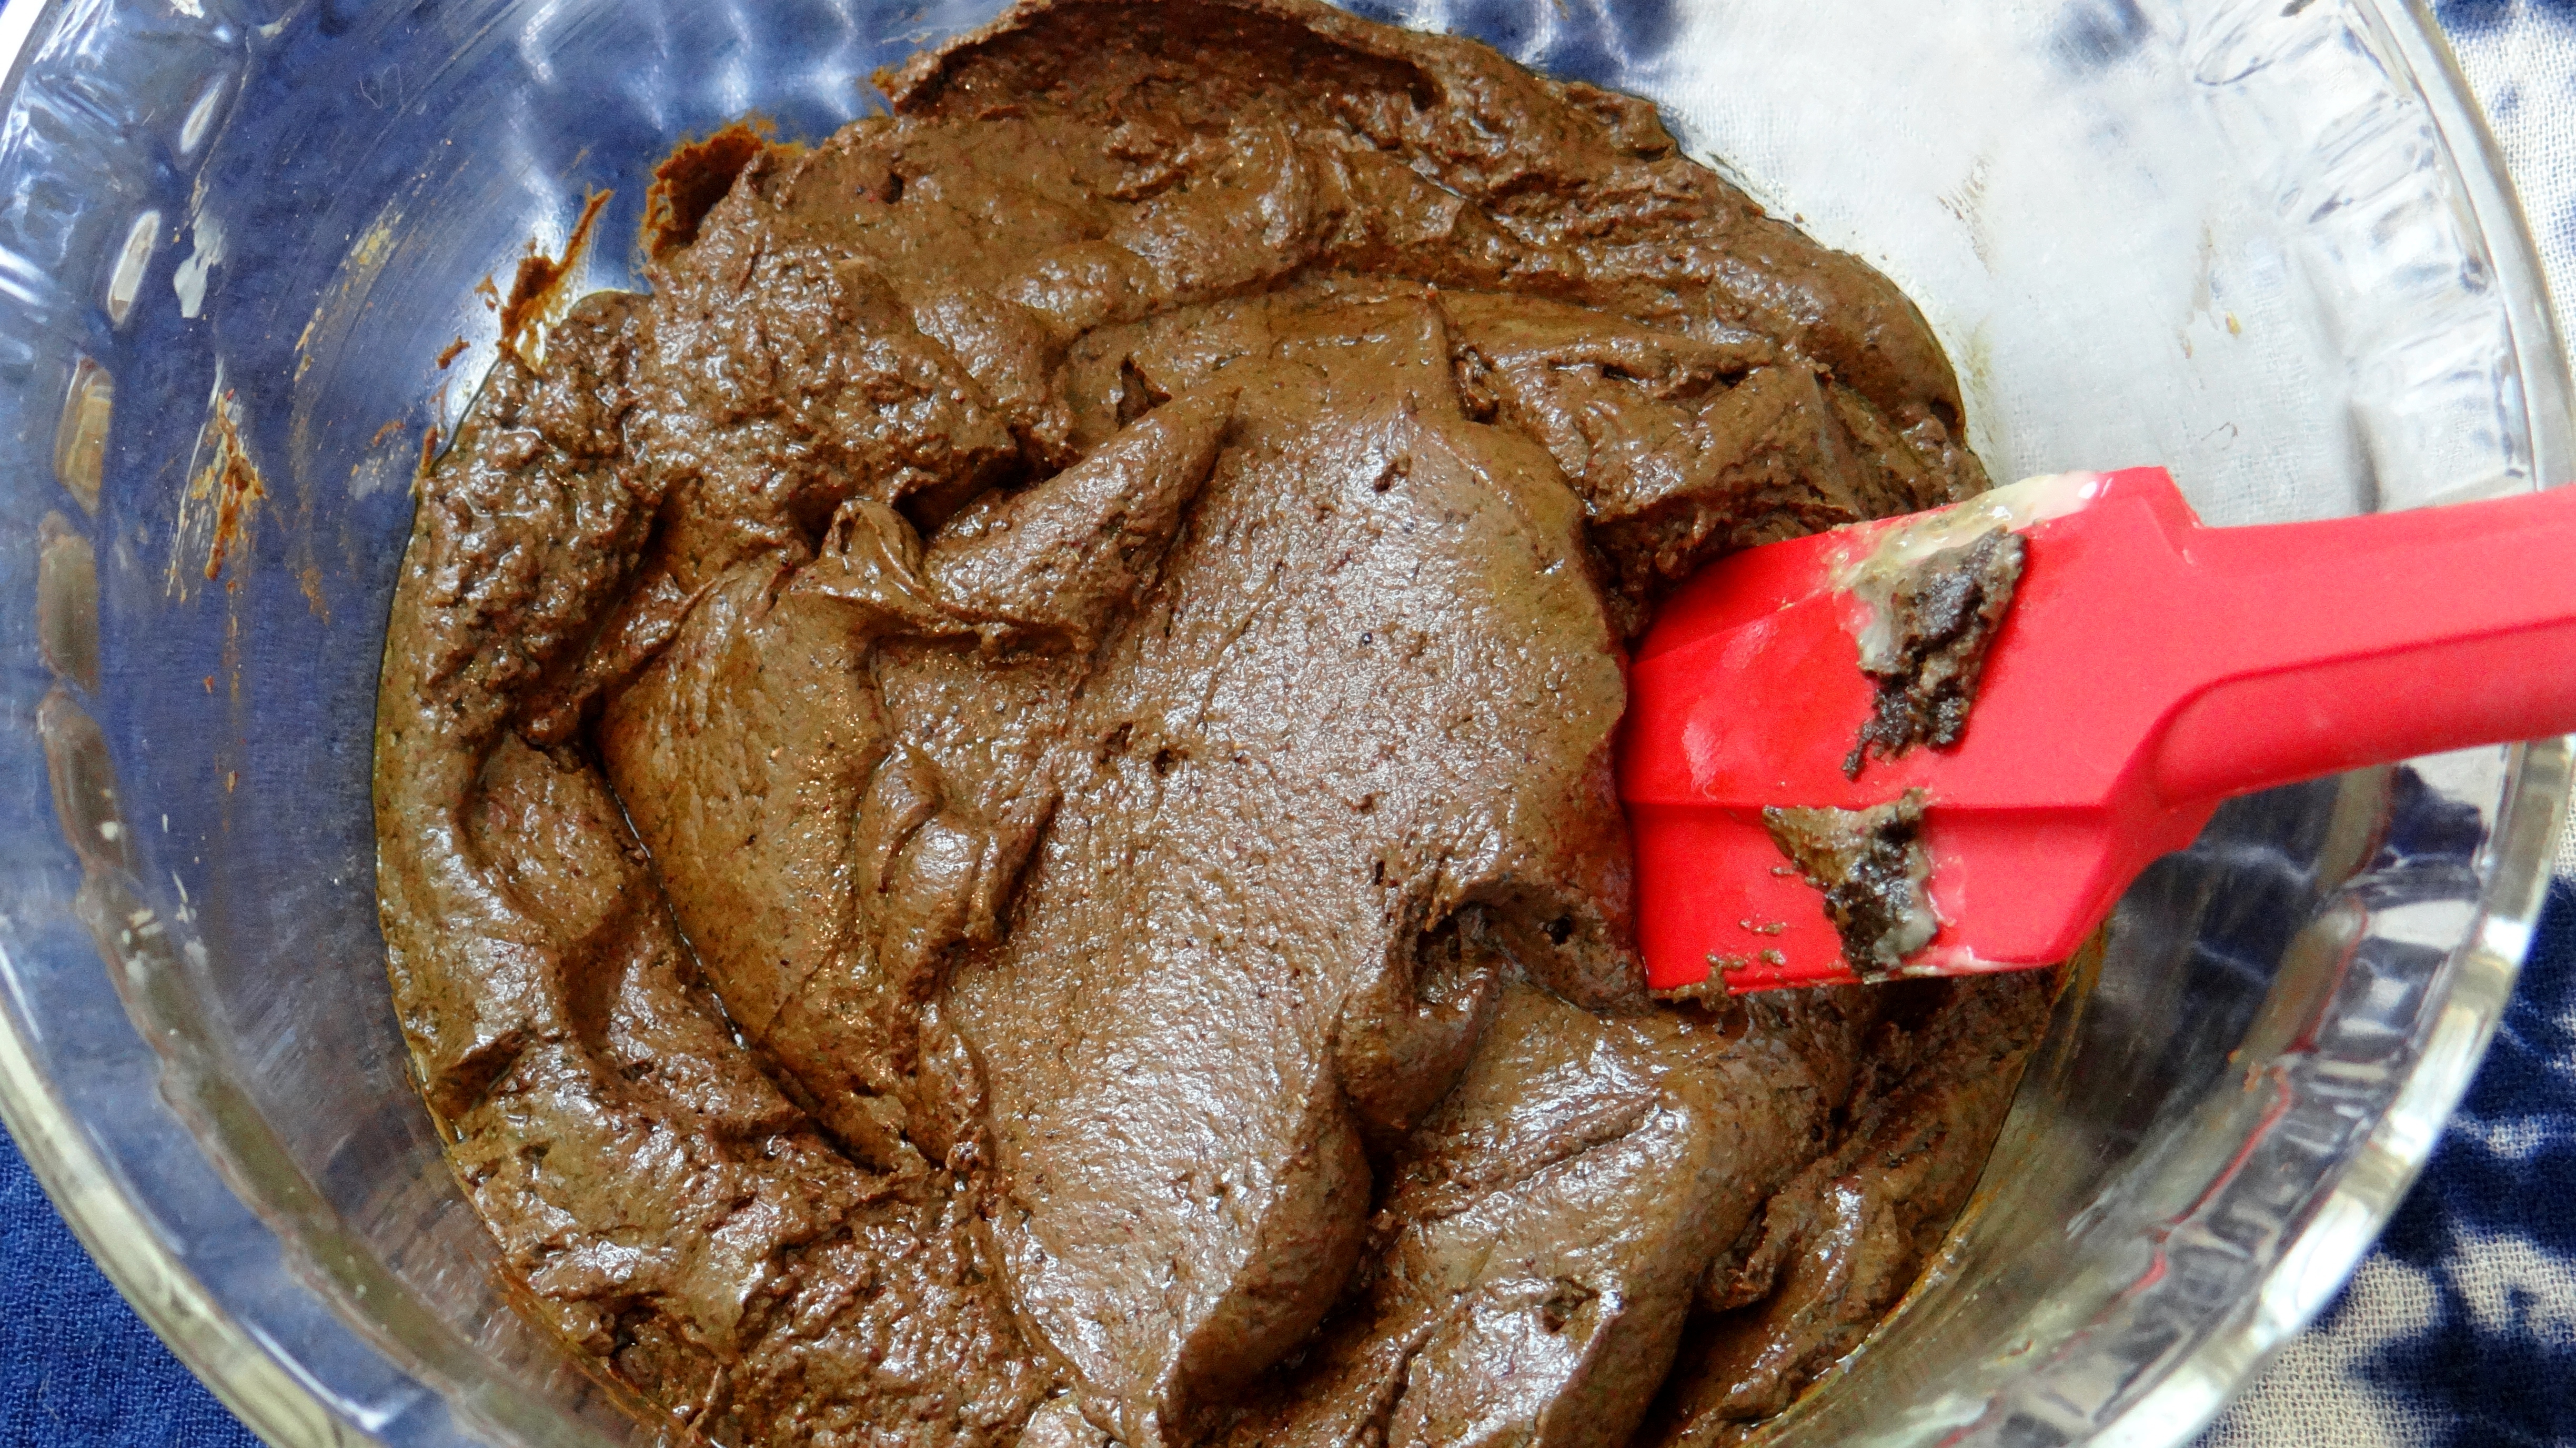
Mixing:
I first combine all the dry ingredients and then add my warm green tea (not boiling hot – I let it cool down first) and stir. I like making my paste quite thick because I don’t like the henna to drip down my face/neck.
After mixing I will cover the paste with Clingfilm and wait for dye release. When I start to see dye release I add a tiny bit of lukewarm tea (no more than 1.5 oz) just so the paste isn’t too thick and will spread easily on my hair. It usually takes my henna no more than 4 hours to see the initial stages of dye release and I like to apply it when I start to see dye release since I leave the henna on overnight and the dye will continue to release while I sleep.
Application:
I always apply henna on damp detangled and cleansed hair, starting at the back working my way to the front. I cover my hair with Clingfilm, a shower cap, sometimes a plastic bag and then a scarf to make sure everything is really nice and warm. ALWAYS USE GLOVES otherwise your palms and nails will get stained! After I have left the henna on overnight I rinse out the henna with water first, follow up with rinses with conditioner and then I apply a Moisturizing Deep Conditioner (DC) once the water runs clear. I leave the DC on for no less than 2 hours and then I am done!
Henna (Ice) Blocks
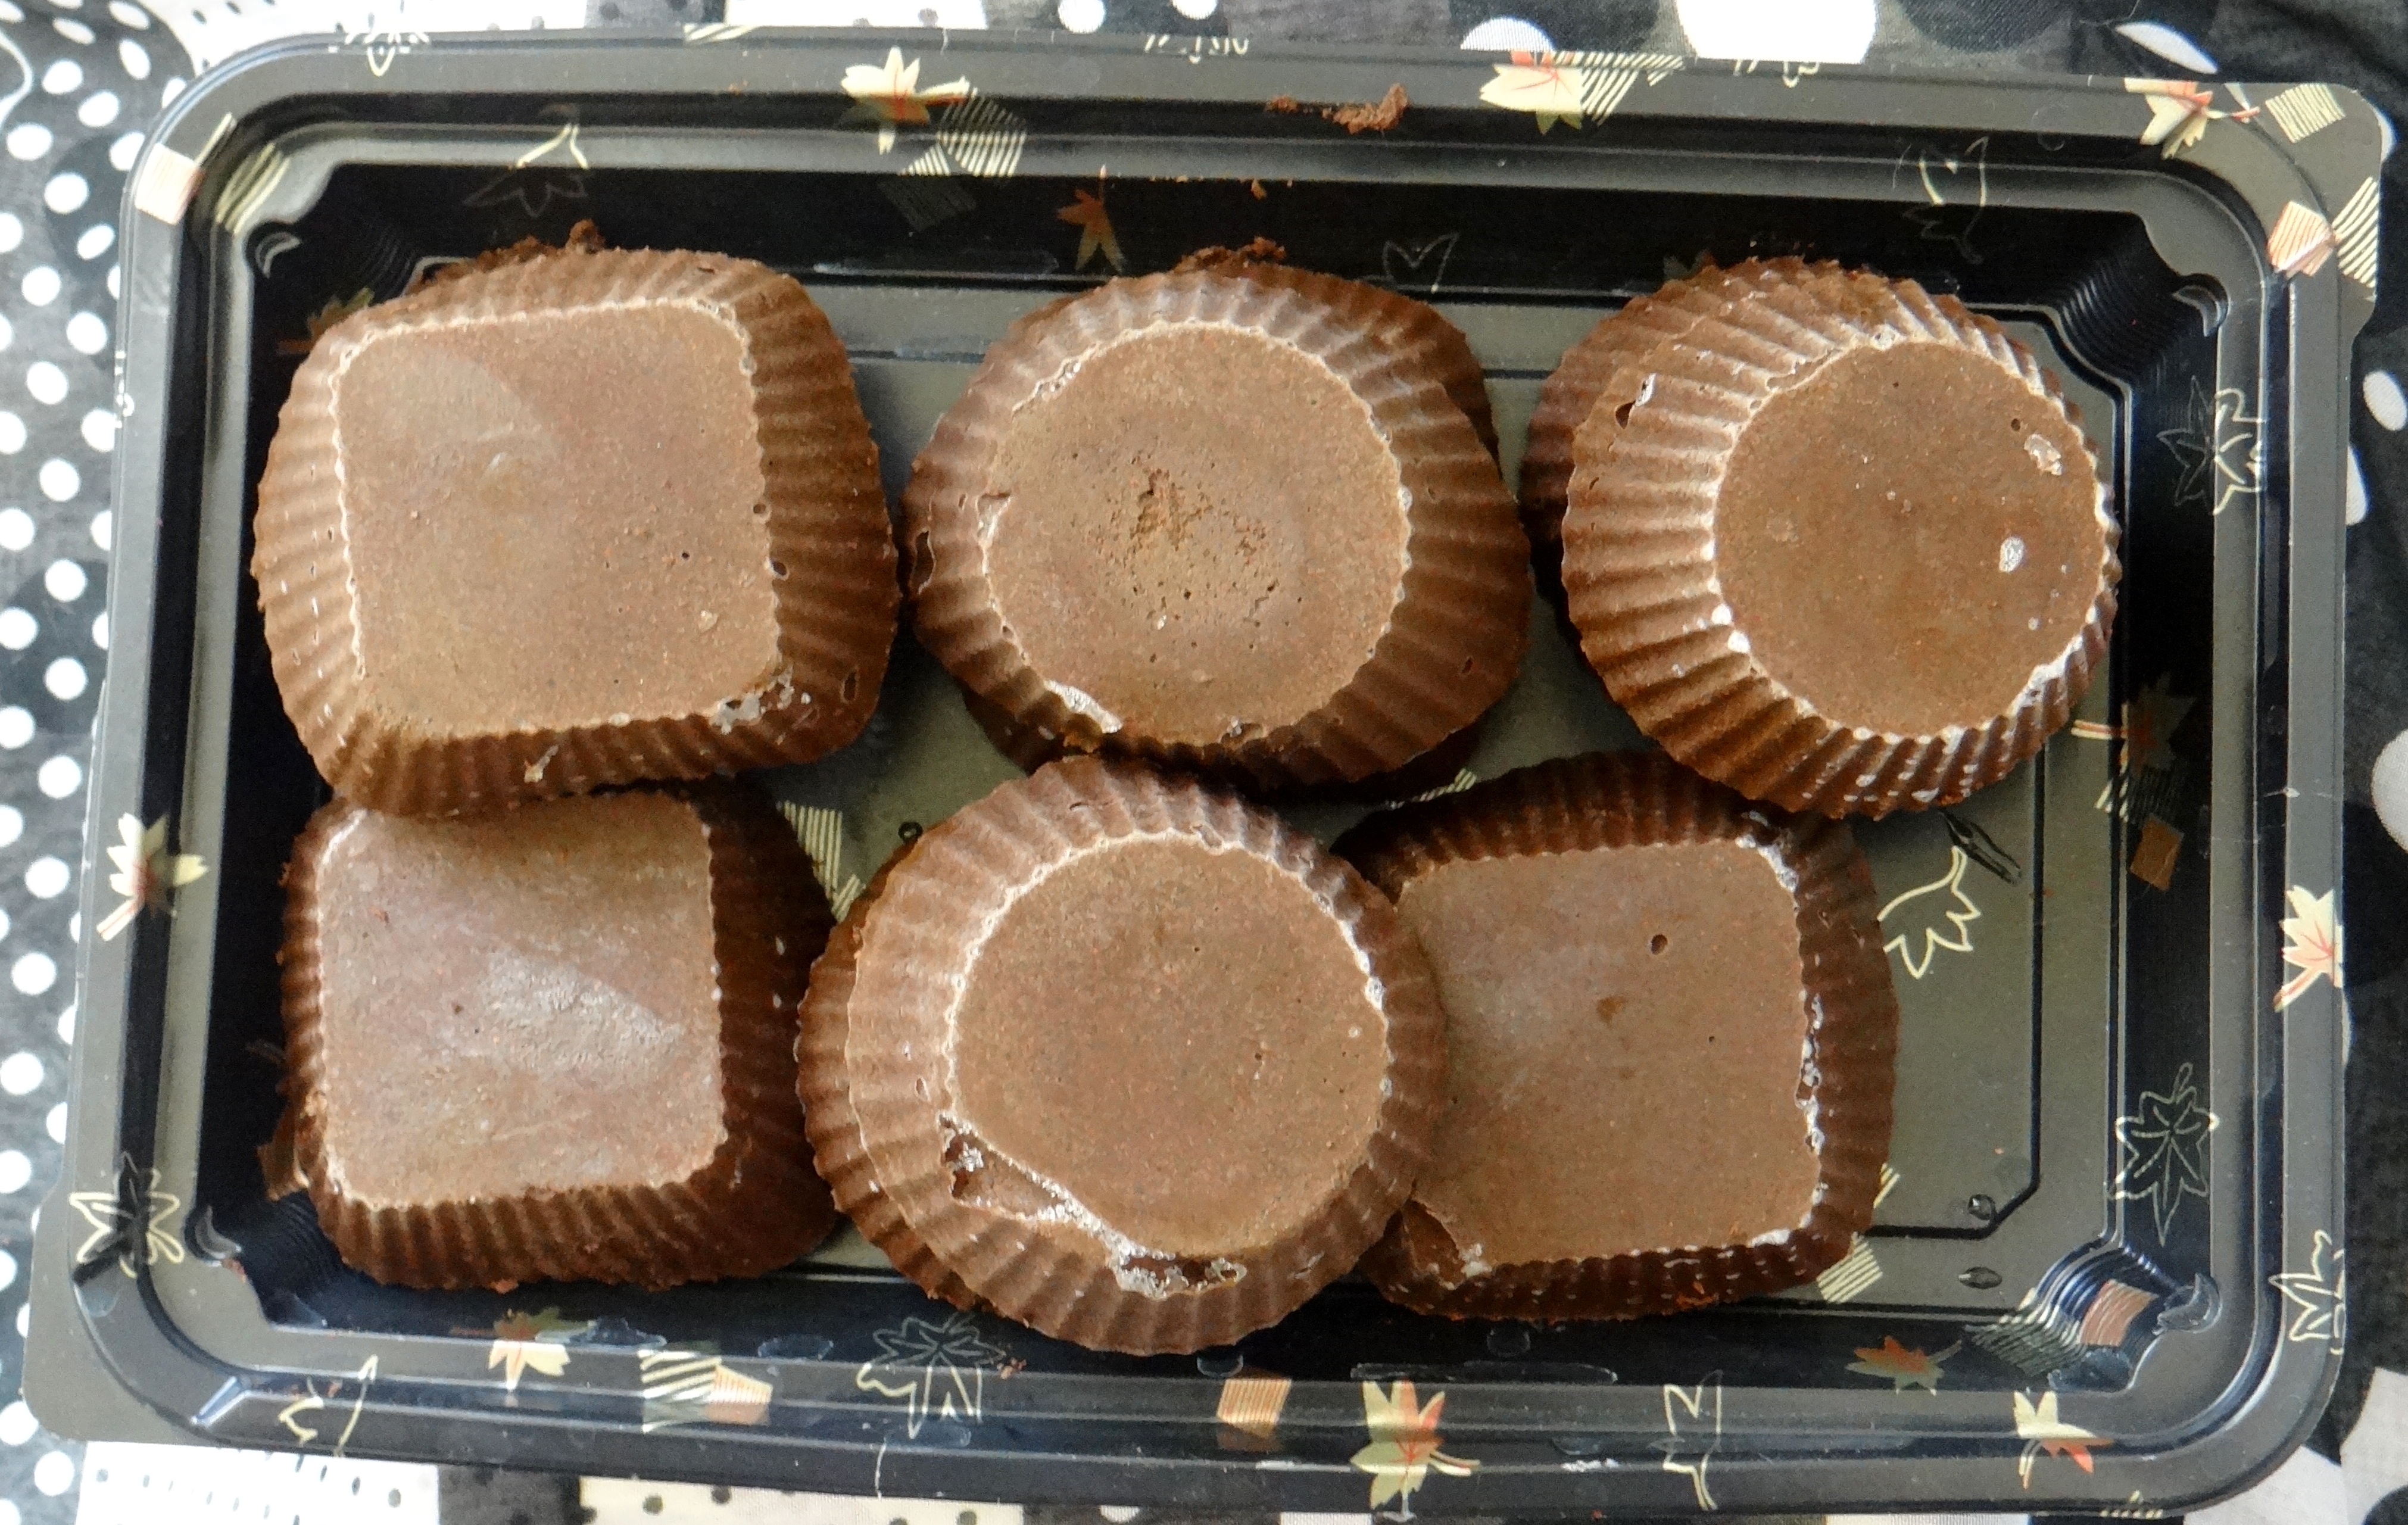
Frozen Henna (Ice) Blocks
What I now love doing is turning my henna paste into henna (Ice) Blocks. I like making the blocks because:
- I mix up quite a bit of henna and store it in my freezer waiting for it to be used. This makes it less time consuming in the long run since everything is ready and just needs to be melted.
- Whenever I have henna in my freezer, the red dye is much more intense compared to when I just use my paste after dye release.
Ingredients/Tools:
- Henna Paste (recipe above)
- Silicone moulds
- Spatula
- Clingfilm
- Sandwich bag
- Old material/newspaper to cover the work space
Making the bars:

Henna (Ice) Blocks before freezing them
After making the henna paste I simply pour the paste into silicone molds, cover with Clingfilm and then place them in my freezer. (If you do not have silicone molds you can use ice cube trays but I would keep the moulds and ice cube trays separate from those you use to make normal ice blocks, bake etc. I keep everything I use for my hair separate from other tools in my kitchen).

Clingfilm covered henna (Ice) Blocks
I recommend letting the bars freeze for no less than 12 hours ideally letting them sit in the freezer for longer because the longer you let them sit the more intense the red dye! Once the bars have frozen I cover each bar with Clingfilm and store them in a sandwich bag until they are needed. I have left mine in the freezer for 2 months and still got great dye release and conditioning benefits. (You might get away with more storage time but I have not tried).
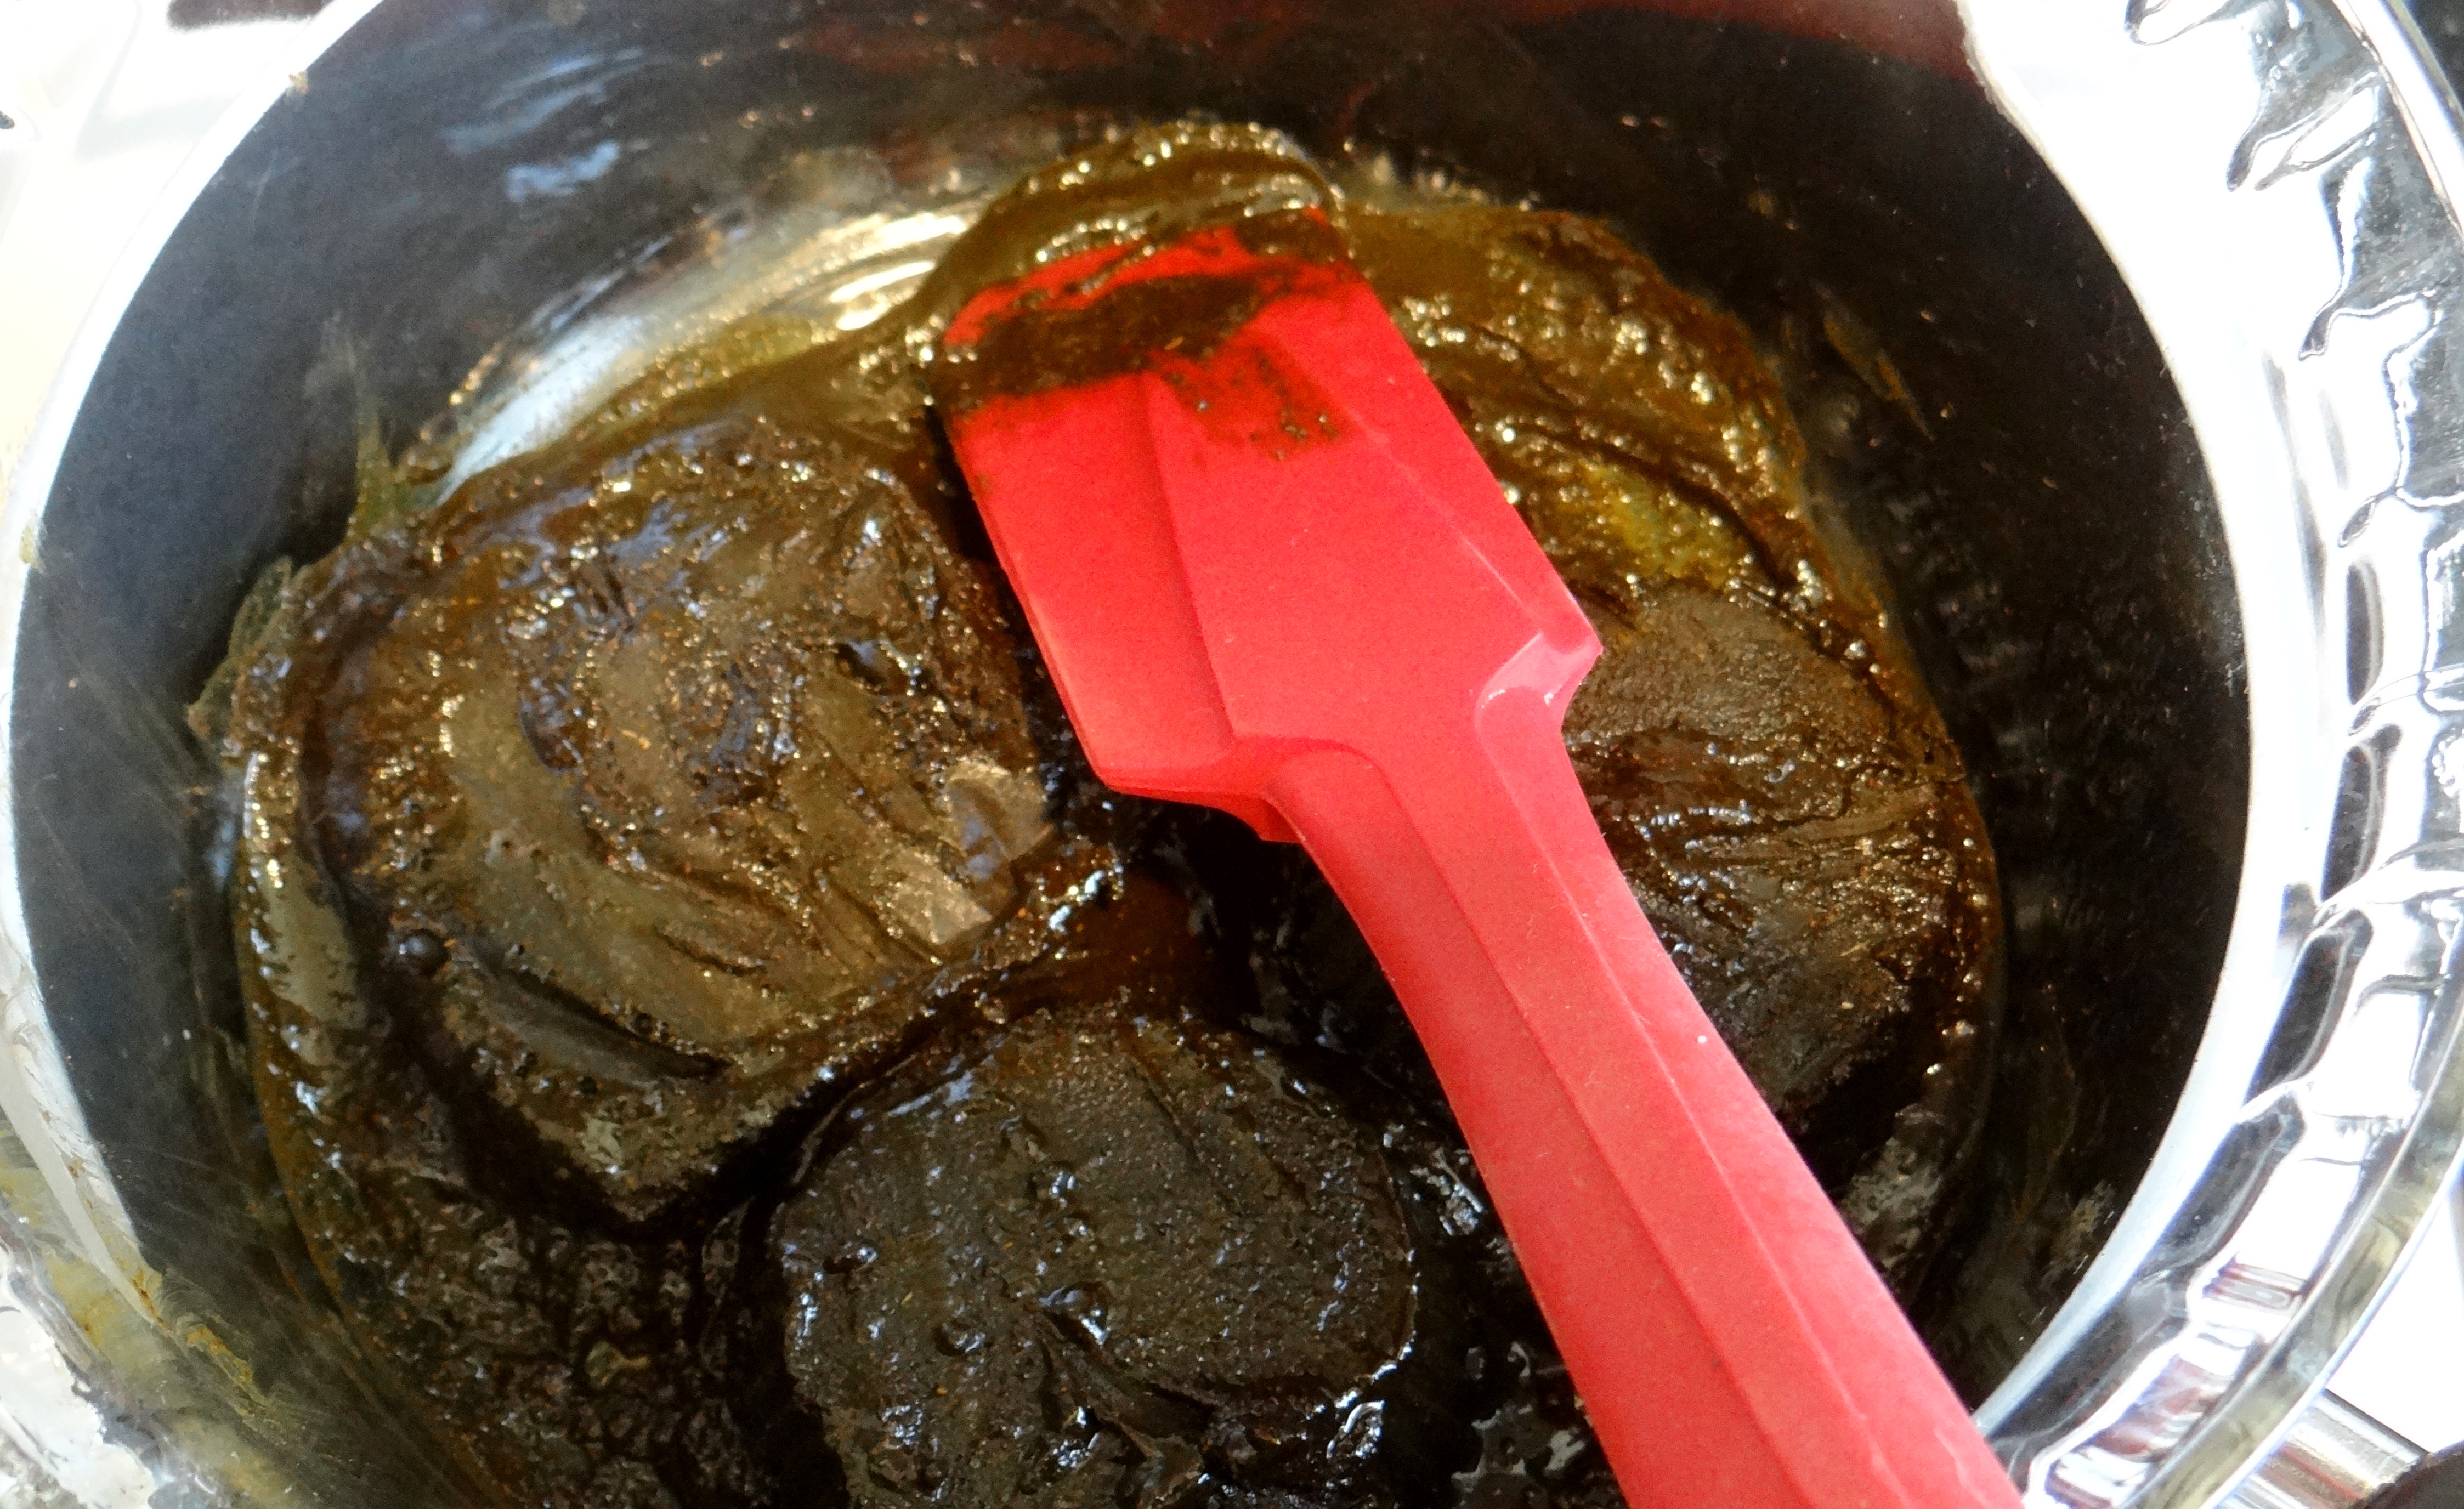
Melting the bars:
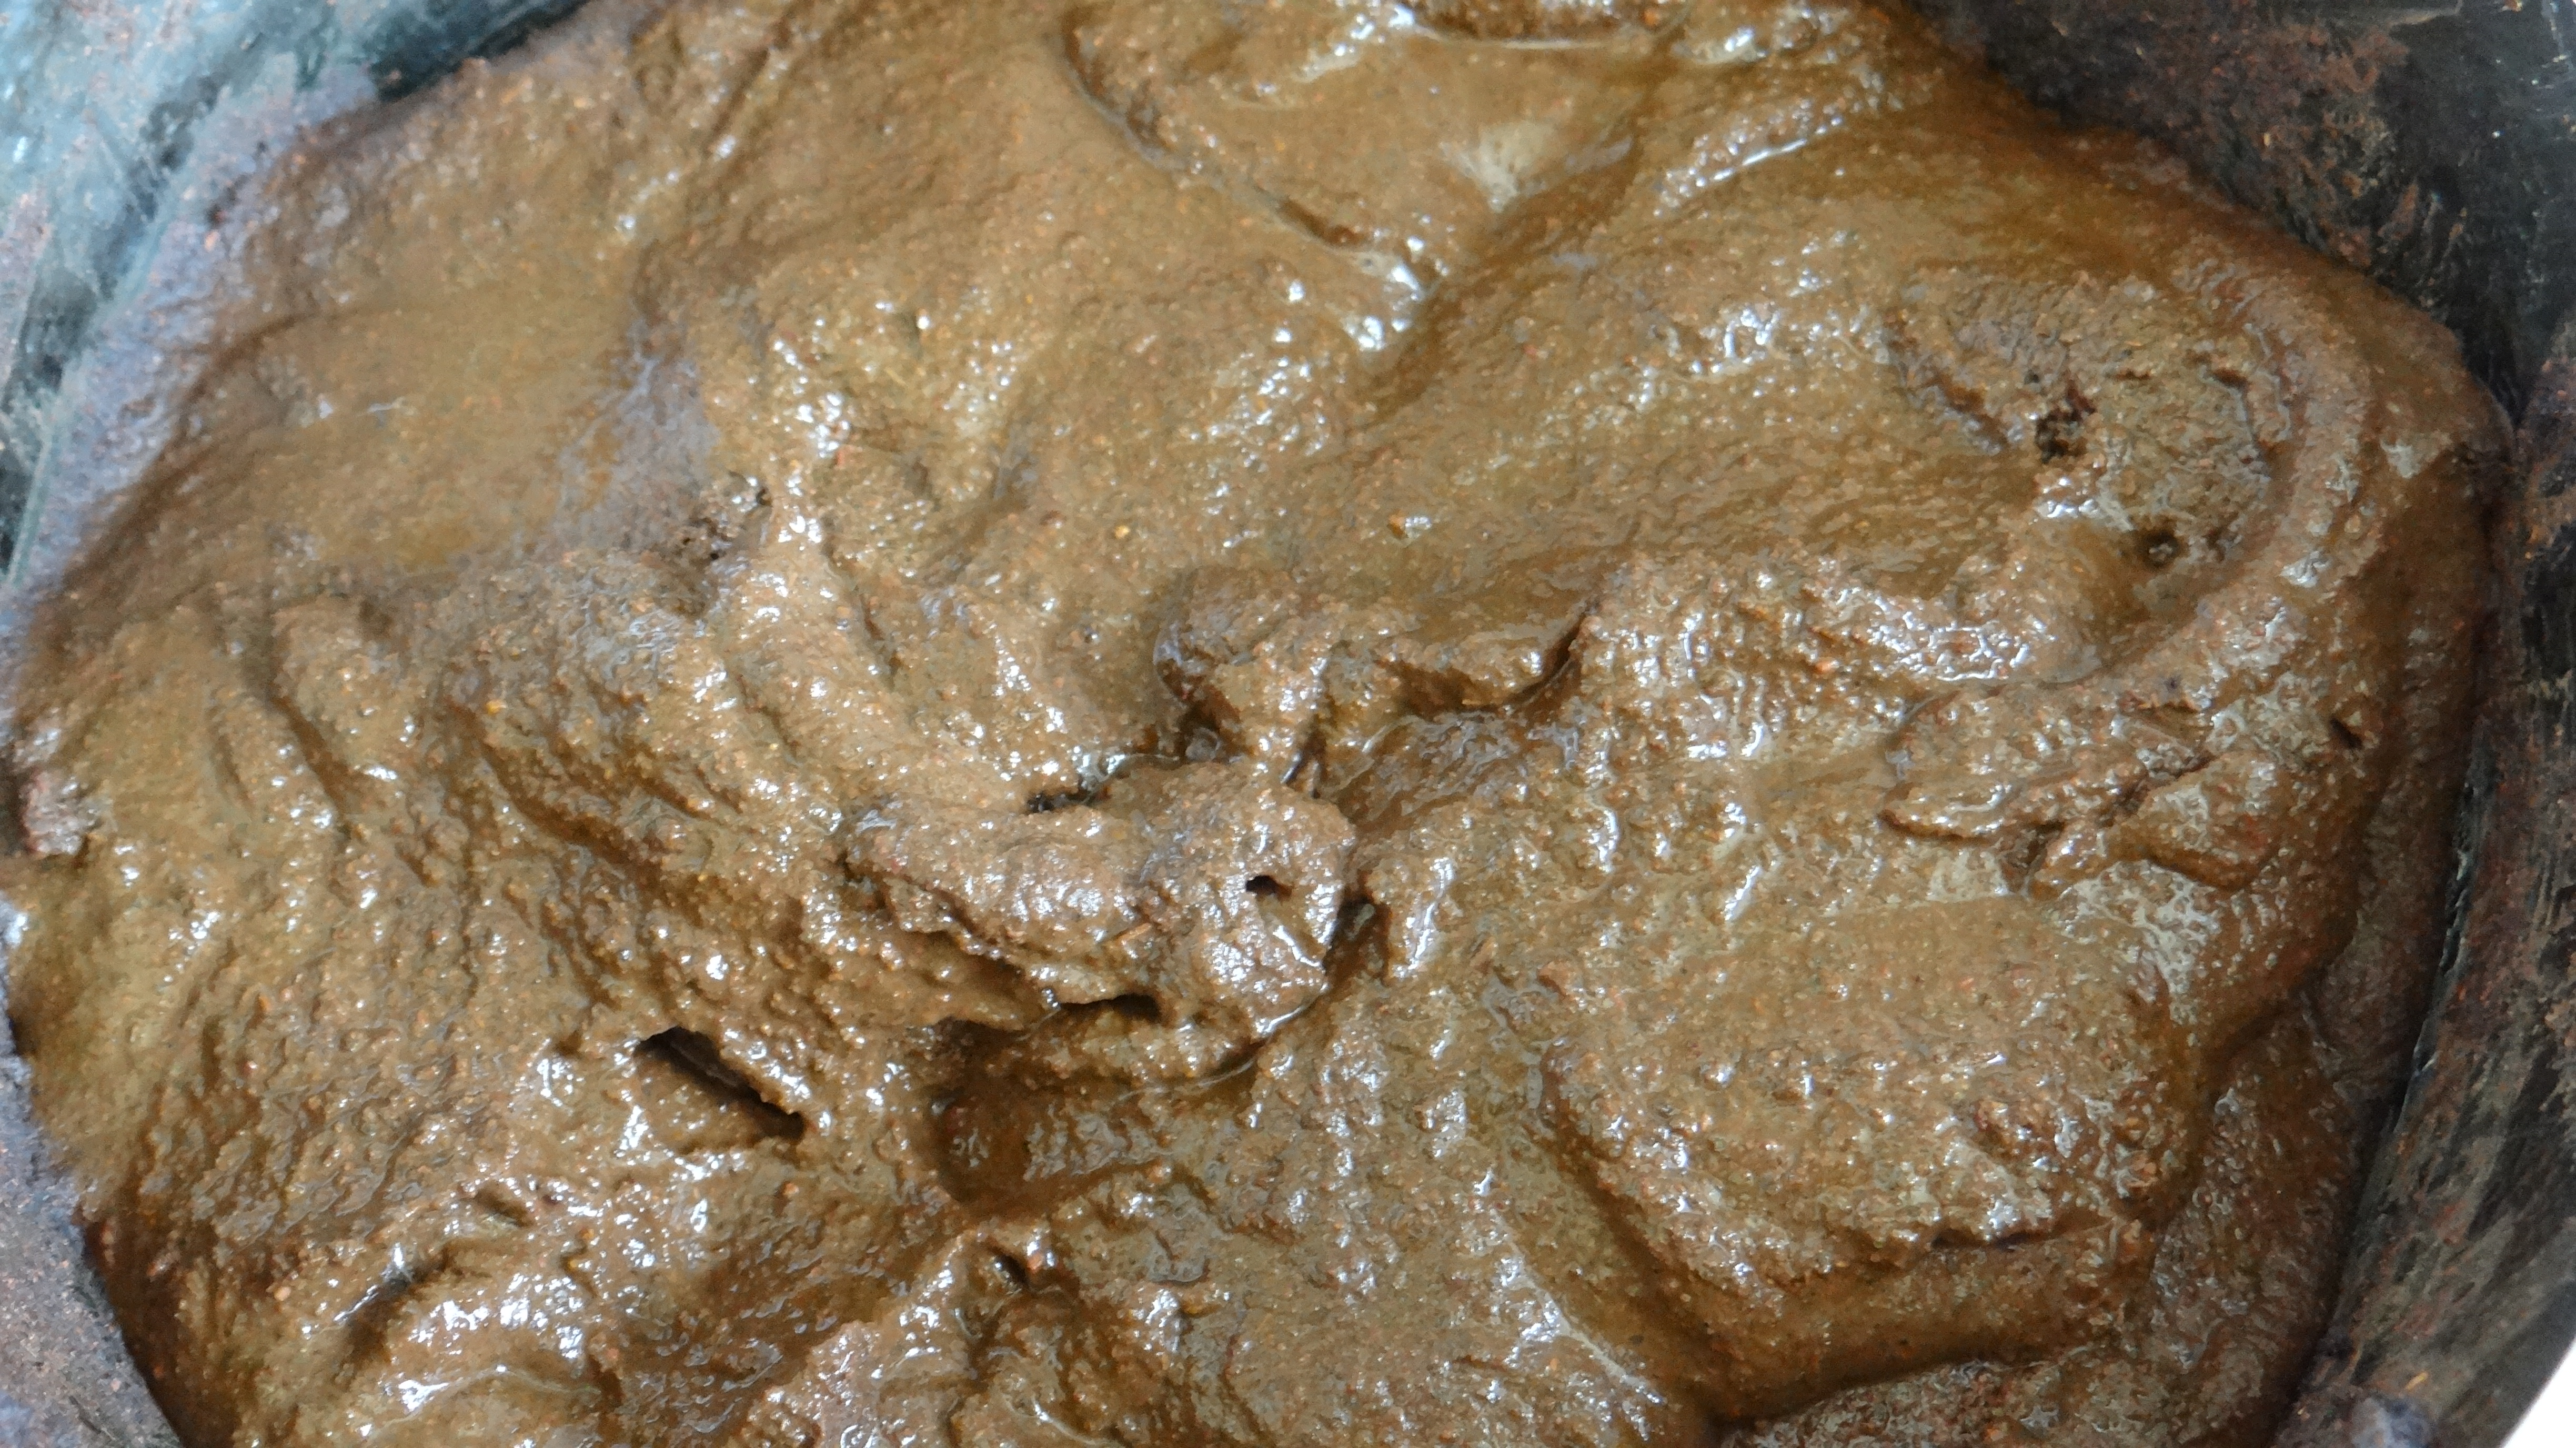
Melting Frozen Henna (Ice) Blocks
- Heatproof bowl
- A little water
- Spatula
- Henna Bars
- Green tea (no more than 2 oz)
- Gloves
- Old Piece of cloth/newspaper to cover the work space
Put a pot on the stove with a little bit of water. Place the bars in the heatproof bowl and put the bowl over the pot. Allow the bars to slowly melt down on low heat for 7 – 10 minutes while stirring. Once the bars have melted I tend to add a little bit of lukewarm tea (no more than 2 oz) just to make sure the paste is neither too thick/thin. I apply & rinse as normal (see above) and that is it!
I have a video of the whole process:
Would love to hear what you think!
Thanks
Maicurls