Hello lovely Maicurlies!
I hope all is well 🙂
Lets get down to business shall we…and that business is my Twisted Bantu Knot-out.

Twisted Bantu Knot-Out
Let me start off by saying I love the curl results I get from this style. I think they are really “girly” and fun… in my opinion. I did not manage to record how I actually put in the Bantu Knots because I decided to do them late at night but I did demonstrate on one piece before taking down my hair (see video below). I can do a proper demonstration of how I install my twisted Bantu Knots in a separate video & write up (if someone needs to see it) although my method is no different to the other lovely ladies on YouTube.
These particular Bantu Knots were not two strand twist, instead I just twisted single sections of my hair around like you would a rope and then put them into Bantu Knots. Because they were not put into two strand twists I separated each curl a little more than I would when they are in twists. With the two strand Bantu Knots, I already have 2 separate sections and then separate each half of the twist one or two times.
I have a few photos of what my Two Strand Bantu Knot-Outs look like here for you to compare to the images below.
Products/Tools Used
- Distilled water (spray bottle)
- DIY Creamy Leave-In Conditioner
- DIY Whipped Cocoa, Shea & Mango Butter
- Sealing Oil (to take down the Bantu Knots)
- Ribbon – optional (to accessorize the style)
I did not neatly part my hair nor did I use rat-tail comb I just sectioned 5 parts; 2 on the left, 2 on the right and one in the middle of my head and then randomly took small/medium sections of hair and twirl my hair into a Bantu Knot.

Twisted Bantu Knots
Tutorial
I have explained how I achieve this style along with images and text below.
How I install the Bantu Knots
I worked on dry hair that was slightly stretched and finger detangled. I first lightly mist my hair with water, apply my leave-in conditioner and set/seal with my whipped butter.
-
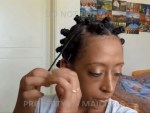
- I twist my hair all the way down to the ends
-
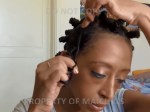
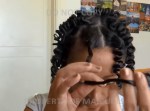
- I use my finger to hold down my hair
-
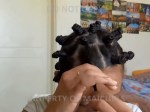
- I start to wrap my hair around to create a Bantu knot
-
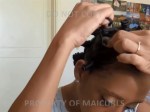
- I continue and tuck the ends under the base of the Bantu Knot
The Take Down & Styling:
-
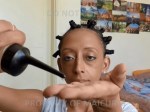
- I apply a little Mixed Sealing Oil on my fingertips before I take down the Bantu Knots
-
- I unwind them in the opposit direction of how I install the Bantu Knots
-
- This is what it looks like when it is taken down
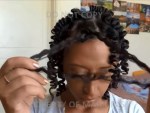
-
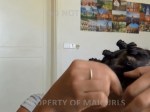
- Once all the Bantu Knots are down they look like this
-
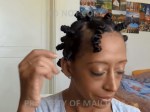
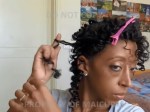
- To separate the curls I use my finger to unwind my hair in the opposite direction
-

- I use my thumb to slowly run down my hair and help separate the curls
-
- Continue slowly separating all the way down
-
- In case I have frizzy bits I finger coil the section to help bring the curl together
-
- This is what it looks like once I have separated my hair
-
- Lifting my roots
-

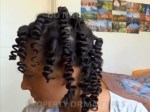
- This is what the curls looks like after I have separated and fluffed my roots
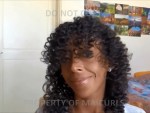
Twisted Bantu Knot-Out styled and accessorized

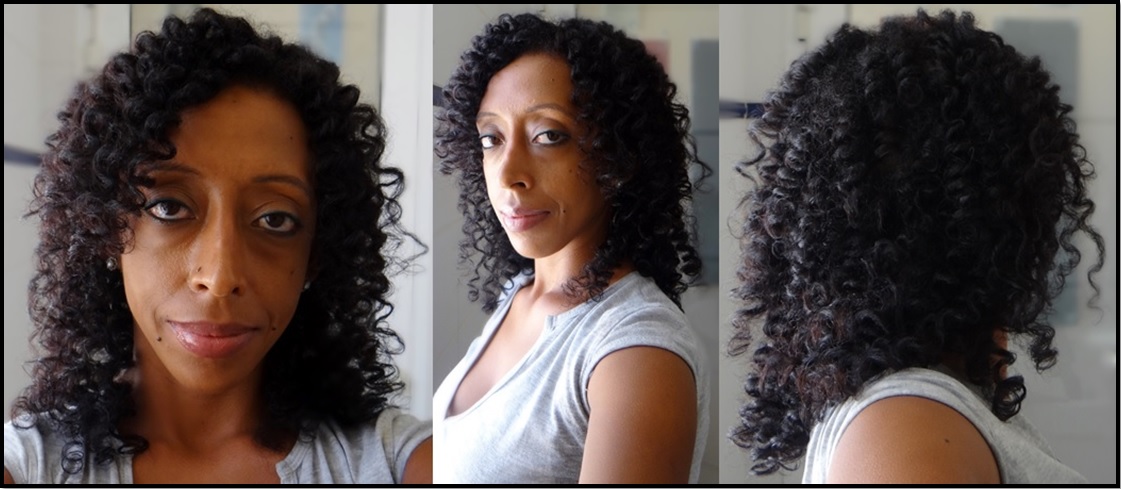

What do you think, don’t the curls look light, bouncy and girly? 😀
Thanks
Maicurls

Nice style on you!
LikeLiked by 1 person
Thank You! 😀
LikeLike
Wow, lovely my dear 🙂
Smiles!!!
LikeLike
Thank you my dear! 😀
LikeLike
Anytime my dear 🙂
Smiles!!!
LikeLike
Very pretty! Going to try some myself soon!
LikeLike
Thank you hun! I bet they will look great on you! I will keep my eyes peeled to see if you post the results on your blog 🙂
LikeLike
Go for it dearie and let me know how it come out 🙂 Thanks a mil!
Smiles!!!
LikeLike